

Looking for a festive and fun Christmas activity that’s easy enough for kids of all ages?
This Paper Christmas Ornament Craft is just what you need! Perfect for decorating your Christmas tree, this activity is ideal for toddlers, preschoolers, kindergarteners, and even older kids. With the help of a parent, little ones can enjoy crafting their own beautiful ornaments using my FREE template.

I enjoy this craft because it’s quick and engaging for kids. It allows them to practice decision-making as they choose what type of ornament they want to make, what colors to use, and how to decorate it. Plus, cutting and gluing activities help develop their fine motor skills.
I call that a win-win.

Go ahead and grab your supplies and get creative with this adorable holiday project!
Related: Ugly Sweater Ornament Idea!
Tools & Materials
- Printer
- Template (download at the end of the article; you don’t need to subscribe!)
- Glue
- Scissors
- White cardstock
- Cardstock colored paper (Fun and vibrant colors)¹
- Fun pens and markers²
- Glitter glue (optional)
- Pom poms (optional)
- Twine
- Tape

- If you plan to hang the ornaments, I recommend using cardstock so the ornaments are more durable. However, if you only have a regular paper, that should also work.
- To add extra details to the ornaments, you can use fun pens and markers. Think glitter, fine, chalk markers, etc.
Keep in mind that to have a “vibrant” appearance on colored paper, you need high-pigmented supplies. Now, you don’t need to go buy stuff either; simply choose lighter colors or do decorations with regular paint or on white paper. You’ll see tons of ideas in this article.
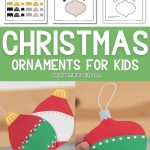
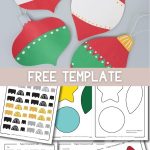
Step 1 – Print Ornament Template
The template has five different ornament shapes, plus a page with different tops so you can mix and match. There are some pages with pre-colored ornaments.
Print what you would like to use.
For this particular craft, I printed the tops in color and the ornament templates in white and other vibrant and Christmassy colors.

Step 2 – Cut Template
Cut as many ornaments as you’d like to make.
To follow this tutorial’s flow, cut the same shape of the ornament two or three times.
Tip: To save time, cut three different page colors simultaneously. Then, staple them together so that the exact shapes are on all three pages.

Here are all the ornaments I cut.
You don’t need that many. I just like making many options to inspire you and give you multiple ideas.

Tip: If you’re a teacher you can cut many different colors and shapes and bring them to the classroom and have a little ornament workshop with your students.
Step 2 – Make Ornament Cut-Outs
Start with two or three ornaments of the same shape.

I cut two of the ornaments. I cut the bottom of the red ornament and the top of the green one, aligned them, and glued them on the third (white) ornament.


If you’re using kids’ glue and regular paper, I recommend using as little glue as possible. Kids’ glue tends to wet the paper and make it unappealing.
However, this is a kids’ craft, and if you don’t plan to hang the ornaments on the tree, believe me, no one will care. The important thing is to have fun!
Choose a top and glue it to the ornament, then make a small loop with some twine and tape it to the back of the ornament.


Doesn’t it look lovely?

Depending on your cuts, you can use the leftover pieces to make a different ornament.
I used the green and red pieces to form a new ornament and added some extra decorations with a white chalk marker.


I love the final look.
More Christmas Ornament Ideas Ideas!
You can mix and match the ornaments in many ways, using all sorts of paper, colors, and markers.
Here are some examples you can show your little ones so you involve them in the decision-making process.
Most ornaments are made using the same method I showed you in the step-by-step tutorial. Pay attention to the different cut-outs so you can replicate them. Or why not come up with your own ideas?
The following ornaments have all the same shape but look so different.


Although pink and purple aren’t the most Christmassy colors, I love the contrast they create.


I really like the circle-shaped ornament with the black dots, top, and twine.
The following ornaments are also very fun. I used some pom poms to add a different style. If you have very young children, they may love that idea.
You can also use some glitter glue to add little details.
There are so many possibilities.


What ornament will you make?
Download Template!
As I mentioned, here’s the Christmas ornament template for your craft! Click the image to open the PDF in a new window or the yellow button to trigger a download on your phone or computer.

Oh!
Just so you know, I also have a library full of free SVG files and Printables for all my subscribers, a.k.a. Daydreamers. You can see a preview right here or get access by filling out this form.

Paper Christmas Ornament Craft For Kids
Make holiday crafting easy and enjoyable with this fun paper Christmas ornament project for kids! Our free printable template is perfect for preschool and kindergarten students, making it simple to create beautiful tree decorations.
Materials
- Template
- White cardstock
- Black fine point marker
- Chalk Markers
- Fine Point Markers
- Glitter glue
- Twine
- Tape
Tools
- Printer
- Scissors
- Glue*
Instructions
- Download the template.
- I printed the tops in color and colored the ornament templates in white and other vibrant and Christmassy colors.
- Cut all the pieces as many ornaments as you’d like to make. To save time, cut three different page colors at the same time. You can staple them to have the exact shapes on all three pages.
- Start with two or three ornaments of the same shape.
- I cut two of the ornaments: the bottom of the red ornament and the top of the green one. I aligned them and glued them on the third (white) ornament.
- Choose a top and glue it to the ornament, then make a small loop with some twine and tape it to the back of the ornament.
Notes
If you’re using kids’ glue and regular paper, I recommend using as little glue as possible. Kids’ glue tends to wet the paper and make it unappealing.
However, this is a kids’ craft, and if you don’t plan to hang the ornaments on the tree, no one will care. The important thing is to have fun!
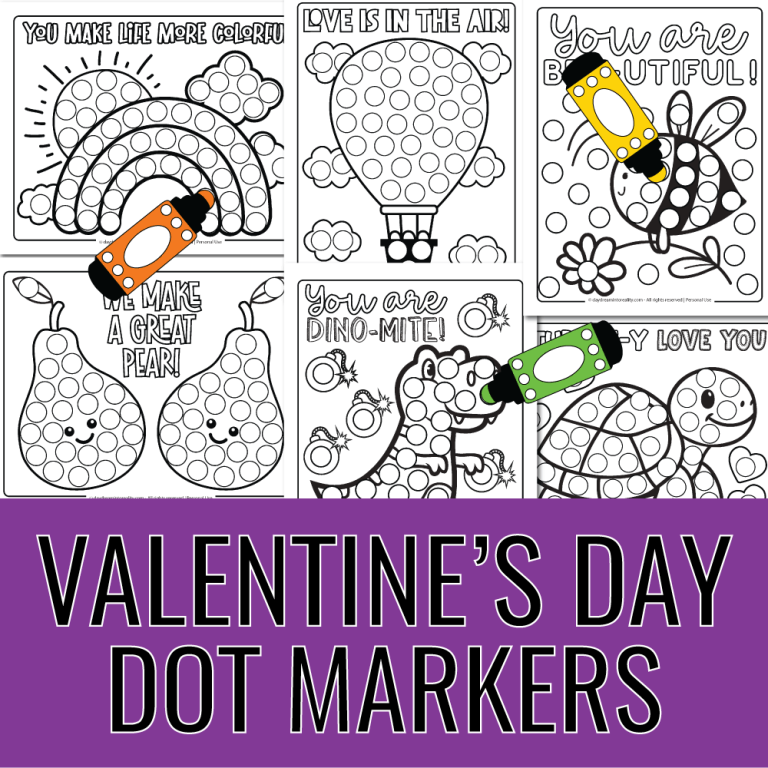
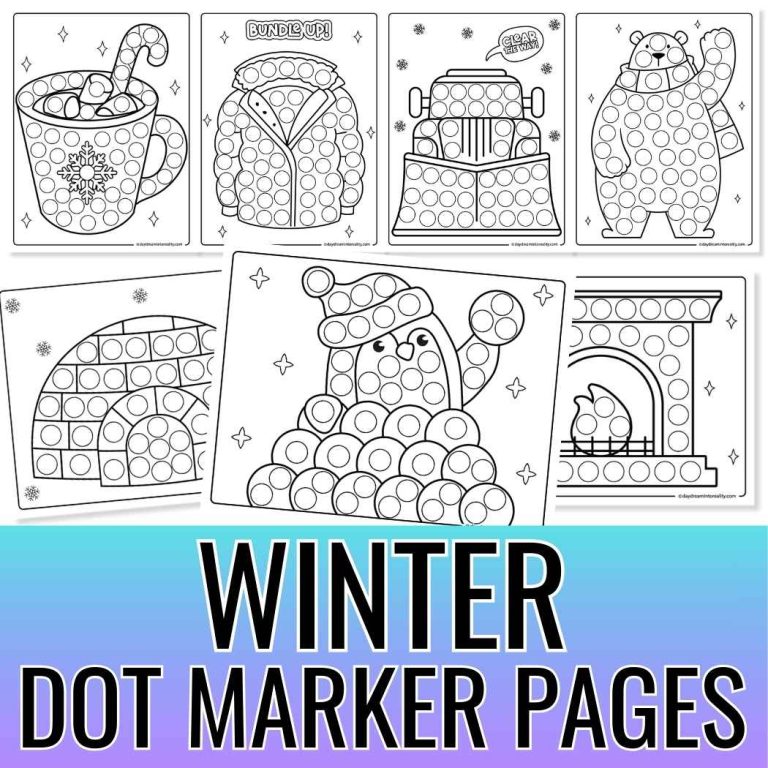
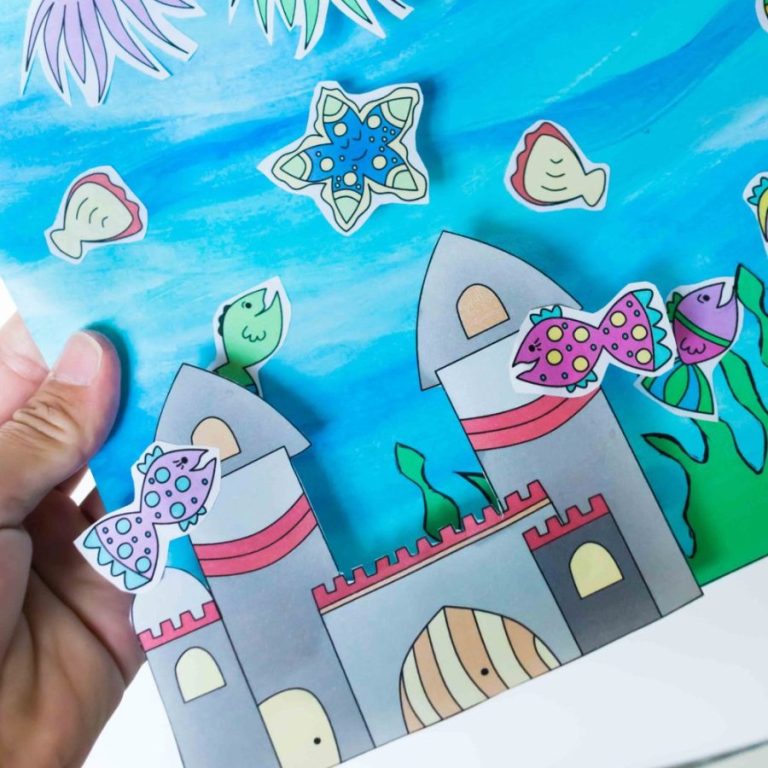
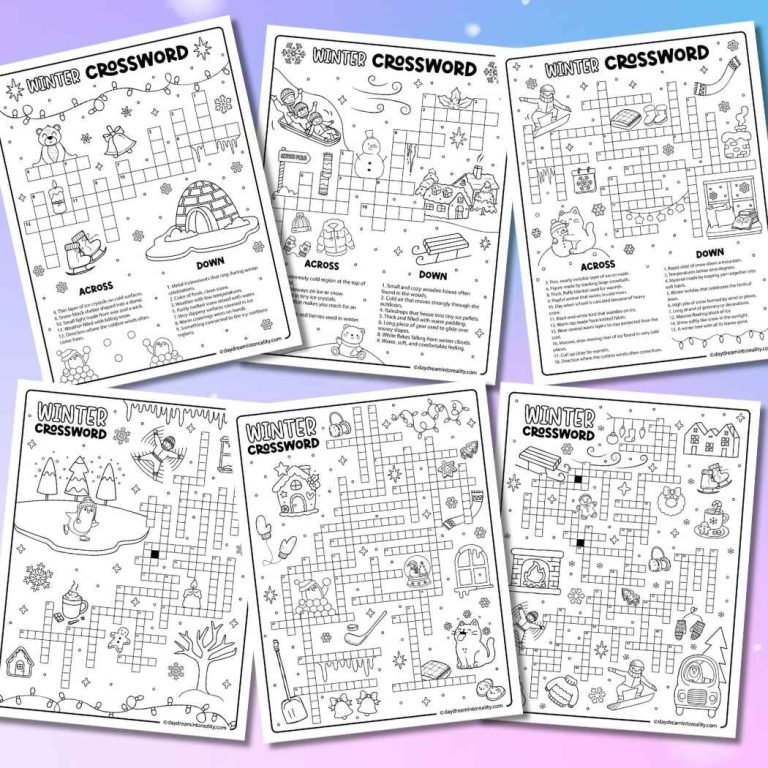
You May Like These…
I hope you enjoyed crafting these Christmas ornaments with your little people. If you enjoyed that activity, you would love the following.
- Paper Plate Santa Craft
- Paper Plate Christmas Tree Craft
- Fall Paper Plate Craft
- Paper Plate Snow Globes with five different scenes!
- Paper Plate Baby Chick Craft
- Turkey Headband Craft
- Build a Salad Craft
- Build a Fish Tank
- Paper Plate Cow Craft
Happy Crafting!