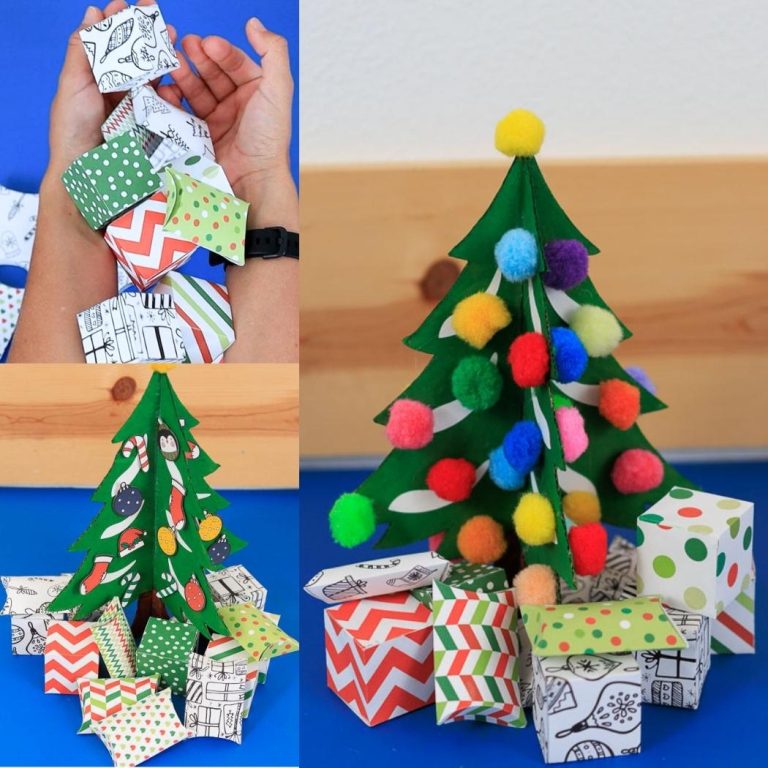
As the Christmas season fills our days with chilly cheer, what better way to keep little hands busy than with a delightful Paper Plate Christmas Tree Craft?
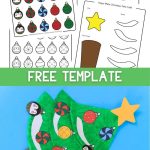
This easy-to-follow activity comes complete with a FREE Template, available in vibrant colors and ready-to-color versions. This makes it simple for you and enjoyable for the kids.

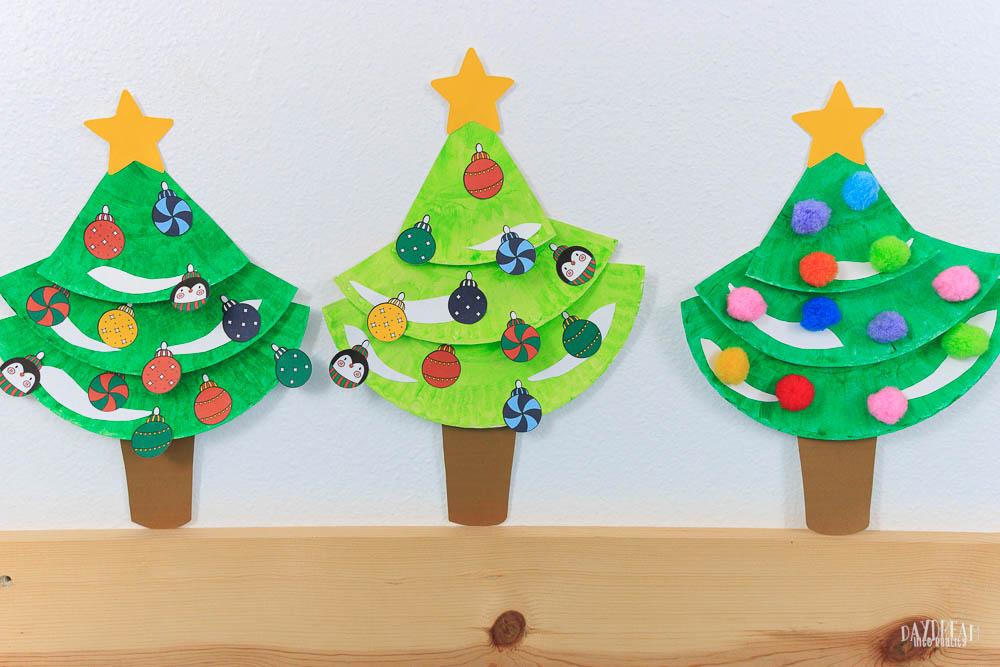
You can assemble the tree in two ways: by cutting the paper plate and stacking it or by forming a cone.

Additionally, cutting, painting, and coloring can improve children’s fine motor skills, making this craft a fun and advantageous activity for everyone involved!
This project is appropriate for toddlers, preschoolers, kindergartners, and even older children with the guidance of a parent or teacher.
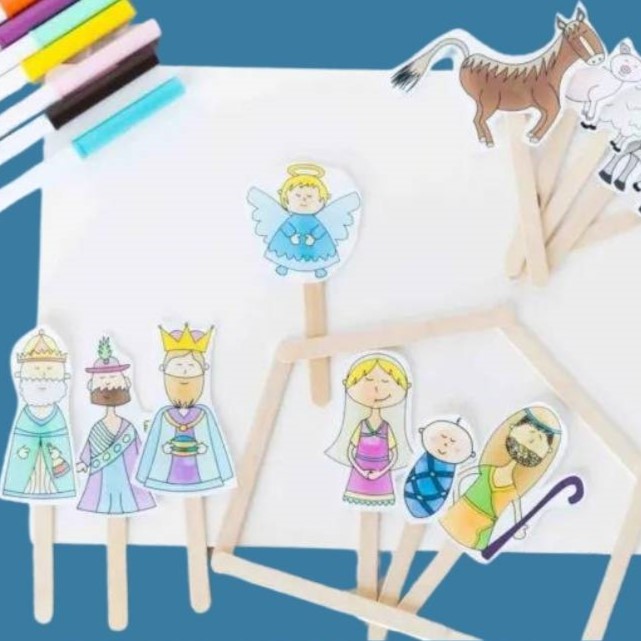
Related: Paper Plate Nativity Craft For Kids!
Tools & Materials
- Printer
- Template (download at the end of the article; you don’t need to subscribe!)
- Glue
- 9-inch paper plate
- Scissors
- Ruler & Pencil
- White cardstock
- Green paint
- Pom poms (optional)
- Colors, markers (optional)

Super tip: If you don’t have paper plates, cut an 8-9-inch circle with white cardstock.
Step 1 – Print Christmas Tree Template
To add extra value, I included a pre-colored version and a version to color. As with all of my crafts, you can make them as easy or difficult as you want.
To save time, print the colored template, and for a more extended activity, print the coloring version.
I printed the colored template!

Step 2 – Paint
Always start by painting first, as it takes longer to dry. Your children will probably want to glue as soon as they finish cutting.
I made these crafts using dark and light green. I preferred using dark green because it gives more of that Christmassy vibe.

Step 3 – Cut Template
Cut all the pieces you want to use for the tree.
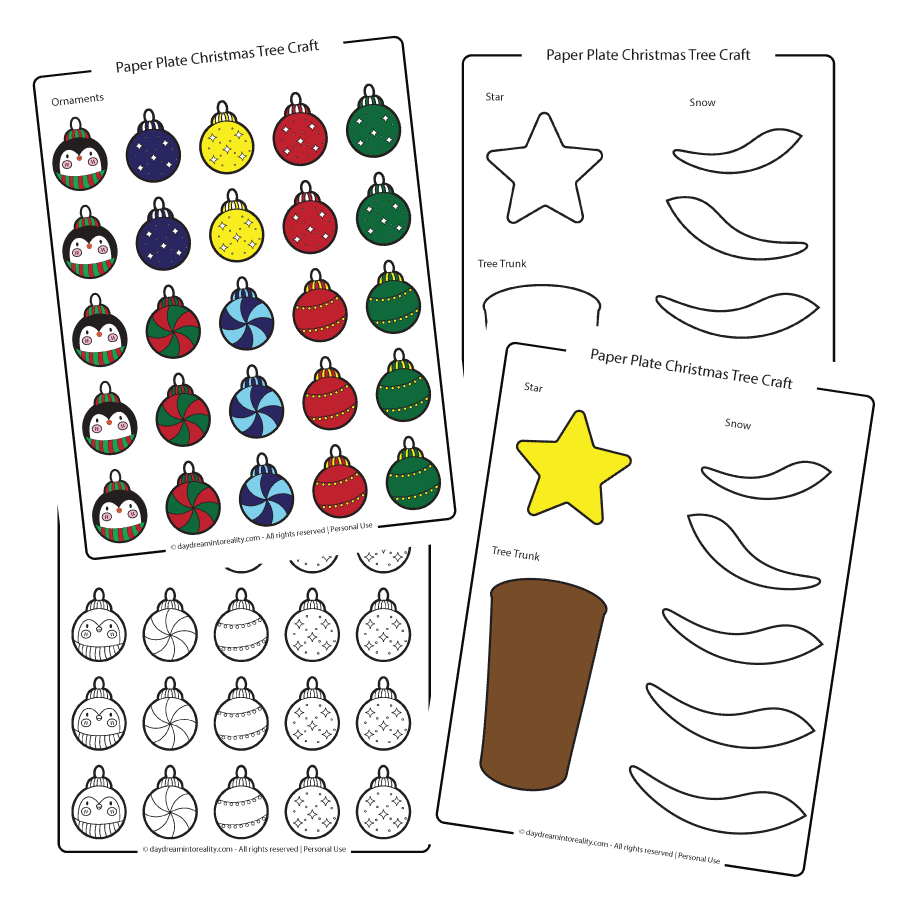
The star, trunk, and snow! If you’re using pom poms, you don’t need to print the ornaments page. The ornaments can be a little difficult to cut, so your child may need help with them.

Once the paper plate is completely dried, flip it, and, with a pencil and ruler, trace three lines to divide the plate.
You’ll want to divide it into three parts. Large, medium, and small.
You can check the following pictures so you have an idea of how I did it.


After tracing, cut the paper plate through the lines, and let’s assemble our Christmas tree.
Step 4 – Glue
Let’s start by assembling the tree.
From bottom to top glue the three different layers that form the tree.
Tip: Apply glue only on “what it was” the center of the plate so your tree has a 3D pop effect.
Once your tree is formed, go ahead and glue the trunk and star.


I recommend adding the “snow” from the template to add extra contrast to the project.

It’s time to glue the ornaments!
At this point, you can decide whether to use pom poms or ornaments in the template—or why not a combination of them?
Tip: glue some of the ornaments (from the template) on the edges of the paper plate to give a “hanging” appearance.


And just like that, your Christmas tree craft is complete!


Don’t they look lovely?
Another Way to Assemble
If you opt to assemble the Christmas tree as a cone, here are the steps to follow.
Once your paper plate is done drying, flip it and divide it into four equal parts with a pencil and ruler. Then, cut out a fourth of the plate.
Shape the plate into a cone by rolling it into itself and gluing it to close it off.
Finally, glue some pom poms!
Tip: If using regular glue, leave the top pom pom for last, as it takes a while to dry.


Doesn’t it look adorable?
You could also use the ornaments from the template, but if you want a more “appealing” craft, I would resize them to print at about 70% because they look too big for the cone-shaped tree.

Question Ideas
Christmas is an important time of the year; sometimes, we get lost in the season’s busyness.
I encourage you to read the next section for some questions and conversational ideas to ask your children while you do this activity with them.
- Do you consider Christmas to be your most treasured holiday of the year?
- What do you believe is the significance of Christmas?
- Are you aware that Jesus is considered the greatest gift we have ever received from God?
- What are you most looking forward to this Christmas?
- We celebrate Christmas because…
Download Template!
As I mentioned, here’s the Christmas Tree template for your craft! Click the image to open the PDF in a new window or the yellow button to trigger a download on your phone or computer.
Oh!
Just so you know, I also have a library full of free SVG files and Printables for all my subscribers, a.k.a. Daydreamers. You can see a preview right here or get access by filling out this form.

Paper Plate Christmas Tree Craft For Kids | Free Template!
Engage your preschooler with this delightful Paper Plate Christmas Tree Craft! Our free printable template makes creating this fun DIY project easy.
Materials
- Template
- 9-inch paper plate
- White cardstock
- Green Paint
- Pom poms (optional)
- Colors, markers (optional)
Tools
- Printer
- Scissors
- Glue
- Paint brush
- Ruler
Instructions
- Download the template.
- Paint the paper plate green and set aside.
- Print out the version of the template you want to use.
- Cut template.
- When the paper plate is dried, flip it and divide it into three parts (large, medium, and small) using a pencil and ruler.
- Assemble the Christmas tree from bottom to top*
- Glue trunk and star and snow.
- Paste pom poms or the little ornaments included in the template. Or why not a combination of them?
Notes
*Only apply glue on what is at the center of the plate so your tree has a 3D pop effect.
You May Like These…
I hope you enjoyed crafting these cute Christmas trees with your little people. If you enjoyed that activity, you would love the following.
- Fall Paper Plate Craft
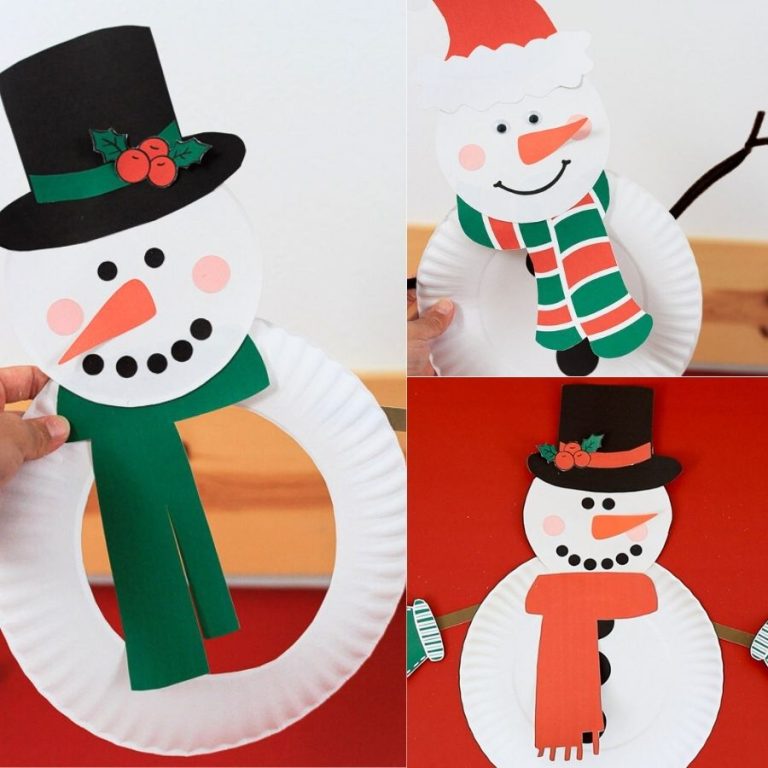
- Paper Plate Snow Globes with five different scenes!
- Paper Plate Baby Chick Craft
- Turkey Headband Craft
- Build a Salad Craft
- Build a Fish Tank
- Paper Plate Cow Craft
Happy Crafting!