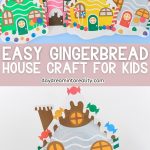

Tis’ the season for festive crafts that bring joy without the sticky mess! If you’ve ever dreamed of creating a gingerbread house with your little ones but dreaded the cleanup, I have the perfect solution for you.
This Paper Plate Gingerbread House Craft combines all the charm of a traditional gingerbread house without any of the fuss. Plus, with a FREE template that makes crafting a breeze, this project is ideal for spreading Christmas cheer throughout your home.

This gingerbread house project is suitable for preschoolers, kindergartners, and older children, guided by a parent or teacher.
While making memories, your little ones will also practice other skills, such as choice-making and fine motor skills, as they cut, apply glue, and paste the decorations on the gingerbread house.

Go ahead and grab your supplies and get creative with this adorable holiday project!
Related: Paper Plate Gingerbread Man
Important: I encourage you to read the tutorial, especially the gluing steps. The craft may not look as good if you don’t glue things in order. After all, I practiced five different ways; the last gingerbread house I glued was the best way to do it.
Tools & Materials
- Printer
- Template (download at the end of the article; you don’t need to subscribe!)
- Glue
- 9-inch paper plate
- Scissors
- White cardstock
- Brown or vibrant paint colors
- Paintbrush
- Colors, markers (optional)

Super tip: If you don’t have paper plates, cut an 8-9-inch circle with white cardstock.
Step 1 – Print Gingerbread House Template
You’ll find a section with the templates at the end of the tutorial. There’s a pre-colored version and a version for coloring. For a faster and easier craft, print the colored version, and for a longer activity, choose the one for coloring.
Before you print the template, take a look at the pages. There are different sets of doors and windows, plus tons of candy you can cut to personalize your gingerbread house.
There’s a page with icing, and it’s tricky for little and even big hands to cut. Instead of following the template, I think cutting your own “icing” stripes out of regular white cardstock would be easy, so there’s no line to follow.

Step 2 – Paint
Always start by painting first, as it takes longer to dry. Your children will probably want to glue as soon as they finish cutting.
Brown is the most common color for a gingerbread house, but I encourage you to use fun and vibrant colors. I used green, silver, yellow, pink, and, of course, brown.

Once you paint all the paper plates, set them aside to dry.
Step 3 – Cut Template
Cut all the pieces you want to use. As I mentioned, there are many different sets of doors, windows, and candy. You can also check out the “Assemble Ideas!” page or show your child which house they would like to build.

Step 4 – Glue
Let’s assemble our gingerbread house!

I made the step-by-step tutorial using the green paper plate.
It’s gluing time, and here are the best tips when gluing your gingerbread house.


- Start by gluing the icing stripes toward the top of the paper plate.
- Glue roof. However, do not put glue on both ends.
- Lift the ends of the roof and glue the houseposts.
- Glue windows, making sure there’s enough room for the door.


- Glue decorations that need to go behind the snow (lollipops, candy canes, etc.)
- Glue snow at the bottom of the paper plate.
- Glue door and chimney.


- I decided to glue the candy canes behind the chimney at the last minute, and I loved the result.
- Decorate the house with extra candy. I used gummies on the roof and hard candy to glue on the snow.
Just like that, your gingerbread house is done! It looks so Christmassy! This is by far one of the best crafts I’ve made for the blog.

The following pic is a little odd, but I wanted to show you how the paper plate looks on the back in case you need help with the alignment of some parts.

More Assemble Ideas!
Here are more ideas you can show your little ones as well.
When it makes sense, I love giving you multiple choices when making a craft. That way, you can involve your child in making choices.
Take a look at these beautiful gingerbread houses! It’s hard to pick my favorite one. Notice how changing the paint color can create such a different craft.


I love all the different candy options and the small decorations you can glue by the window or behind the chimney.


Don’t they look amazing?
Which one is your favorite one?
Download Template!
As I mentioned, here’s the Gingerbread House template for your craft! Click the image to open the PDF in a new window or the yellow button to trigger a download on your phone or computer.


Oh!
Just so you know, I also have a library full of free SVG files and Printables for all my subscribers, a.k.a. Daydreamers. You can see a preview right here or get access by filling out this form.

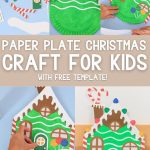
Paper Plate Gingerbread House Craft For Kids | Free Template!
Discover holiday crafting joy with our Paper Plate Gingerbread House Craft for Kids! This DIY activity is suitable for preschool through early elementary ages and includes a free template for easy crafting.
Materials
- Template
- 9-inch paper plate
- White cardstock
- Brown or Vibrant paint color
- Colors, markers (optional)
Tools
- Printer
- Scissors
- Glue
- Paint brush
Instructions
- Download the template in color or for coloring.
- Print out the version of the template you want to use.
- Brown is the most common color for a gingerbread house, but I encourage you to use fun and vibrant colors. I used green, silver, yellow, pink, and, of course, brown.
- Start by gluing the icing stripes toward the top of the paper plate.
- Glue roof. However, do not put glue on both ends.
- Lift the ends of the roof and glue the house posts.
- Glue windows, making sure there’s enough room for the door.
- Glue decorations that need to go behind the snow (lollipops, candy canes, etc.)
- Glue snow at the bottom of the paper plate.
- Glue door and chimney.
- I decided to glue the candy canes behind the chimney at the last minute, and I loved the result.
- Decorate the house with extra candy. I used gummies on the roof and hard candy to glue on the snow.
You May Like These…
I hope you enjoyed crafting this adorable gingerbread house with your little person. If you enjoyed that activity, you would love the following.
- Paper Plate Santa Craft
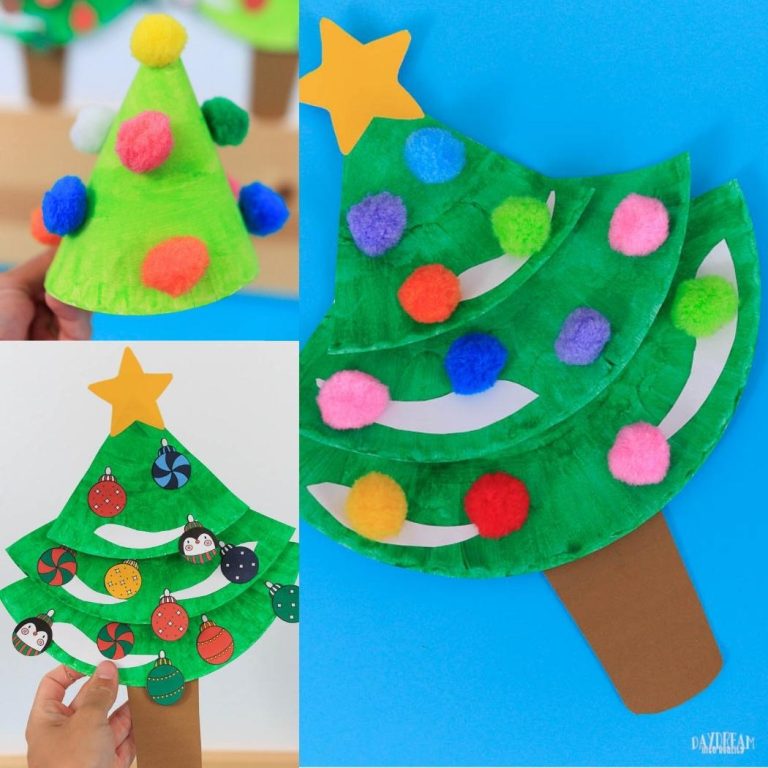
- Paper Plate Christmas Tree Craft
- Fall Paper Plate Craft
- Paper Plate Snow Globes with five different scenes!
- Paper Plate Baby Chick Craft
- Turkey Headband Craft
- Build a Salad Craft
- Build a Fish Tank
- Paper Plate Cow Craft
Happy Crafting!


Thank you soooo much for sharing such a beautiful collection of items!
You’re welcome 🙂
Love this
I would love to have this template.
You can download it from the article.
I would like to get this template
You can download it from the article.
Can I please have the template
You can download it from the article.
Thank you for the template.
You’re welcome 🙂