
This paper plate polar bear craft is just what you need when you’re looking for something fast and fun to do with the kids on a chilly day!
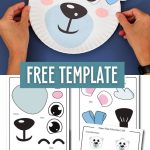
The FREE PDF template comes in color or a version for them to color, and there are even options to make a whole polar bear family, dad, and baby!

This activity is a great way to teach your toddlers, preschoolers, and even kindergarteners about polar bears while they also work on fine motor skills like cutting and gluing.

Are you ready? Let’s make some sweet polar bears!
Related: Paper Plate Penguin Craft
Tools & Materials
- Printer
- Template (download at the end of the article; you don’t need to subscribe!)
- Glue
- 9-inch paper plate
- Scissors
- White cardstock
- Colors, markers (optional)

Super tip: If you don’t have paper plates, cut an 8-9-inch white cardstock circle.
Step 1 – Print Polar Bear Template
You’ll find a section with the templates at the end of the tutorial. You can choose the colored version or the black-and-white version for coloring.
The coloring option may extend the activity, so choose based on your child’s attention span. I chose the colored version.
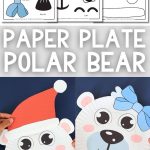
Before you print the template, take a look at the pages. There’s a page with a Santa hat. I thought it would be fun to include to make the craft more festive. Feel free to skip if you prefer to make the other bears.

Step 2 – Cut Template
Cut all the pieces you want to use. You can also check out the “Assemble Ideas!” page and ask your child which polar they wish to make.

Step 3 – Glue
Let’s assemble our polar bear!
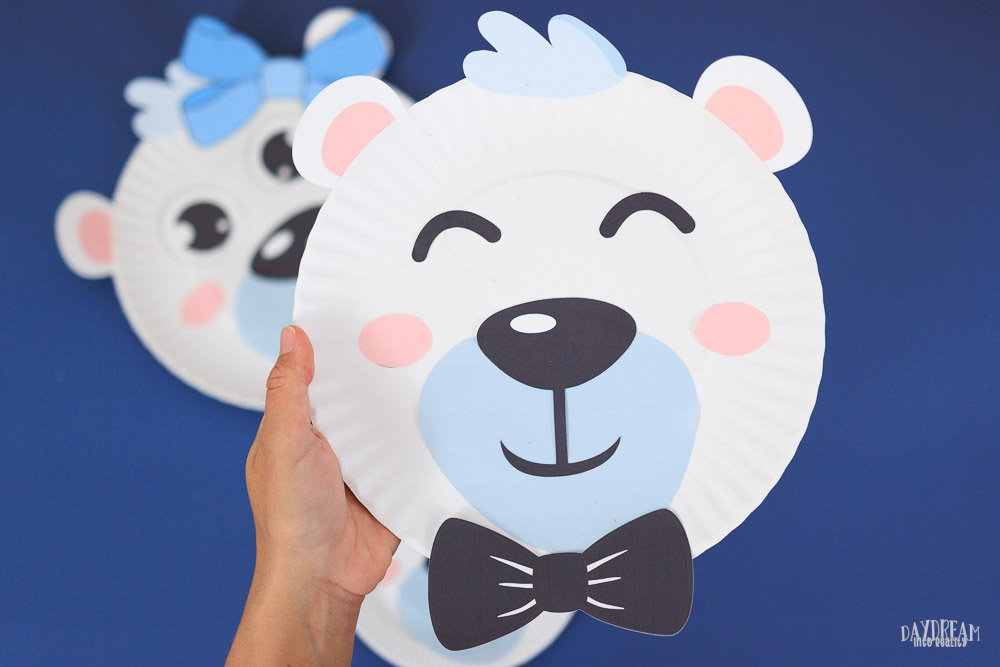
There are six (but you can come up with more) different ways I show you how to assemble this craft. The step-by-step instructions show how to do bear #2 (without the bow tie).

- Glue the snout toward the bottom of the plate. Make sure to glue it in the proper position.
- Glue the nose on top of the snout. Ensure you leave a little bit of the nose out of the snout.
- Glue ears behind the paper plate.
Note: Eyes can be tricky to cut; you can use a black marker instead.


- Add eyes. The second set of eyes may be tricky to cut, so you may want to use a black marker instead.
- Glue cheeks on each side of the snout
- Add hair, the Santa hat, or the hair bow!


And just like that, you have an adorable polar bear!
Doesn’t it look beyond adorable?
More Assemble Ideas!
Here are some extra ideas you can share with your little ones.
I love providing different crafting options when I can. It allows your child to be involved in making choices throughout the activity.
Check out the polar bear mom with a beautiful blue hair bow, the bear with the Santa hat, and the dad bear with the bow tie!
Notice how different they look when you use the other set of eyes?


You can make an entire polar bear family with the template!
Want a Polar Bear Cub?
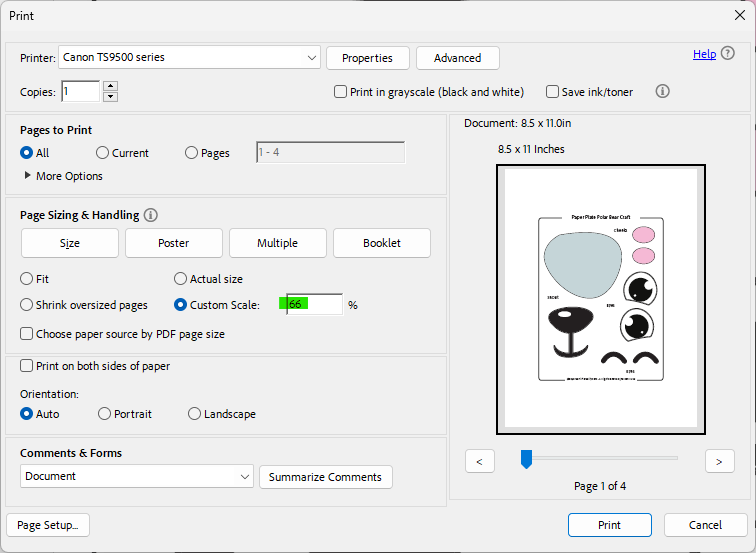
You can use a 6-inch paper plate or cut a 6-inch wide circle to make baby bears!
Making an extra-small bear may make the template be a little trickier to cut out; therefore, your little one may want some assistance.

To make a polar bear cub, scale the printable to 66%.
Download Template!
As I said earlier, here’s the polar bear template for your craft! Click on the image to open the PDF in a new window, or use the yellow button to initiate a download to your phone or computer.


Oh!
Just so you know, I also have a library full of free SVG files and Printables for all my subscribers, a.k.a. Daydreamers. You can see a preview right here or get access by filling out this form.

Paper Plate Polar Bear Craft For Kids | Free Template!
Need a winter craft idea for kids? Check out this great, easy-to-make paper plate polar bear! It's great for preschoolers, toddlers, and kindergarteners to help develop fine motor skills while keeping them occupied.
Materials
- Template
- 9-inch paper plate
- White cardstock
- Black marker (optional)
- Colors, markers (optional)
Tools
- Printer
- Scissors
- Glue
Instructions
- Download the template in color or for coloring.
- Print and cut all the pieces you want to use. You can also check out the "Assemble Ideas!" page and ask your child which polar they wish to make.
- Glue the snout toward the bottom of the plate. Make sure to glue it in the proper position.
- Glue the nose on top of the snout. Ensure you leave a little bit of the nose out of the snout.
- Glue ears behind the paper plate.
- Add eyes. The second set of eyes may be tricky to cut, so you may want to use a black marker instead.
- Glue cheeks on each side of the snout
- Add hair, the Santa hat, or the hair bow!
You May Like These Wintery Crafts…
I hope you had fun making this craft with your little ones! I also have other fun crafts (with free templates!) you may enjoy.
- Paper Plate Snow Globes with five different scenes!
- Paper Plate Gingerbread Man
- Paper Plate Gingerbread House
- Paper Plate Christmas Tree Craft
- Paper Plate Nativity Scene Craft
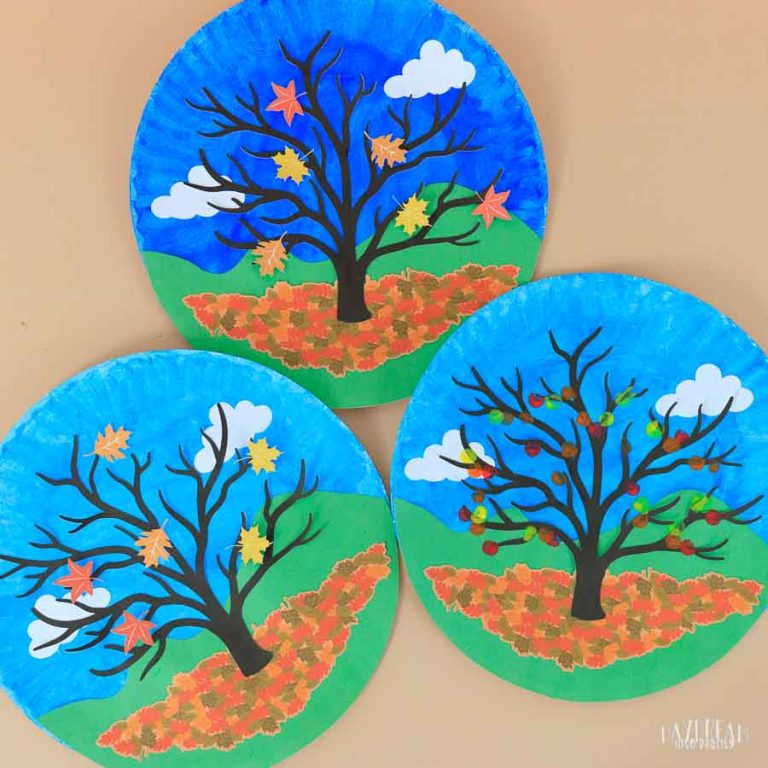
- Fall Paper Plate Craft
Happy Crafting!


Thank you
You’re welcome 🙂
It is so cute! Thank you so much!
You’re welcome 🙂
I am interested in this cute template.
You can download it from the article 🙂