
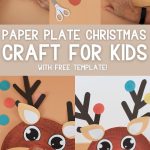

Are you looking for a fun activity to keep the kids entertained during the winter days?
Look no further than this super cute Paper Plate Reindeer Craft! It’s easy, festive, and perfect for Christmas or any cold day indoors.
Plus, I’m offering a FREE Template to make it even easier – it comes in color and a coloring version, so your little ones can make it their own.

This craft is perfect for early learners (3-7). What I love about it is that while your little student is having fun, they also practice fine motor skills as they cut and glue their adorable reindeer.
Talk about a win-win!

Are you ready? Let’s make an adorable reindeer!
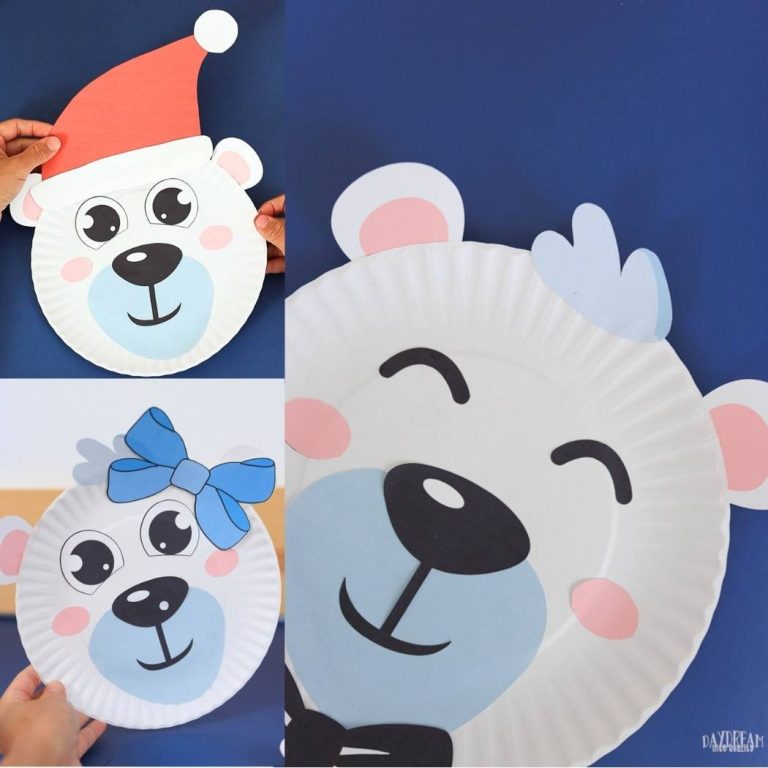
Related: Paper Plate Santa Craft
Tools & Materials
- Printer
- Template (download at the end of the article; you don’t need to subscribe!)
- Glue
- 9-inch paper plate
- Scissors
- White cardstock
- Brown paint
- Paintbrush
- Pom poms (optional)
- Colors, markers (optional)

Super tip: If you don’t have paper plates, cut an 8-9-inch circle with white cardstock.
Step 1 – Print Reindeer Template
You’ll find a section with the templates at the end of the tutorial. You can choose the colored version or the black-and-white version for coloring.
The coloring version will make the craft longer, so pick according to your child’s attention span.
Before you print the template, take a look at the pages. There are two different sets of antlers and some winter hats to personalize your reindeer. Send to print only what you think you’ll use.

Step 2 – Paint
Begin with painting since it typically requires more time to dry. Once they finish cutting, your children will likely be eager to start gluing.

Once you paint your paper plate, set it aside to dry.
Step 3 – Cut Template
Cut all the pieces you want to use. You can also check out the “Assemble Ideas!” page and ask your child which reindeer they would like to make.

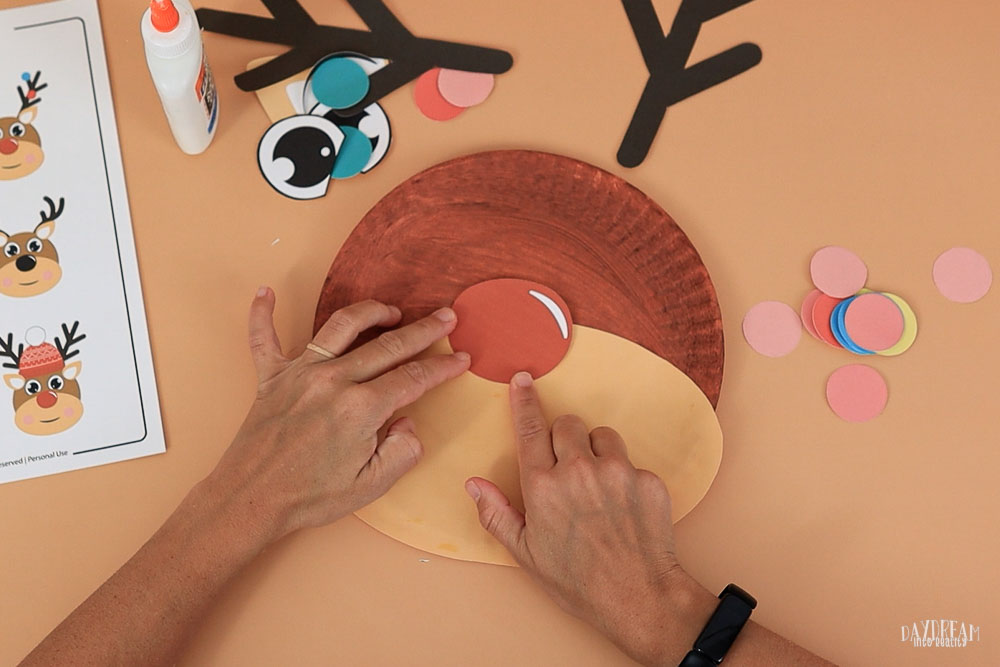
Step 4 – Glue
Let’s assemble our reindeer!
There are six (but you can come up with more) different ways I show you how you can assemble this craft. The step-by-step instructions show how to do the reindeer #2.

- Glue snout to paper plate. Check out the picture below to see the ideal alignment.
- Add nose. About half or 3/4ths should be glued to the snout, and the remaining on the paper plate.


- Glue eyes to paper plate.
- Now, glue the antlers to the back of the paper plate.
- Paste mouth.
The mouth is a bit difficult to cut; you may want to use a black marker instead.


- Glue cheeks.
- Embellish the antlers with the lights from the template, or use pom poms to add extra fun to your craft.


Just like that, you have an adorable reindeer craft!
More Assemble Ideas!
Here are more ideas you can show your little ones as well.
I enjoy offering different crafting options whenever possible. This way, you can engage your child in decision-making during the process.
What do you think about the reindeer with the hat?
I think it looks silly!


Want a Smaller Reindeer?
I made a little reindeer using a 6-inch plate! It looks absolutely adorable.
Cutting will be a little more challenging if you make an extra-small one, so make sure to help your little person. I would use a black marker for the mouth!

To make a smaller craft in a 6-inch plate, scale the printable to 66%.

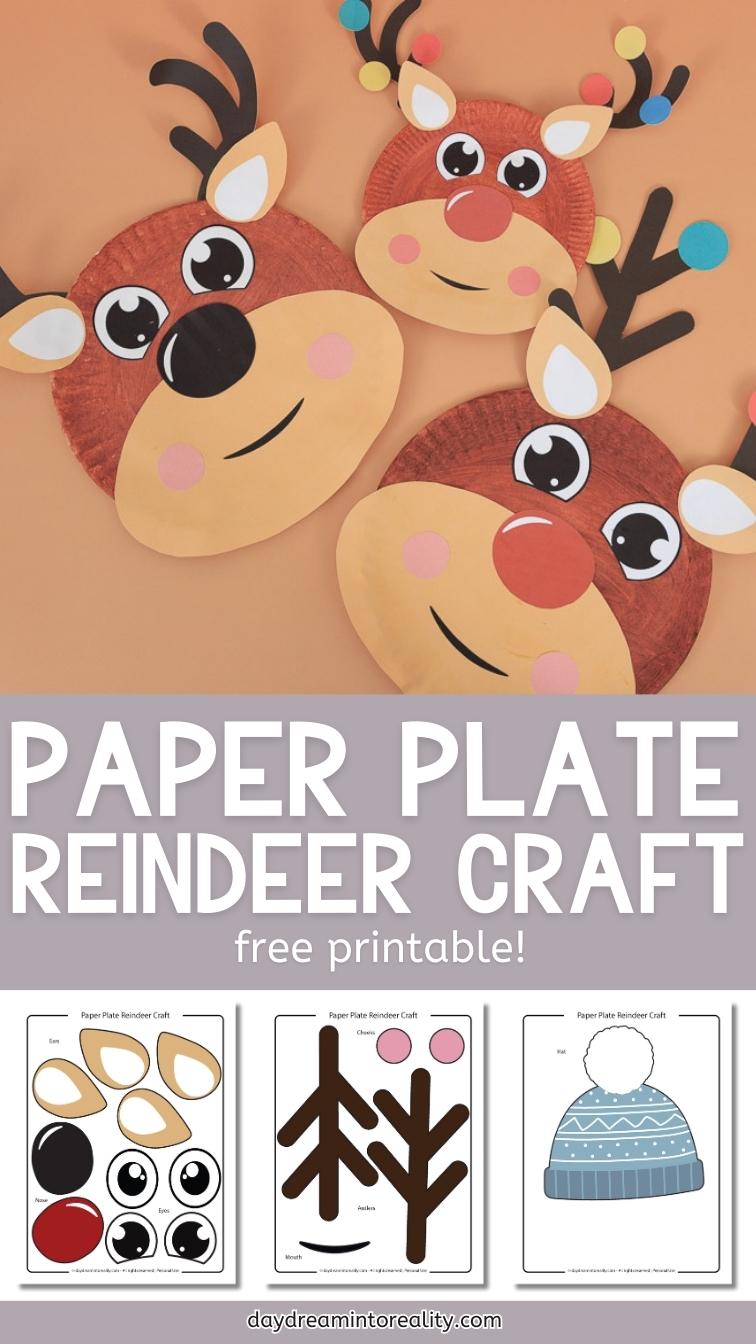
Download Template!
As I said earlier, here’s the reindeer template for your craft! Click on the image to open the PDF in a new window, or use the yellow button to initiate a download to your phone or computer.


Oh!
Just so you know, I also have a library full of free SVG files and Printables for all my subscribers, a.k.a. Daydreamers. You can see a preview right here or get access by filling out this form.

Paper Plate Reindeer Craft For Kids | Free Template!
Bring Christmas into your home with a DIY Paper Plate Reindeer Craft! This easy-to-make project includes a free printable template, ideal for preschool and kindergarten children.
Materials
- Template
- 9-inch paper plate
- White cardstock
- Brown Paint
- Pom Poms (optional)
- Colors, markers (optional)
Tools
- Printer
- Scissors
- Glue
- Paint brush
Instructions
- Download the template in color or for coloring.
- Print out the version of the template you want to use.
- Paint the paper plate brown.
- Check out the assemble ideas page to pick your favorite reindeer to assemble and cut the pieces you need.
- Glue snout to paper plate. Check out the picture below to see the ideal alignment.
- Add nose. About half or 3/4ths should be glued to the snout, and the remaining on the paper plate.
- Glue eyes to paper plate.
- Now, glue the antlers to the back of the paper plate.
- Paste mouth*
- Glue cheeks.
- Embellish the antlers with the lights from the template, or use pom poms to add extra fun to your craft.
Notes
*The mouth is a bit difficult to cut; you may want to use a black marker instead.
You May Like These Festive Crafts…
I hope you had fun making this craft with your little ones! I also have other fun crafts (with free templates!) you may enjoy.
- Paper Plate Gingerbread Man
- Paper Plate Gingerbread House
- Paper Plate Christmas Tree Craft
- Paper Plate Nativity Scene Craft
- Fall Paper Plate Craft
- Paper Plate Snow Globes with five different scenes!
Happy Crafting!


It is such a cute kindergarten craft
Glad you like it! 🙂
cute
These are so cute!
Glad you like it!
That is very cute!! thank you
You’re welcome 🙂
Love them!
Love it
Yay!
Can not wait to try this with my students
Yay! So happy to hear 🙂