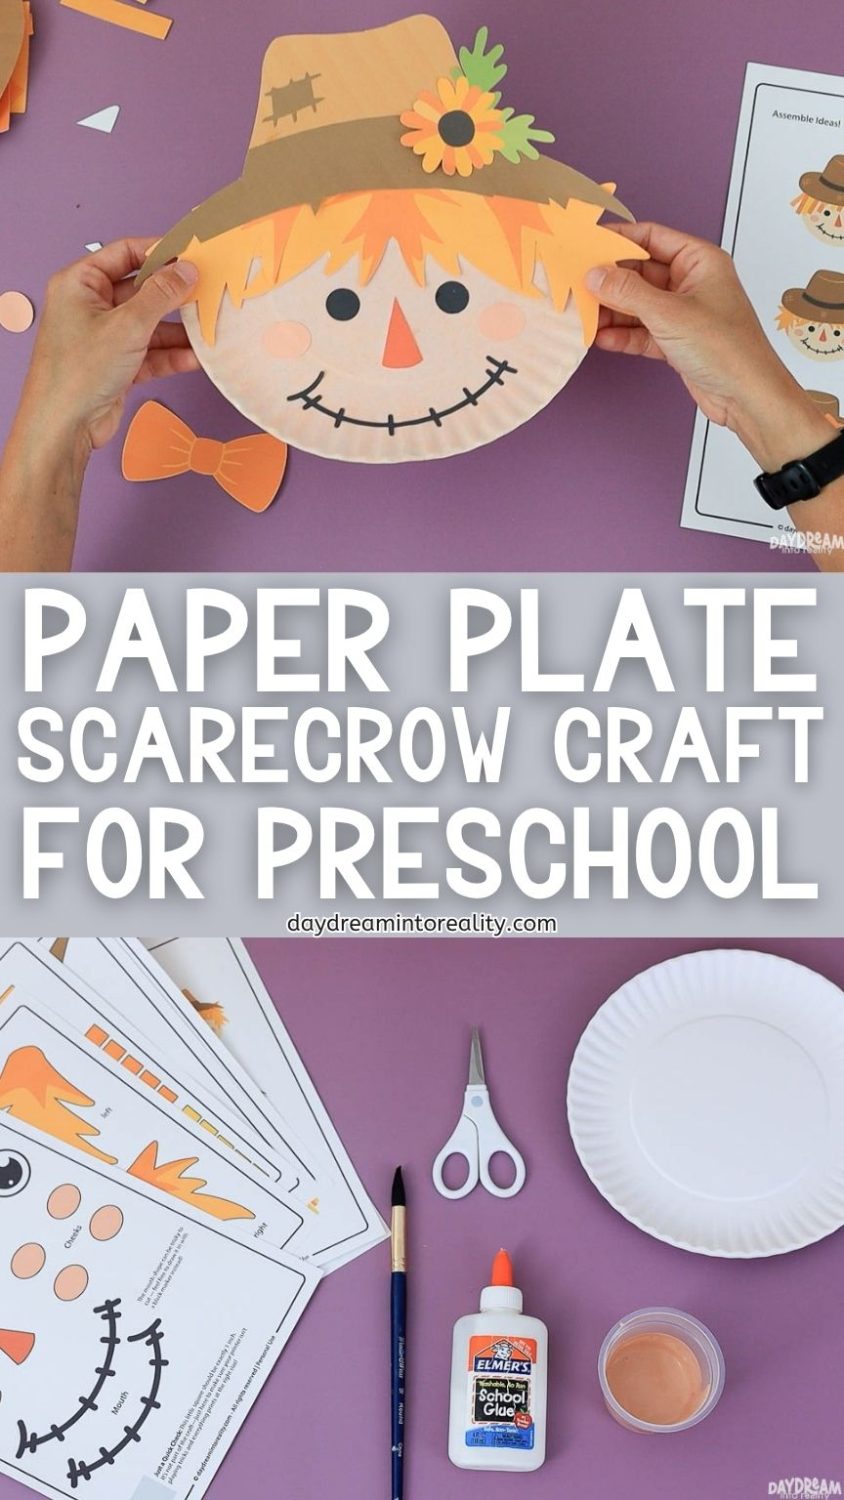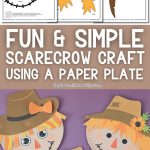
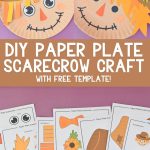
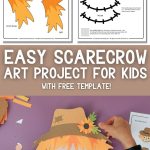
Bring a little fall and Thanksgiving charm to your craft table with this paper plate scarecrow! It’s a simple, colorful project that kids will love making, and best of all, it’s low-mess and easy to set up.
Perfect for toddlers (with a bit of help), preschoolers, kindergarteners, and early elementary kids, this craft is simple to prepare and fun for a wide range of ages, making it a great choice for both home and classroom activities.
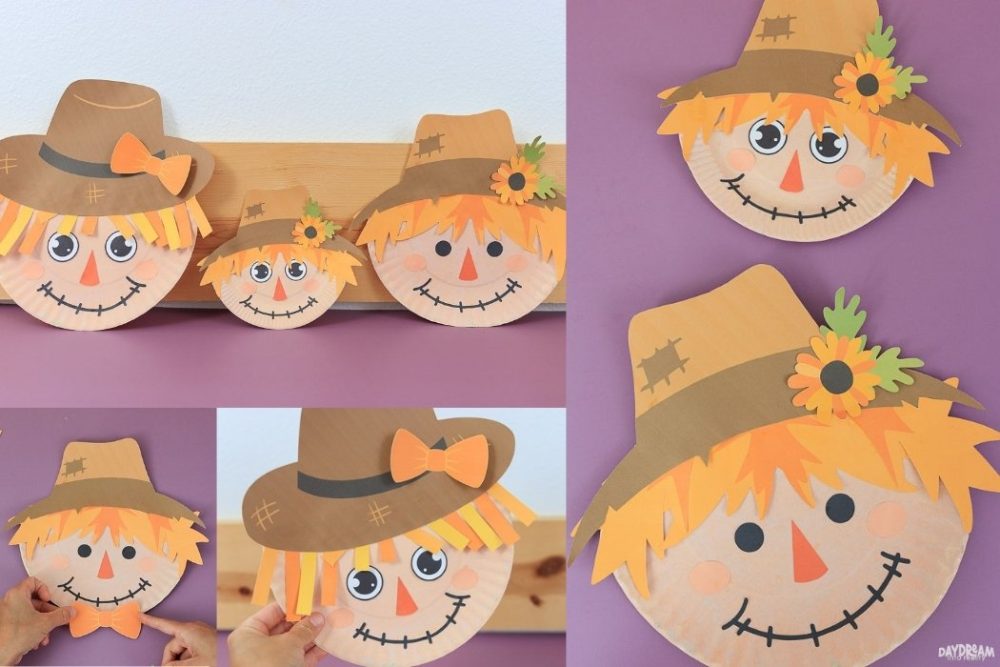
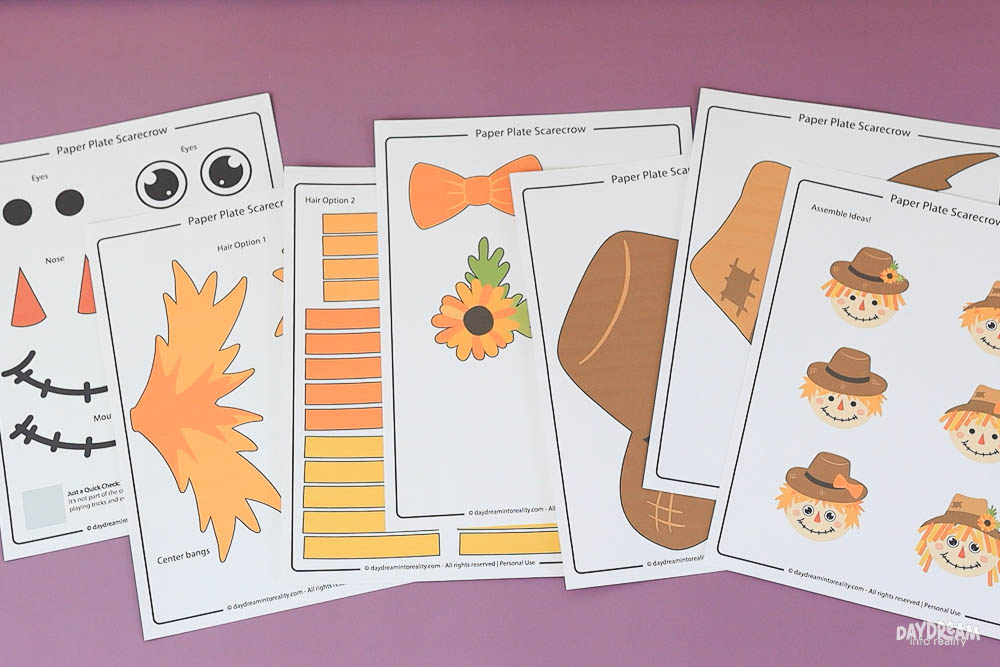
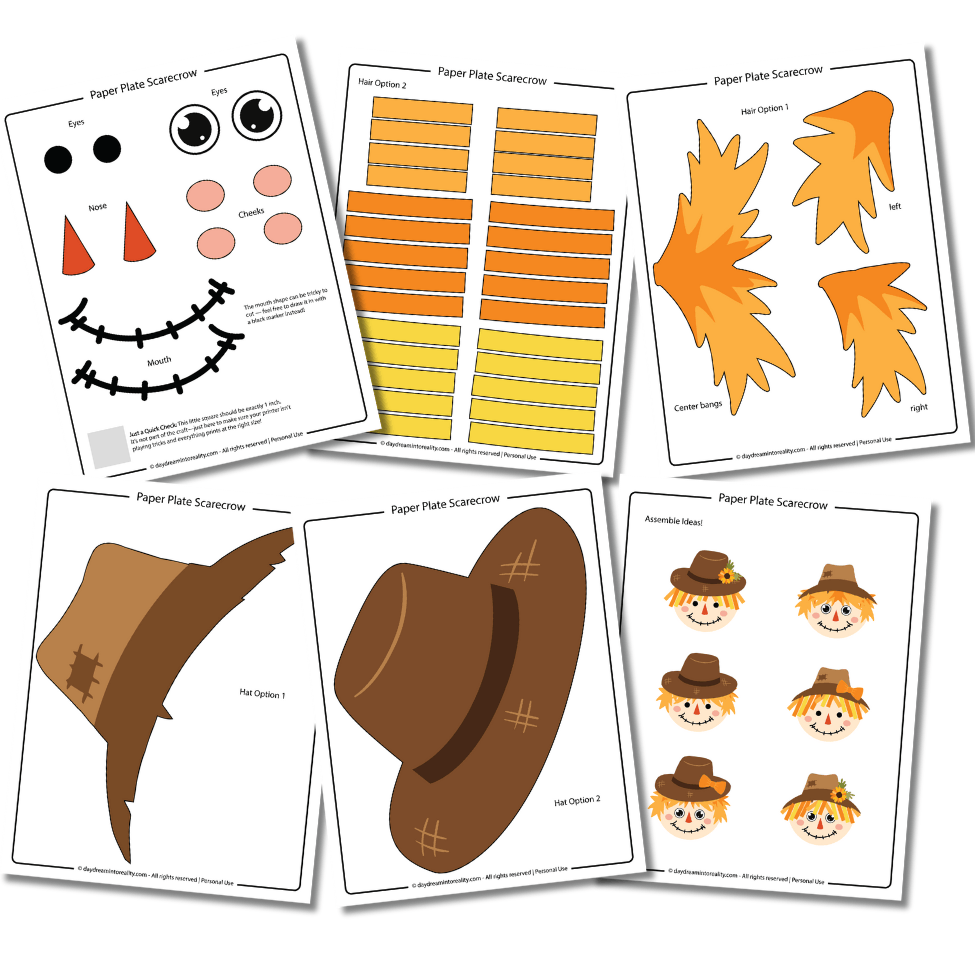
The free template includes two types of hats and two types of hair (straight and jagged), plus decorations so kids can personalize their scarecrow.
You’ll also get a ready-to-color version and a pre-colored version. No subscription needed—download and craft.
Related: Paper Plate Acorn Craft
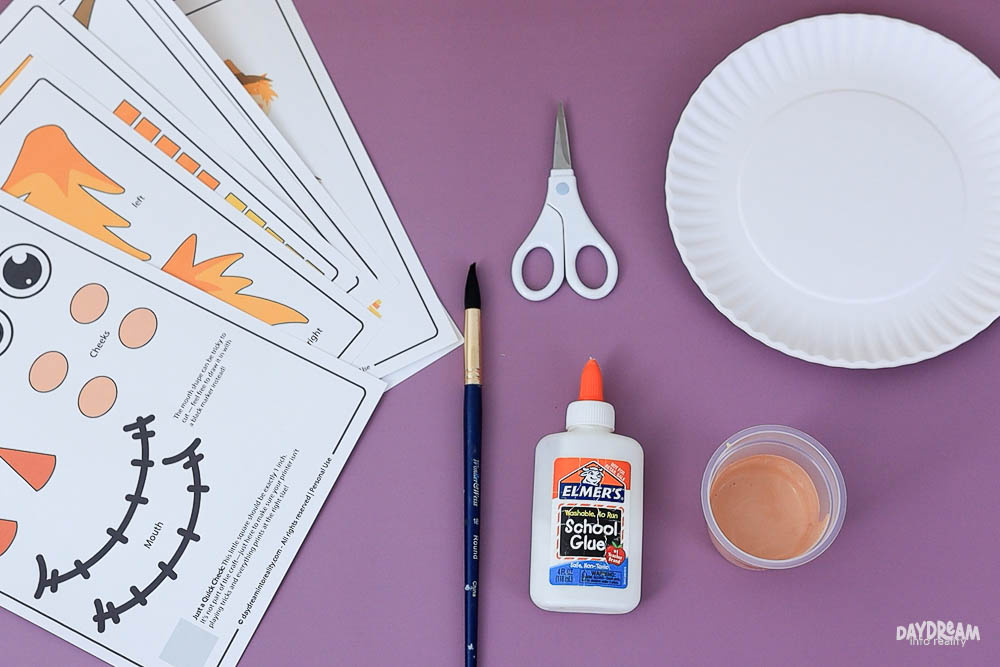
Tools & Materials
- Printer
- Template (download at the end of the article – no subscription required)
- 9-inch paper plate
- Scissors
- White cardstock
- Skin-tone paint (or mix your own with white, brown, yellow, and red)
- Black marker (optional)
- Glue
- Crayons or markers (optional)
Super tip: No paper plates? Use white cardstock cut into 9-inch circles.
Step 1 – Print Paper Plate Scarecrow Template
Look through the template and only print the pages you need. For a longer activity, print the coloring version so kids can decorate before assembling.
For this tutorial, I used the pre-colored version.
Step 2 – Paint the Paper Plate
Paint the paper plate before cutting so it’s dry and ready to go. If you don’t have skin-tone paint, you can mix your own:
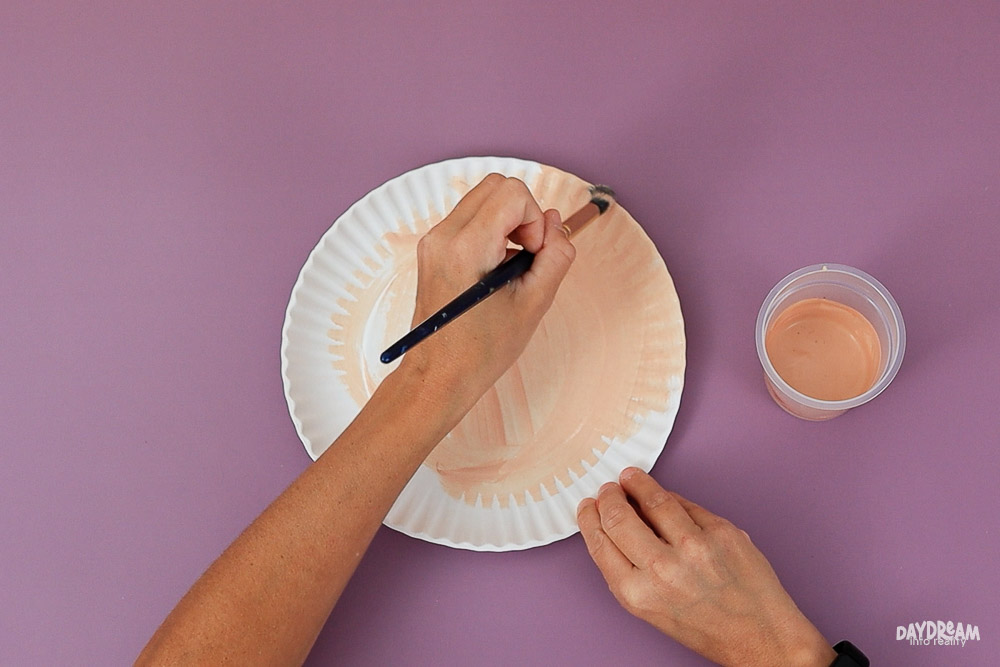
- 4 teaspoons white paint
- 1 teaspoon brown paint
- ½ teaspoon yellow paint
- 3 drops of red paint
Depending on the hues of your paint, you may need to modify the quantities; do one drop at a time!
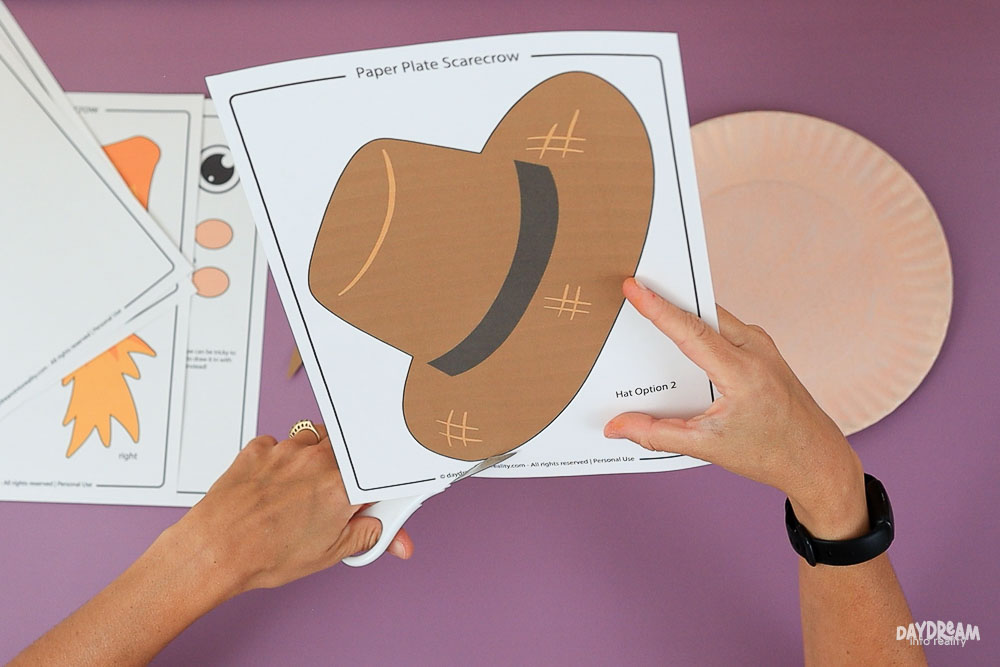
Step 3 – Snip, Snip, Snip!
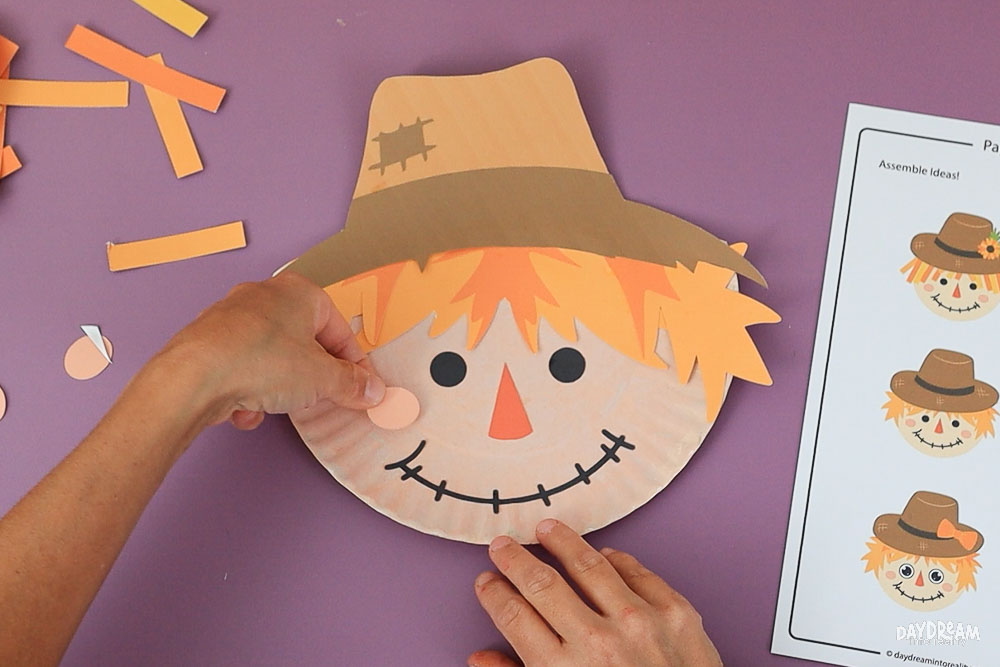
Cut out all the template pieces. You’ll find different sets of eyes to choose from. The mouth can be tricky to cut, so if you prefer, draw it with a black marker instead (this is also a fun step for the kids to try).
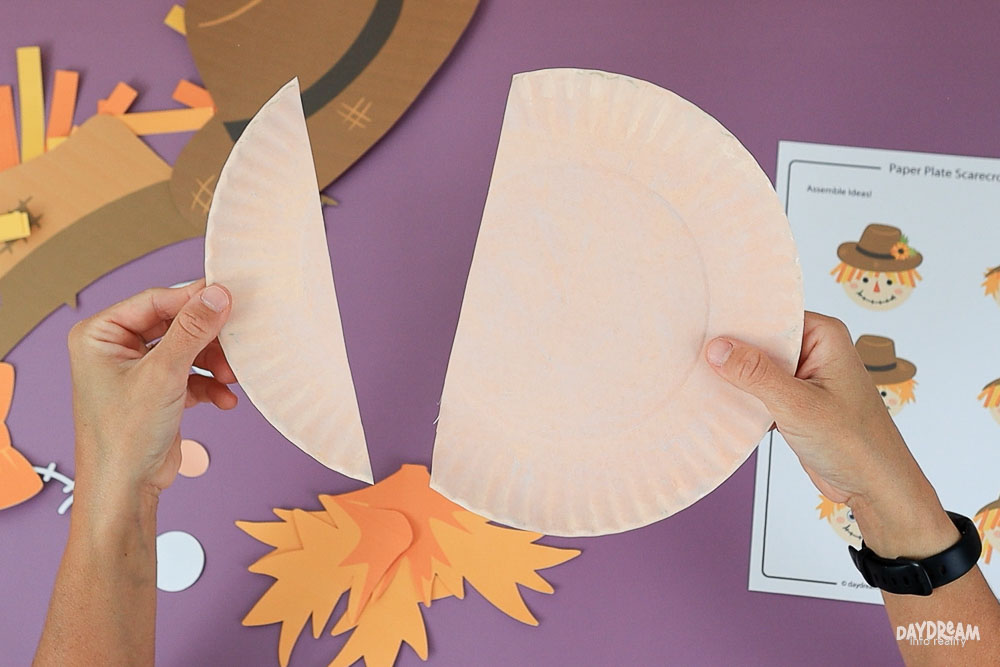
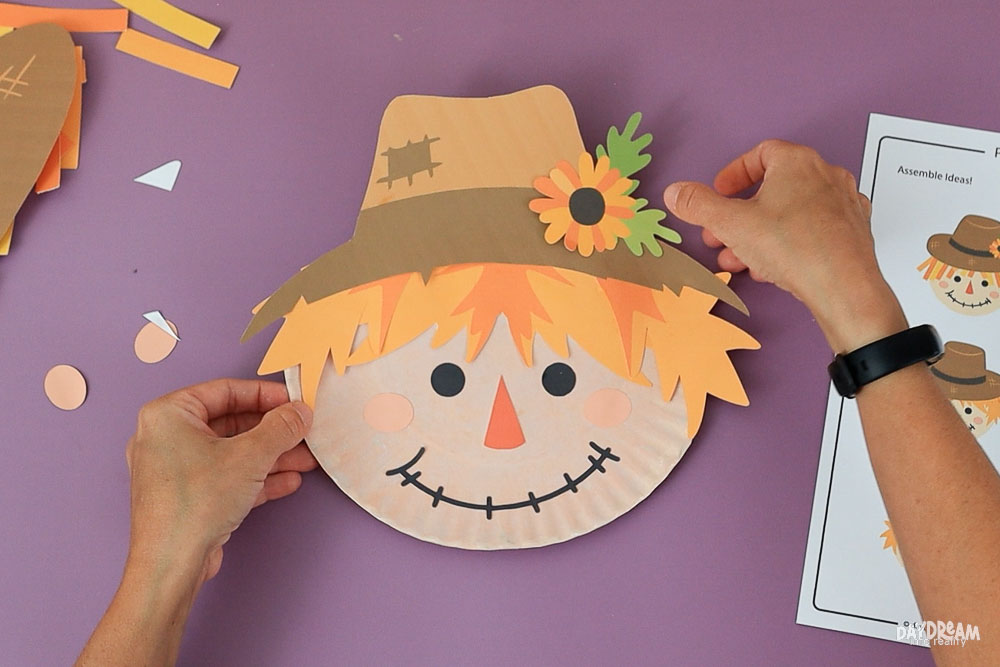
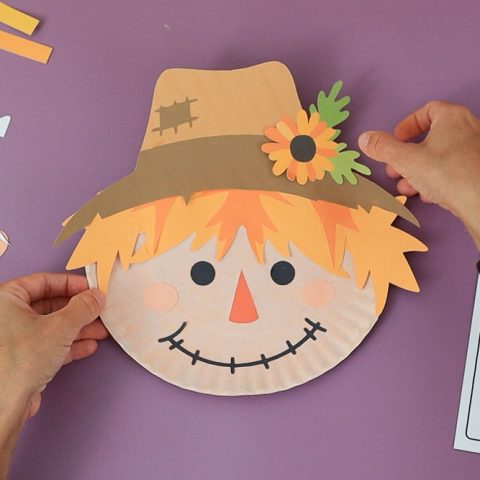
Step 4 – Assemble Scarecrow
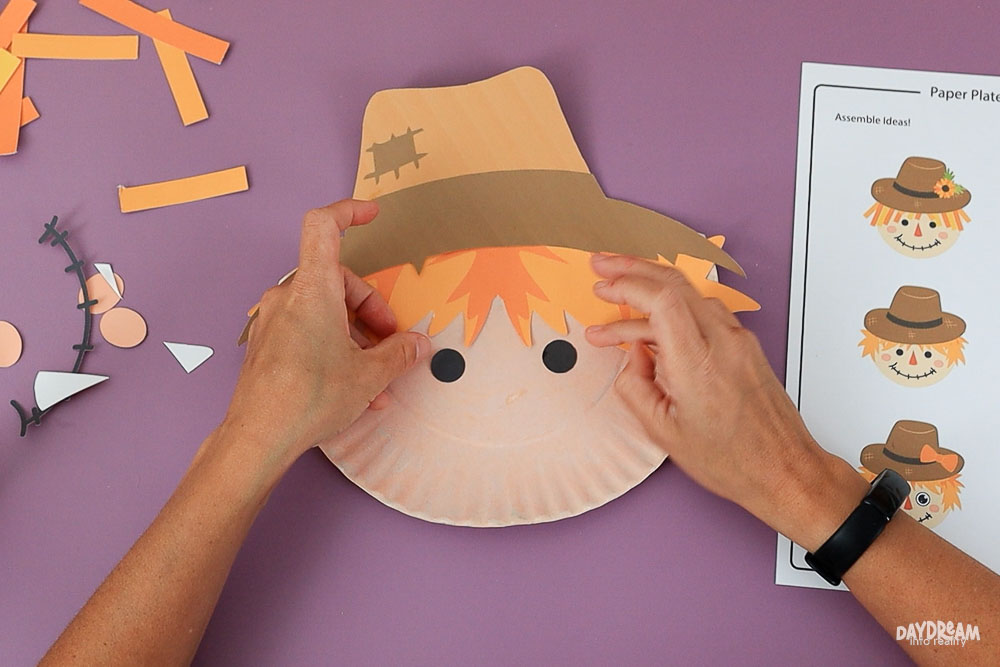
First, measure (or just eyeball) 6.5 inches from the top of the paper plate and cut a straight line. This helps the hat fit neatly.
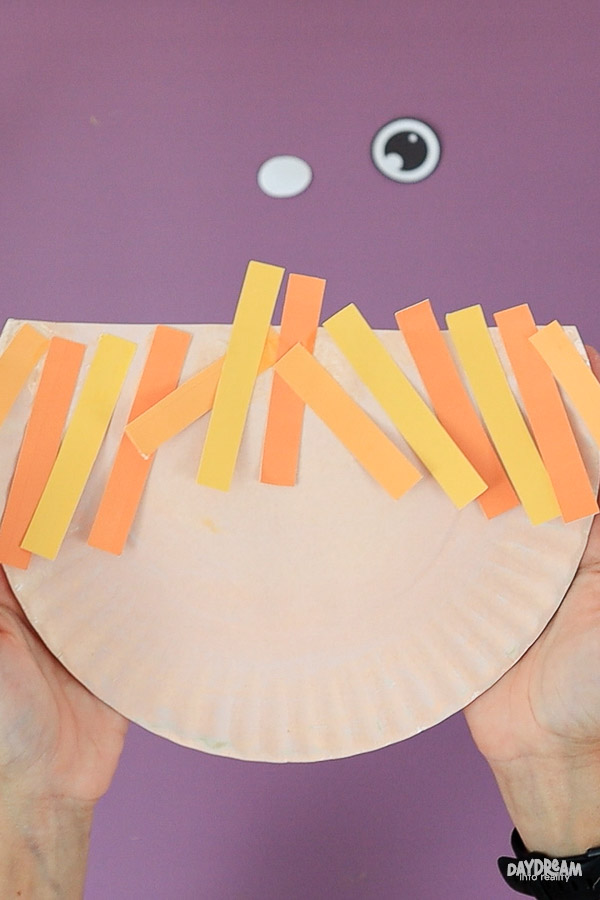
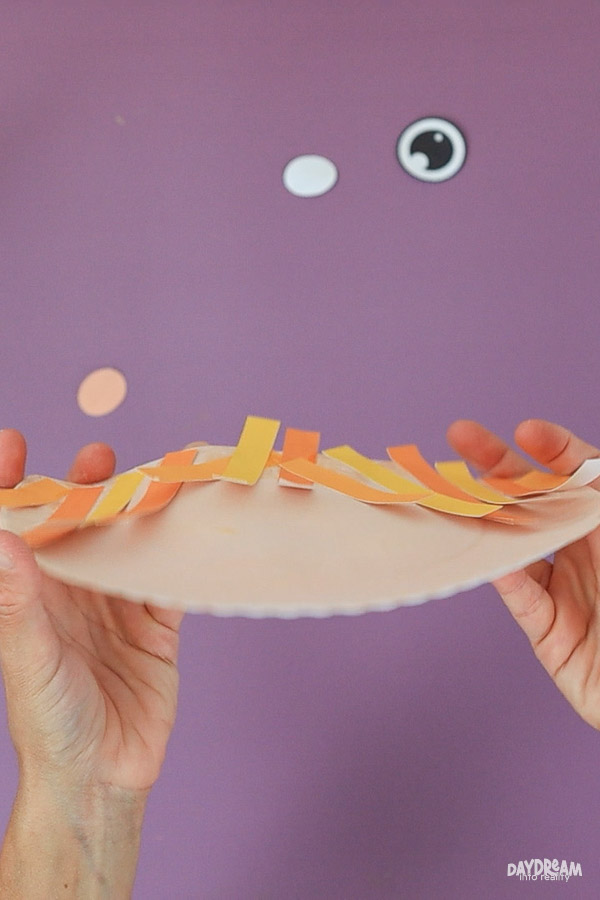
Glue the hair – In this tutorial, I used the jagged hair, but you can also use the straight style.
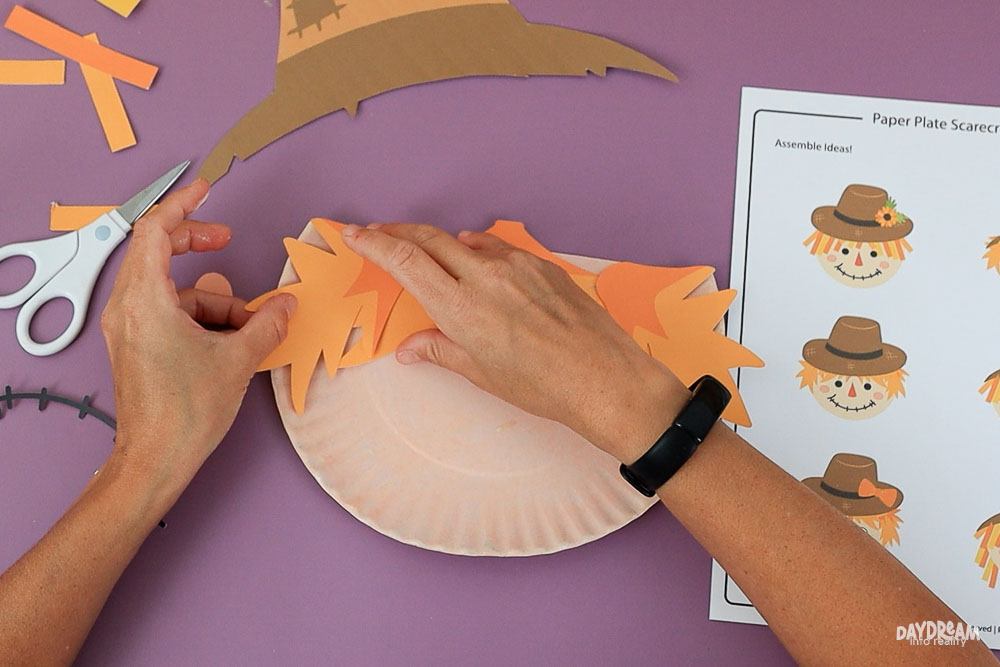
If using straight hair, don’t glue it all the way down—leave the ends loose for a fun 3D look.
Glue the hat – Trim off any extra hair or paper plate that sticks out.
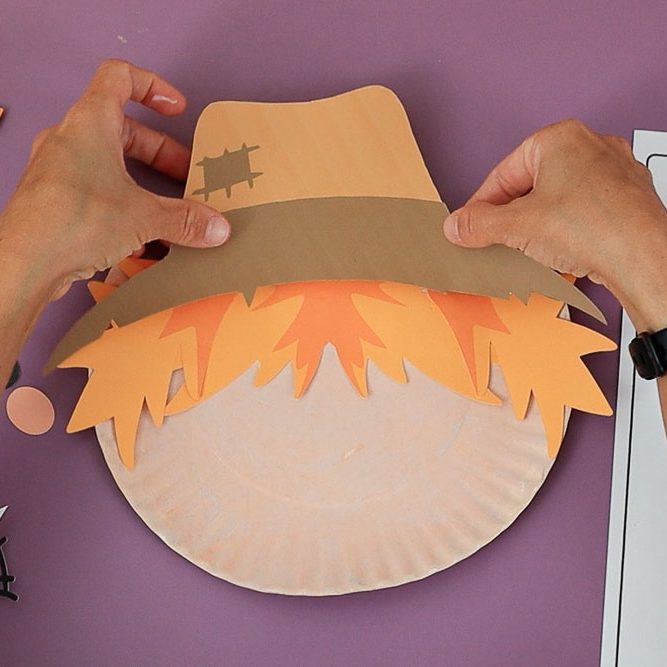
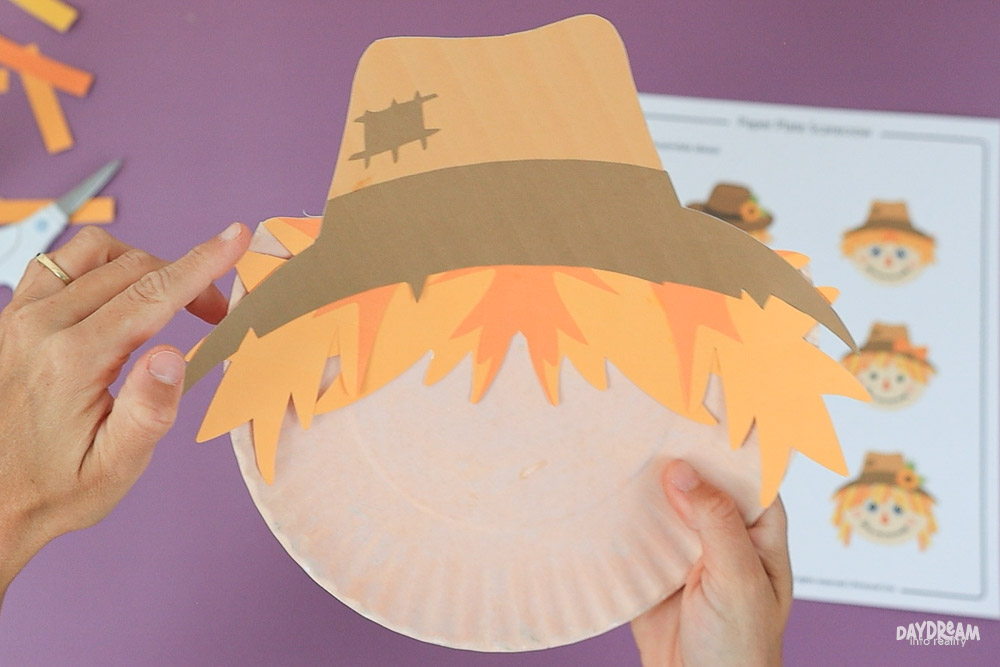
Glue the eyes, nose, cheeks, and mouth – or draw the mouth with a marker.
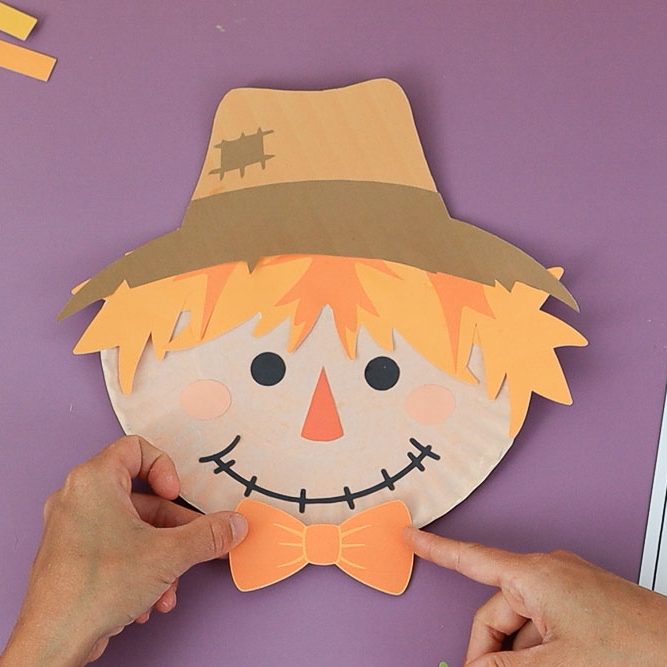
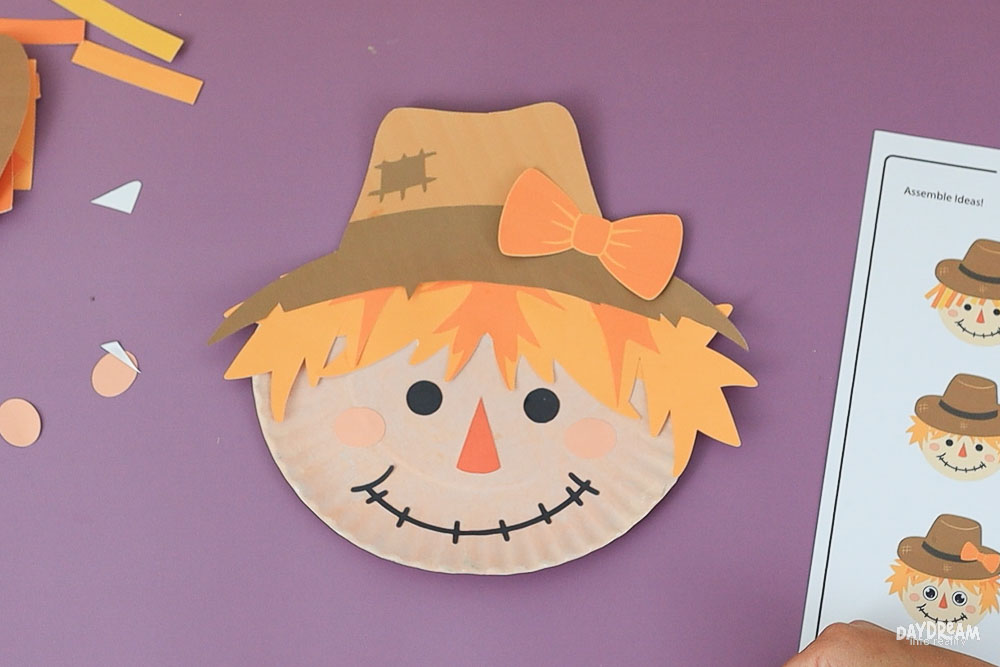
Add decorations – Choose between the flower or the bow. The bow can also be used as a bow tie for a different look.
Mini Paper Plate Scarecrow
The mini scarecrow looks adorable on bulletin boards, as part of a classroom display, or even as a fun tabletop decoration.
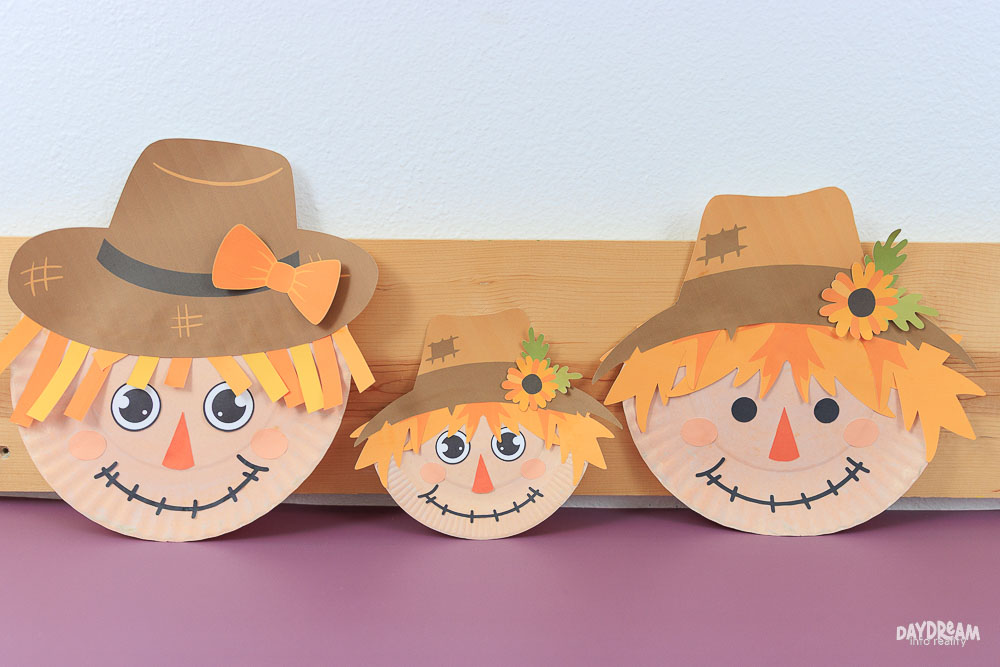
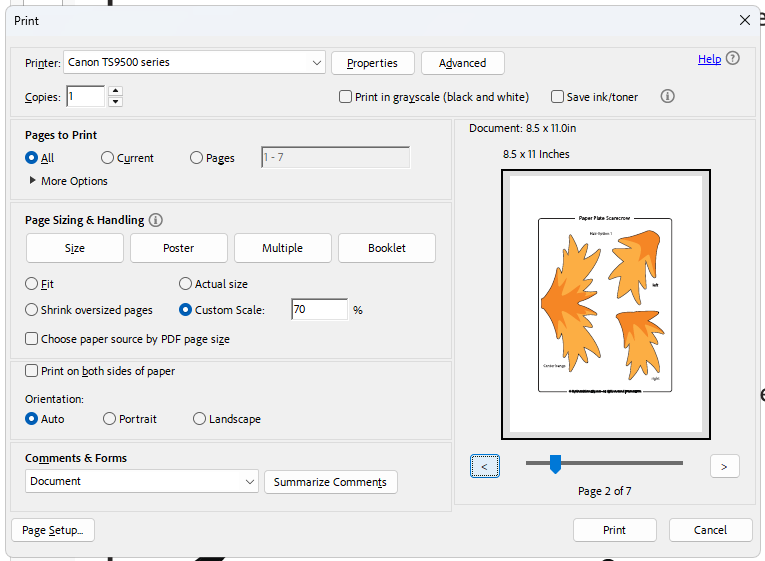
Want to make a smaller version? Use a 6-inch paper plate and scale the printable to 70%.
Because the pieces are smaller, it can be a little trickier to cut—older kids might enjoy the challenge, but younger crafters may need some extra help.
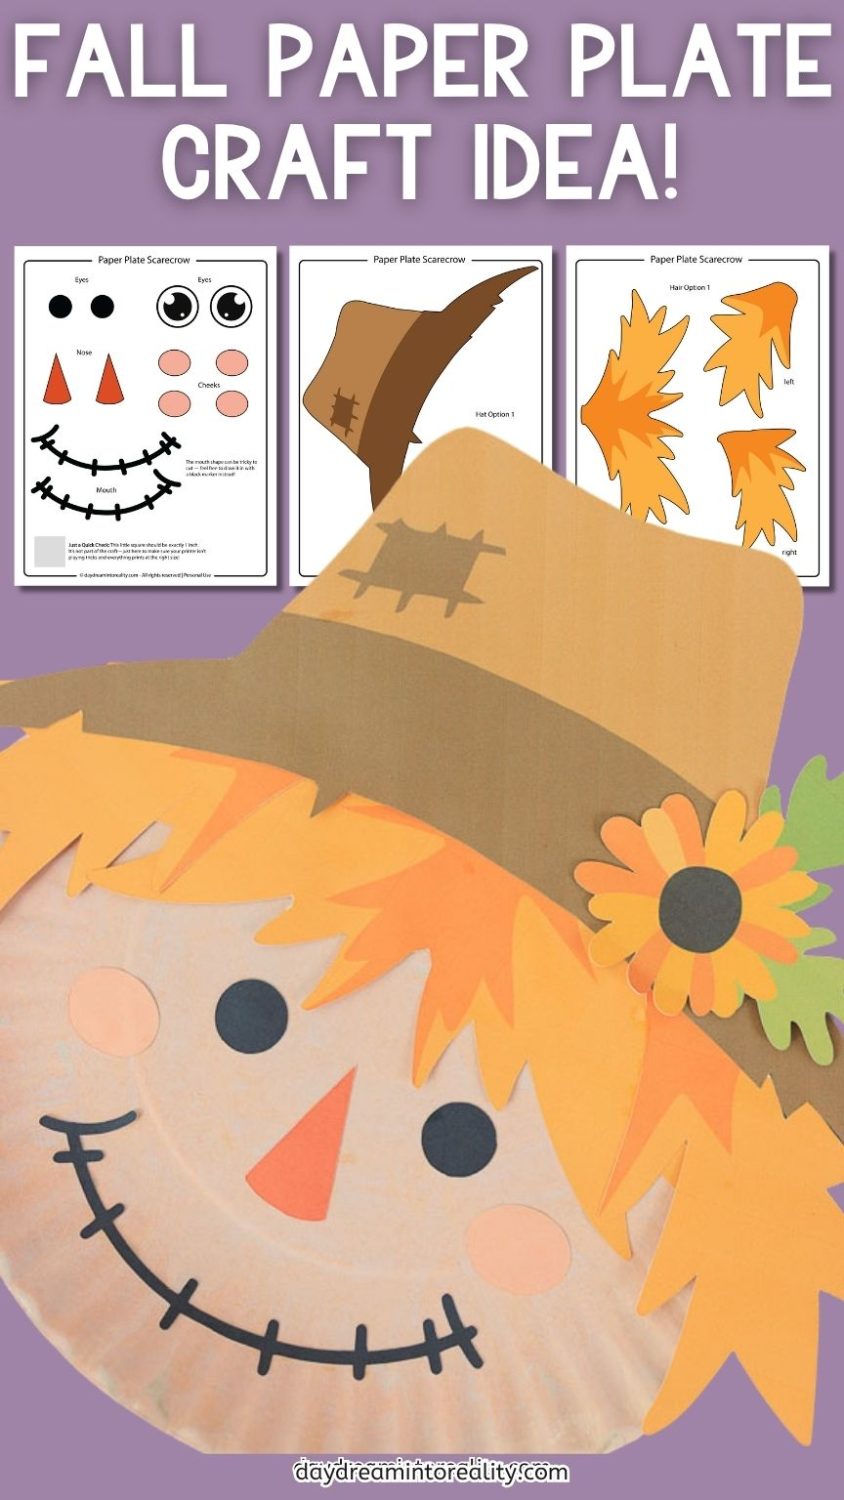
Download the Free Template
Click the image to open in a new tab or the yellow button below to download your scarecrow template to your computer.

Paper Plate Scarecrow Craft For Kids | Free PDF Template!
Make a charming paper plate scarecrow with our free template! This easy fall harvest craft is perfect for toddlers, preschoolers, and kindergarteners, with both color and coloring page options. Kids can choose different hats, hair styles, and decorations—or even make a mini scarecrow for extra fun.
Materials
- 9-inch paper plate (or white cardstock circle)
- Free scarecrow template (download in post)
- White cardstock (for template pieces)
- Skin-tone paint (or mix white, brown, yellow, red)
- Crayons or markers (optional, for coloring version)
- Glue
Tools
- Printer
- Scissors
- Paintbrush
- Black marker (optional)
Instructions
- Print the scarecrow template. Choose the pre-colored version or the coloring page version.
Paint the paper plate skin tone before cutting so it’s dry when assembling. - Cut out the template pieces, including hat, hair, eyes, nose, cheeks, and optional mouth.
- Measure about 6.5 inches from the top of the plate and cut a straight line.
- Glue the hair to the plate (straight or jagged style), then glue on the hat. Trim any excess.
- Add eyes, nose, cheeks, and mouth (or draw the mouth with a marker).
- Decorate with the bow or flower. The bow can also be used as a bow tie.
- Optional: Create a mini scarecrow using a 6-inch paper plate and scale the template to 70%. *
Notes
*Smaller pieces may be trickier to cut, so this is best for older kids.
You May Also Like…
I hope you had a blast making your scarecrow! They’re so fun to customize—no two will ever look the same. Maybe yours has a big sunny smile, wiggly hair, or a fancy bow tie.
Remember that craft time is the perfect time to chat. Ask your child what their scarecrow’s name is, what it likes to do on the farm, or what it’s “scaring” away in the garden. The sillier the answers, the better!
- Paper Plate Pumpkin Craft For Kids
- Fall Paper Plate Tree Craft for Kids
- Thanksgiving Dinner Paper Plate Craft
- 30+ Amazingly Fun Fall Crafts & Activities For Kids