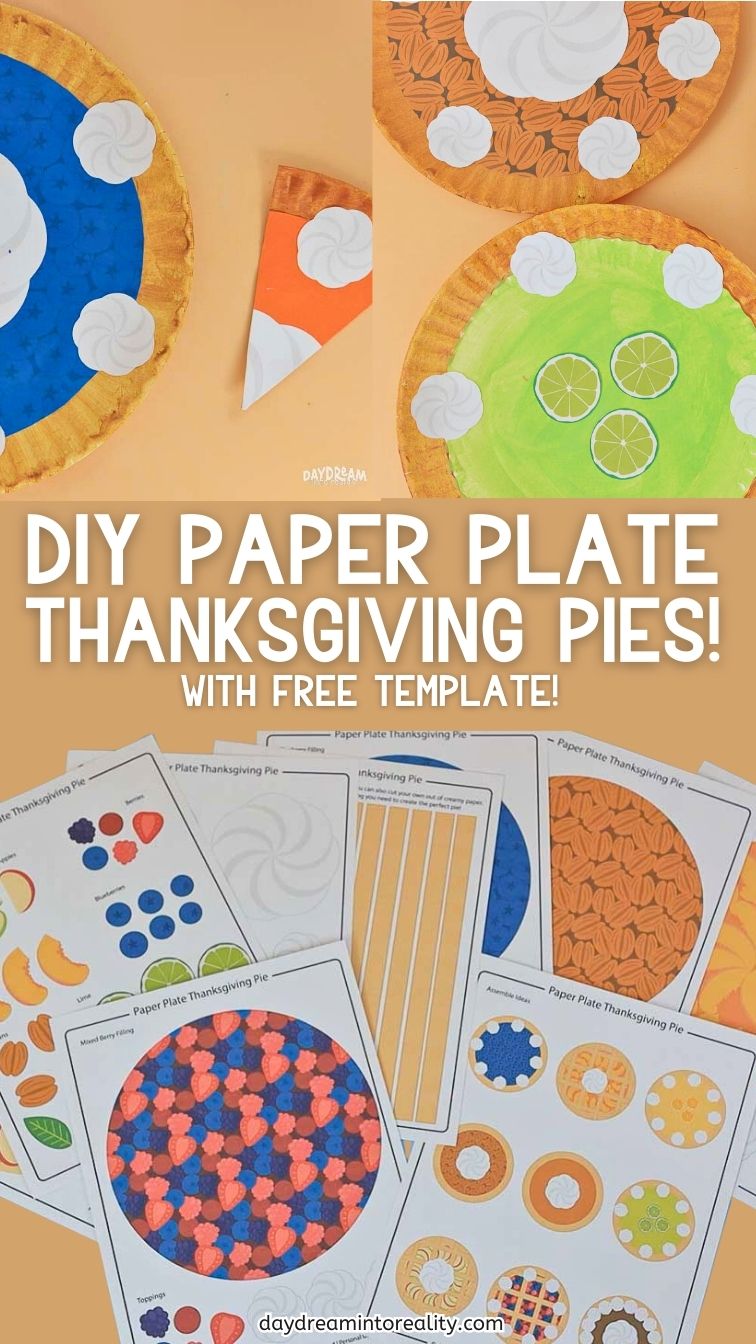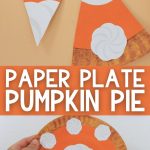

Nothing says Thanksgiving like a table full of pies — and now kids can make their own (without the sticky dishes). This paper plate Thanksgiving pies craft is easy, fun, and low-mess, with plenty of options so every child can “bake” their favorite flavor.
From pumpkin to apple, blueberry to pecan, or even key lime and French silk, there’s a slice for everyone.
This craft is perfect for preschoolers, kindergarteners, and early elementary kids. It’s simple to cut, fun to paint, and a sweet way to get into the holiday spirit.
Toddlers can also enjoy a simplified version of this craft — skip the lattice and detailed cutting, and let them focus on painting and gluing the big pieces.
Heads Up: This craft may cause sudden cravings for pie and an uncontrollable urge to preheat the oven!!

Related: Paper Plate Thanksgiving Dinner Craft!
Tools & Materials
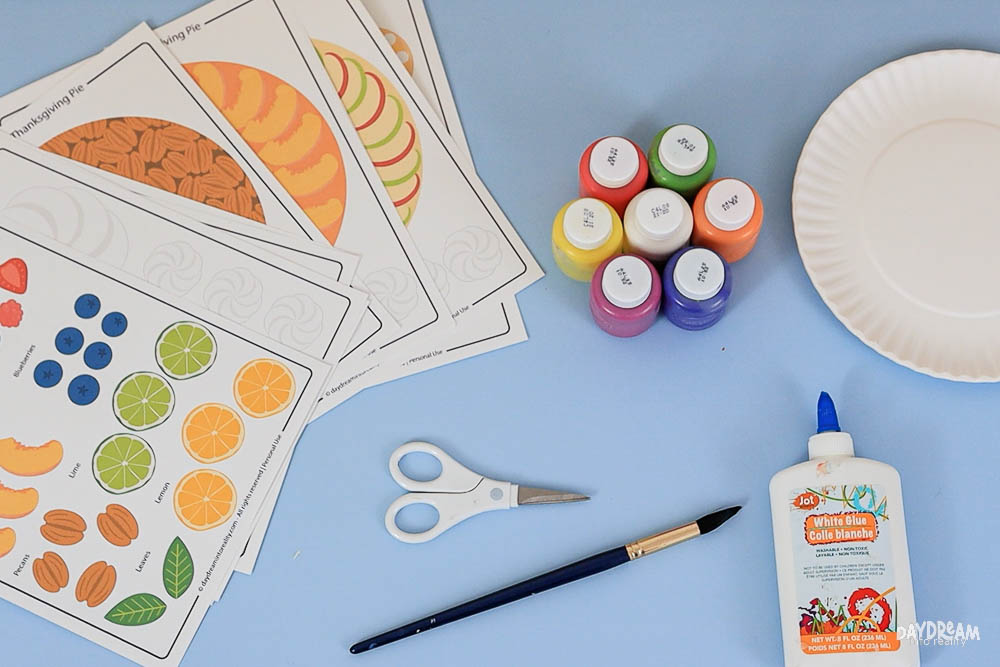
- Printer
- Template (download at the end of the article – no subscription required)
- 9-inch paper plates
- Scissors
- White cardstock
- Royal purple, mustard yellow, and white paint (for pie crust color)
- Different colors of paint or cardstock for your favorite pie flavor (optional)
- Brown cardstock for pie lattice (optional)
- Colors or markers (optional)
Super tip: No paper plates? Use white cardstock cut into 9-inch circles.
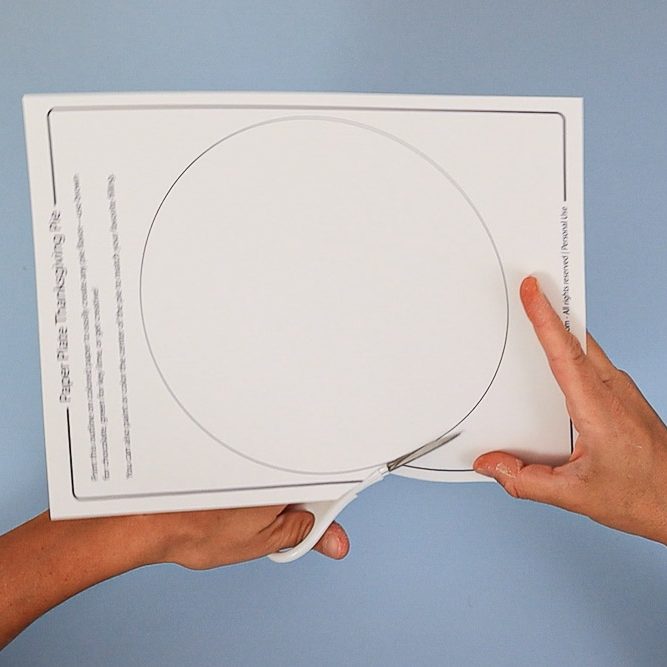
Step 1 – Print the Paper Plate Pie Template
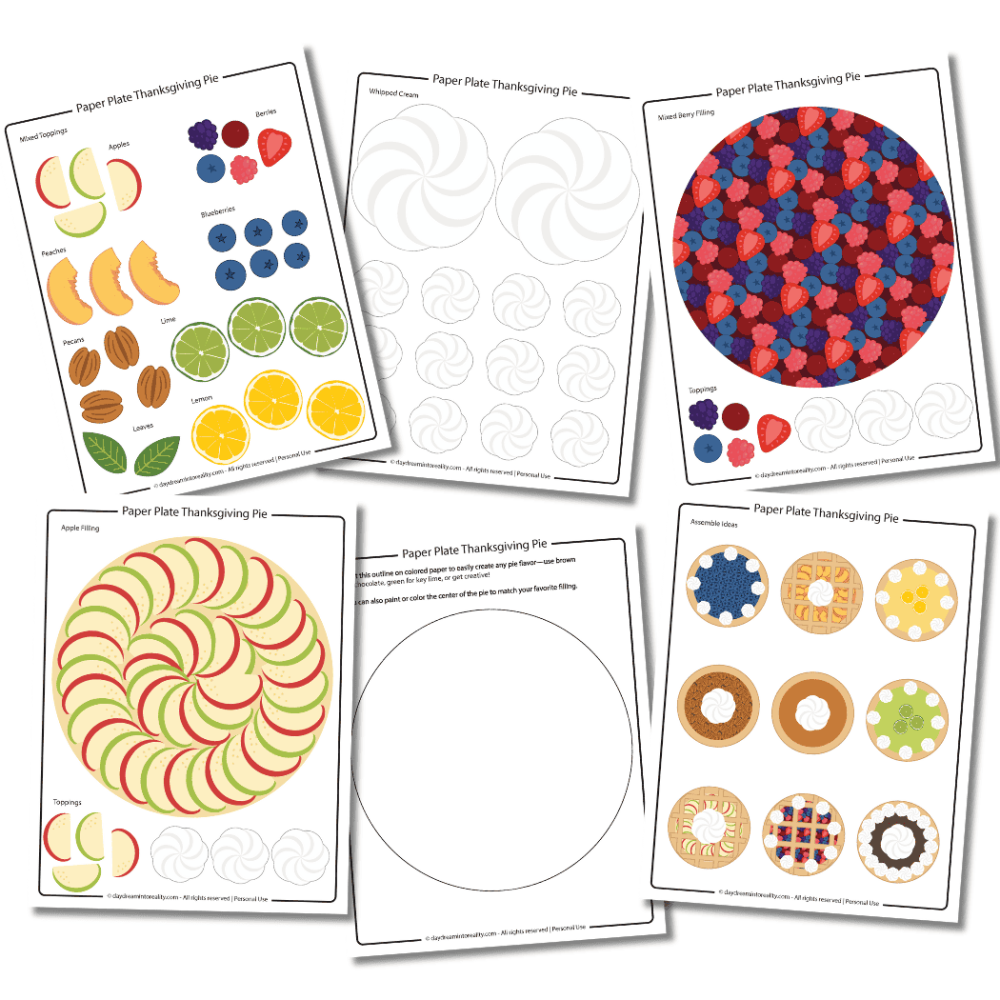
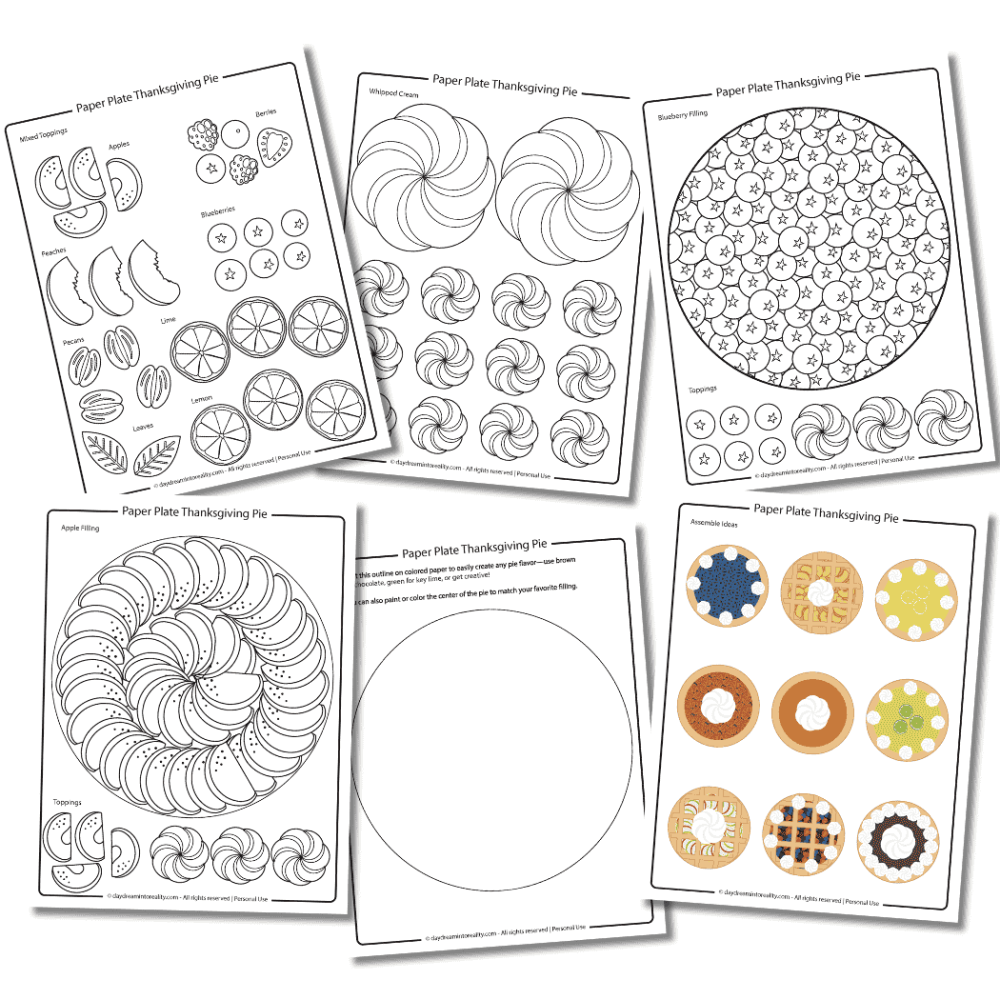
This template offers a variety of options, so before printing, review the pages to decide what you want to use. There’s also a coloring version if you want to make this a longer project. For a quick, low-mess activity, print one of the ready-made fillings.
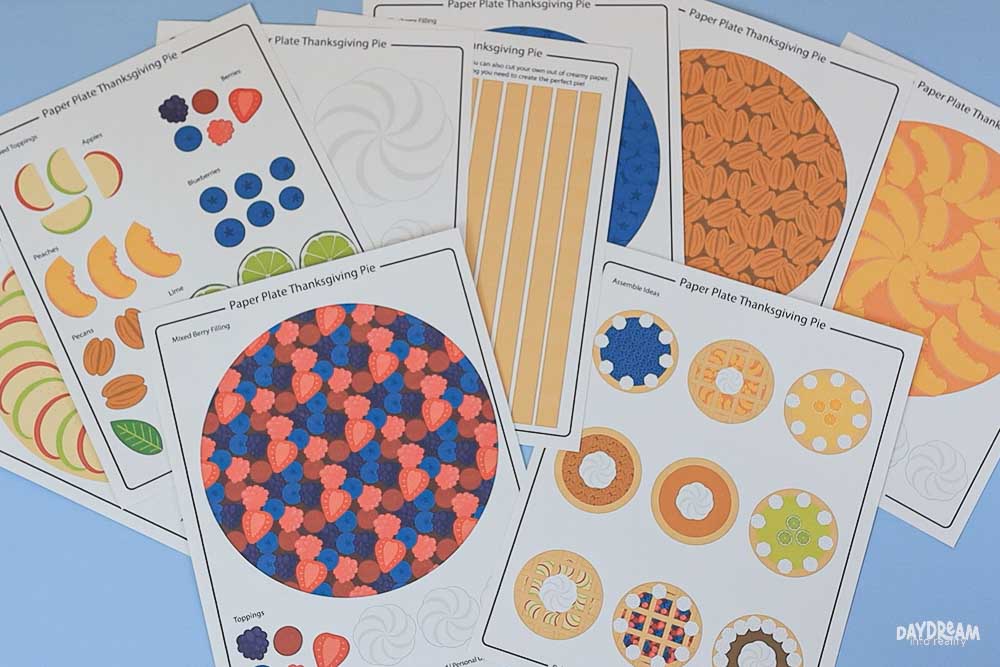
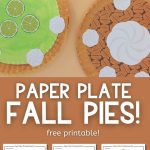
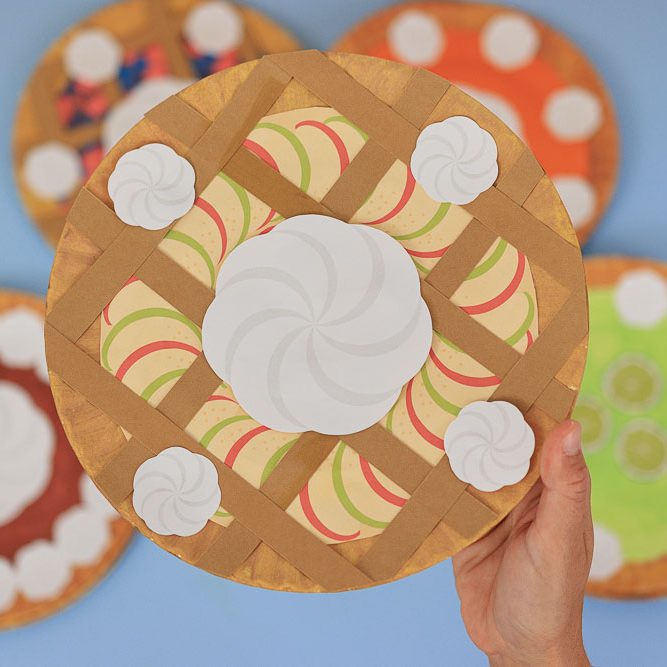
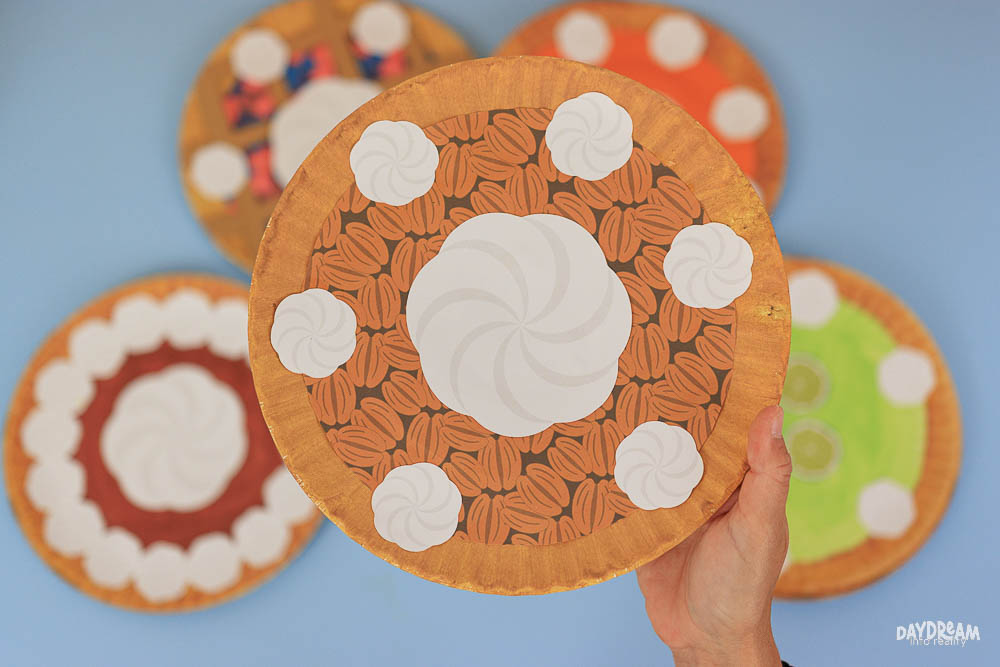
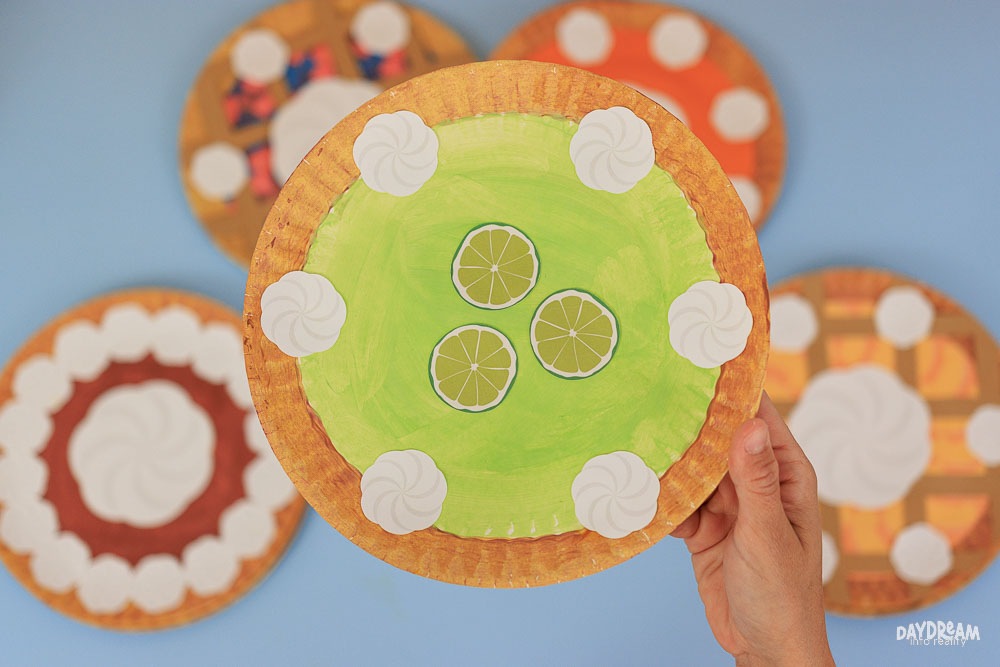
Fillings include: pecan, mixed berries, blueberry, apple, peaches, and a blank page you can print on your favorite pie color or trace onto a paper plate (orange for pumpkin, brown for chocolate, green for key lime, etc.).
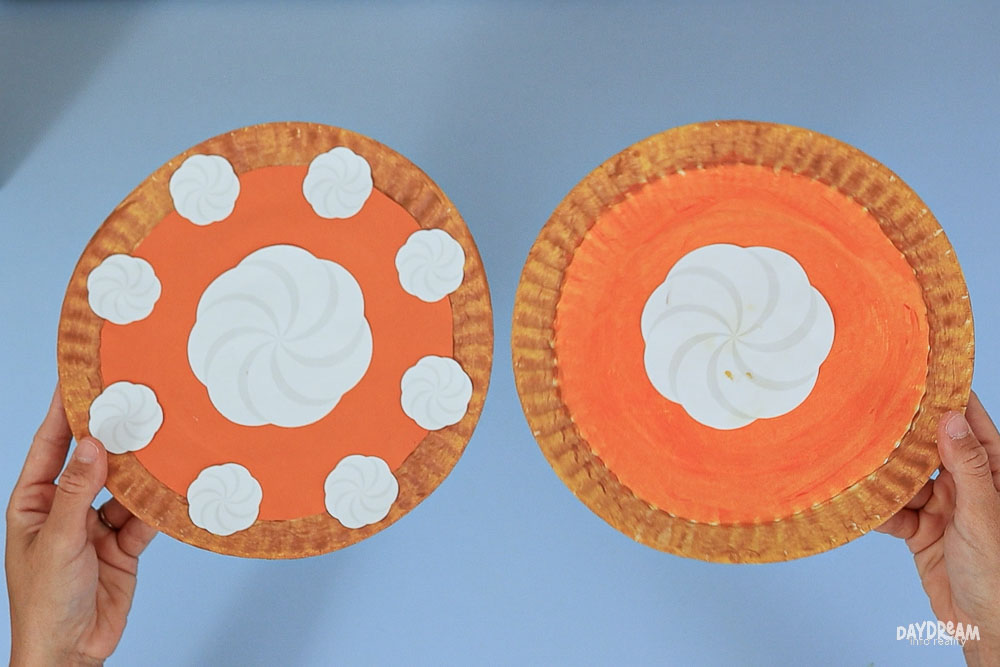
For this tutorial, I’m using the blank pie filling page to make the most traditional Thanksgiving pie — pumpkin — along with the whipped cream pages. Later on, I’ll share tips for making a pie lattice.
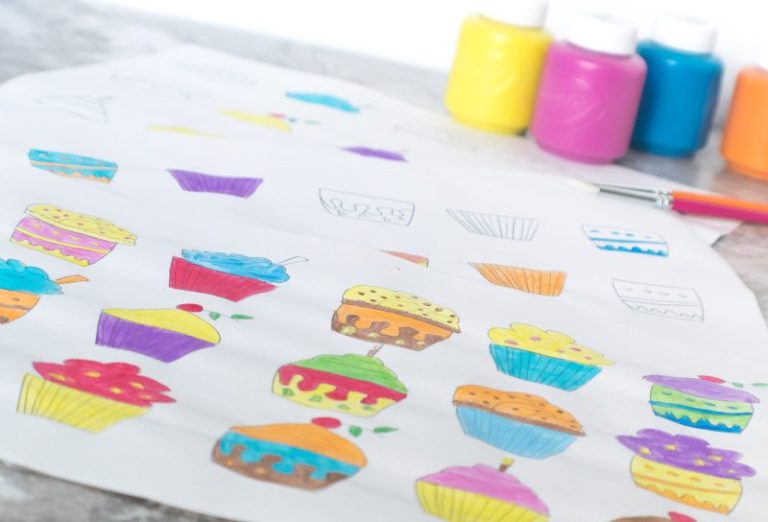
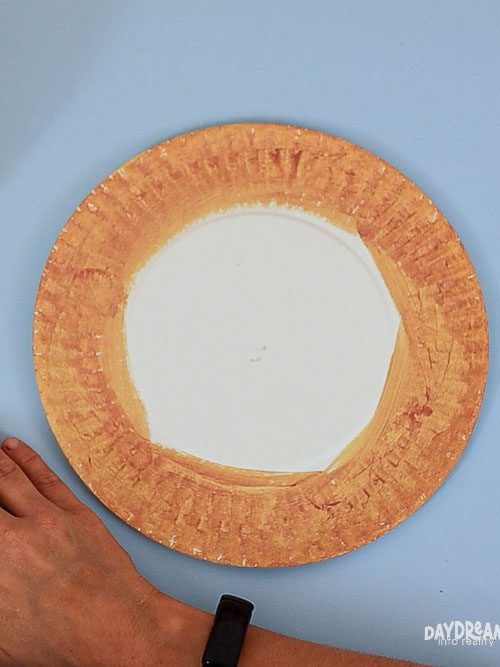
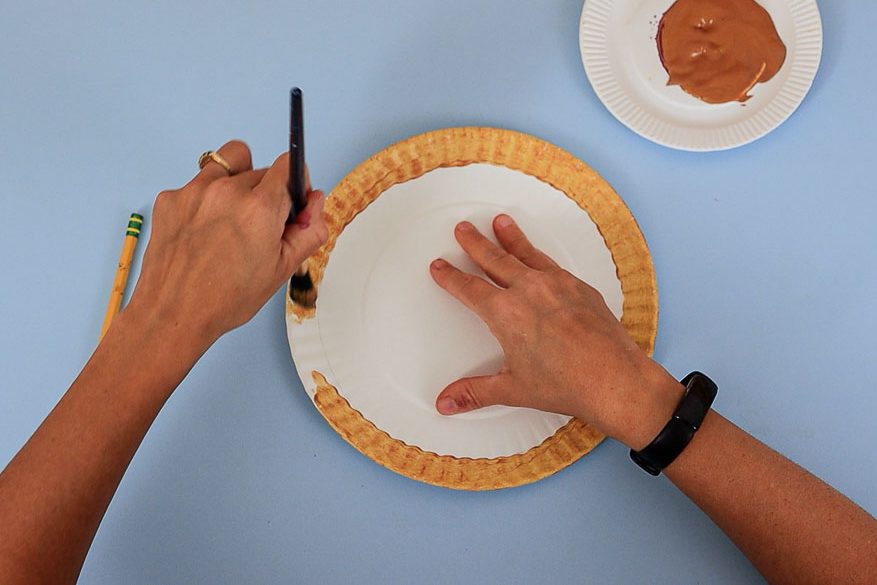
Step 2 – Paint
Paint before you cut so the pieces are dry when you’re ready to assemble.
For the crust color, I used:
- 2 teaspoons royal purple
- 2 teaspoons mustard yellow
- ½ teaspoon white (or more if you want a lighter crust)
Mix thoroughly so you don’t get purple streaks.
Note: You can also use brown and add a little yellow at a time to add that golden undertone, followed by white to make the crust brighter.
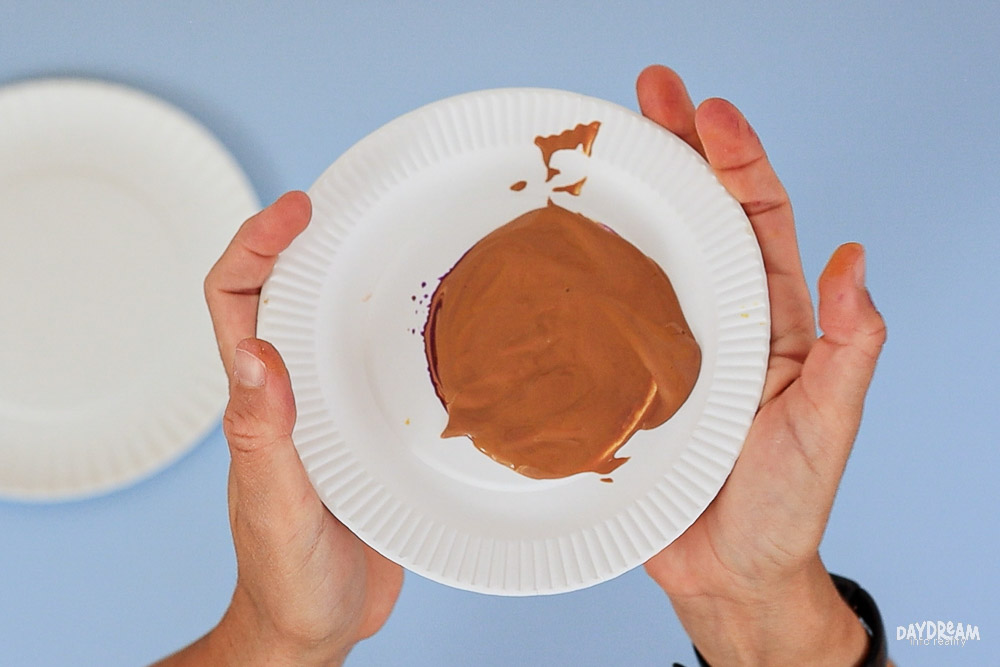
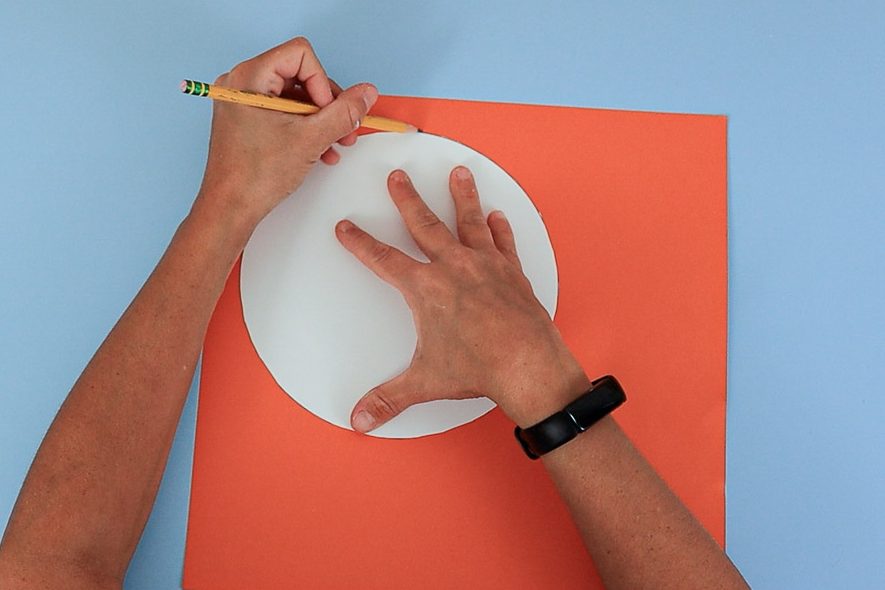
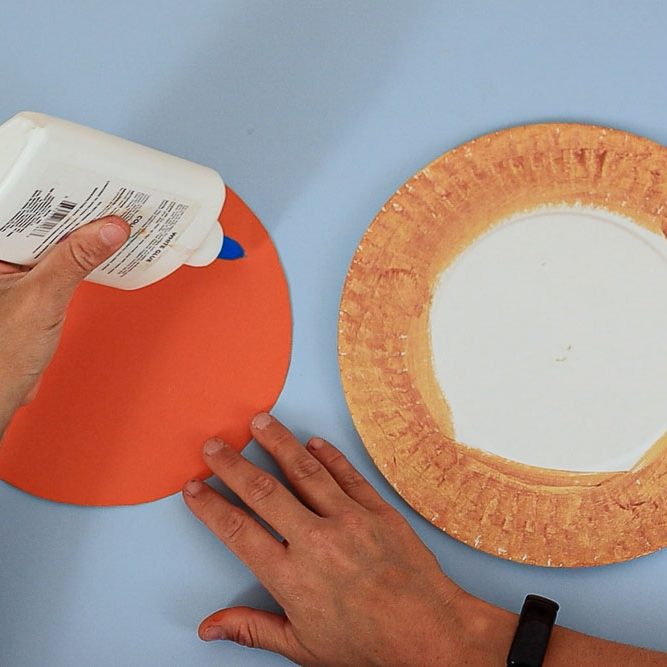
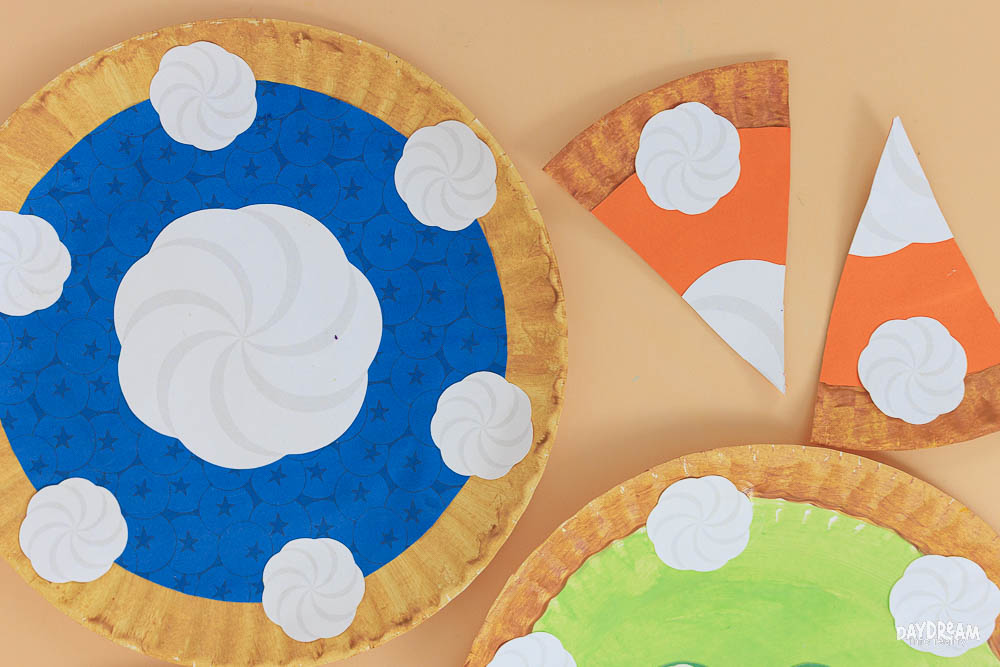
You can also paint the pie filling to match your favorite flavor. Use the blank template, cut it out, and trace it on a paper plate. The outer edge becomes the crust, and the inside is the filling. If you’re gluing a filling piece on top, just paint the outer ring of the plate so you don’t end up with white gaps.
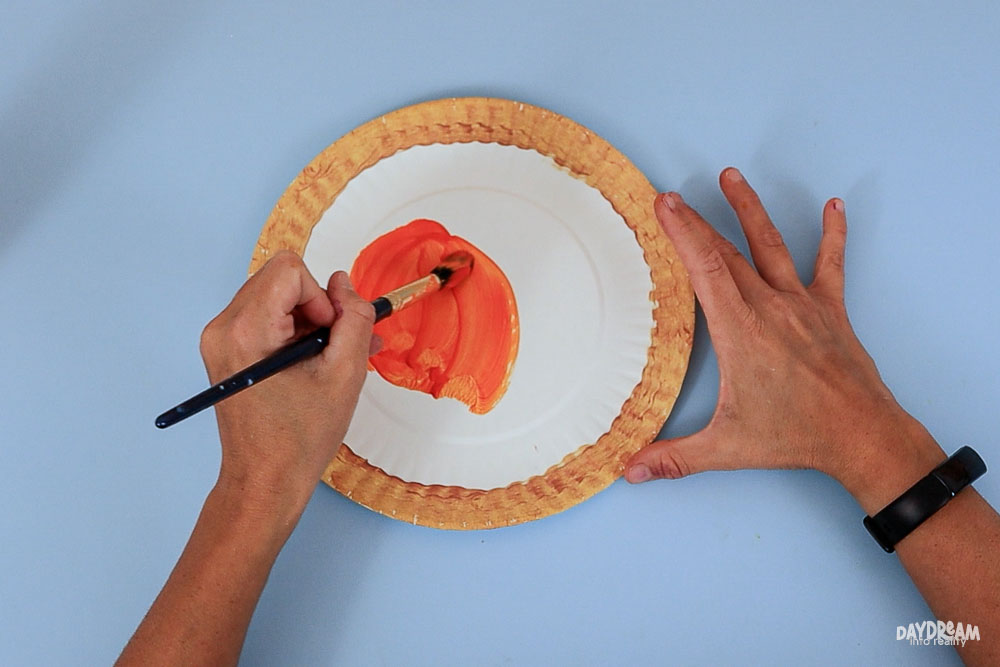
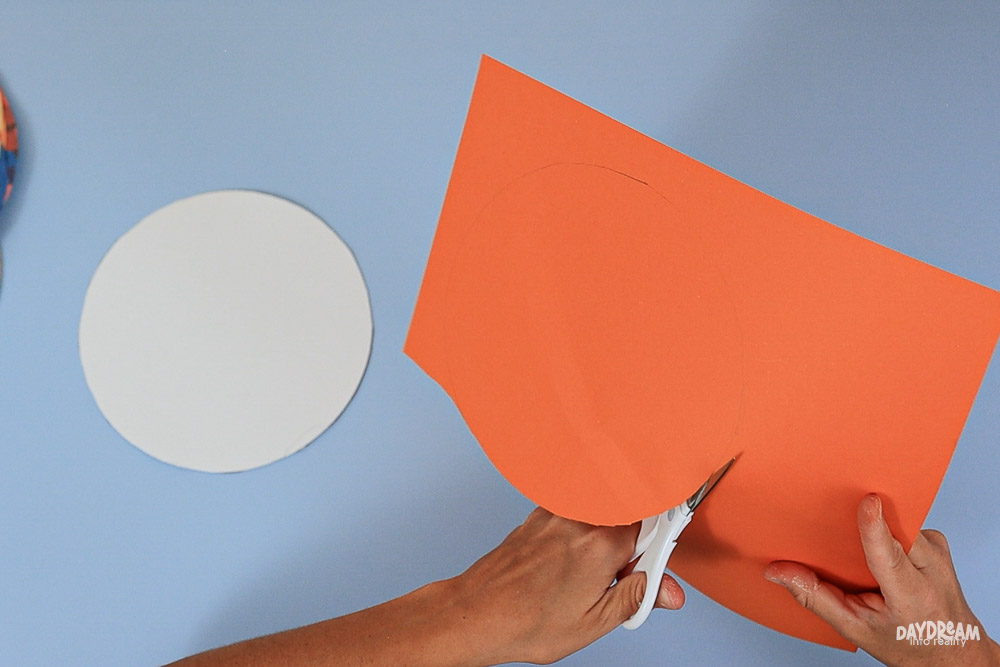
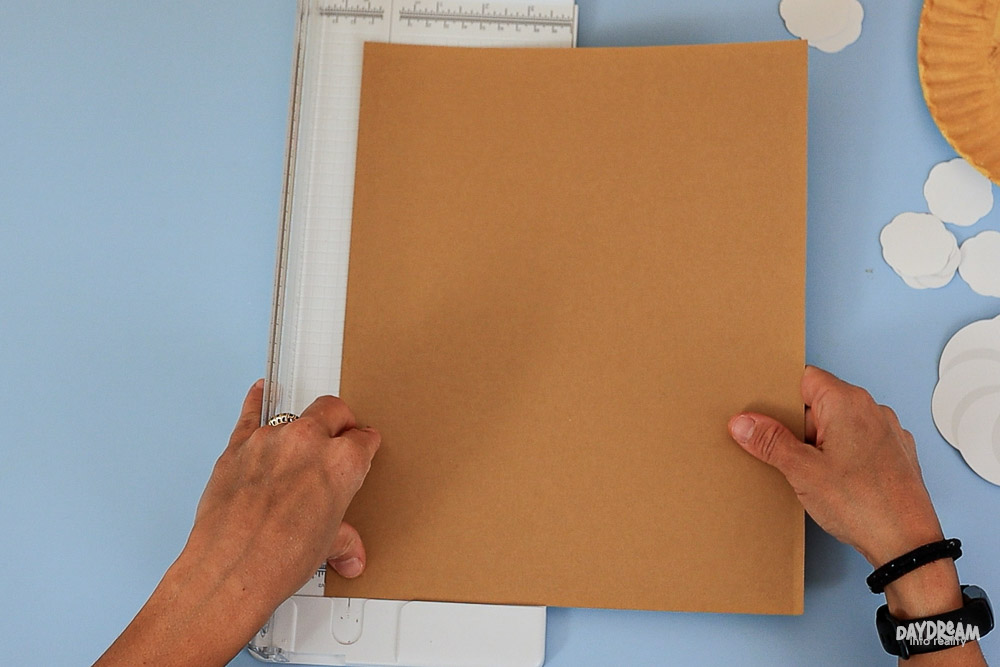
Step 3 – Cut, and Trace!
Cut out the template pieces you want. The “assemble ideas” page in the template is great for inspiration.
For the pumpkin pie in this tutorial, I cut the whipped cream, cut the blank pie page, traced it on orange cardstock, and cut again. You could also print directly onto orange cardstock to skip the tracing.
Step 5 – Time To Glue the Pie
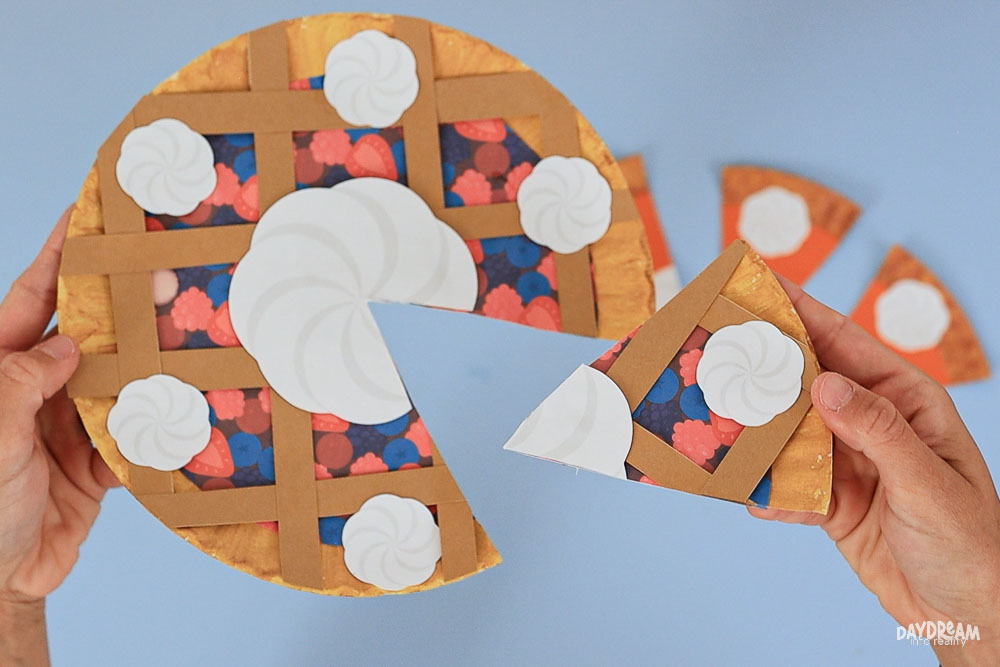
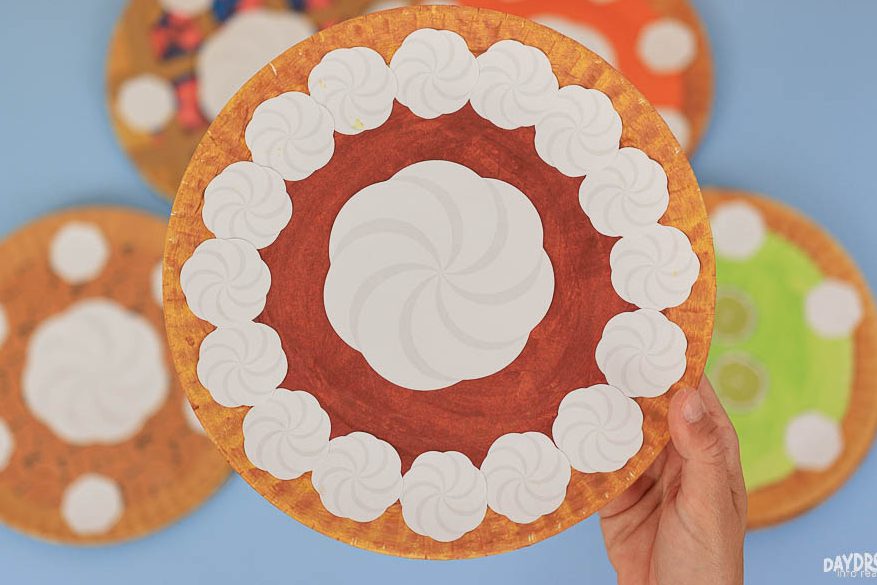
Glue the filling in the middle of the paper plate. Add as much whipped cream as you like — one big dollop or a whole ring around the edge.
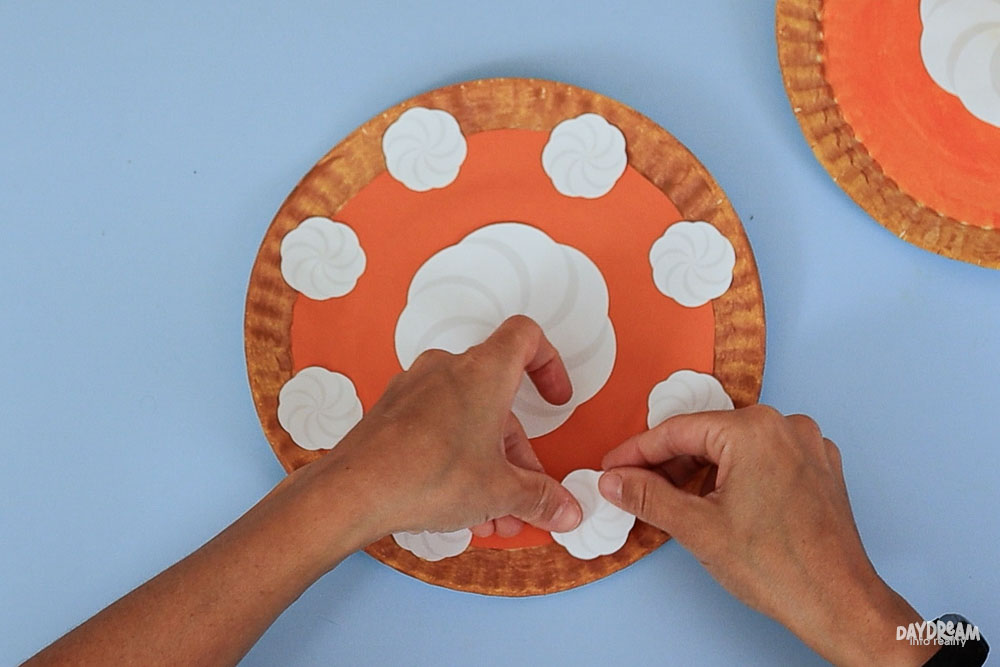
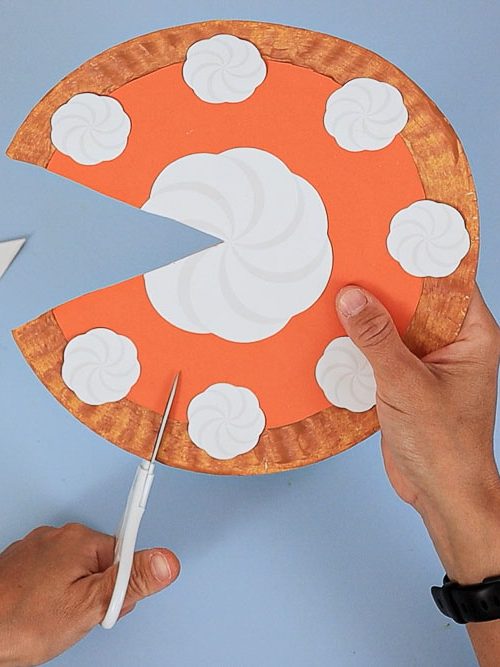
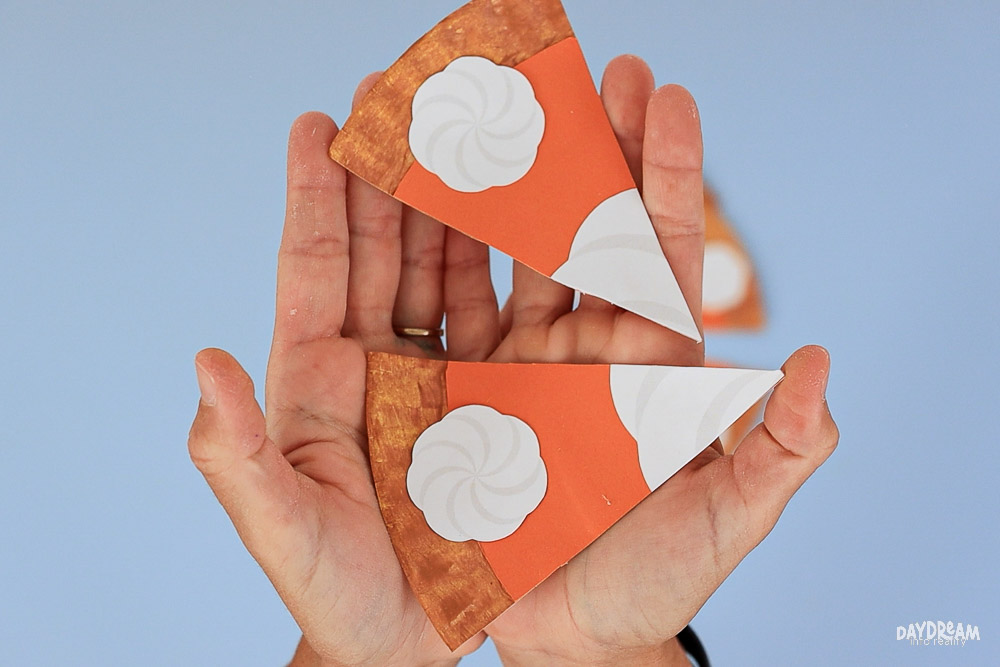
Once everything is glued, you can even have the kids cut the pie into slices for some pretend serving.
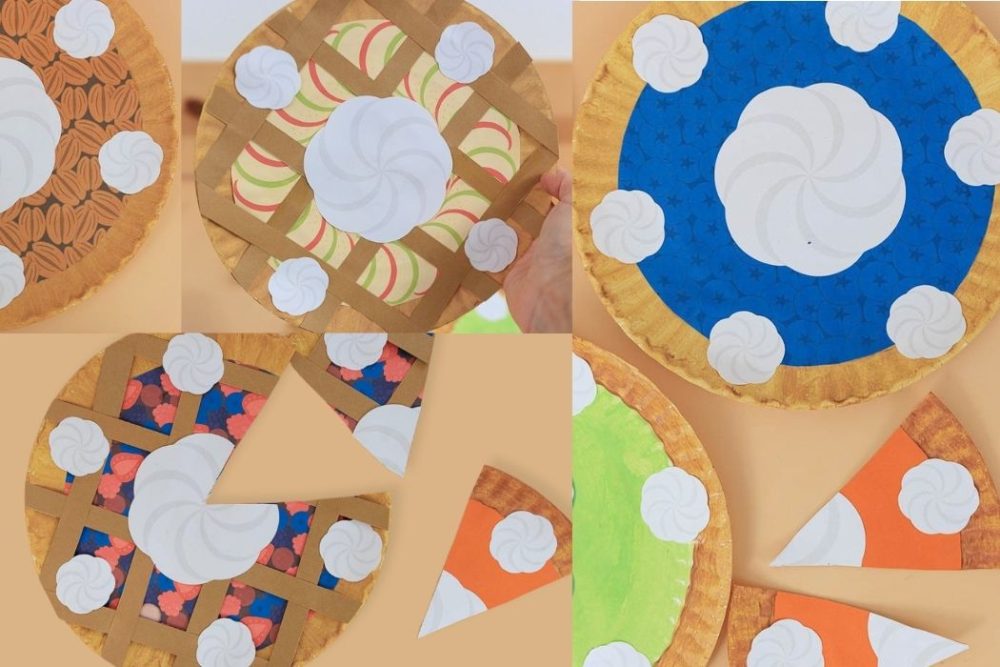
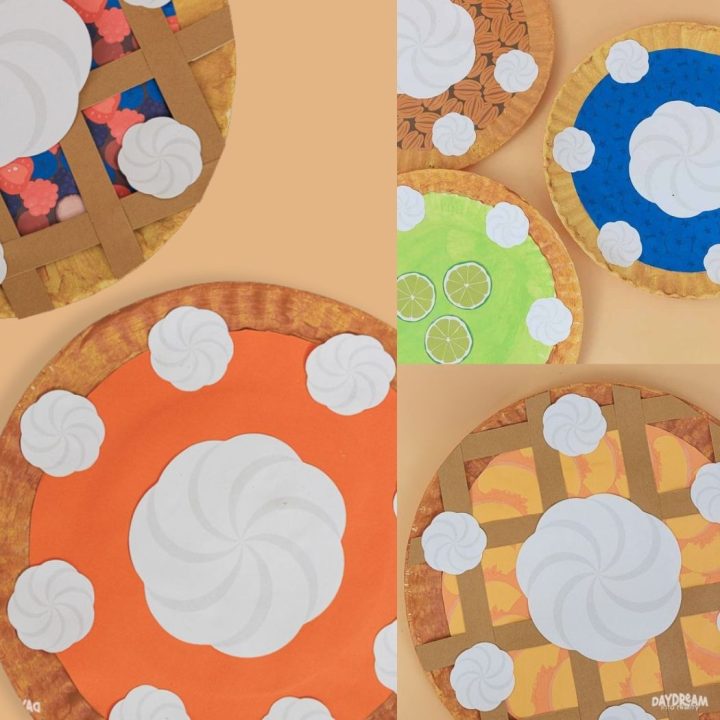
Make a Pie Lattice on Paper Plate Thanksgiving Pies!
If you want to add a lattice top, here’s how:
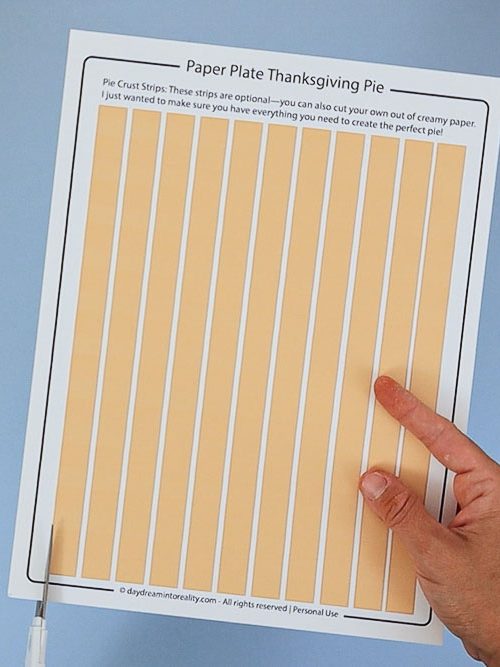
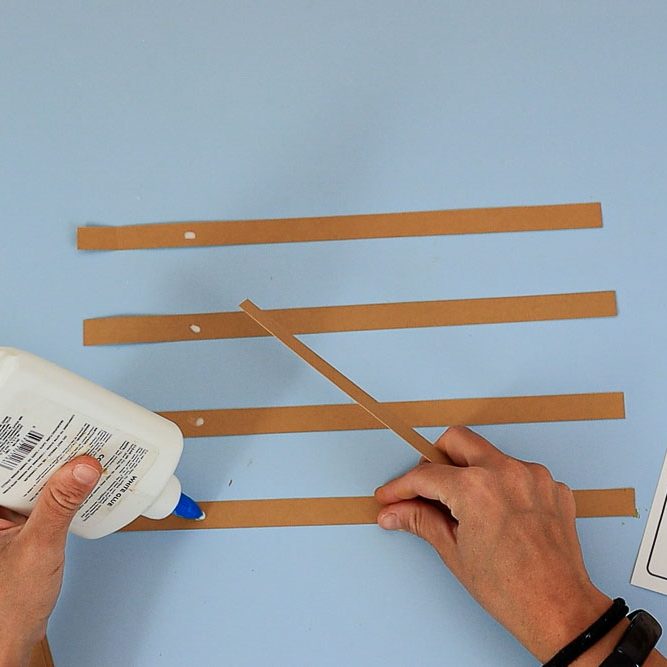
- Cut 8 strips of brown cardstock, each 0.5 to 1 inch wide by 11 to 12 inches long. (You can use template, or cut your own pieces (like I did).
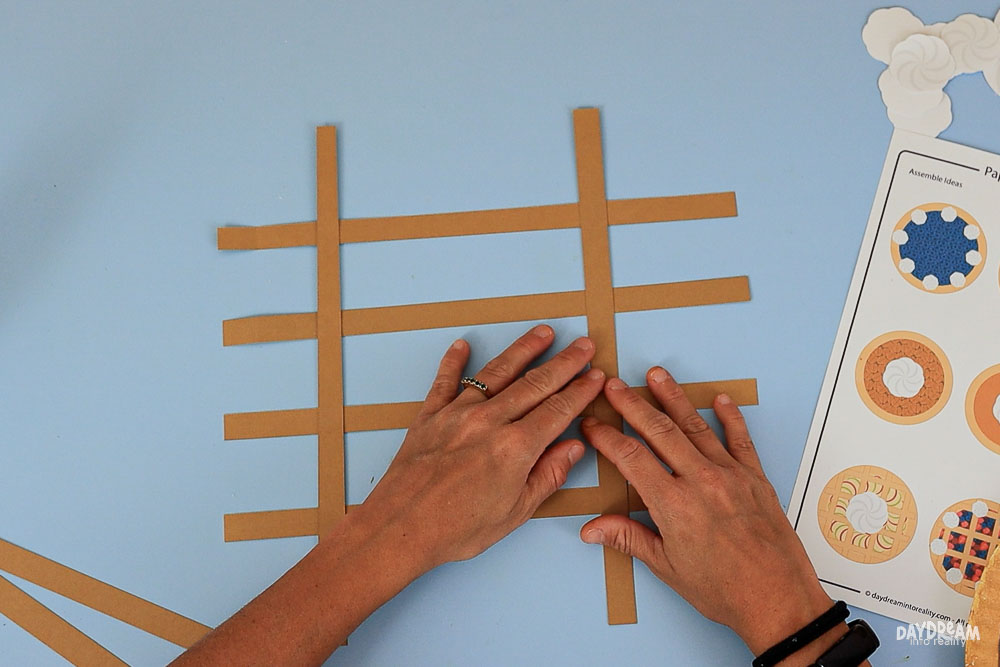
- Arrange four strips vertically.
- One at a time, weave (or not) and glue four horizontal strips on top, adding small dots of glue where they overlap.
- Make sure your lattice fits inside the paper plate.
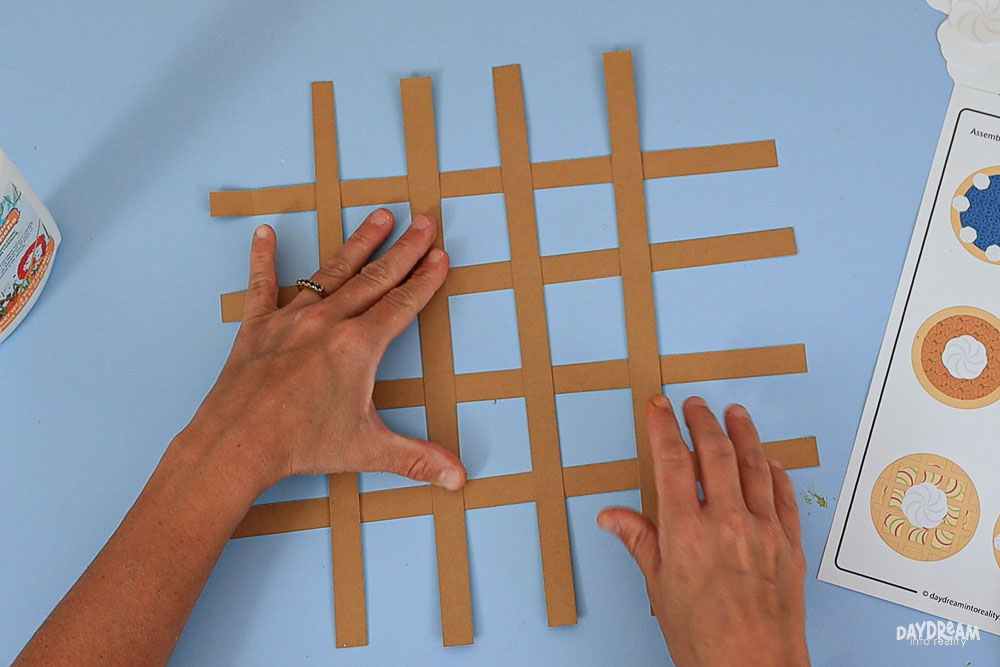
- Once dry, trim the lattice to fit.
- Glue the lattice onto your pie.
- Add whipped cream and, if you like, cut it into slices for play.
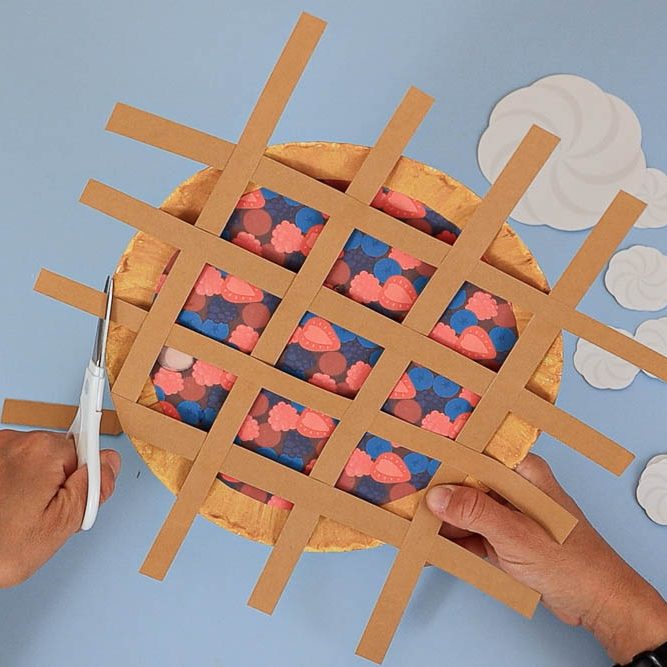

Note: Weaving takes way longer than you’d think. You can totally do it, but remember this is a kids’ craft — it doesn’t have to be perfect. On some pies I took the time to weave, but on others I just glued the horizontal strips right on top of the vertical ones. Both ways look great, so choose what works best for you and your crafters.
Quick Tip for Younger Kids: If weaving feels tricky or you’re doing this in a classroom, you can pre-weave the lattice pieces and secure them with small dots of glue or tape before craft time. That way the kids just need to glue the finished lattice onto their pie, keeping the focus on decorating and adding toppings.
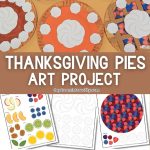
More Pie Ideas
Pumpkin and mixed berry pies are classics, but why stop there? You could make many other paper plate Thanksgiving pies:
- A classic apple pie!
- Sweet, sunny peach pie
- A rich, nutty pecan pie
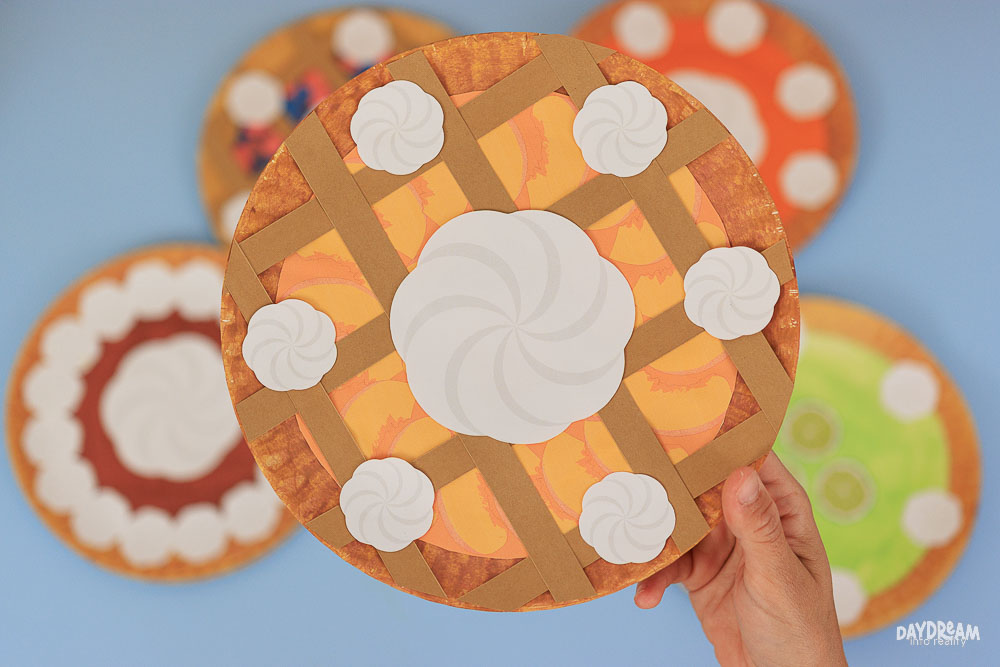
- A deep blueberry pie with a lattice top
- Chocolate or French silk pie for the chocoholics
- Tangy green key lime pie
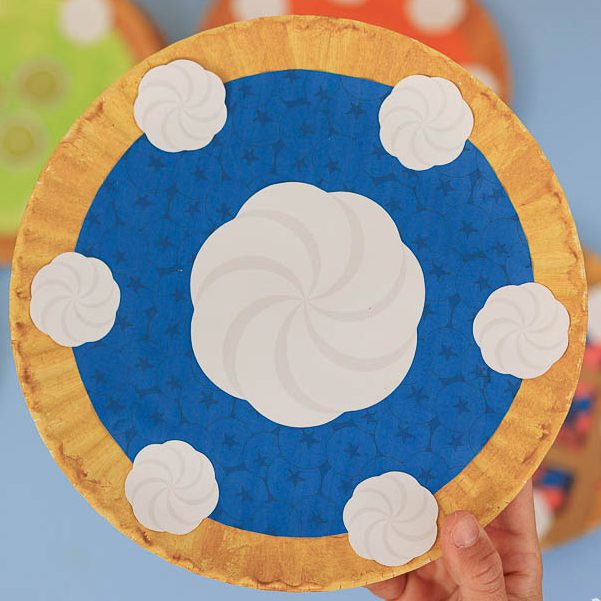
Or… make up a brand new flavor! Sprinkle glitter “sugar,” add paper sprinkles, or make a a colorful pie just for fun.
Here are a few fun questions you can ask while crafting:
- If this pie could talk, what would it say?
- Which of the paper plate Thanksgiving Pies is your favorite?
- Who would you like to share this pie with?
- If you could invent a new pie flavor, what would it be?
- What’s the silliest topping you could put on a pie?
- Would you like to make any of these pies?
Download the Free PDF Template
Click the image to open it in a new tab or use the yellow buttons to trigger a download. Save or print the PDF and get crafting!
You May Also Like…
I hope you had fun making these paper plate pies! They’re a great way to celebrate the season, spark creativity, and sneak in some imaginative play.
Find more fun crafts to make this fall season!
- Paper Plate Scarecrow Craft For Kids
- Paper Plate Turkey Craft For Kids
- Fall Paper Plate Tree Craft for Kids
- Paper Plate Acorn Craft for Kids
Happy Crafting!
Paper Plate Thanksgiving Pies Craft for Kids
Make adorable paper plate Thanksgiving pies with your kids! This fun and easy craft comes with a free PDF template to create pumpkin, apple, blueberry, pecan, peach, chocolate, and more.
Materials
- Free pie template
- 9-inch paper plates
- White cardstock
- Royal purple, mustard yellow, and white paint (for crust color)
- Paint or cardstock in colors for pie fillings (optional)
- Brown cardstock for pie lattice (optional)
- Markers or crayons (optional)
Tools
- Printer
- Scissors
- Glue stick or liquid glue
- Paintbrushes
Instructions
- Print the pie template. Choose the color or coloring version.
- Paint your paper plate crust before cutting. For a golden crust, mix 2 tsp royal purple, 2 tsp mustard yellow, and ½ tsp white paint.
- Cut out your pie filling, whipped cream, and any decorations.
- Glue the filling to the center of the plate, then add whipped cream or other toppings.
- For a lattice pie, cut or print lattice strips. Weave or glue them on top of vertical strips, then trim to fit.
- Let everything dry, then “slice” your pie for pretend play.
Notes