
Hello Daydreamers.
Looking for an easy and fun craft activity for toddlers, preschoolers, and kindergarteners this fall?
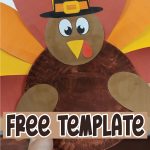
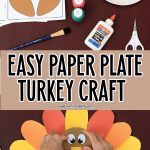
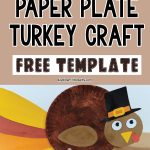
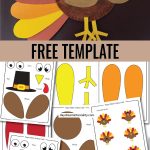
Whether you’re celebrating Thanksgiving Day or simply teaching about farm animals, this adorable Paper Plate Turkey Craft is the perfect choice. Plus, I have included a free template to make the process even easier for you!

This little turkey is virtually free if you own a printer and have a paper plate and paint at hand. Get ready to engage your little ones in a hands-on activity that sparks their creativity and celebrates the spirit of the season.
If you want to use crafting feathers, do it! If you want to color the template, I have you covered. If you want to print in color, I also have an option for you. As with all my crafts and templates, there’s only one requirement!
The requirement is to have fun!
So, why not give it a go? Let’s make some cute turkeys together!
Materials
- Template (download at the end of the article; you don’t need to subscribe!)
- 9-inch paper plate
- Scissors
- White cardstock
- Colored paper/cardstock (orange, red, yellow, brown, black)*
- Glue
- Brown paint**
- Colors (optional)
- Markers (optional)
- Crafting feathers (optional)

*The template allows you to print pages for coloring or use colored paper if you don’t want to paint or have a color printer.
**I didn’t have brown paint for kids, so I used green, red, and a little orange to make my own brown paint. Don’t give up on the craft if you don’t have brown paint!


Super tip: If you don’t have a paper plate, use brown cardstock and cut in 8-9in diameter.
I’ve designed this craft so you can make it as easy or as complicated as you’d like. You can even buy brown paper plates and have zero paint mess.
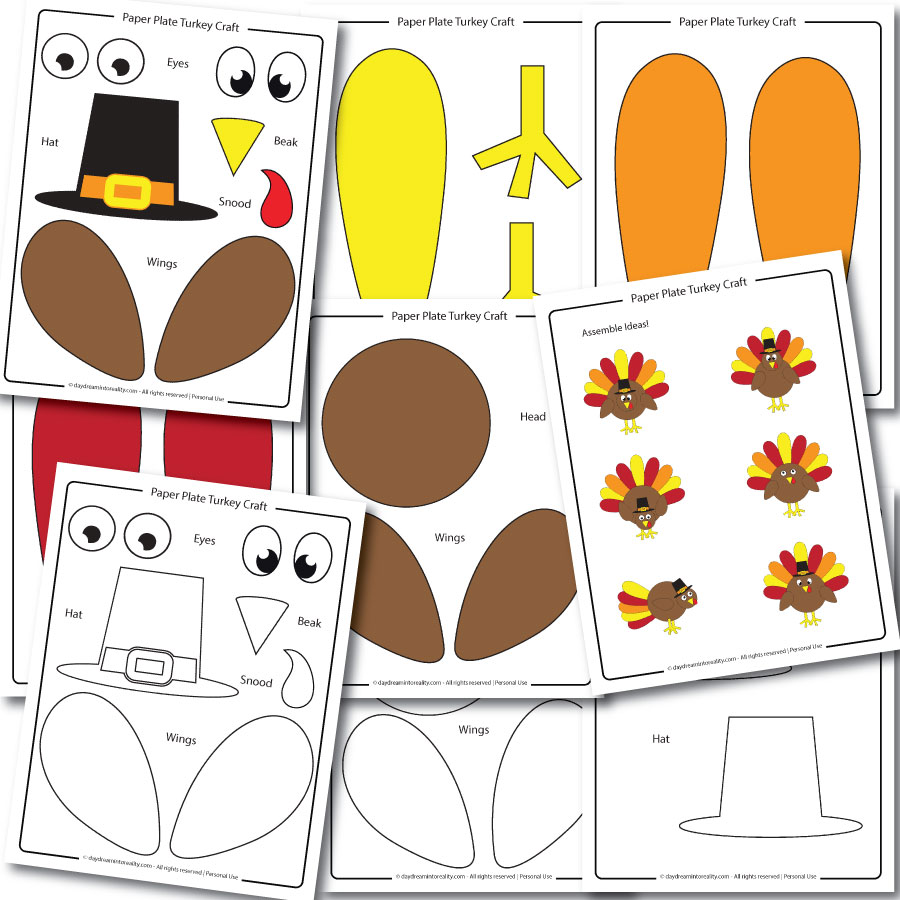
Step 1 – Print Turkey Template
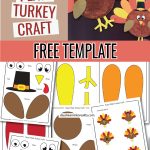
Print the template pages that best fit you (at the end of this tutorial). The printable has options for printing the tail, wings, hat, eyes, beak, etc., if you have a black-and-white printer or want your child to color.
I wanted to make a big and fluffy tail with fall colors; however, you can choose to use fewer pieces for the tail. Definitely take a look at the printable before you send it to print because it does consume a bit more paper than my other crafts.

At the end of the step-by-step tutorial, I have an option where I show you how to use crafting feathers. If you have them, skip printing the tail.
Step 2 – Paint
Always start with painting; drying takes longer. Your child will want to glue as soon as they’re done cutting.

Step 3 – Cut Template
While your paper plate is drying, cut the pieces of the template you want to use. The template has two sets of eyes, many tail pieces, wings, a beak, legs, and a cute little hat.

Step 4 – Glue
I have added some assembly ideas to the template for your convenience. You can ask your child which turkey she would prefer to build.
I will be assembling the first one in the second column.

Start with the tail.
I prefer to form the entire tail before I glue it to the turkey, although you can also glue it directly to the plate.


Now, glue the eyes, beak, and snood to the head (brown circle).
I prefer to attach the snood under the beak and place both pieces on the head.


Next, you’ll want to glue the head onto the paper plate, with half glued on the paper and the other half on the tail.
Finally, it’s time to glue the legs and the wings!

Your paper plate turkey craft is complete. Doesn’t it look lovely?

Other Assembly Ideas
Here’s another method for creating your turkey craft. Refer to the assembly ideas page for guidance on where to glue everything.
If you glue the head to the bottom of the plate and with the other set of eyes, the turkey will appear ready to eat. The wings also need to be placed differently.

I also love how the little turkey looks when you glue the head in the middle!

The following way makes the turkey look completely different, and it also uses fewer tail pieces! My son wanted to build this version until he decided to make something different with the template.

For less cutting, you can also use crafting feathers!
They are cool but messy! Just look at my desk. It was a giant mess.


Which turkey do you like best?
Want an extra baby turkey paper plate?
I made an extra small turkey using a 6-inch plate! It looks so cute, doesn’t it?
The original craft on a 9-inch plate ended up larger than I expected. The baby one is a better size for small hands. However, if you don’t have small paper plates, the first one is just as cute!

You can do this by scaling the printable anywhere from 60% to 70%.

Download Template!
Just as I mentioned, here’s the turkey template for your craft! Click the image or yellow button to open, save, or print the PDF.
Oh!
Just so you know, I also have a library full of free SVG files and Printables for all my subscribers, a.k.a. Daydreamers. You can see a preview right here or get access by filling out this form.

Paper Plate Turkey Craft for Kids | Free Template
Materials
- Template
- 9-inch paper plate
- White cardstock
- Colored paper/cardstock (orange, red, yellow, brown, black)
- Brown paint**
- Crafting feathers (optional)
Tools
- Scissors
- Glue
- Paint brush
Instructions
- Download the template and print it.
- Paint the paper plate brown and set it aside.
- Cut the pieces you want to use for the craft.
- Pick the turkey you want to assemble from the "Assemble Ideas" page.
- Glue the tail pieces together and attach them to the plate.
- Paste eyes, beak, and snood on the circle head.
- Glue the head on top of the paper plate—half on the plate and the other half on the tail.
You May Like These…
So there you have it – a variety of fun and cute paper plate turkeys to make with your children this fall, Thanksgiving Day, or to teach them about farm animals. Remember to keep things interesting by mixing and matching parts of the template!
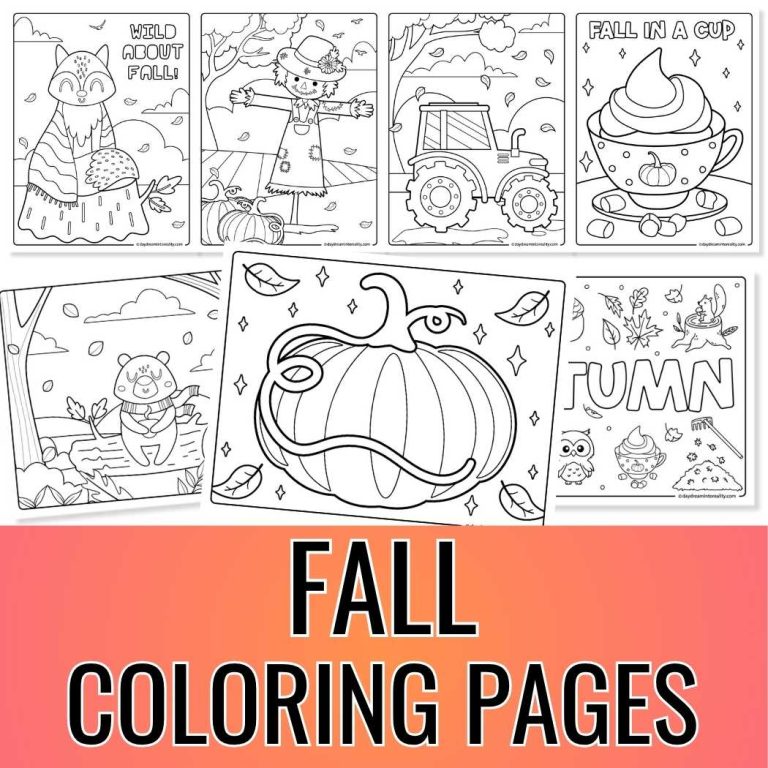
Don’t miss out on these other fun fall activities:
- 35+ Fall Dot Marker Pages For Kids
- Paper Plate Thanksgiving Pies
- 10+ Fall Crossword Puzzles
- I Spy Thanksgiving
- Fall & Thanksgiving Paper Plate Wreath Craft
- Paper Plate Scarecrow Craft
- I Spy Fall Free Printable
Happy Crafting!


Awesome idea
I’m glad you like it!