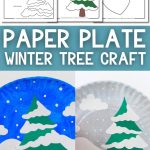
Winter days call for cozy indoor crafts!
This “Paper Plate Winter Tree Craft” is a great way to keep your little ones entertained while also teaching them about the season. Plus, I’ve included a FREE template in color and one for coloring to make your life even easier.

In addition to having fun, kids will improve their fine motor skills as they cut, paint, and color, making this craft an enjoyable and wholesome activity for everyone involved!

With some help from a parent or a teacher, this craft is perfect for toddlers, preschoolers, and kindergartners.
Related: Fall Tree Scene with Paper Plates.
Tools & Materials
- Printer
- Template (download at the end of the article; you don’t need to subscribe!)
- Glue
- 9-inch paper plate
- Scissors
- Paintbrush
- White cardstock
- Blue paint*
- White chalk marker or white paint and Q-Tips®
- Colors, markers (optional)
* For a scene during the day, use sky blue; for a night scene with navy blue; and for a very cloudy and cozy day, use gray paint.

Super tip: If you don’t have paper plates, trace and cut a 9-inch circle on white cardstock.
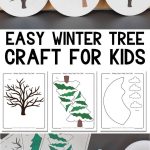
Step 1 – Print Winter Tree Template
The template has three different trees. The tree without leaves may be a little tricky for your child to cut, so you may need help if you choose this option.
There are also two evergreens, one completely ready to cut and glue and another for the child to layer.

Step 2 – Paint
Always start by painting, as it takes longer to dry. Your child will likely want to glue as soon as they finish cutting.
You can get creative with this craft by making the scene look set in either daytime, nighttime, or very cloudy, simply by painting the paper plate sky blue, navy blue, or gray.

You can show your child some pictures in this article and let your little ones pick the scene they want to make.
Step 3 – Cut Template
While your plates are drying, cut out all the pieces of the template you’d like to glue on your winter tree craft.

Step 4 – Glue
It’s time to glue our adorable winter tree on the paper plate!
Start with the hill. It goes all the way down to the bottom of the paper plate.
Tip: Spread glue with your fingers to avoid getting the paper wet and having the color bleed.

Next, glue the clouds.

It’s time to glue the centerpiece for this craft!
Let’s paste the tree! You don’t need to add glue to every single part of the tree. You’ll want to leave some branches without glue and curl them forward for a 3d pop effect.

Finally, use a white chalk marker to add some snow or stars!
If you don’t have chalk markers, you can use white paint and a Q-Tip®
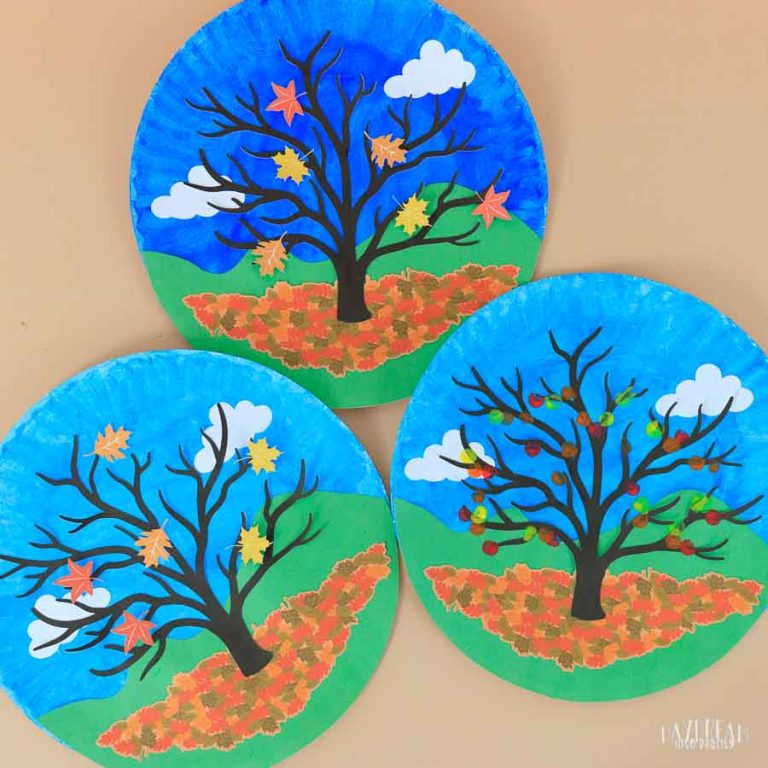
There you have it! A beautiful winter tree craft.

Doesn’t it look gorgeous? I don’t know if you can notice how some of the “unglued” branches come forward and give life to the craft.

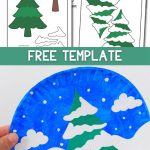
Other Assemble Ideas
Here are some pictures of other ways you can create this project.
I think the scenes with the evergreens look beautiful! You can glue the tree in the center, or on the side of the paper plate.
Also, notice how the craft changes by simply changing the paint on the paper plate.


You can also add some snow on the branches of the tree like shown in the picture right above.
Download Template!
As I mentioned, here’s the Winter Tree template for your craft! Click the image to open the PDF in a new window or the yellow button to trigger a download on your phone or computer.


Oh!
Just so you know, I also have a library full of free SVG files and Printables for all my subscribers, a.k.a. Daydreamers. You can see a preview right here or get access by filling out this form.

Winter Scene Paper Plate Craft for Kids
Are you looking for a fun and quick winter craft for the kids? The DIY paper plate winter tree scene is perfect for your preschoolers and kindergartners to work on their fine motor skills. It includes a free template and is ideal for chilly and cozy days.
Materials
- Template
- 9-inch paper plate
- White cardstock
- Blue paint*
- White chalk marker or white paint and Q-Tips®
- Colors, markers (optional)
Tools
- Scissors
- Glue
- Paint brush
- Printer
Instructions
- Download the template in color or for coloring.
- Paint the paper plate sky (day), navy blue (night), or gray (cloudy day) and set it aside to dry.
- Print out the version of the template you want to use.
- Cut template*.
- Glue the snowy hill at the bottom of the plate.
- Glue clouds followed by your favorite tree.
- Finally, use a white chalk marker to add some snow or stars! If you don't have chalk markers, you can use white paint and a Q-Tip®
Notes
** For a scene during the day, use sky blue; for a night scene with navy blue; and for a very cloudy and cozy day, use gray paint.
**Don't Glue the tree all the way. Leave some branches without glue and curl them out to give your design a 3d pop effect!
You May Like These…
I hope you enjoyed crafting a beautiful winter paper plate tree craft with your little people. If you enjoyed that activity, you would love the following.
- Paper Plate Turkey Craft
- Paper Plate Thanksgiving Dinner Feast
- Paper Plate Snow Globes with five different scenes!
- Paper Plate Baby Chick Craft
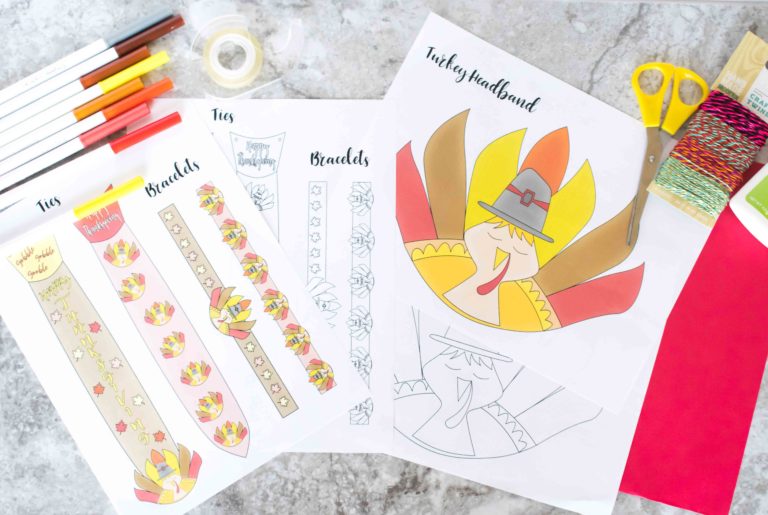
- Turkey Headband Craft
- Build a Salad Craft
- Build a Fish Tank
- Paper Plate Cow Craft
Happy Crafting!

Looks fun!
Can I please get this templet?
It’s right there for you to download on the article!
I can please get this template thank you
Love this craft idea!
love this craft
Very good craft
Glad you like it!