Hi Daydreamers!
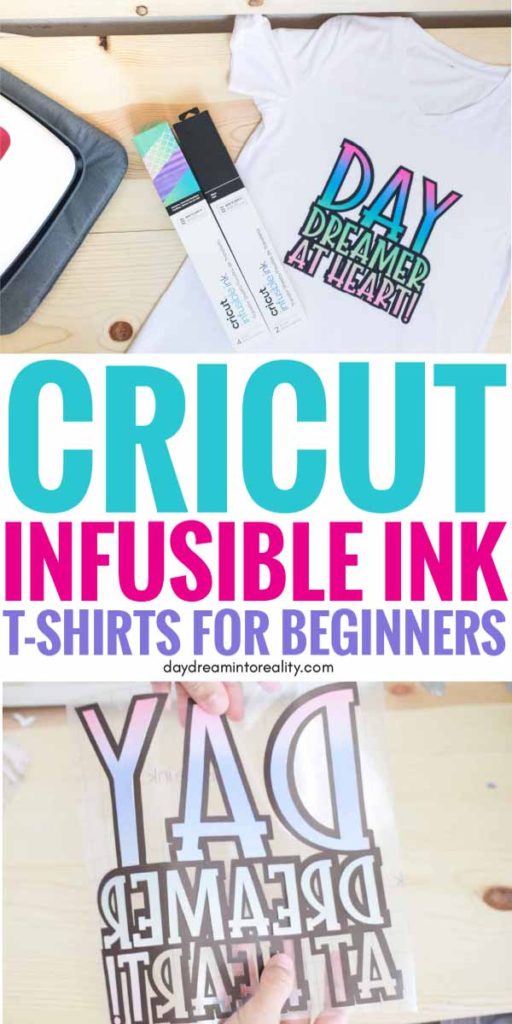
Today you are going to learn how to make beautiful T-Shirts with Cricut Infusible Ink transfer sheets and Infusible Ink Pens.
I was quite nervous to tackle this project and I kept putting it off because I only had two T-Shirts, and if you’ve read my Cricut Infusible Ink Ultimate guide then you know that there’s no going back with these type of products.
In other words, you either get it right or wrong!
I don’t meant to scare you, but I do want to caution you. Please, for your pocket’s sake don’t start Cricut Infusible Ink Projects without reading instructions.
You’ve been warned!
If you have more doubts about the temperatures and transferring process please check out Cricut’s Heat Guide.
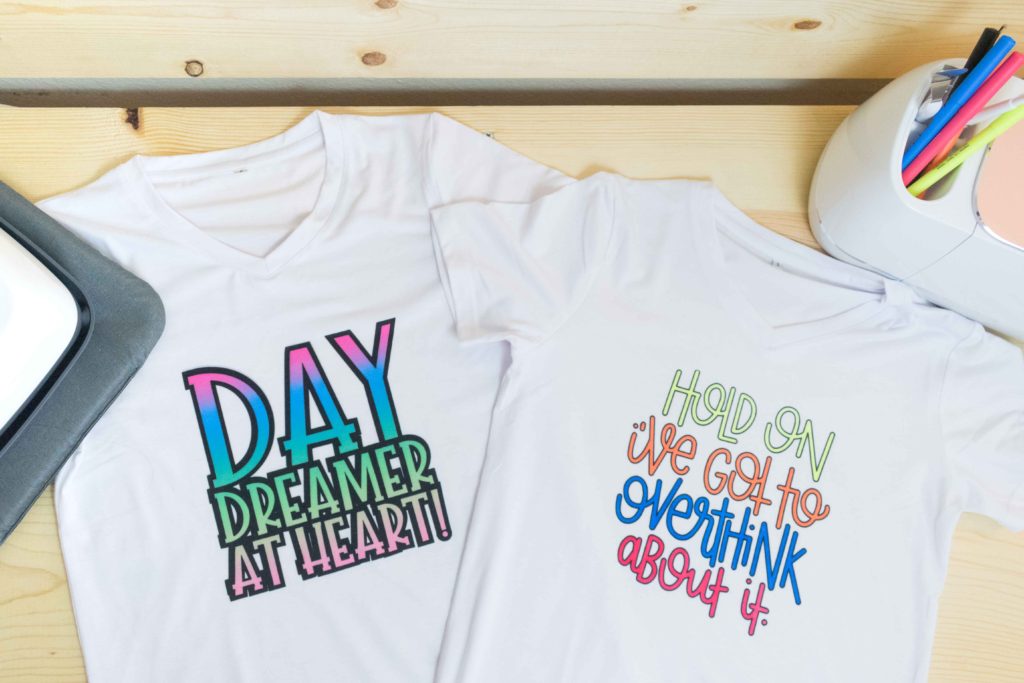
Like all of my articles, this tutorial is very juicy and here’s what I will be covering:
- How to Make Cricut Infusible Ink T-Shirts with transfer sheets: We will be using a design that’s made out of two layers and that I will be providing you with as well.
- How to Make Cricut Infusible Ink T-Shirts with Pens and Markers: we will be using an image from Cricut’s library and we will be coloring with markers.
- How to care for your Shirts
It doesn’t matter if you have a Cricut Explore or Maker, I will be giving you instructions of what to do with each machine.
Related: Read my tutorial on how to make Cricut T-Shirts with Iron On
Are you ready?
Let’s Daydream Into Reality!
Watch the Video/Subscribe to my Channel
If you are more of a video person make sure to check out my YouTube video for this tutorial. Don’t worry though, this article has everything you need to know as well.
My channel is in the very early stages, and I am just figuring it out. I would love to have you as a subscriber!
How to Make T-Shirts with Cricut Infusible Ink Transfer Sheets
Before you get started with this project make sure you wash your hands with soap and dry them completely.
Cricut Infusible Ink is very sensitive to humidity and moisture and if you have wet hands and/or lotion the ink will, literally, dissolve. If your hands sweat constantly try using some rubber gloves.
To follow along, right click on the Daydreamer At Heart Free SVG (for personal use) and save it to your computer.
Oh!
Just so you know, I also have a library full of free SVG files and Printables for all my subscribers, a.k.a. Daydreamers. You can see a preview right here or get access by filling out this form.
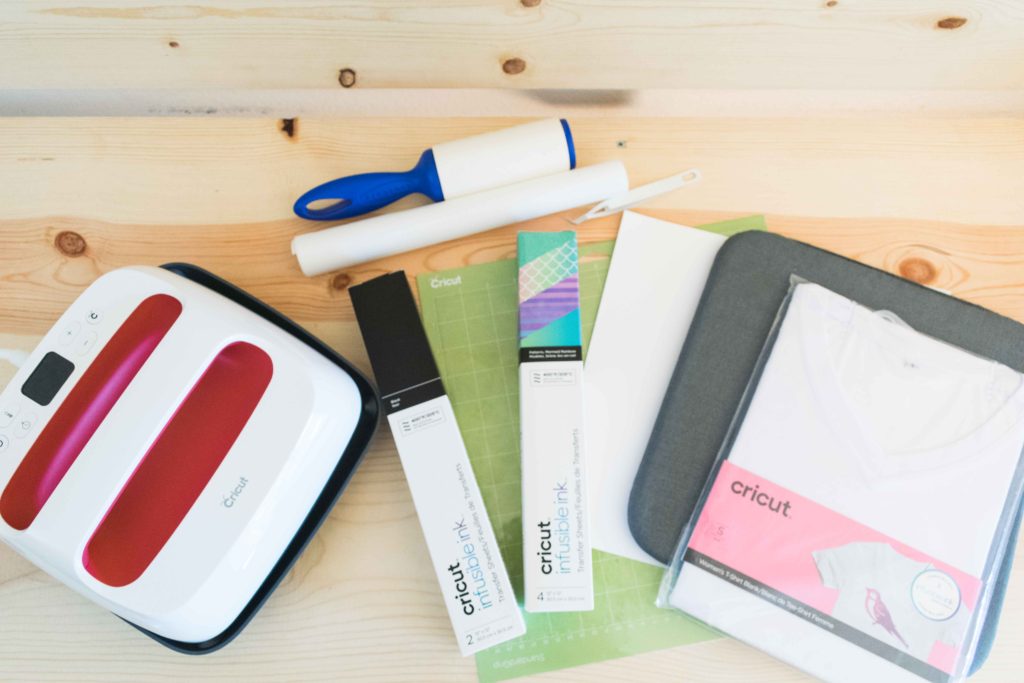
Materials
- Standard Green Mat
- Cricut Infusible Ink Sheets: I used black and the Mermaid Sheets (rainbow one)
- Butcher Paper: It comes with the transfer sheets.
- White Cardstock Paper: 80 lbs
- Easypress 2: You can also use the first Easypress, but results may not be as vibrant.
- Easypress Mat
- Lint Roller
- Tweezers: Cricut recommends it.
- Cricut Compatible Blanks: I wanted to try them first on Cricut’s Blanks, but eventually I will be making Infusible T-Shirts with different materials.
Step 1 – Image to Cricut Design Space
Once you save the SVG file I provided you with, log into Cricut Design Space canvas area and click on the upload button located on the left panel.
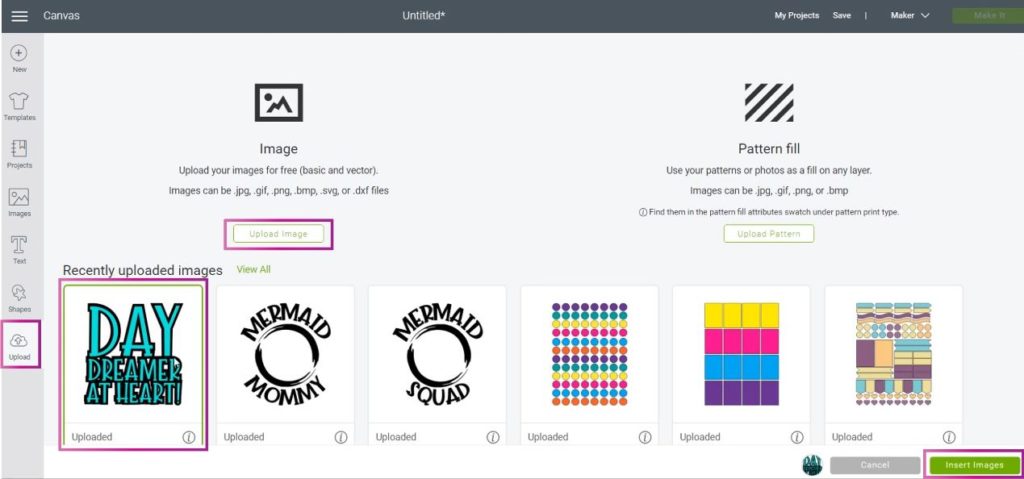
To upload the file, click on the Upload Image and follow the prompts to choose the SVG it from your Computer. Once it’s uploaded select it from recently uploaded images and click on Insert.
Step 2 – Resize Image & Organize for Cutting
Besides considering the size of your T-Shirt, something very important you need to keep in mind when working with Cricut Infusible Ink is the size of your EasyPress.
I haven’t tried to create a project using the EasyPress in two different presses; but as far as I know and have read about it on Cricut’s Website, Infusible Ink works better when the transfer is made in one single press.
My Easypress is 9 x 9 in. and my T-Shirt was a Small size. For that reason the final size of my project was 7.7 x 8 in.
After resizing the image we need to organize the file before we proceed to cut. As you can see on the layers panel (down bellow) all of the layers are separated. If we were going to cut right now, all of the letters will be all over the place!
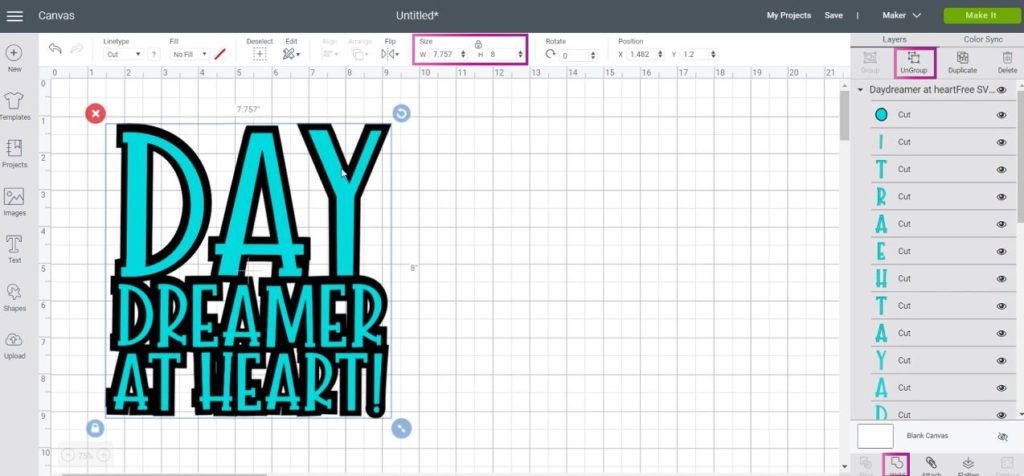
To do this, you need to select the design on the canvas area and click on Ungroup located on top of the layers panel. Then, by pressing Shift on your keyboard (at all times) click on all of the black layers and click on weld located at the bottom of the layers panel.
Repeat the exact process with the blue layers.
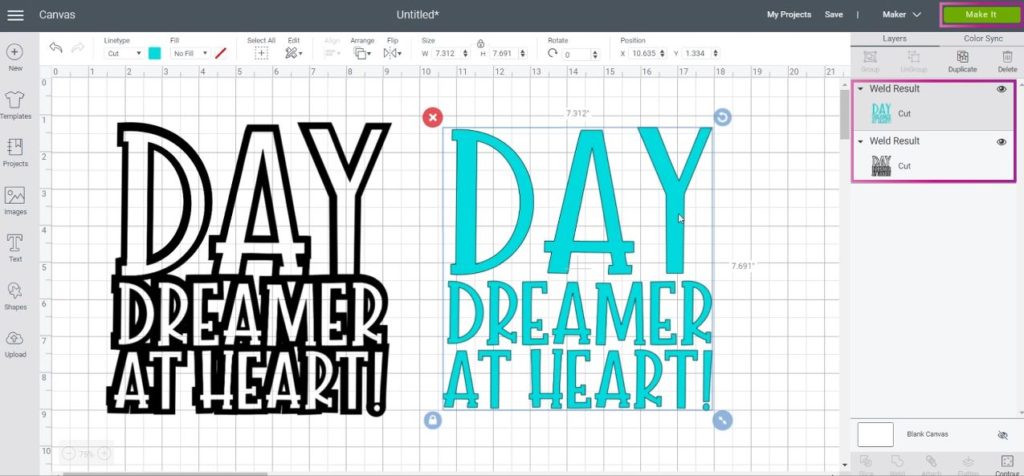
Once your design looks like the screenshot right above go ahead and click on the Make it button located on the upper right corner of the window.
Step 3 – Mirror your Design
Before you continue the cutting process you need to Mirror your image on ALL MATS (You need to click on each mat and turn it individually). If you don’t do this, your project will look backwards once you transfer it.
Not fun, right?
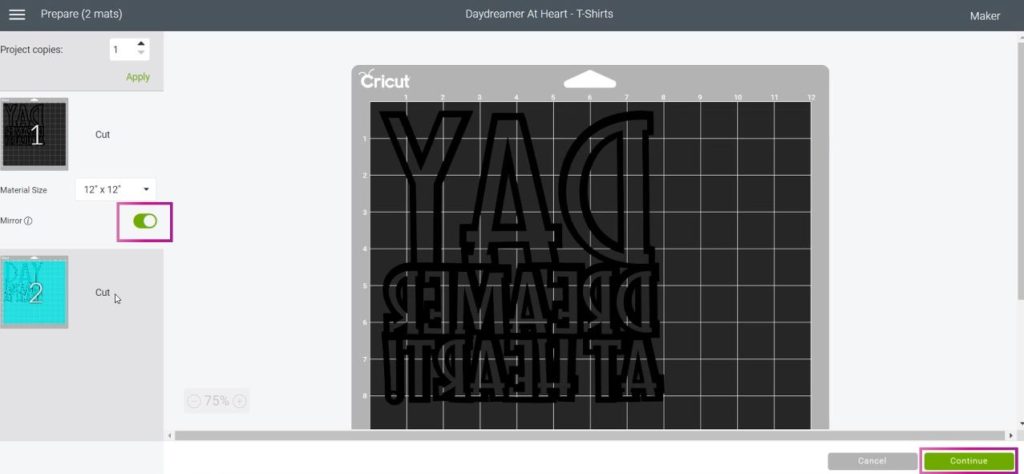
Step 4 – Select Materials and Cut
After mirroring your project, click on continue to select materials and send our project to cut.
If you have a Cricut Maker click on Browse Materials, then find and select Infusible Ink Transfer Sheets.
If you have a Cricut Explore machine move the Smart Set Dial on your machine to Custom Materials, then proceed to find and select Infusible Ink Transfer Sheet in Cricut Design Space.
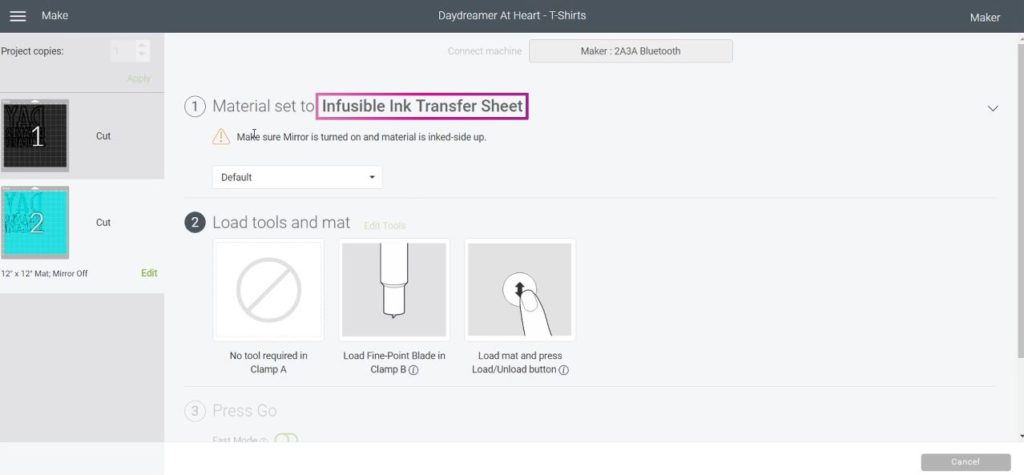
After you set the Material, go ahead and install the fine point blade on your machine.
Now let’s move to real life photos!
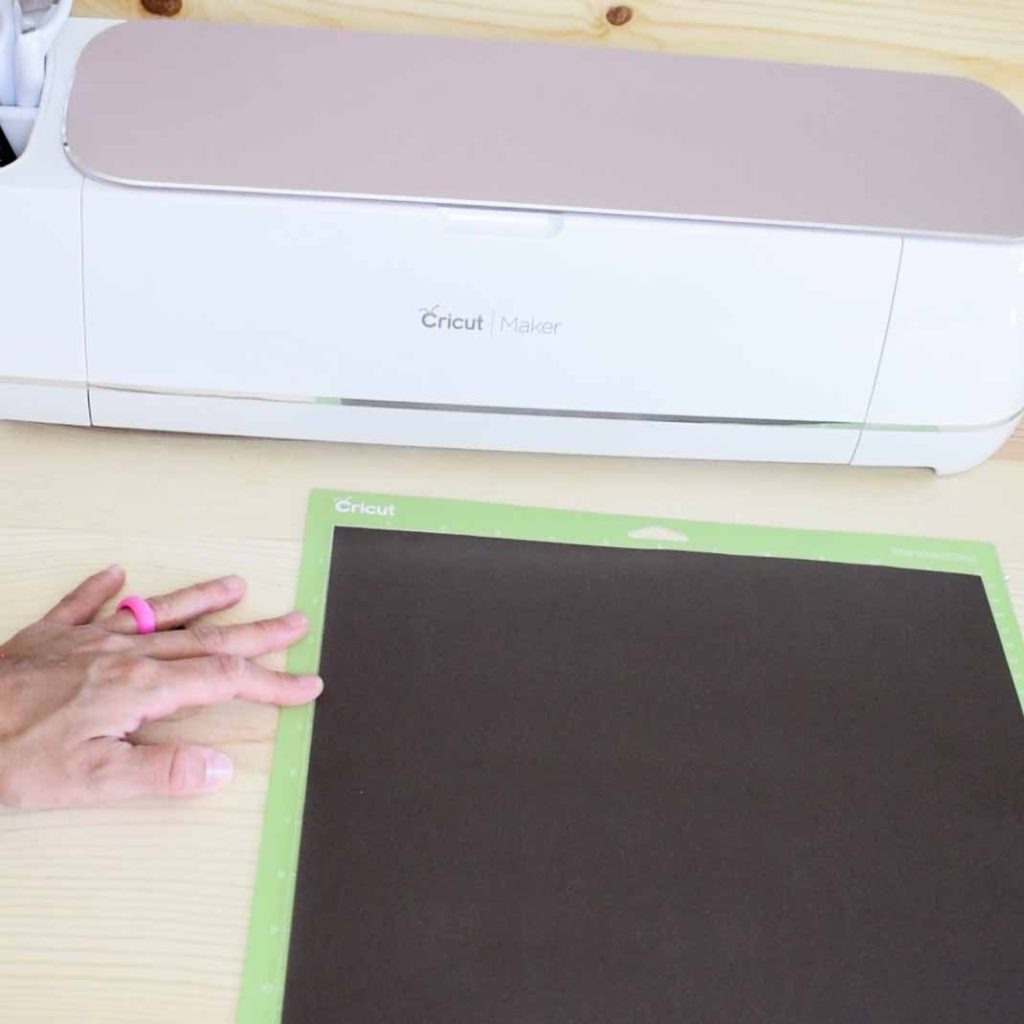
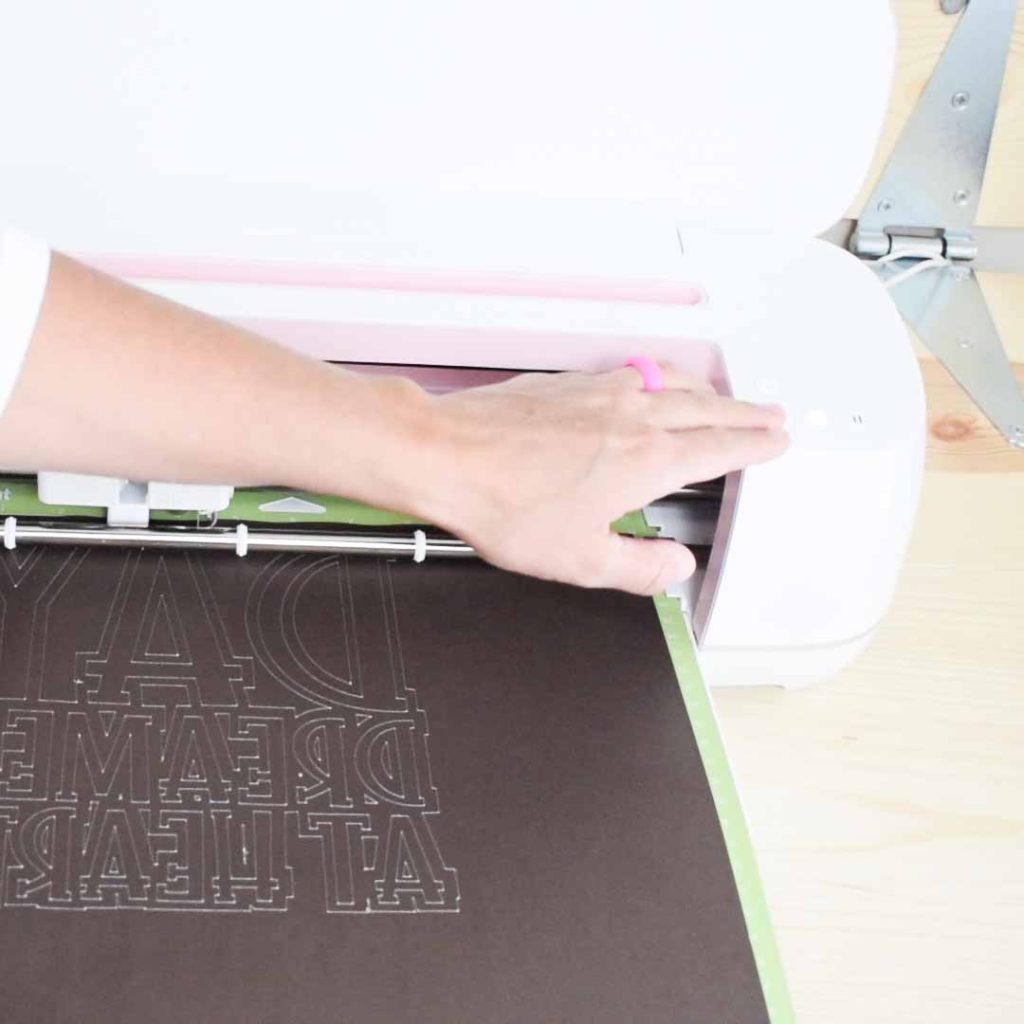
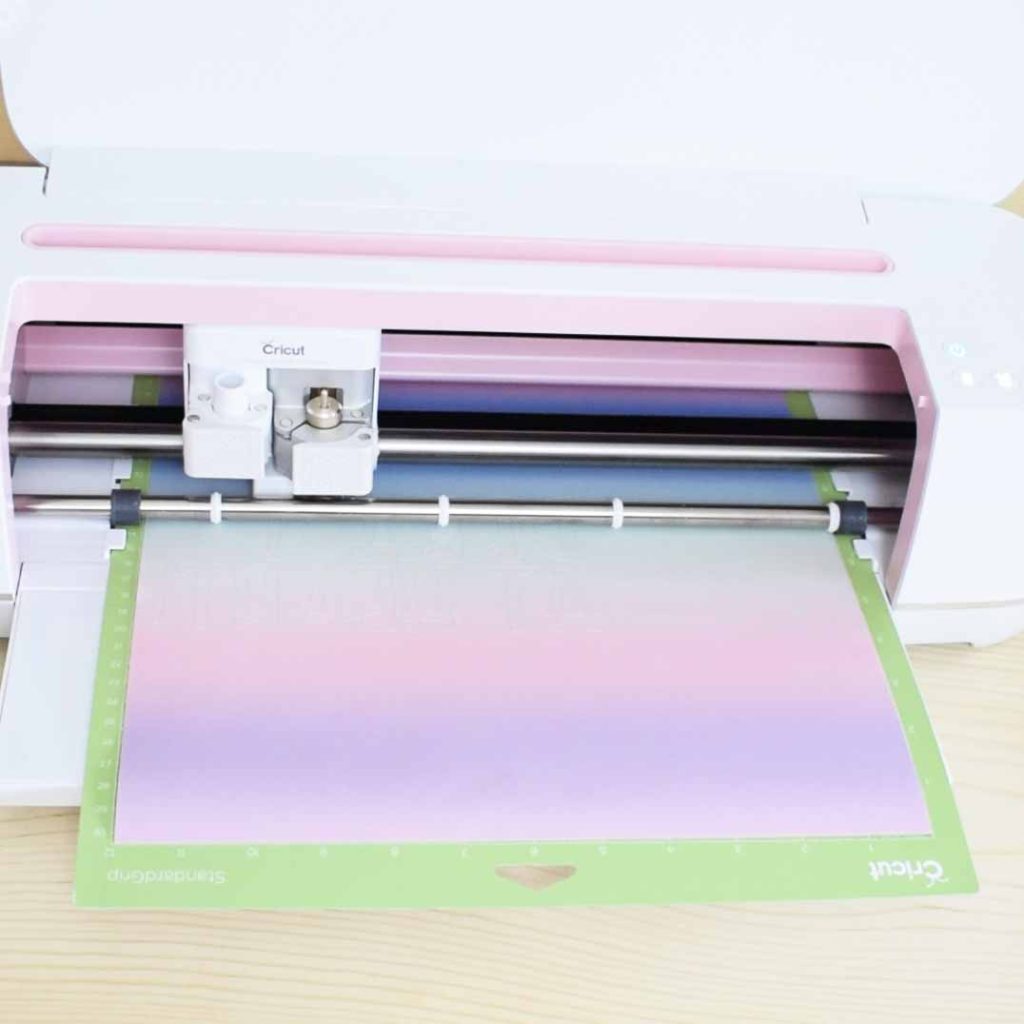
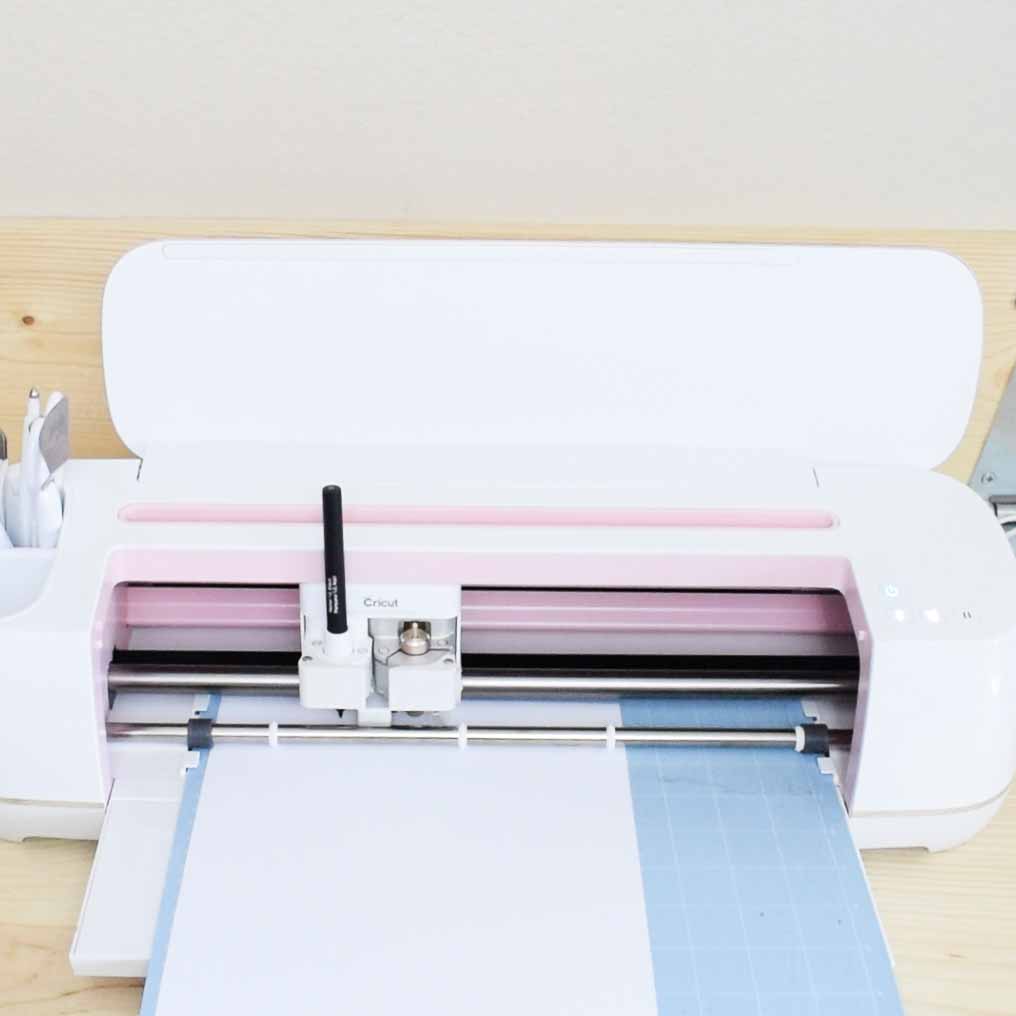
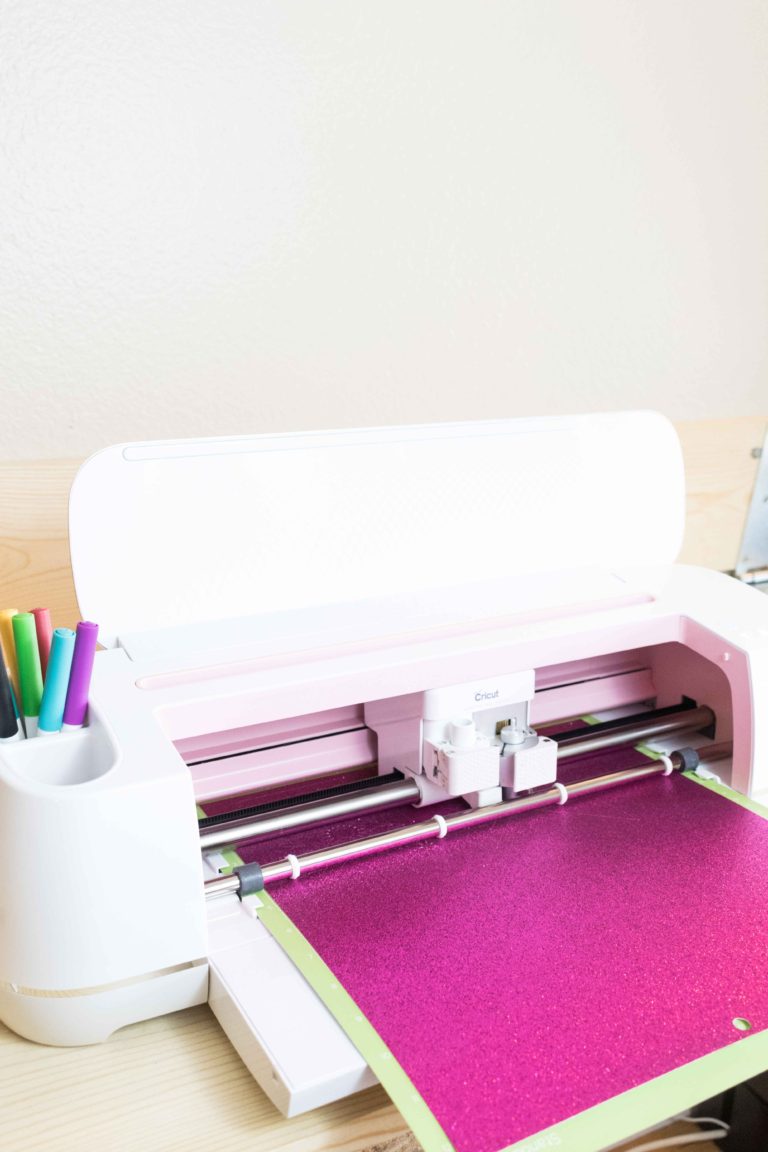
Transfer sheets always need to be placed with the Ink Side up, and the best mat for this type of material is the green mat. Once the Sheet is secured, load it to your mat and press the Flashing Go button of your machine (Cricut’s logo).
When your machine finishes cutting the first Color, remove it from the mat (look the next step for a how to photo) and repeat the same process with the other transfer sheet.
Step 5 – Remove from Mat, Weed and Prepare for transfer
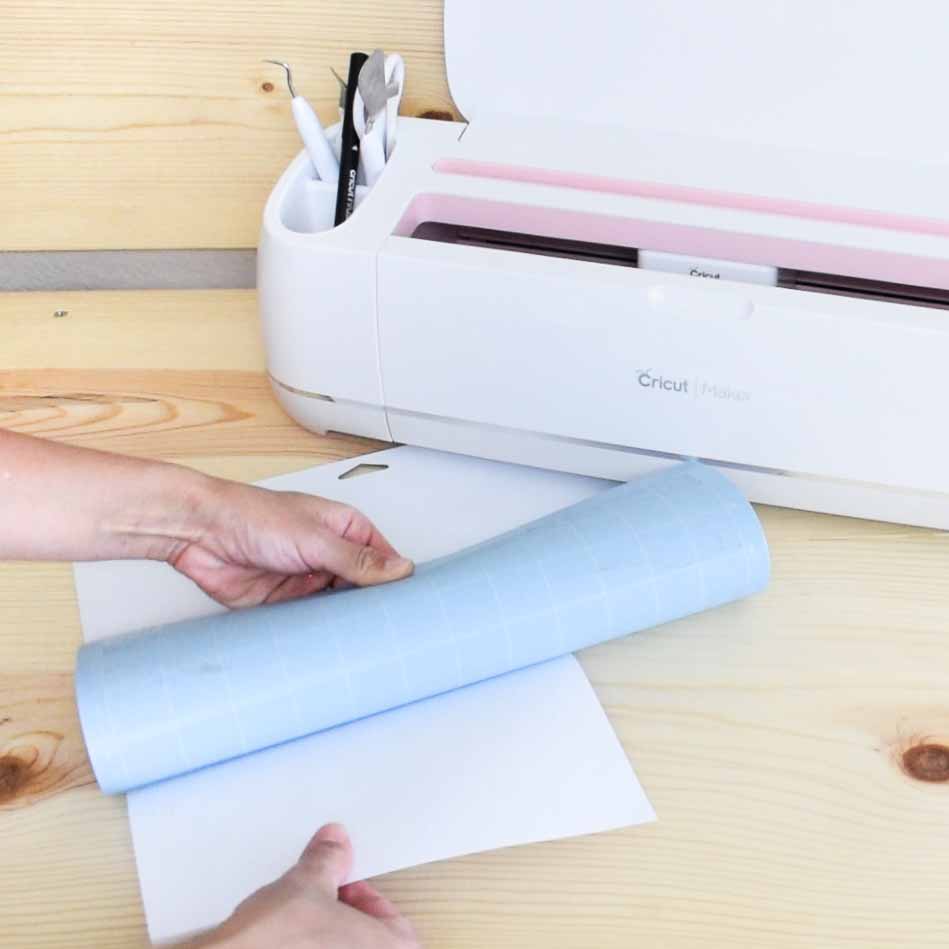
To avoid damaging your final cut, remove the transfer sheets from the mat by bending the mat like I show you in the following photo.
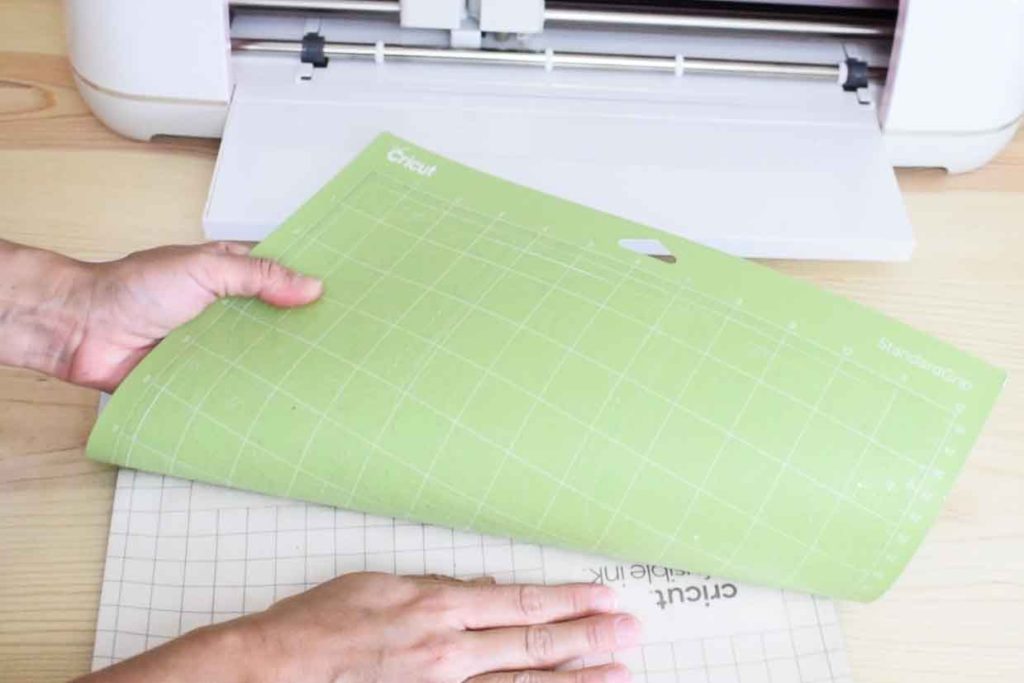
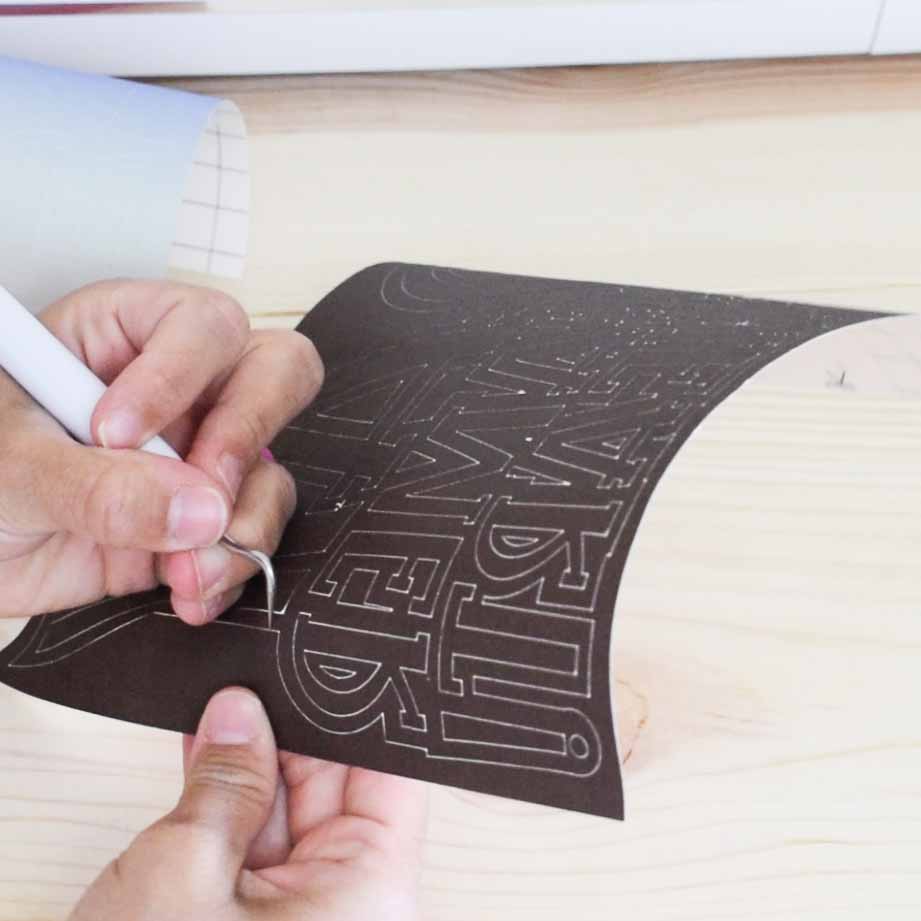
Now it’s time to weed!
Cricut Infusible Ink Sheets are so different than vinyl; in fact they feel like cardstock and weeding is actually really easy!
For this design I only needed the weeder to make the first initial tear, and then everything came out very smooth. (Make sure your hands are completely clean and dried)
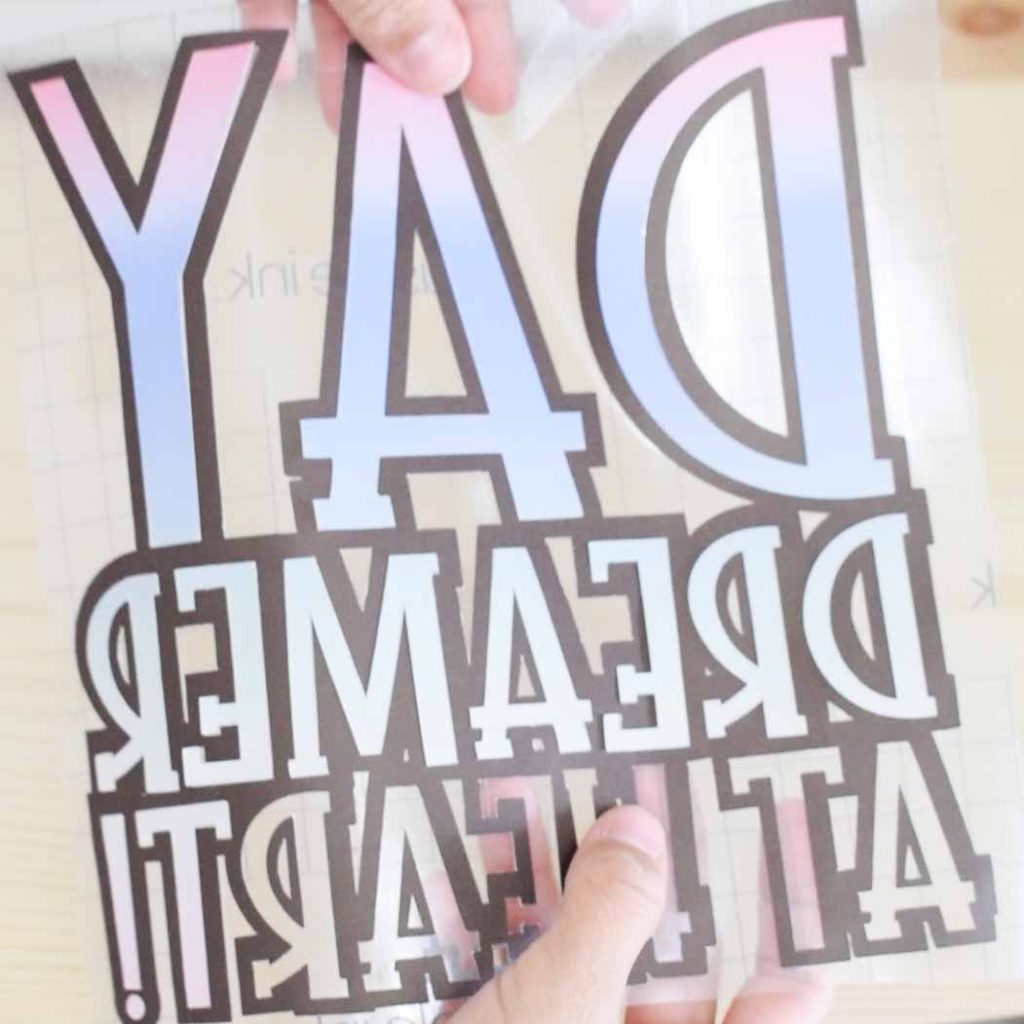
Remember that the black part of the design is the outline and the rainbow sheet is for inner letters.
If you were using Iron On you would need to Press each color one at the time. However, Infusible Ink Products work very different!
The right way to transfer two different layers of Infusible Ink sheets to your T-Shirt project is by placing one of the layers (smallest) to the other carrying sheet.
On this case, I moved each one of letters and placed them on each respective spot.
It sounds a little complicated but I hope it makes sense. Cricut does have an article on this and if you have doubts you can read more about it.
Step 6 – Transfer Design to your blank
Once you complete placing each letter inside the outline you are ready to transfer your project on the blank T-Shirt.
Have all of the supplies ready and start Preheating your Easypress 2 to 385°F, or 360°F if you the first Easypress.
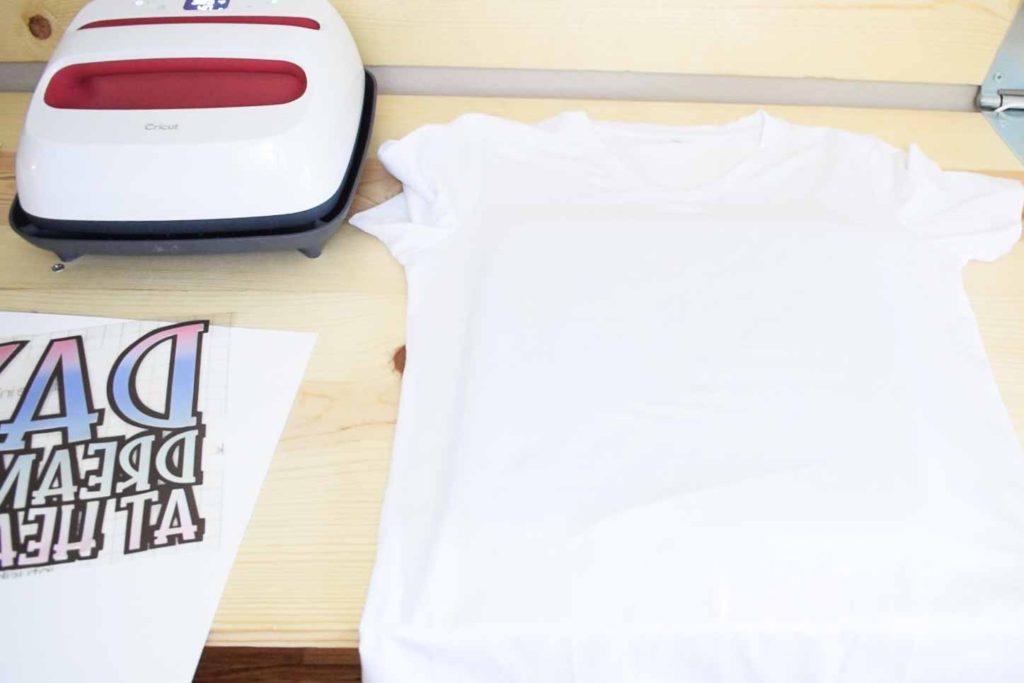
The following steps are very important so make you follow them to the tee!
Step 1 Step 2 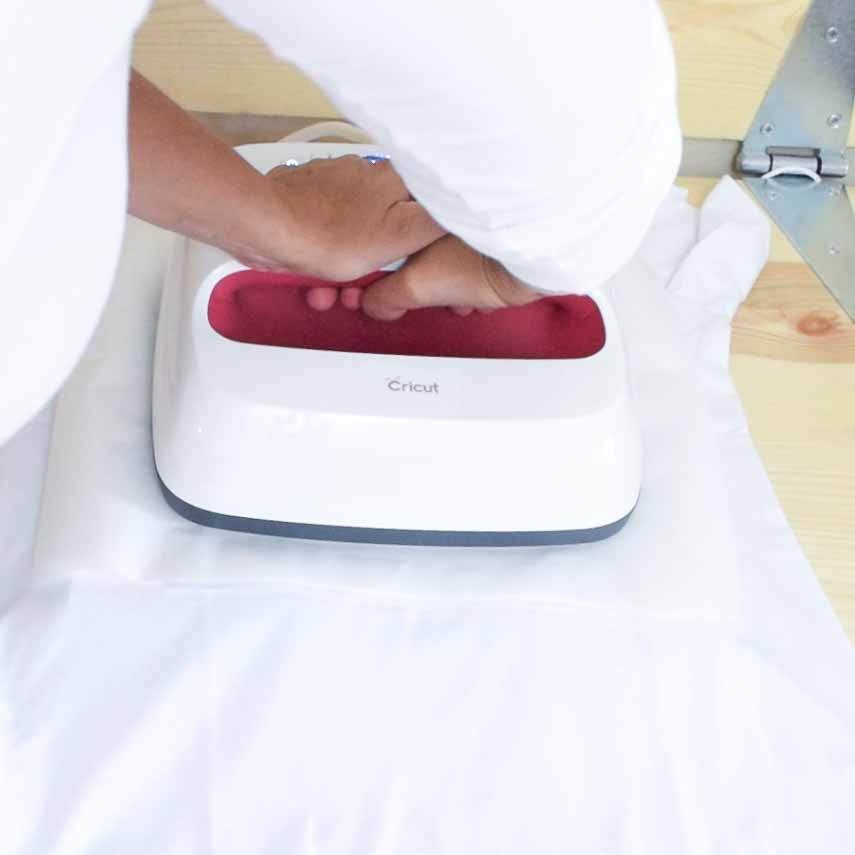
Step 3
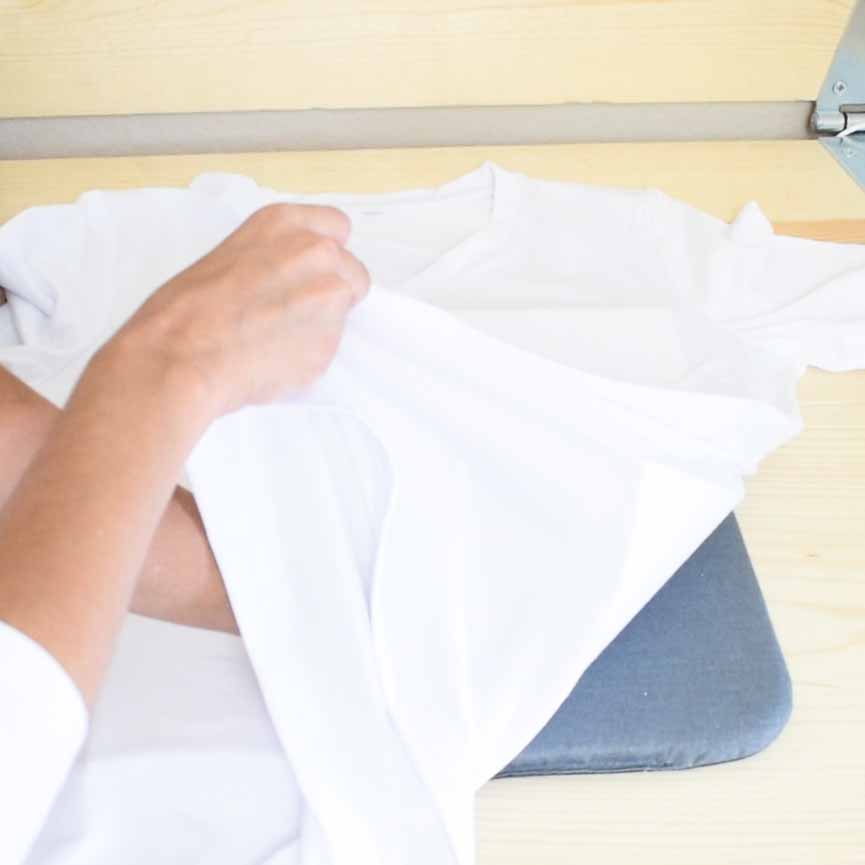
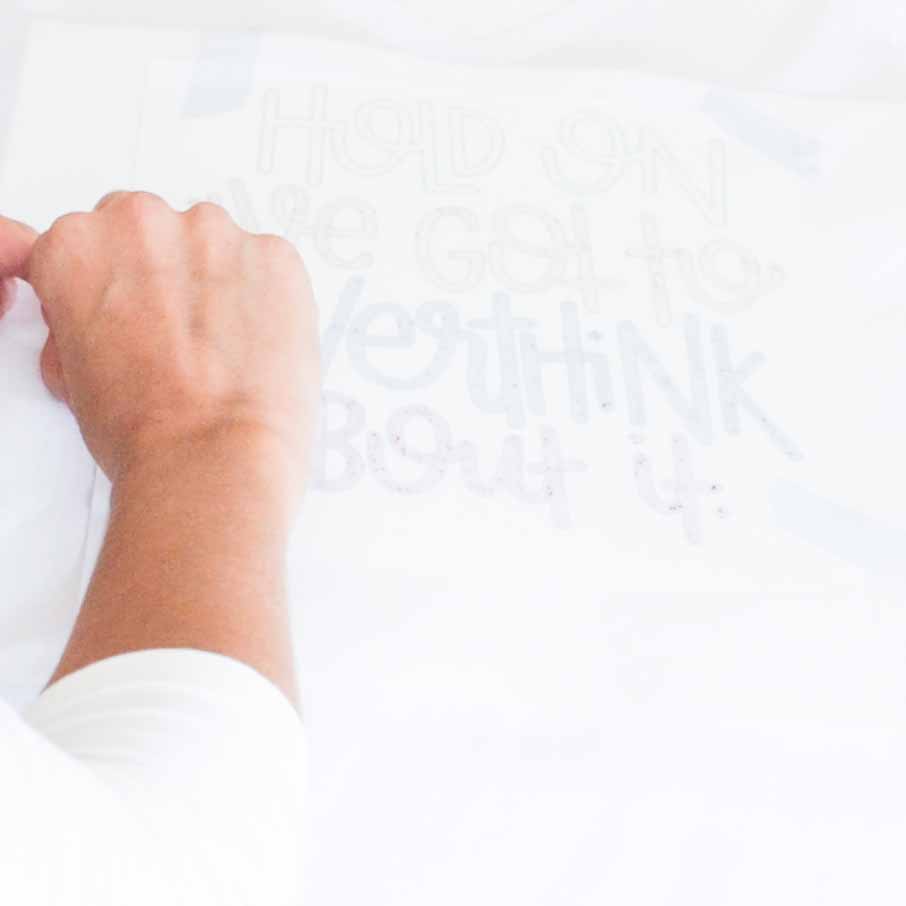
Step 1: Place Cardstock inside the T-Shirt and lay your T-Shirt on top of the EasyPress Mat. Make sure you are isolating the area you want to transfer your project to from any seams.
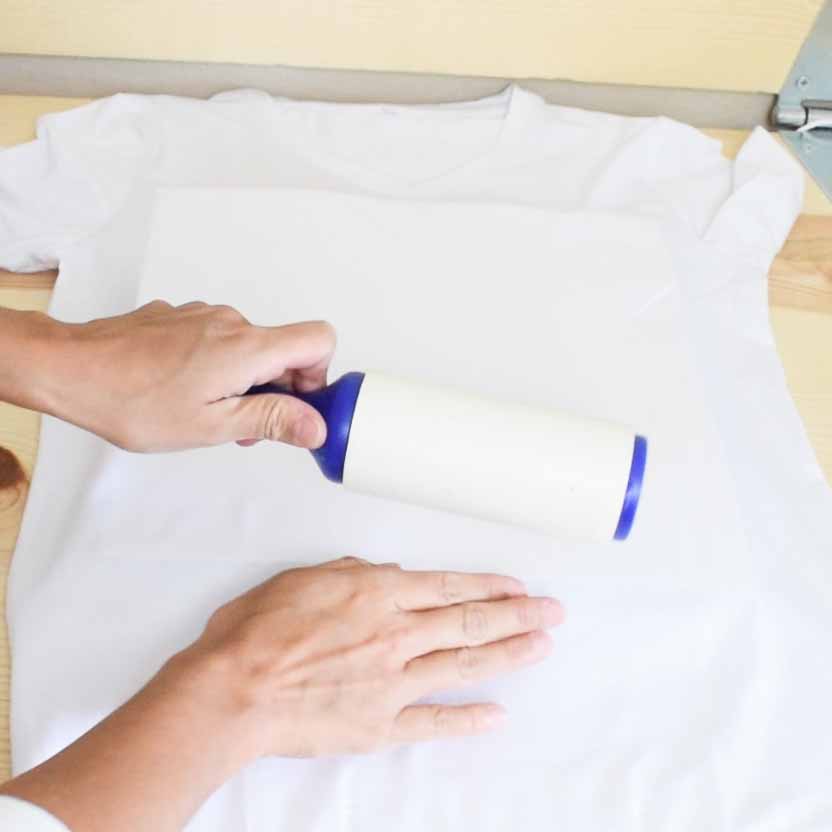
Step 2: Use the lint roller to remove any dust or lint particles. If you have hair or other little pieces of dust, then your design won’t be transferred on those areas.
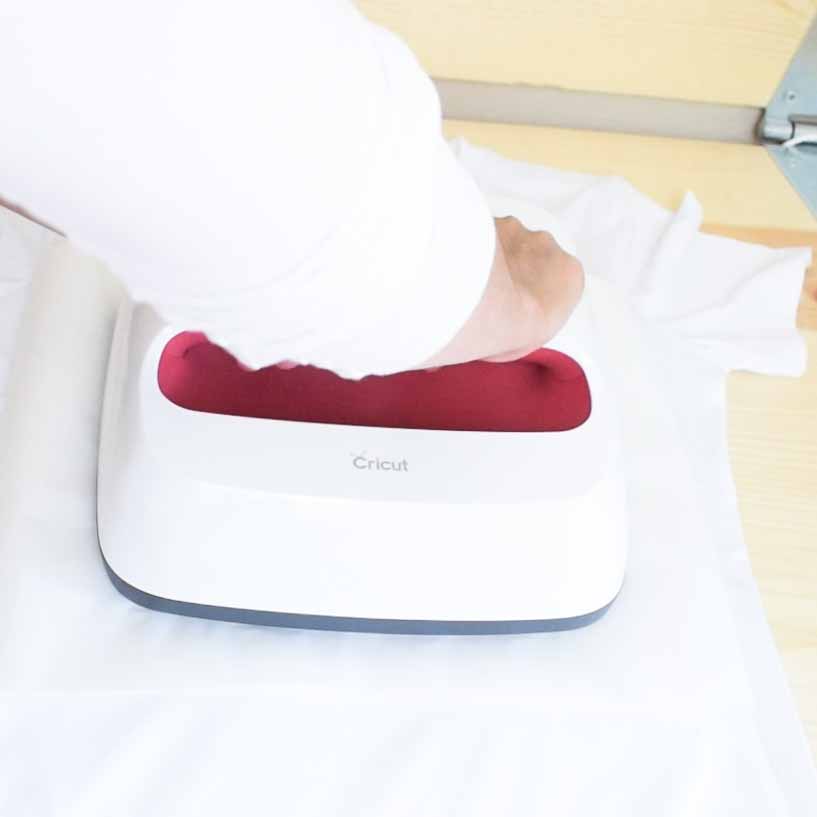
Step 3: Place butcher paper on top of the T-Shirt and preheat it for 15 seconds to get rid of wrinkles and any possible moisture. Wait a couple of seconds for the T-Shirt to cool off a bit.
Step 4 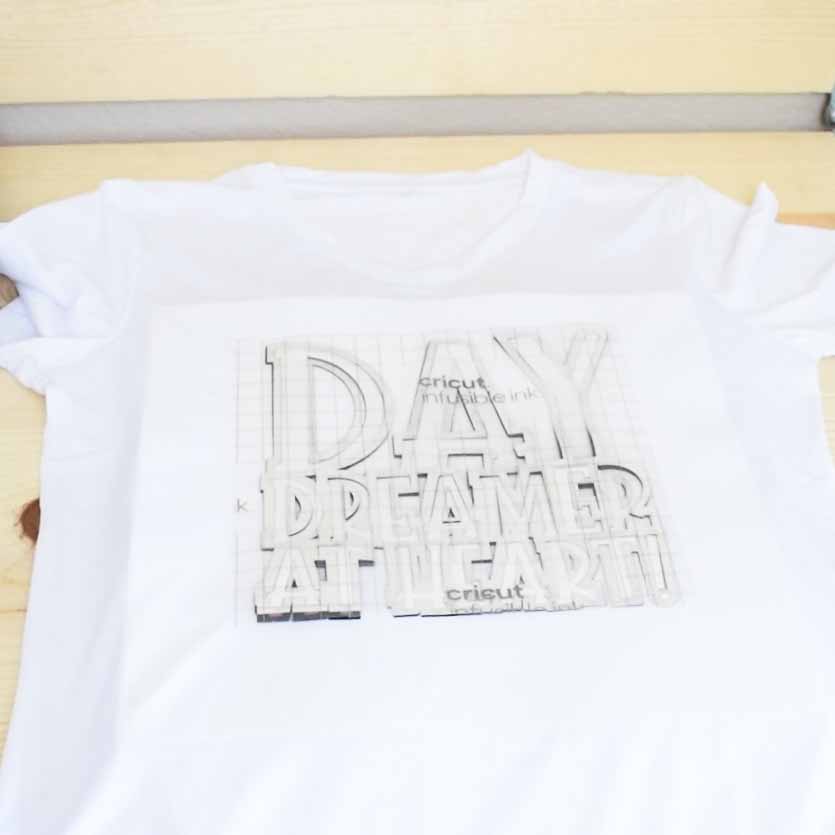
Step 5
Step 4:
Place your design Ink side down, cover it with Clean Butcher paper (sometimes already used butcher paper can have traces of ink). Keep in mind that the butcher paper needs to be larger than the heat plate of your EasyPress.
Once your design is covered with butcher paper place your Easypress on top of the design. Make sure all of the design is covered by the heat plate before you press.
Tip: When you place the Easypress on top, be decisive but also gentle. I also recommend you to bring the press from the top and not from the side.
Apply gentle pressure for 40 seconds (120 seconds if you have the first Easypress) and lift press slowly.
Step 5:
Gently remove butcher paper and allow your project to cool of completely to avoid ghosting.
When your project cools off remove liner, and if there’s any letters of part of the design on top of the T-Shirt use Tweezers to remove them. (That’s what Cricut Recommends, but to be honest I didn’t them use them at all)

Final Result 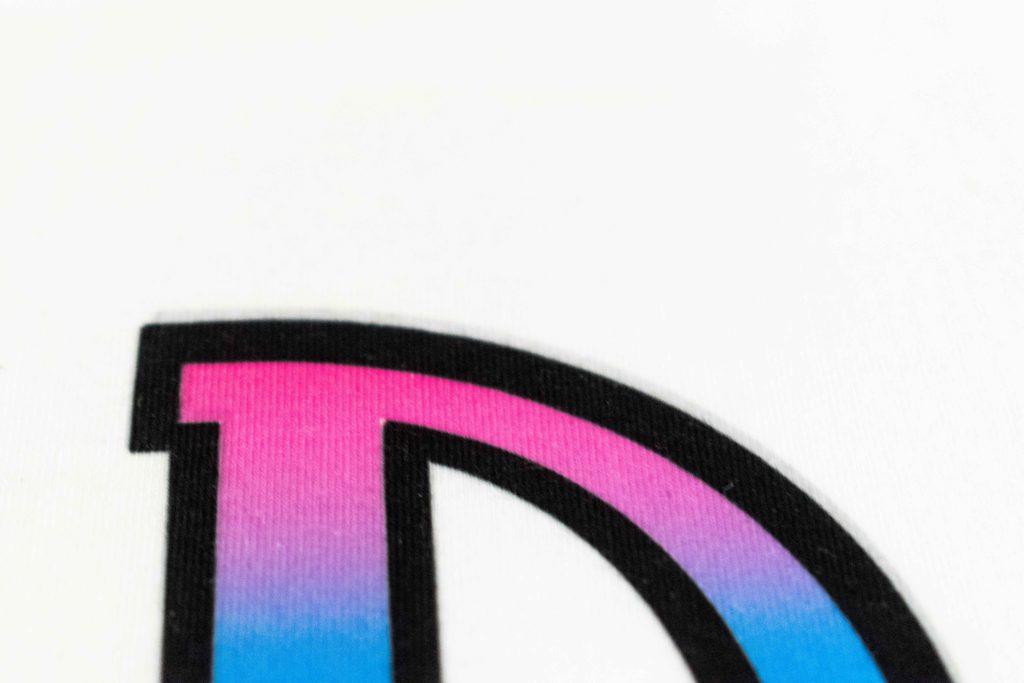
Ghosting
I really liked the final results, however I did get a little ghosting on my T-Shirt. I think the design moved a little bit when I placed the Easypress.
It was a bummer, but you can barely see it, and I am glad it happened so I can share my experience with you.
How to Make T-Shirts with Cricut Infusible Ink Pens
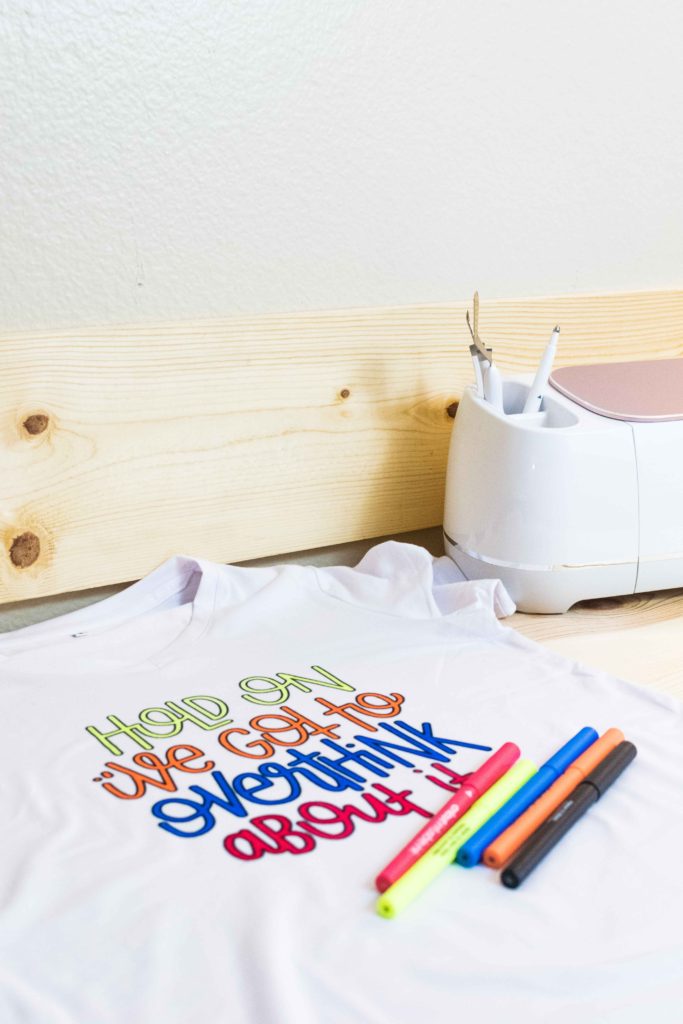
Making T-Shirts with Cricut Infusible Ink Pens was so much fun. I really thought the designed was going to look weird. I think it’s because of the fact that I’d never seen a marker become one with a T-Shirt.
The process will be quite similar, than the one I just explained especially during the transfer process. Don’t forget to wash your hands with soap and dry them completely.
Are you ready?
Let’s Daydream Into Reality!
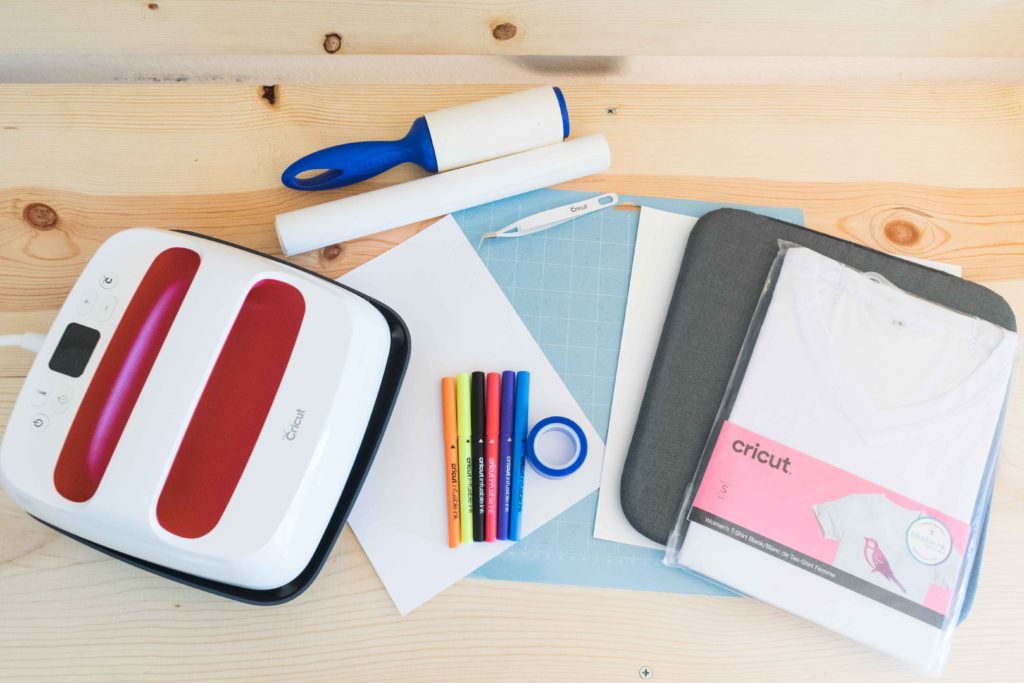
Materials
- Light Grip Blue Mat
- Cricut Infusible Ink Pens: I used the black marker to outline and the neon markers to color my design
- Laser Copy Paper
- Butcher Paper: If you have transfer sheets you can use some of the paper that comes with them, or you can get it for very cheap on Amazon.
- White Cardstock Paper: 80 lbs
- Easypress 2: You can also use the first Easypress, but results may not be as vibrant.
- Easypress Mat
- Lint Roller
- Heat Resistant Tape
- Cricut T-shirt Compatible Blank: I wanted to try them first on Cricut’s Blanks, but eventually I will be making Infusible T-Shirts with different brands.
Step 2 – Add Image from Cricut’s Library
For this T-Shirt I decided to use a cute and fun quote from Cricut’s library. It’s not free, but I really liked it. Oh, and it comes with Cricut Access, so if you have their membership…
Voila!… You can use it with no problems.
To add the image, click on the Images button located on the left panel of the canvas. If the image doesn’t appear right away (as It did for me) you can type in the code (#M105AD97) in the search box located at the right hand corner of the window.
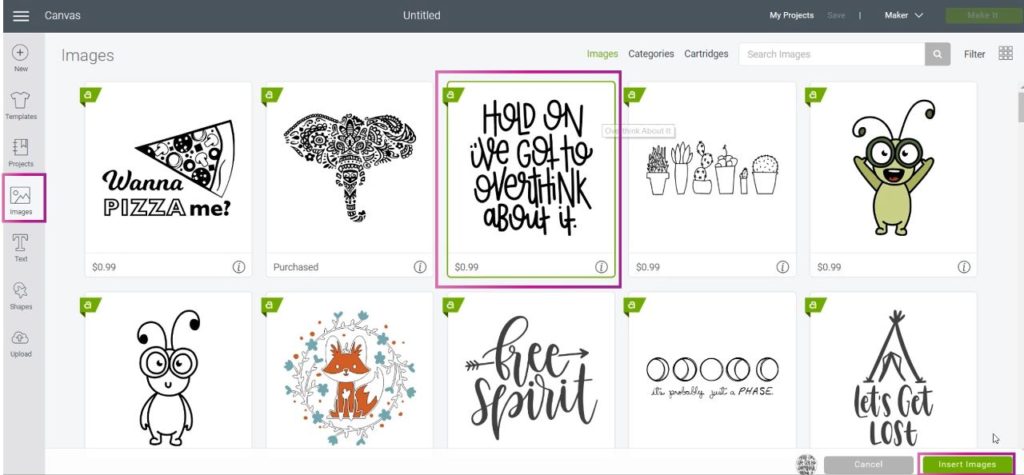
Once you find it, select it and click on Insert Images.
Step 3 – Resize Image
Before drawing your design you need to consider three things:
- The Size of your T-Shirt
- Size of your EasyPress
- Size of the Laser Copy Paper
There has to be a perfect balance because just like it happens with the Transfer Sheets, you need to be able to press your entire design on one single step.
I have the 9 x 9 in. Easypress and my Laser Copy Paper is 8.5 by 11 in. and since I had a Small T-Shirt I resized my image to 7.4 x 8 in.
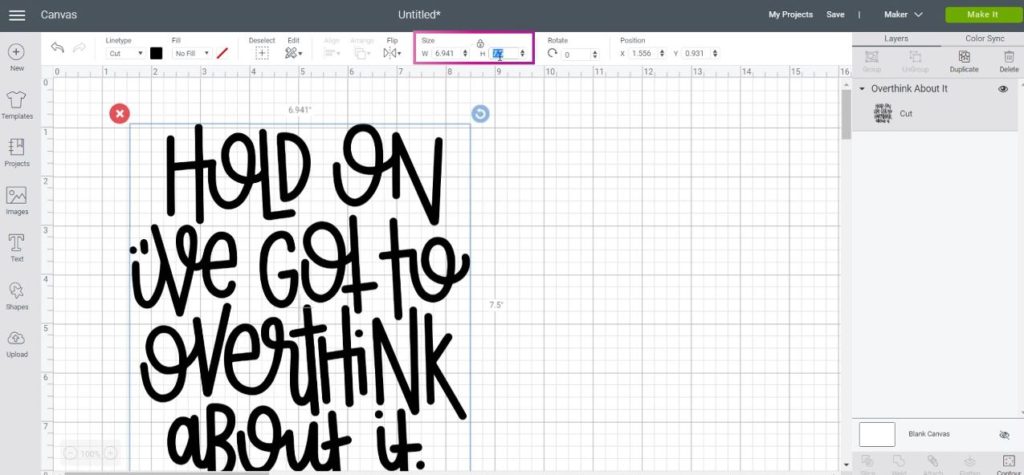
I usually like to use Templates (read my guide), but since I had to consider all the other variables, I just took real measurements.
As I always say, Infusible Ink is EXPENSIVE….So, take your time!
Step 4 – Change Linetype & Make it
When you insert your image you’ll notice that is set to cut. Since we will be using the Infusible Ink Pens, we need to change the Linetype to Draw.
To do this click on the Linetype drop down menu located on the top panel of the canvas and select the option Draw. To change the color of your pen, click on the color box next to linetype and search for the pen you want to use.
For this particular project, I used the Black (1 mm) marker.
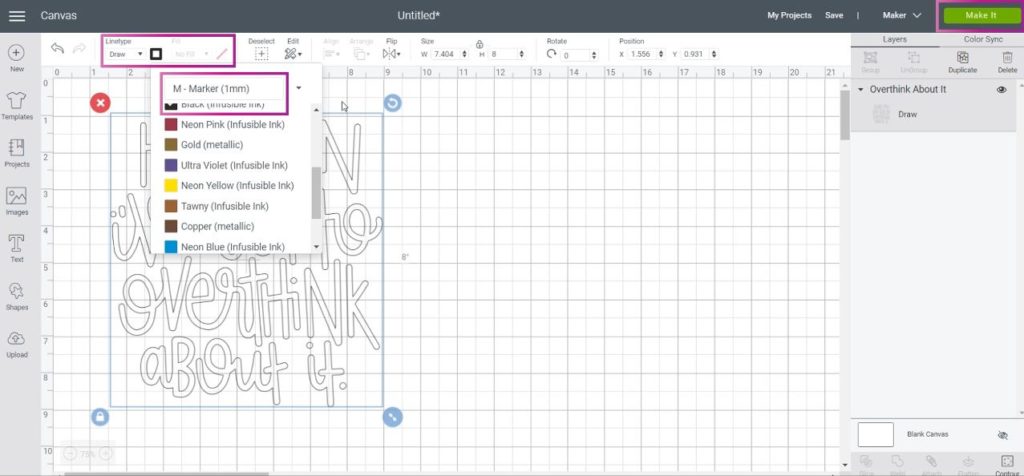
When you are done with all of the editing, click on Make it to draw the image.
Step 5 – Mirror On Your Image
Before you continue with the drawing process, you need to MIRROR ON you image.
This is very important, not only will you waste materials, but if you transfer your project, it will also look backwards.
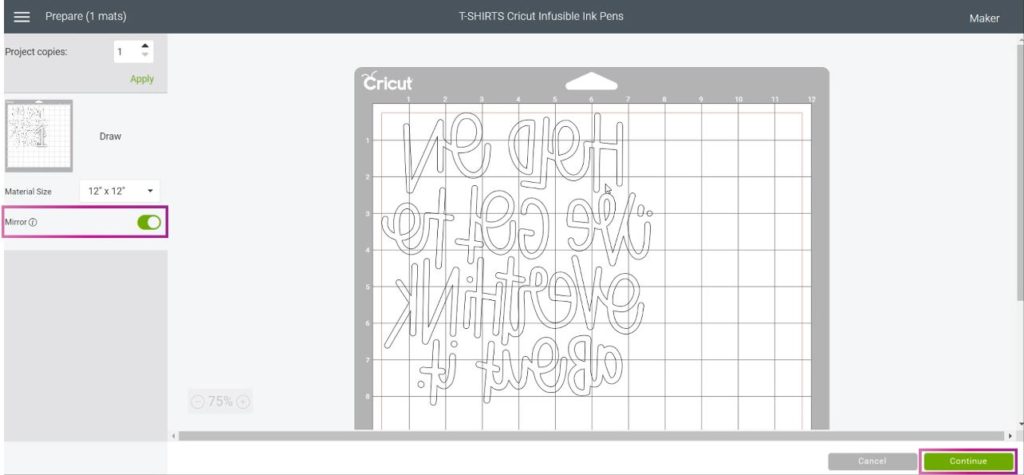
Once you mirror your image, click on continue to connect your machine, and send your project to draw.
Step 6 – Select Materials and Cut
To select your materials click on browse and choose Copy Paper (if you have a maker). If you have a Explore Machine just move the Smart Set Dial to paper.
For this project in particular we wont be cutting so you only need to install the Black (Infusible Ink) marker. Nonetheless, for future references, if you had to cut you would also need install the fine point blade.
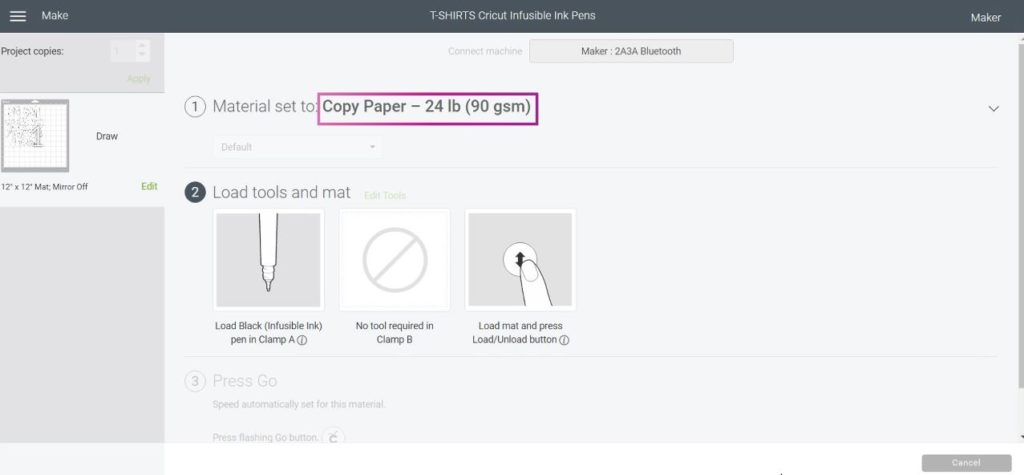
Your machine is almost ready to draw.
Let’s move to real life photos!
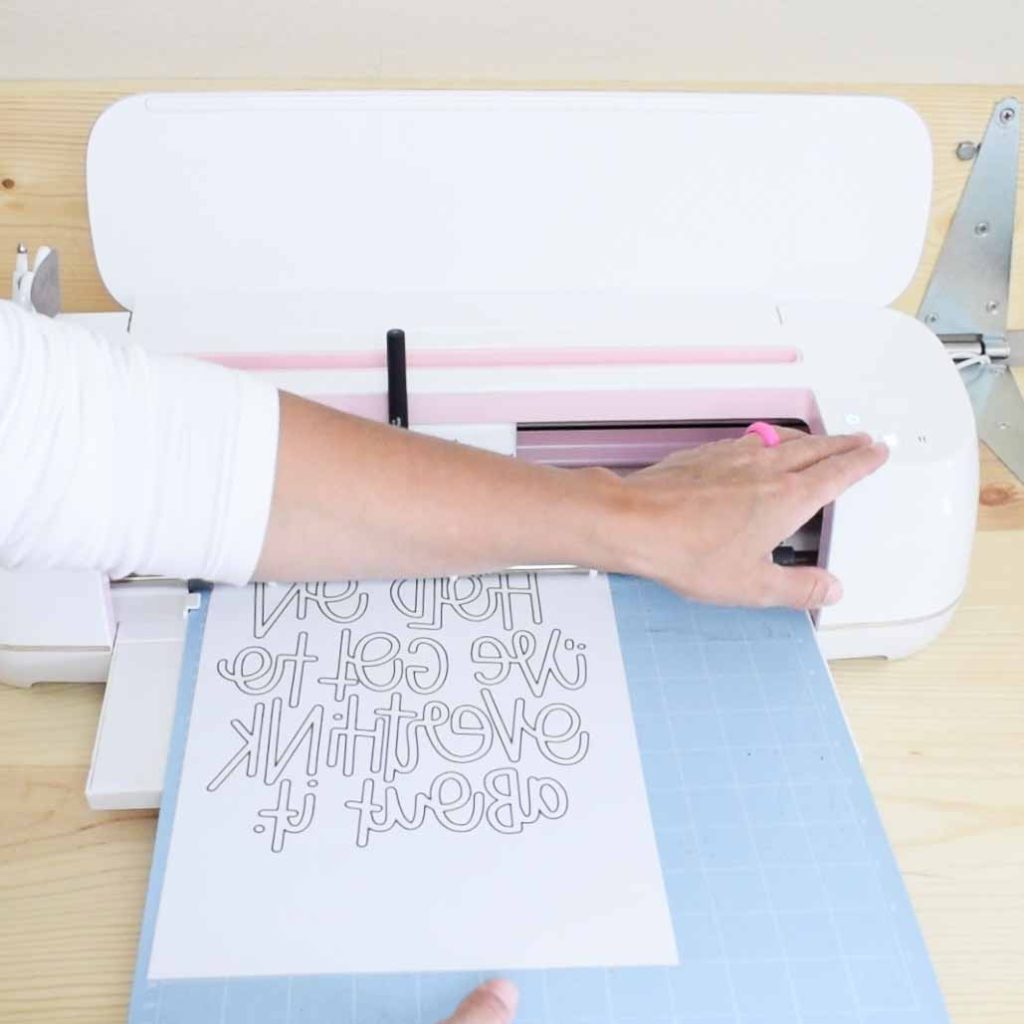
After installing the marker, place laser copy (just like the preview in Design Space) on a Blue Mat, and load it to your machine.
Press the flashing go button and, and unload mat once your machine is done cutting.
To avoid curling your project, remove paper from the mat by bending it like I show you in the photo right above.
Step 7 – Color with the Cricut Infusible Ink Pens
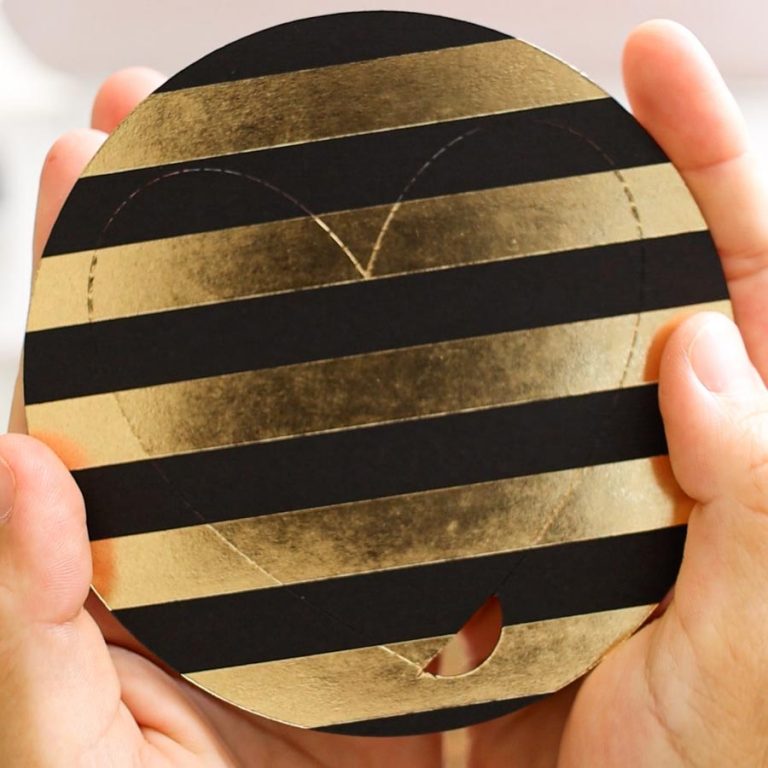
IMPORTANT: Many times Cricut will finish the drawing with a random dot at the end, so make sure you cut it out before you transfer your project.
As you can see right down below I had to use the scissors (at the top of the paper) to get rid of that dot.
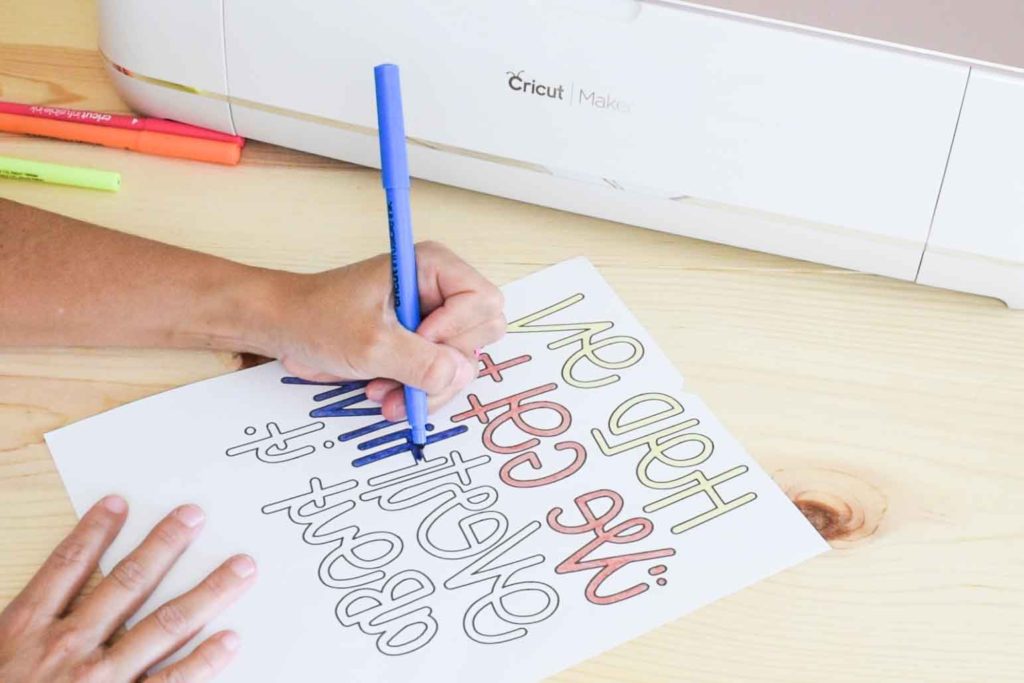
Once you cut that little dot out, go ahead and color your design. For this project I used the neon markers.
Tip: When coloring take your time because if you color outside the lines of your image, those little mistakes will transfer to your project!
Step 8 – Transfer Design Made with Infusible Ink Pens
As you are about to see, the transfer process for Infusible Ink pens is very similar to the one you would you use for Transfer sheets.
In fact, the preparation is identical. Let’s see an overview.
Step 1 Step 2 
Step 3
Start by preheating your Easypress 2 to 385°F (360° F if you have the first Easypress).
Step 1
Place Cardstock inside the T-Shirt and lay your T-Shirt on top of the EasyPress Mat. Make sure you are isolating the area you want to transfer your project to from any seams.
Step 2
Use the lint roller to remove any dust or lint particles. If you have hair or other little pieces of dust, your design won’t be transferred on those areas.
Step 3
Place butcher paper on top of the T-Shirt and preheat it for 15 seconds to get rid of wrinkles and any possible moisture. Wait a couple of seconds for the T-Shirt to cool off a bit.
Step 4 
Step 5 Step 6
Step 4
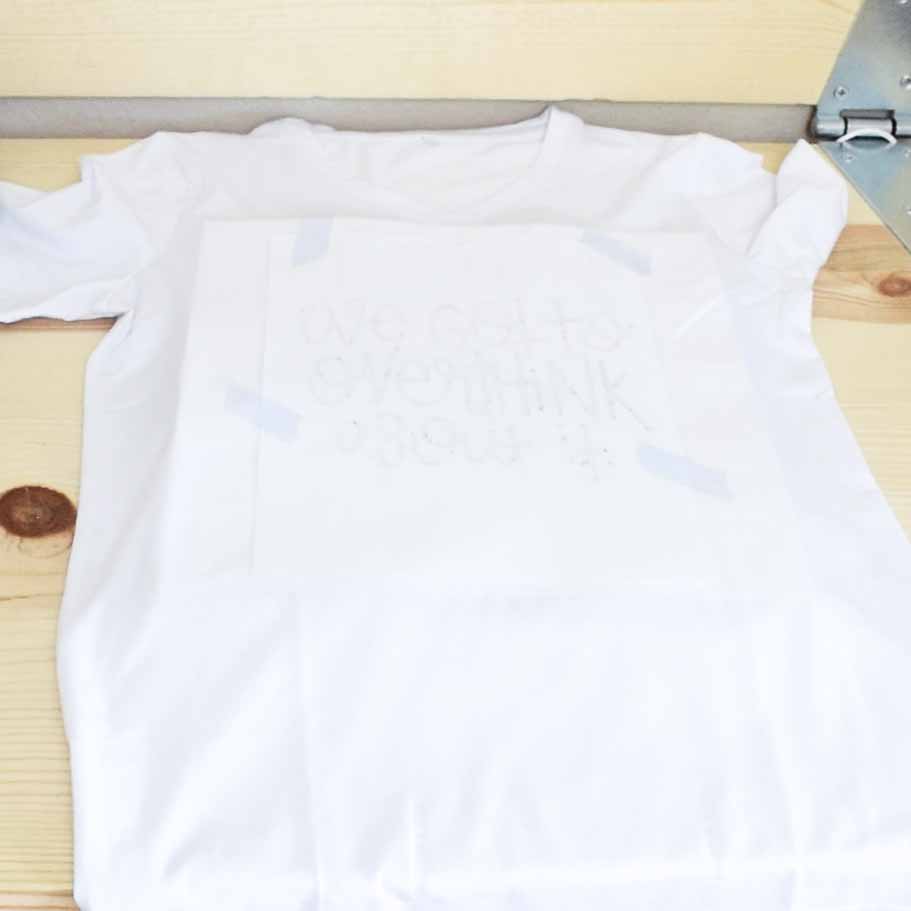
Place project ink side down and secure your it with Heat Resistant Tape. Avoid placing the tape on top of your design (it may interfere with the transfer process).
Step 5
Cover your already secured project with clean Butcher paper (needs to be larger than the heat plate of your EasyPress) because sometimes used butcher paper can have traces of ink.
Finally it’s time to transfer!
But before you do it, make sure all of your drawing is covered by the heat plate before you set press on top of the image.
Tip: When you place the Easypress on top, be decisive but also gentle. To avoid ghosting I recommend you to bring the press from the top and not from the side.
Apply gentle pressure for 40 seconds (120 seconds if you have the first Easypress) and lift press slowly.
Step 6
Gently remove butcher paper and allow your project to cool off completely; then remove Heat Resistant Tape and laser copy paper.
I really loved the final result of this T-Shirt (More than the one with the transfer sheets). I don’t know why, but I thought it was too good to be truth!
How to Care for T-Shirts made with Infusible Ink
Taking good care of your T-Shirts will ensure that they last for a long time. Here are some the things you should always do:
- Turn T-Shirt inside out before washing
- Use cold water and mild detergent
- Tumble dry low or air dry
- Don’t use dryer sheets, bleach, or fabric softeners.
Share it!
I really hope your T-Shirts look amazing. And remember follow the instructions to the Tee!
Do you know it takes me over 25 hours to complete a single Cricut article? I know it’s wild, but I want to make sure you understand everything!
I would appreciate your support on Instagram , Pinterest , and YouTube as I try to grow my audience and continue producing great content!



Can this be used on 100% cotton tee shirts?
Unfortunately, it can’t 🙁
Great Tutorial. Such a great job explaining. Thank you for sharing.
I have tried twice to do a tshirt with the infusible pens. It’s the drawing of a dinosaur skeleton. It starts fine, but the drawing never seems to go to the edge of the paper almost like there’s a margin set and it also quits drawing halfway through. The pen quits touching the paper. I’ve paused it and made sure the pen is all the way down and it always is. It did this as well when I tried to make gift tags. Any idea why? They are cricut brand infusible ink pens. I’m at a loss.
This is very odd. Have you tried contacting customer service?
What do you recommend for washing instructions? I made one and it looked very cute but after washing the black contour faded a bit. I think I washed in cold water. Thanks.
If your t-shirt didn’t have enough polyester that may be why it faded out a little bit!
Hi Catalina
Great tutorial! Thank you!
Ursula
Thank you for this tutorial! I have just started using infusible ink and I am so frustrated with the transfer sheets not working for me.
I bought the pens & I am going to try them and see if they are a better fit for me.
My image won’t transfer to the shirt is it because I am using a regular shirt from hobby lobby, I have laser ink copy paper, Cricut pens parchment paper?
If you are using cotton, that’s why! You need Polyester.
It looks great. I do not have pens yet as all I have done is HTV. I am sure this will be in my line of creating.
Thank you so much for such detailed directions! My question is if multipurpose office paper will work or if it has to be specifically labeled as laser paper?
Some people have used regular paper and have had good results. I have one that says laser and regular so I think it could work. Try on the small fabric sample Cricut has inside their transfer sheets.
This is really great thank you
What’s the difference between Inkjet copy paper and Laser paper? The first one won’t work?
Laser paper is a little bit thicker and better quality.
I’m brand-spankin’ new to Cricut. I haven’t purchased anything yet – everything is out of stock! If I free draw on laser copy paper with Infusible Ink pens instead of using a Maker or Explore Air 2, and then color them in with the same pens before using the Easypress2 will the transfer work?
Yes it will! Make sure that the images is mirrored. If you write letters like you would normally do, your design would look backwards!
I hope this helps 🙂
Thank you! I completely forgot about mirroring the image… off to pick up some lazer paper!
Hi! Could you tell me how you got the letters to outline and than fit in on the inside of them?
I did it on Adobe Illustrator. Cricut doesn’t have an option for this. I have a tutorial that shows a workaround.
Hi I’m new to this all and about to purchase an EasyPress 2 but not sure what size to get. I would want to make different sized products. To start off I was going to purchase a sublimation transfer because I don’t own my own machine yet to cut. So a lot of them are bigger sizes for T-shirts like 9.5×11 etc
Will the 9×9 be ok to use?
If you want to do sublimation I would get the biggest EP! 9×9 will be to little for 9.5 x 11 in designs!
Thank you. Very helpful..
You’re very welcome!
I’m new at this, thank you for the help!
I am glad I can help 🙂
Used the infusible ink pen on laser paper but image comes out lightt… what am I doing wrong
It’s normal. Infusible Ink will look dull on paper/transfer sheet but it will be vibrant once you transfer it.
I like to use the A-Sub paper, it makes a world of difference on all of your heat transfer either Cricut infusion or sublimation.
I don’t have an Easy Press. Will a regular iron work?
The final result of using an Iron is not good. Infusible Ink is such a delicate material. I wouldn’t recommend it 🙁
I’m a super beginner with my New CRICUT maker. Love your thorough instructions.
You’re very welcome! I am glad I can help.
I used George sorts from Walmart for $3.88 ea. 65/40 blend and used pens. My first try and turned out fantastic. Thanks for your great instructions. Wish I could post a pic.
Hi Brenda! That’s awesome, I’d love to see a picture too! You can tag me on Instagram @daydreamintoreality
I think the ghosting on the first project is probably because the heat tape wasn’t part of the steps on both projects. Heat tape is mentioned as a product on the lists, but I did not see it mentioned in the steps.
You really don’t need heat resistant tape with transfer sheets because the carrier sheet sticks to the fabric. Although, I think we are better off using it to prevent ghosting.
It caused ghosting because I put the EP in a weird way and moved the carrier sheet. I was trying to film at the same time.
Thank you for commenting!
Will this only work on polyester shirts or will it also work with cotton and 50/50 blend shirts?
I haven’t tried this myself. However, I’ve seen people using a cotton-poly blend with no problem, in this case, YouTube is your best friend. (I will have an article about this coming soon too.)
Will it work on dark fabric?
Hi Heather,
Infusible Ink won’t work on dark materials.
Cut glitter iron on as a base, then apply infusible ink (sheets or pens) onto the glitter. Glitter is has polyester so the transfer stays. Cricut has a project, search the infusible ink category or the project title is ” I Identify As An Unicorn T-shirt”
I’ll have to try this myself! Thank you.
Hi Catalina i want to start my own tshirt line..which products is best or versatile? Is there difference with cricut explorer and maker
Happy for your coming business! Yes, there are tons of differences. Check out the comparing of the Maker and the Explore machine