Hello Daydreamers!
In today’s tutorial, you’re going to learn how to personalize socks with your Cricut using heat transfer vinyl (HTV/Iron-On) and Infusible Ink.
I will be covering all the steps you need to know to make the most beautiful socks ever, and I will also share with you other valuable tips that I learned and tested, so you have durable and cute socks.
Not only that, but I also have 12 beautiful Free SVG socks templates for you to download and follow along with this tutorial.
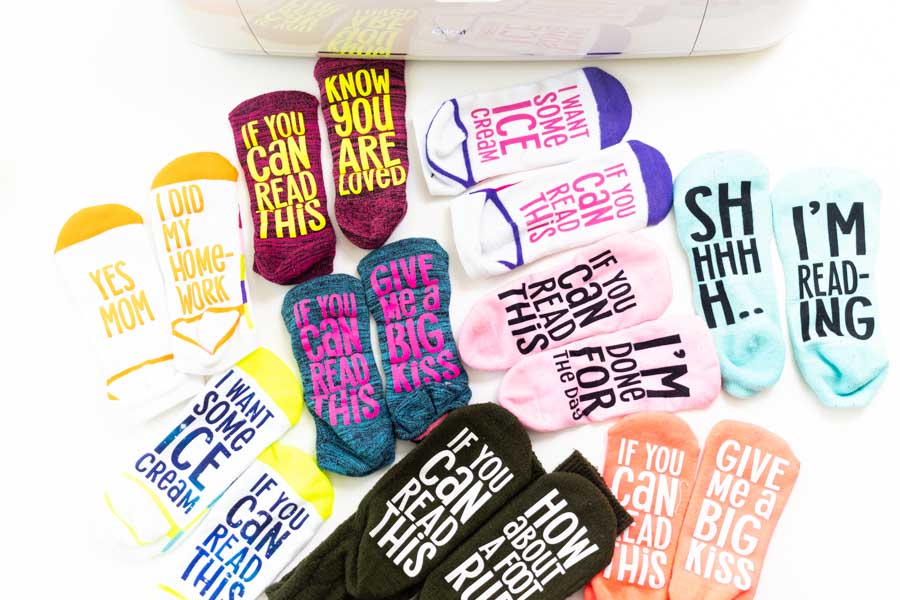
In a nutshell, these are the topics I will be covering in this tutorials.
- What types of socks should you use
- Should you use iron-on or infusible ink for socks?
- Measuring before you start on Design Space
- Materials you need for personalizing socks
- Personalize your socks with iron-on step by step (Easypress and household iron steps)
- Personalize your socks with Cricut infusible ink step by step
- Taking care of your socks and real-life wear and tear test
- More socks examples
Ideally, you will read this tutorial from the beginning because, as we go, we will be implementing the concepts mentioned in the previews steps.
Are you ready?
Let’s Daydream Into Reality!
Ideal socks for personalizing with Cricut
Choosing the right type of sock for this project is crucial. The most important thing to consider is the smoothness of the sock.
Take a look at the sock down below.
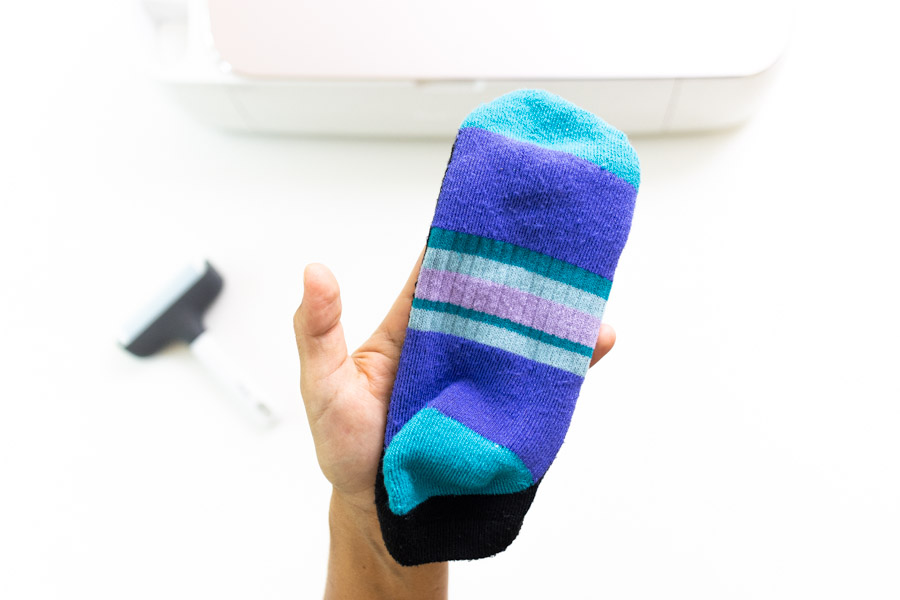
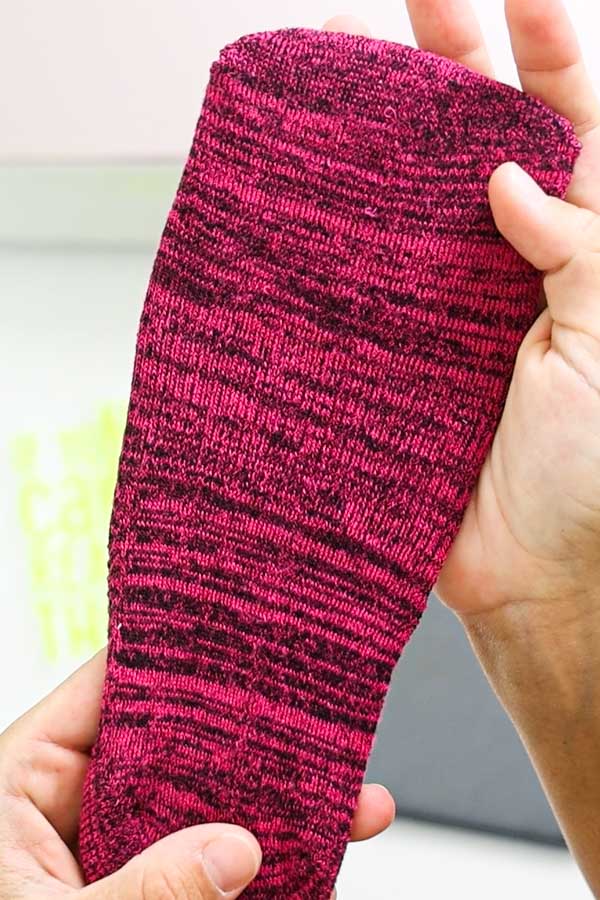
The sock center has a weird pattern that will get in the way when you’re trying to transfer either iron-on or infusible ink.
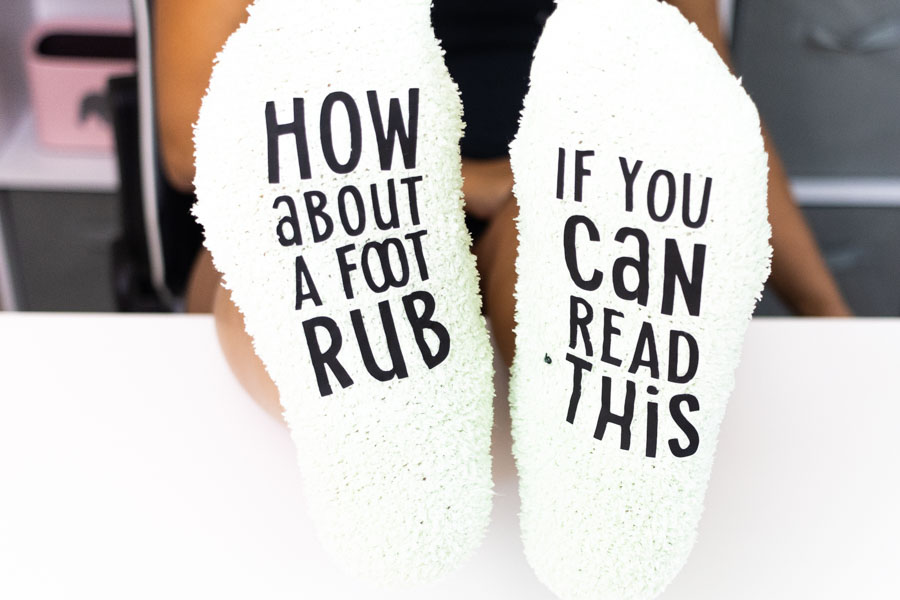
Fuzzy socks can also be a problem (you can see how they look at the end of this article), I recommend you wash them a couple of times to eliminate additional lint.
Other than the smoothness of the fabric, feel free to try any type of sock.
I encourage you to be creative!
Not that plain white blanks aren’t good enough, but try to look for vibrant colors, sock-style (workout, winter, etc.)
Should you use iron-on or infusible ink for socks?
Right off the bat, let me tell you that infusible ink is my to go when personalizing socks. The results are smooth and beautiful; however, there are some reasons why you would like to use vinyl.
- Use HTV if socks are dark (Infusible ink only works on white/pastel colors)
- Use HTV if the polyester count in your socks is less than 80%. Or you don’t even know what material your socks are made of.
- Use HTV if you don’t have an Easypress.
- Use Infusible Ink if your design has thin lines, vinyl tends to crack over time when the design is thin.
As with everything in life, there are also pros and cons, especially if you like to walk on socks as I do.
Pros/Cons of Infusible Ink on Socks
- Design more durable; you can walk on them as much as you want.
- Although still readable, as you wash your socks, expect the design to get covered with lint.
- If you walk on them a lot, socks will get stained and just dirty in general (if this doesn’t happen to you, please, let me know your tips).
Pros/Cons of Iron-On on Socks
- Design wears off with time; it can crack and also peal if you don’t transfer correctly.
- Vinyl washes beautifully, and it will keep a beautiful vibrant color over time, and if you used dark socks, you could pretty much walk without fear of staining your socks.
Important Measuring Tip
Testing, testing, testing!
Before I start taking pics and videos to put an article together, I can easily spend 5 to 15 hours experimenting with different techniques, so you don’t have to endure the mistakes I go through.
The following tip is quintessential, in my opinion, when working with iron-on and infusible ink.
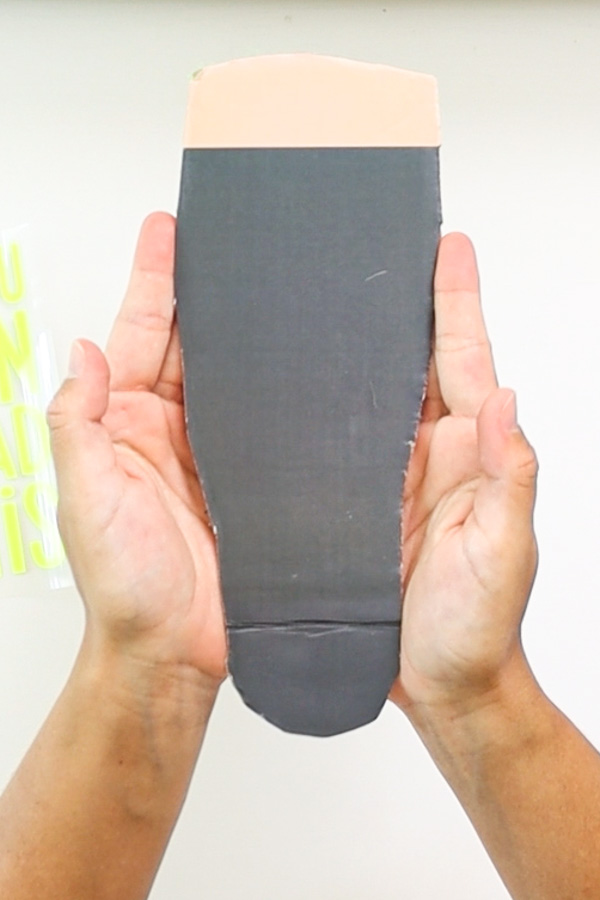
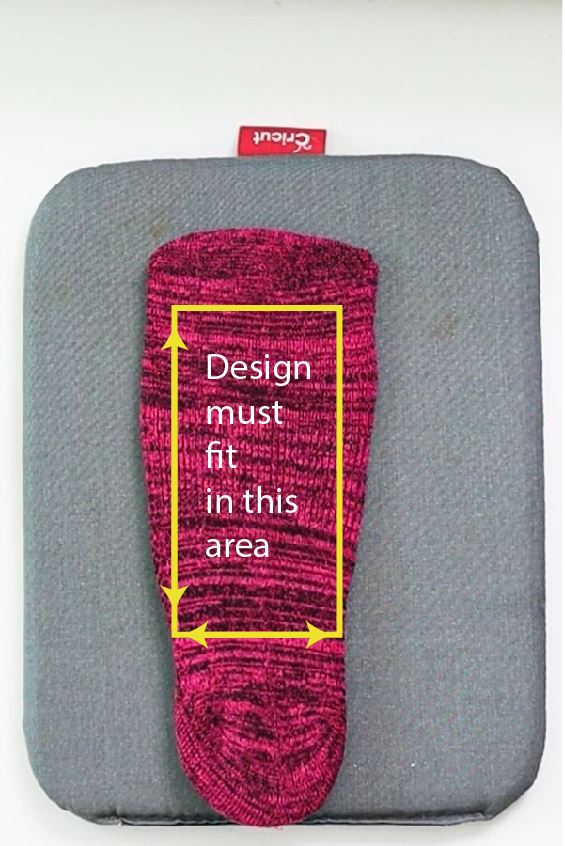
Grab a shoe or amazon prime box (I am 99% sure you have one laying around lol) and with a marker draw the shape of your foot, then cut around it.
Use the big toe as a reference to cut at the top, like the picture down below.
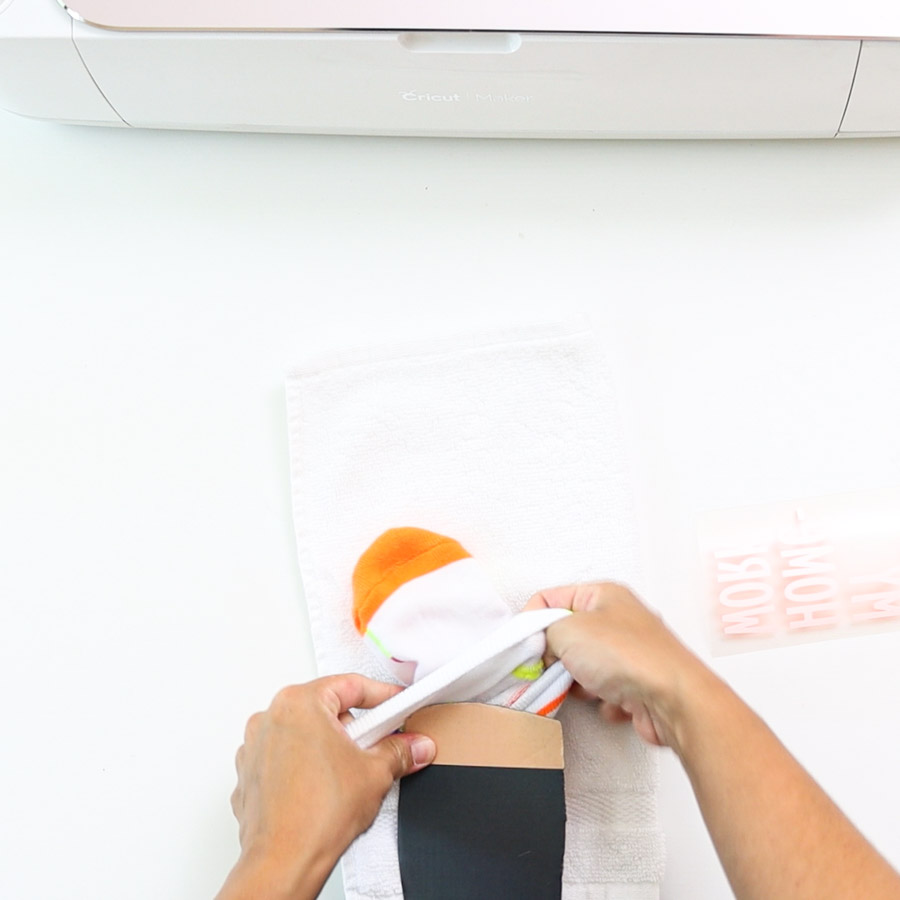
Once you have the cut, place it inside the sock and then use this as a reference to measure your project size. Avoid the heel and toe area.
When you stretch out the sock according to your feet, your design will look so much better.
If you are making these socks for a friend, try to get as close as her/his foot size, it makes a difference.
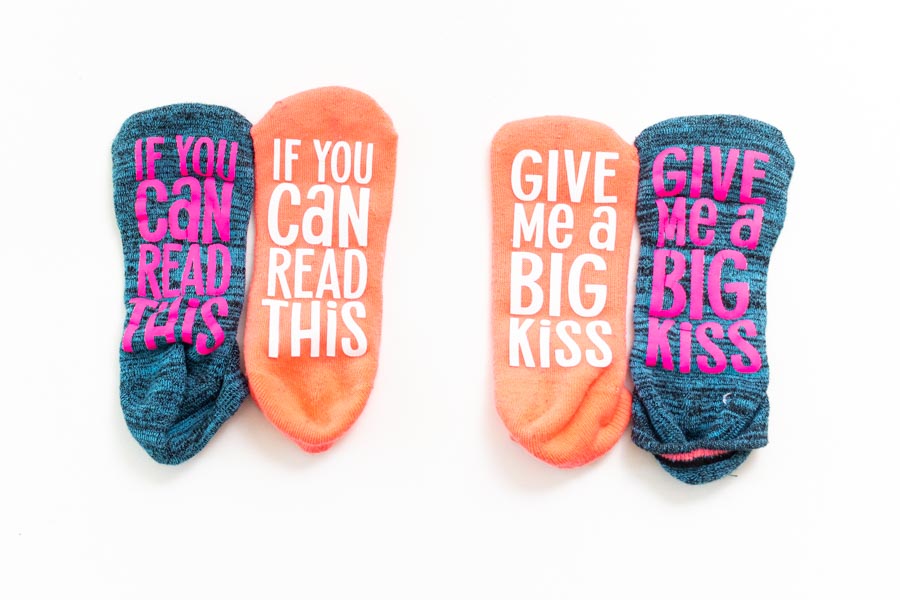
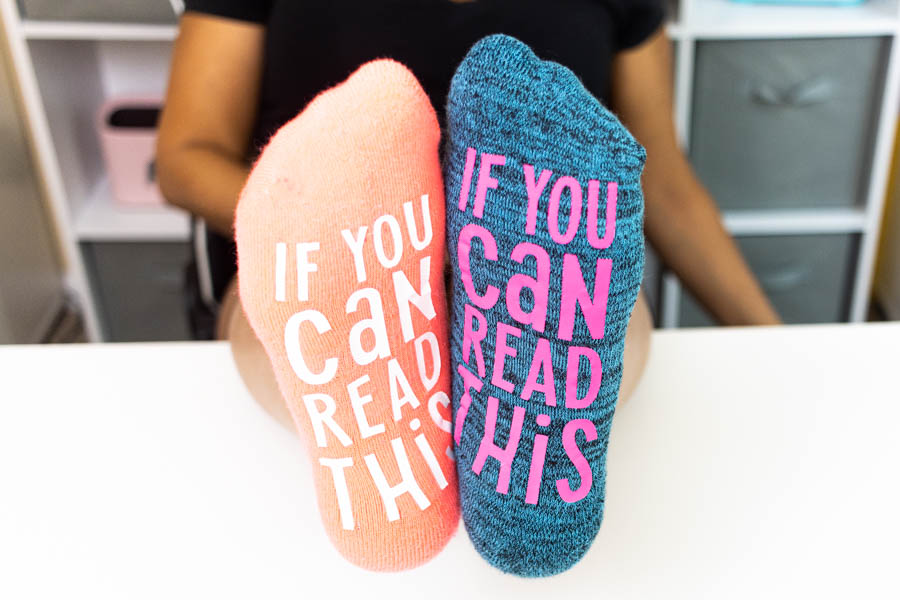
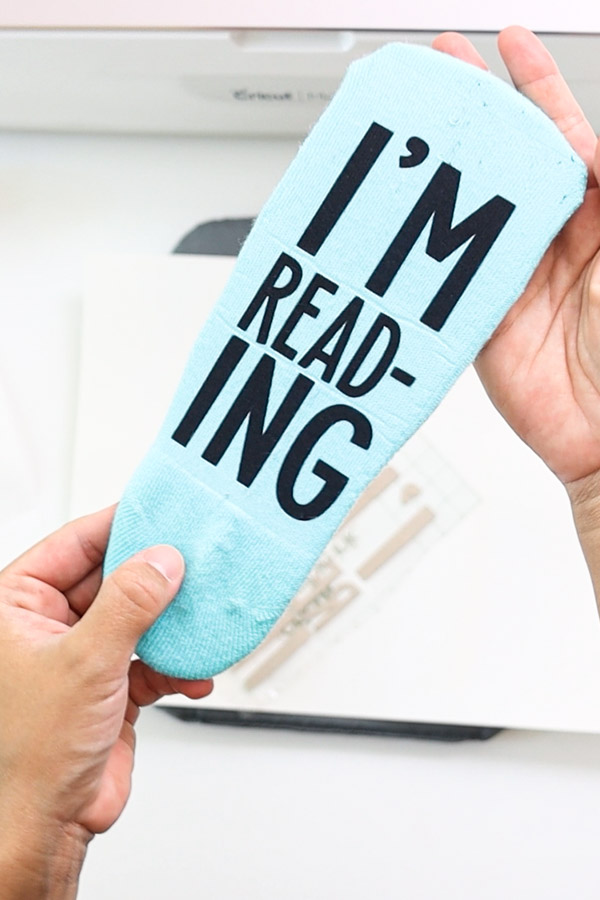
The blue sock was made using the technique I just mentioned, and the orange sock was made without the cardboard.
There’s a clear difference!
When you’re not wearing the socks, the vinyl will look more chunky because you stretched out the fabric, but the design will cover your feet to perfection when you wear them.
Not only will the cardboard make your socks look better when you’re wearing them, but, for some reason, I feel the transferring process (when using HTV) is easier.
I had to press forever to get those orange socks to work, and ruined a pair in the process.
Why?
I think it’s the humidity, I am living in GA right now (this never happened to me in CO) and we are in the summer heat.
Materials for Personalizing Socks with Cricut
The materials and accessories you will need for this project will vary depending on the type of transfer.
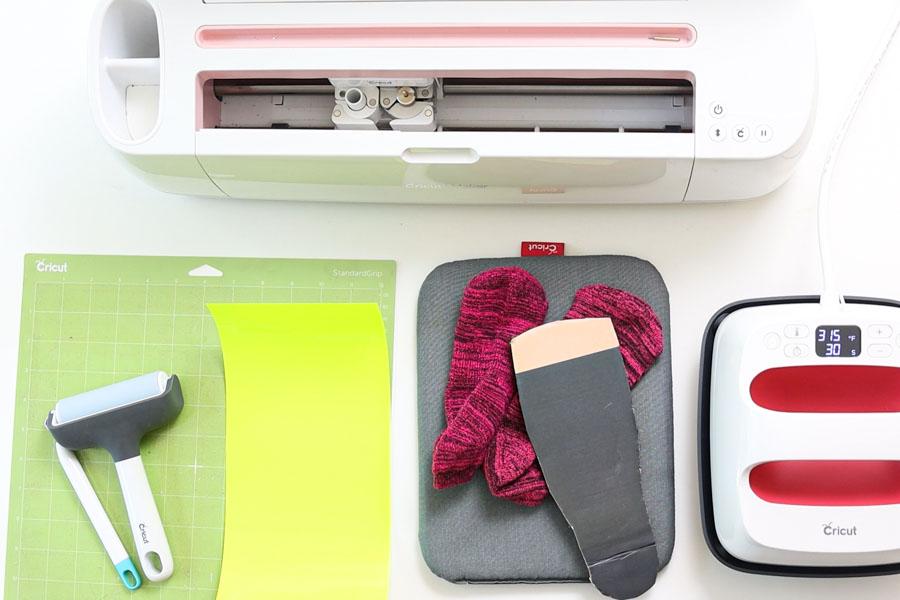
Tools/Accessories
- Cricut – Maker, Explorer, Joy
- Fine Point Blade
- Standard Grip Mat (green mat)
- Cardboard in the shape of your foot (make sure you read the tip on this)
- Brayer/Scraper
- Practice files (download below)
The rest of the Free SVG templates are all in this article at the end of the step by step cutting and transferring with infusible ink.
Materials when using iron-on
- Pair of socks
- HTV
- Easypress/household iron
- Easypress mat/towel
- Parchment paper (when using an iron)
- Weeder
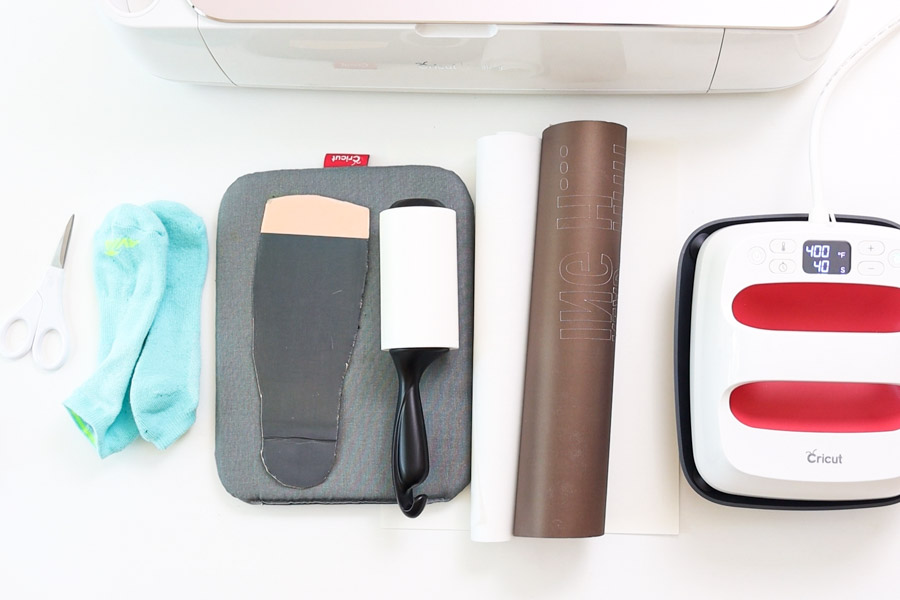
Materials when using infusible ink
- Pair of socks – At least 80% polyester count white or pastel colors.
- Infusible Ink Transfer sheets
- Easypress
- Easypress Mat
- Lint roller
- Butcher paper
- White cardstock
Personalizing Socks with Heat Transfer Vinyl (HTV)
Are you ready to make your first pair of personalized socks with Cricut?
Create a new project in Cricut Design Space, then upload the first practice file (you can download it from the materials list) by clicking on the “Upload” icon and then on “Upload Image.”
After following the prompts, select the file from the “Recently uploaded images” and click on “Insert Images.”
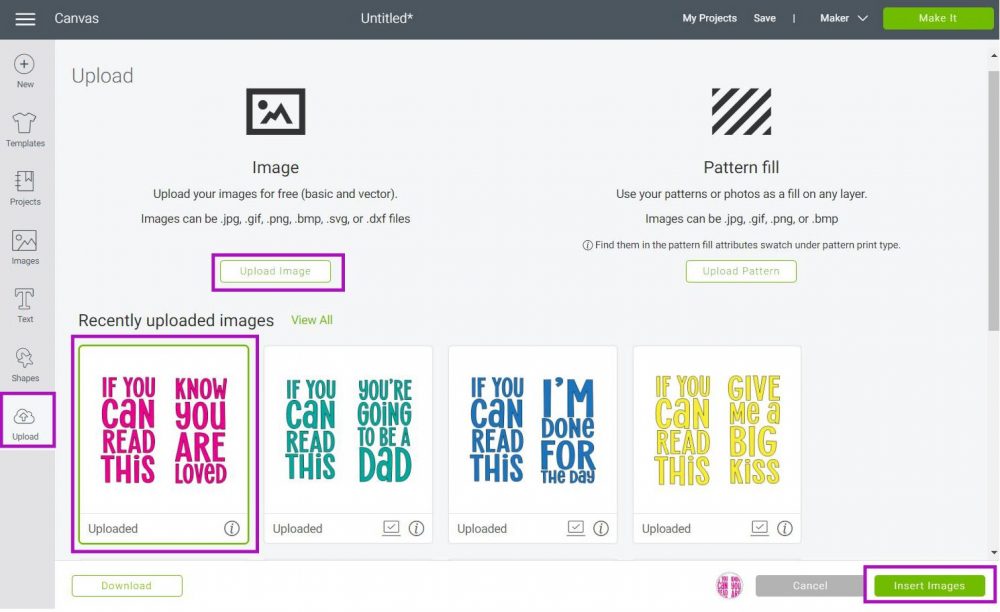
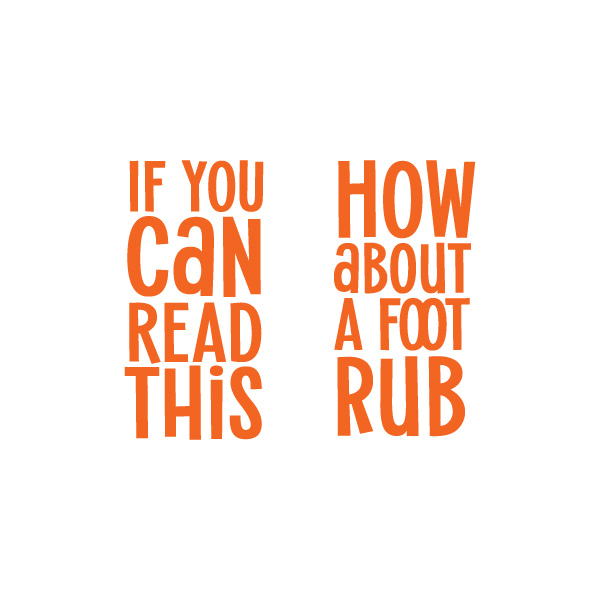
When you first upload an SVG file to Design Space, you’ll notice there are many layers, which means we need to do some clean up before we can use the file.
First, select it on the canvas area and click on “Ungroup” located on the top of the Layers panel, then select all the letters from “If you can read this” and click on “Weld” at the bottom of the Layers panel. Repeat this last step with, “Know you are loved.”
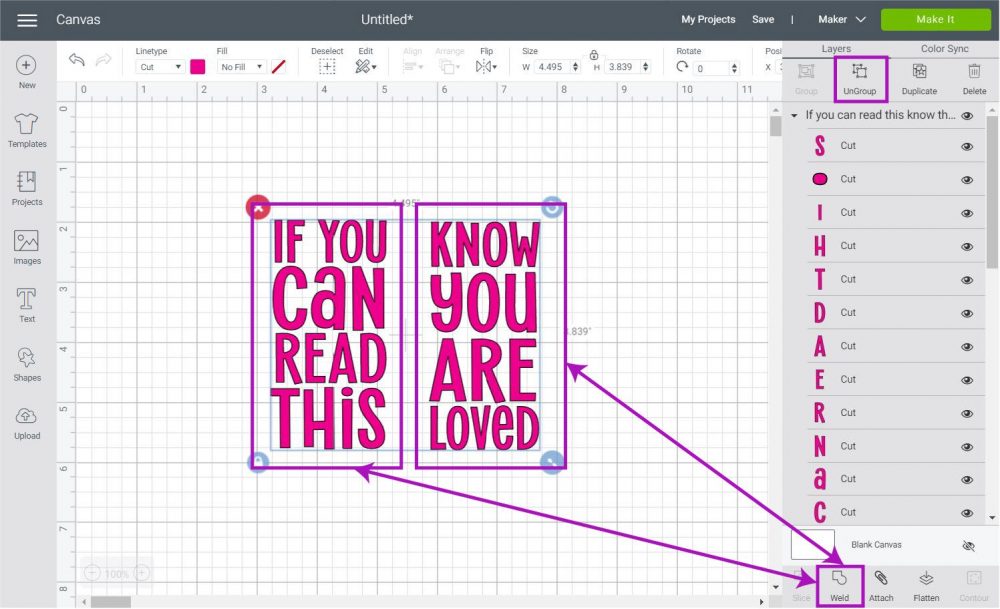
This is how your design should look like after ungrouping and welding elements for each sock.
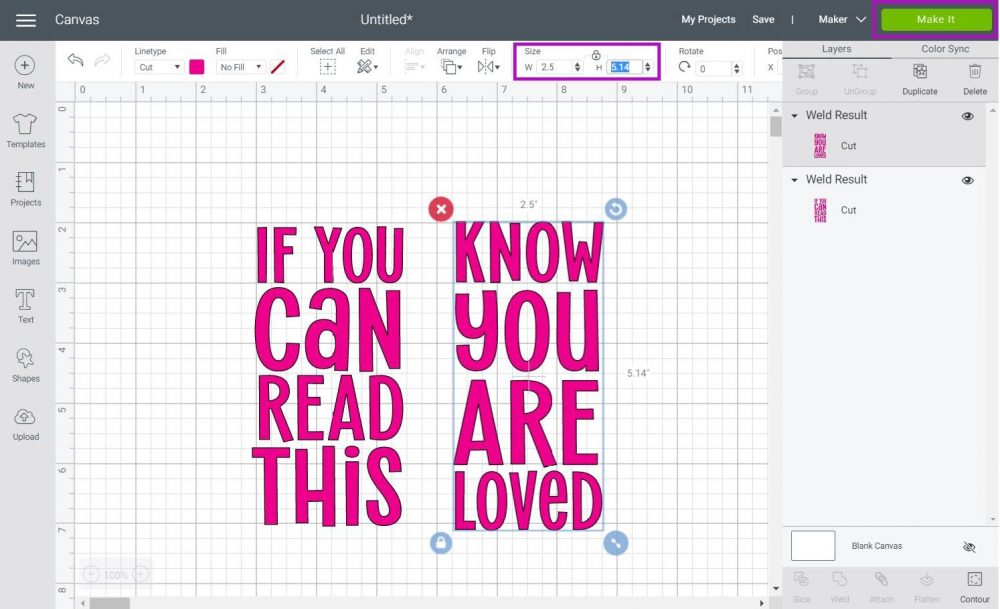
Now it’s time to resize your project according to your sock size; remember the essential tip we covered at the beginning of this article!
Once you resize, click on “Make it.”
Anytime you plan on cutting HTV, you need to mirror your image; otherwise, your design will look backwards when you transfer it!
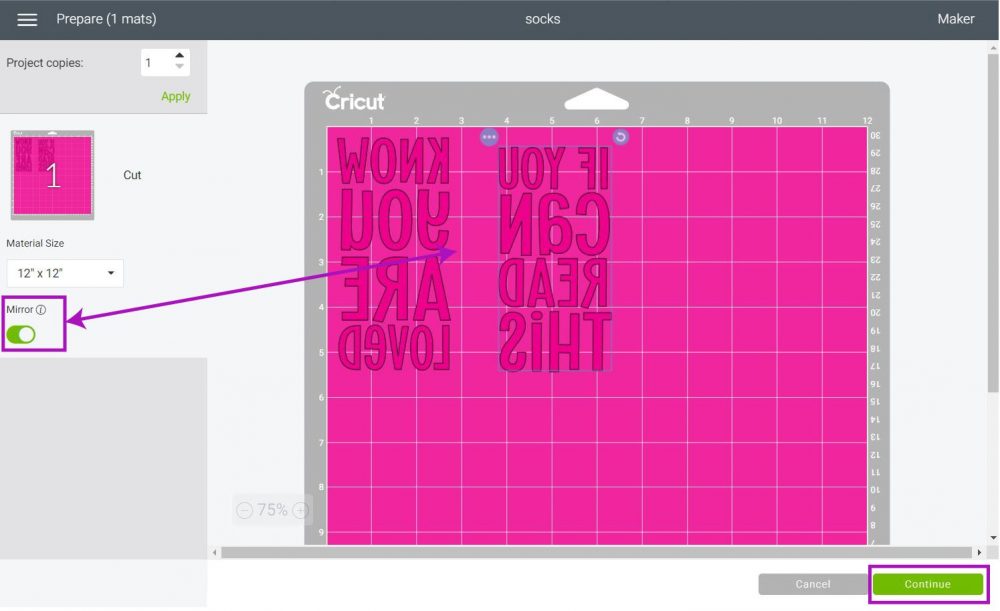
Click on continue to select your materials.
The good thing about this project is that you can use the Cricut Maker, Explorer, and Joy!
If you have a Cricut Explore machine move the dial to Iron-On; if you have a specialty vinyl, select custom and click on “Browse all Materials” from Cricut Design Space.
For the Joy and the Maker (what I am using) choose from most common materials, or if using specialty HTV select from “Browse all Materials.”
Tip: For socks, I wouldn’t recommend specialty vinyl like foil and holographic because these materials are so delicate, and if you plan on walking on your socks, that’s a recipe for disaster.
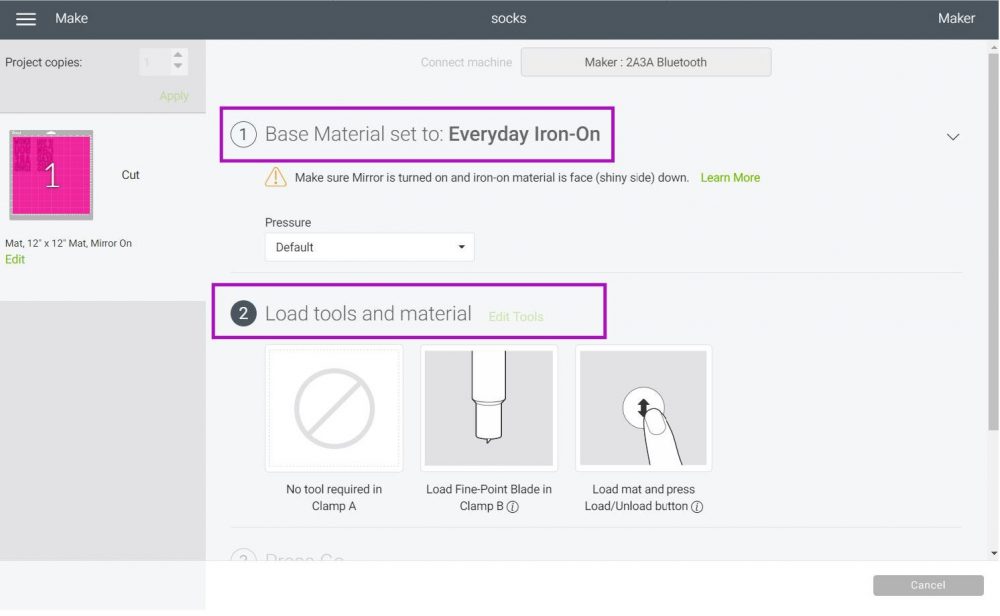
Let’s move to real-life pictures!
Cut and Weed
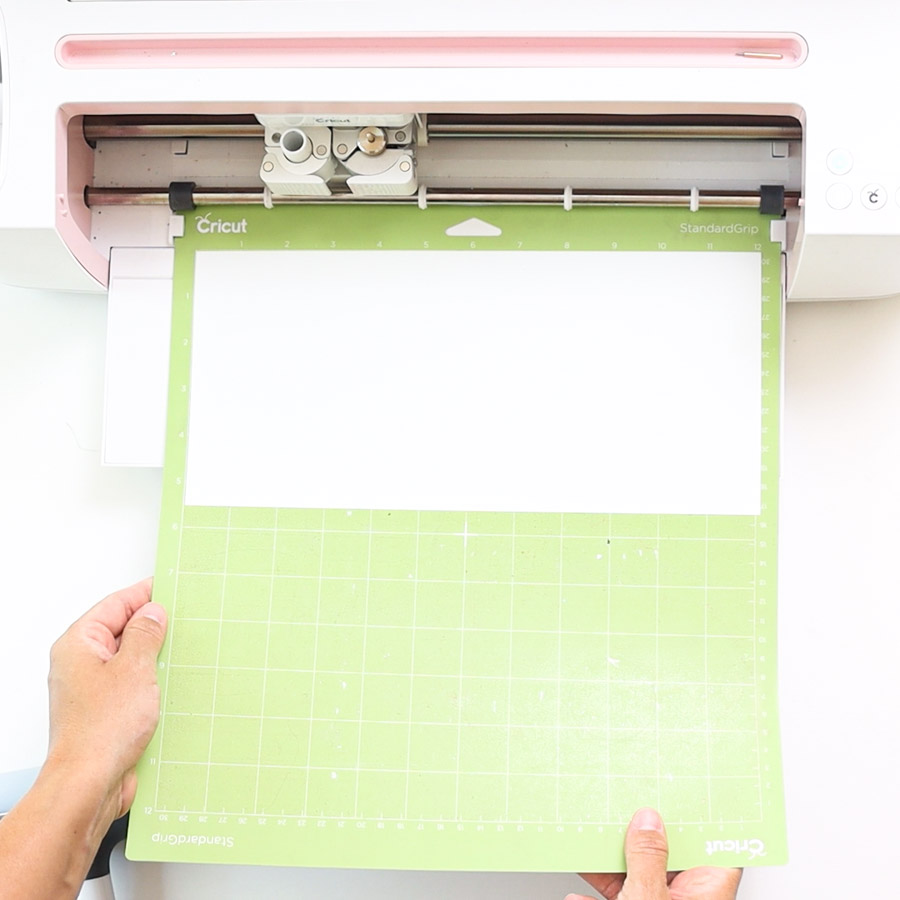
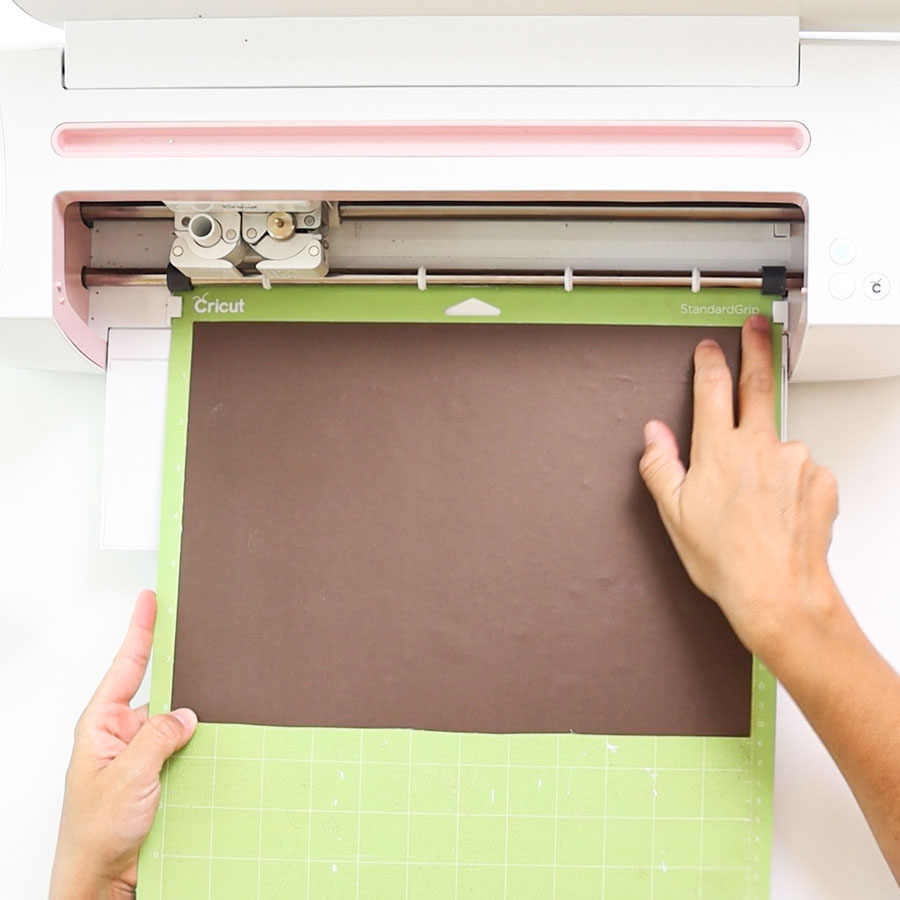
Install fine point blade on your Cricut, then on a green mat place, HTV pretty side down and with a scraper or brayer (my favorite tool ever) smooth out any bubbles.
Load the mat to your Cricut and press the flashing go button to start the cut.
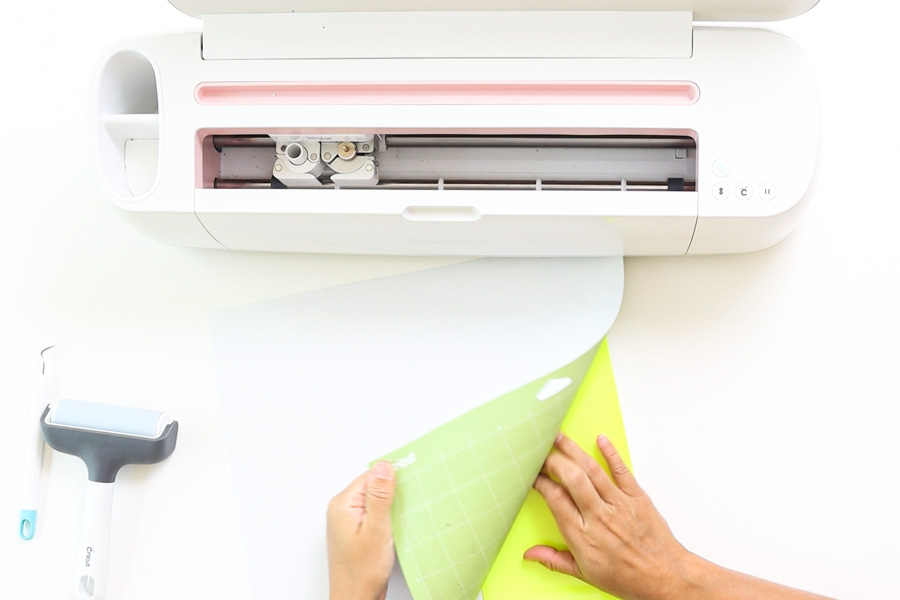
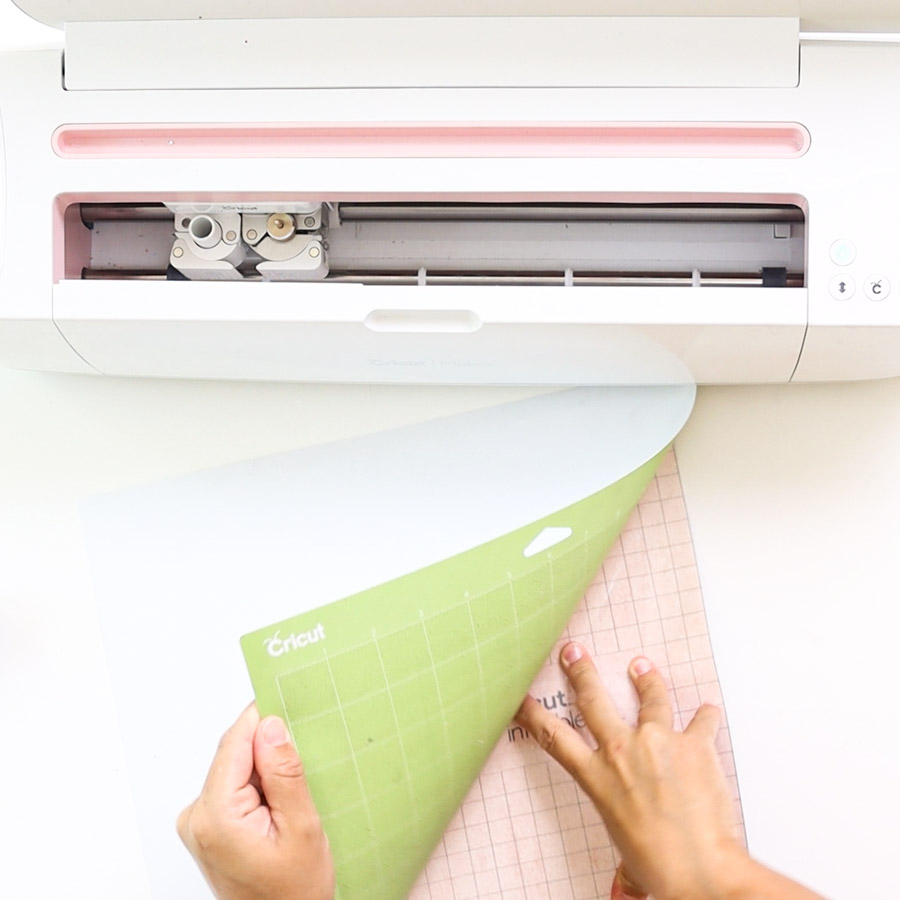
When your machine finishes cutting, unload the mat and bend it to release vinyl from it.
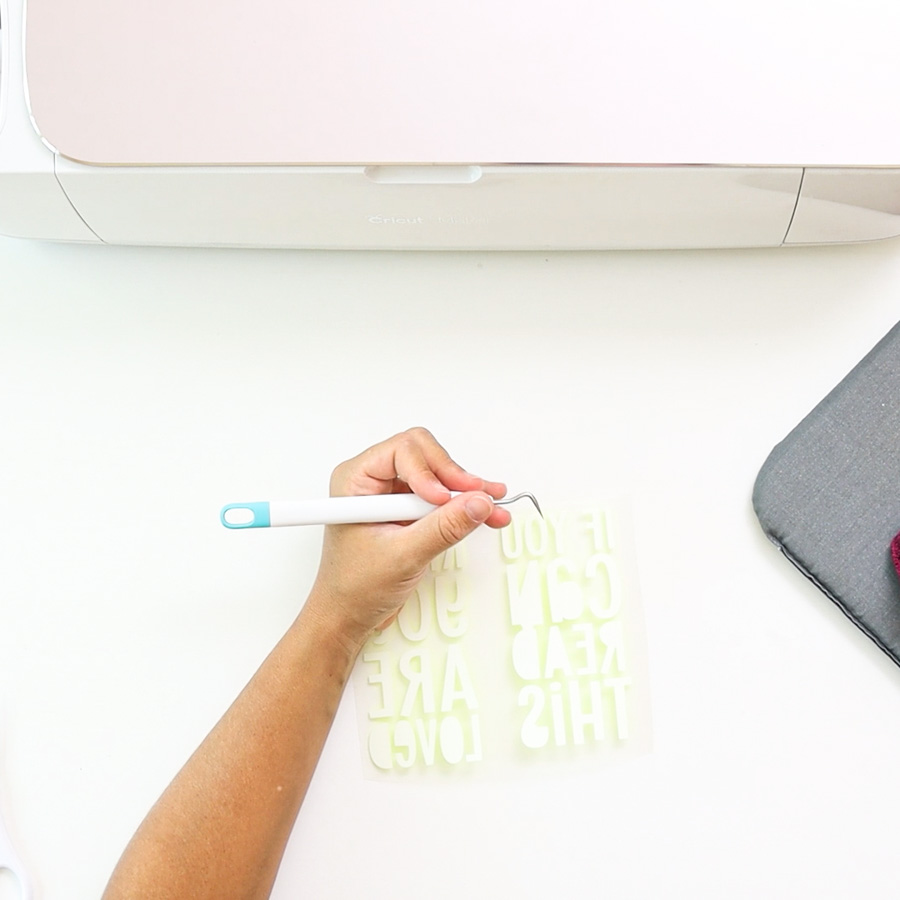
Finally, with a weeder, remove the negative cuts from your design.
For a detailed guide on how to work with iron-on, make sure to check out this article.
Transfer Design with an Easypress
The most important part of this process is the cardboard sized according to your foot.
Place it inside the sock, ensure everything is aligned correctly, you don’t want a crocked design.
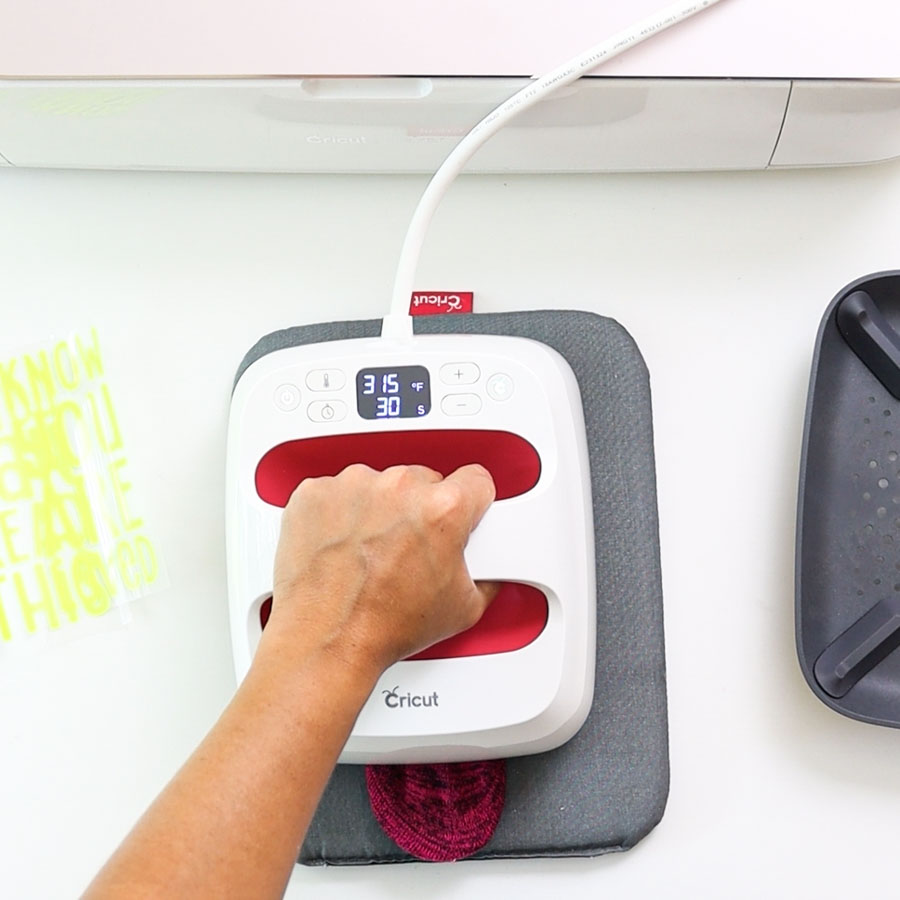
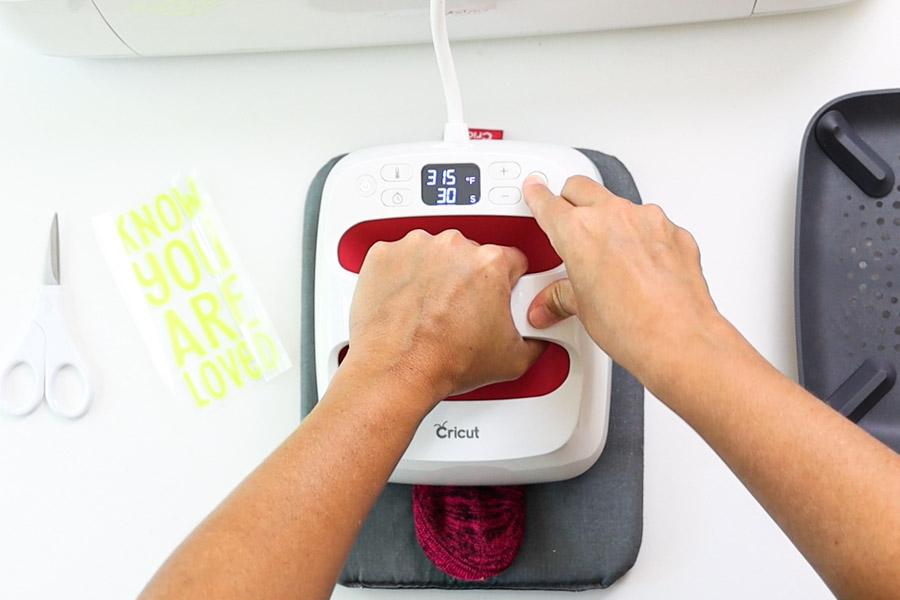
The type of vinyl I am using for this project is everyday iron-on, and Cricut recommends to set the Easypress to 315°F and 30 seconds.
If you are using other types of HTV, check out the instructions for that particular brand, or if using different types of iron-on from Cricut, check out their heat guide.
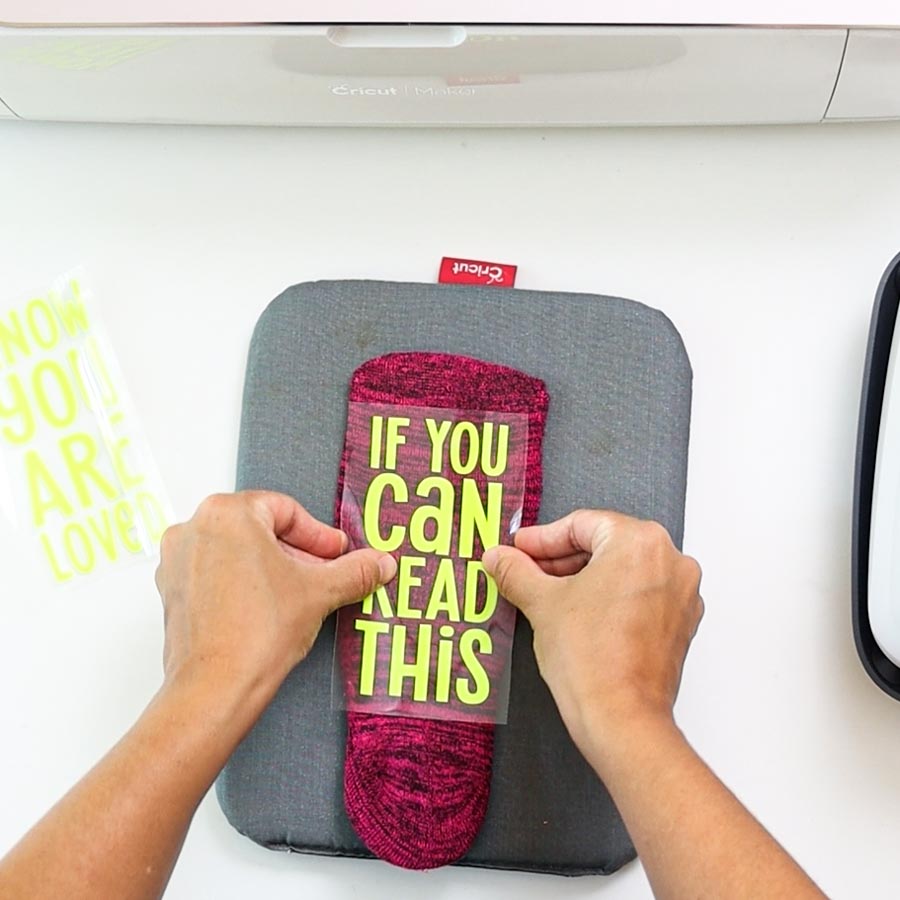
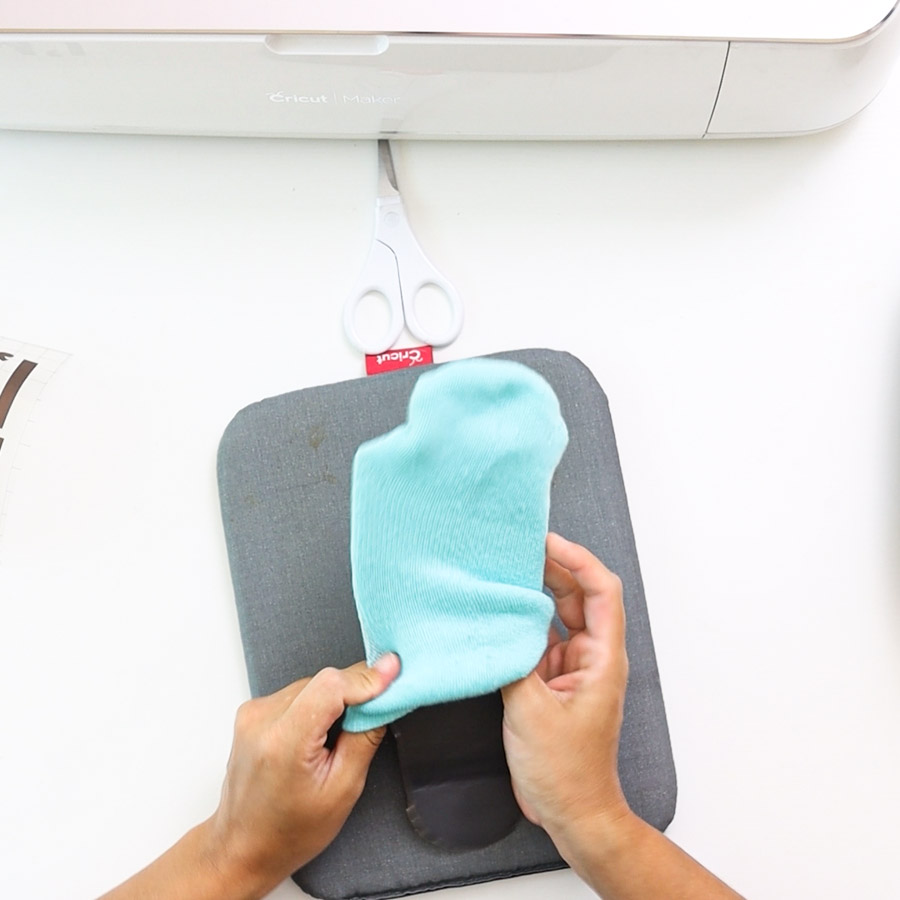
- Place the sock on top of the Easypress mat or towel.
- Preheat the sock for about 5 seconds to get rid of any moisture.
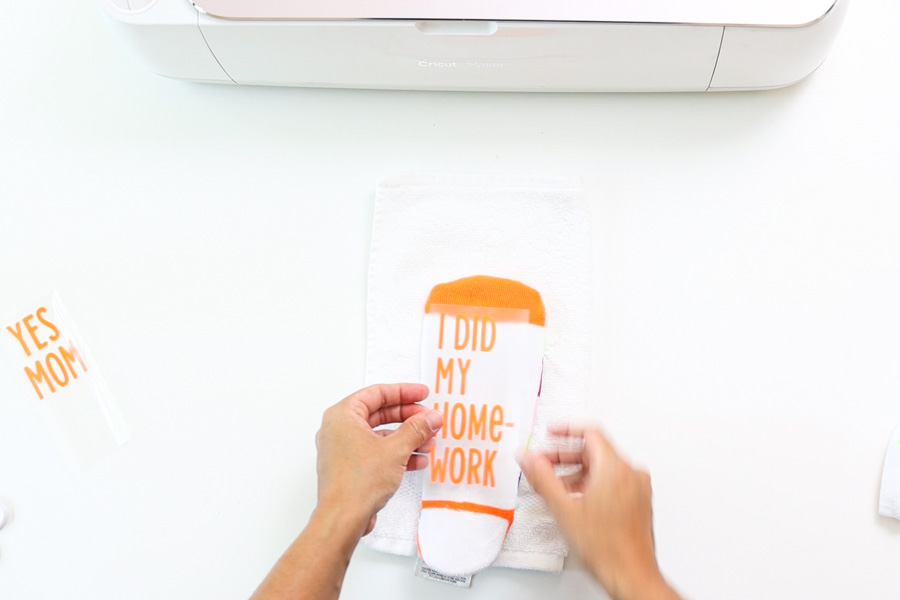
- Place weeded design on the sock, avoiding the heel area.
- Place easypress on top of the design and press for 30 seconds.
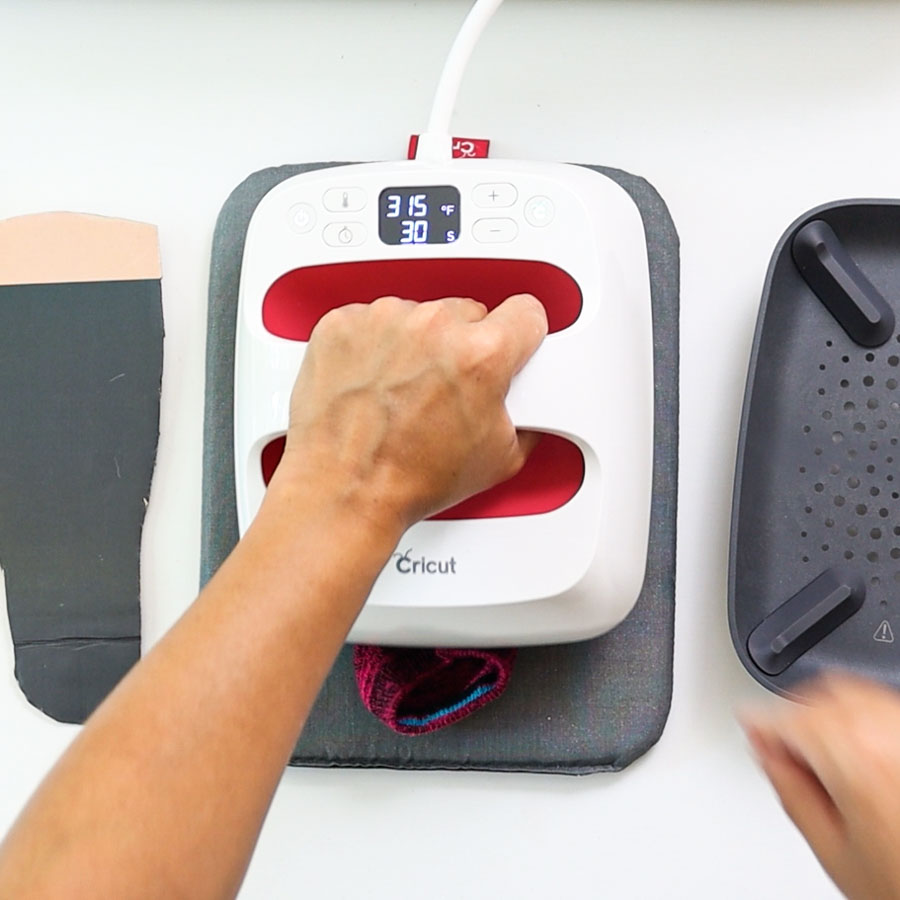
Tip: Notice that I avoided the heel area when I pressed. Whenever you transfer iron-on, you want to avoid uneven surfaces and seams because they will prevent a successful press.
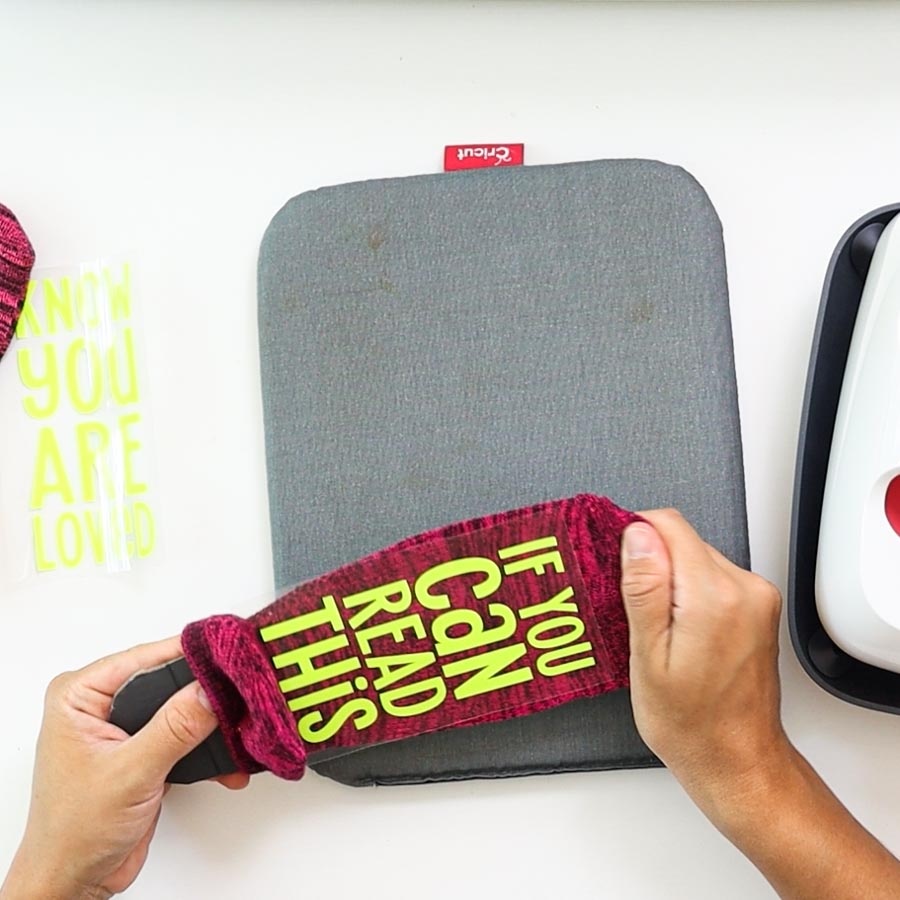
Warning: Everyday iron-on requires a warm peel; however, you want to let them cool off 90% because you stretched out the fabric with the cardboard. If you don’t wait for your vinyl to cool off, it will look extra wrinkly.
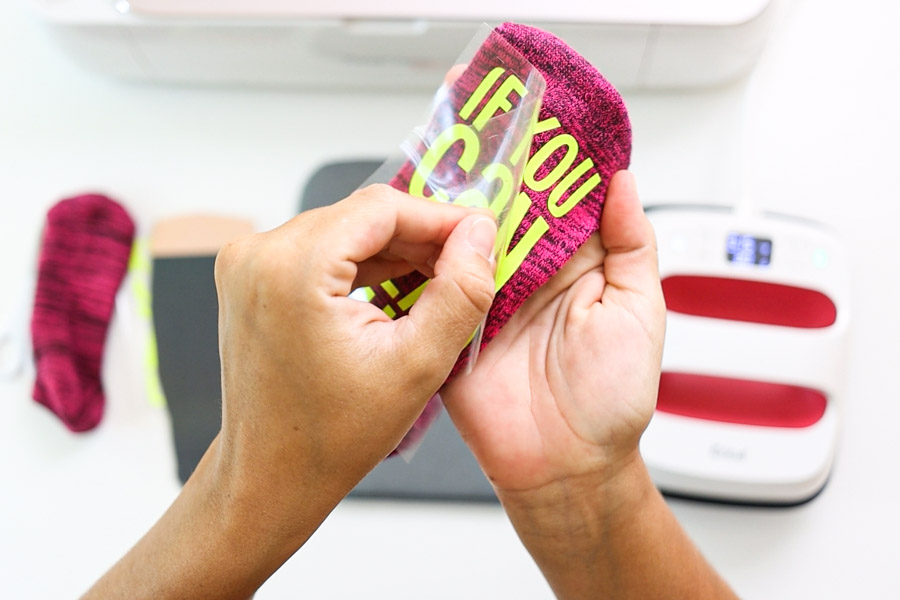
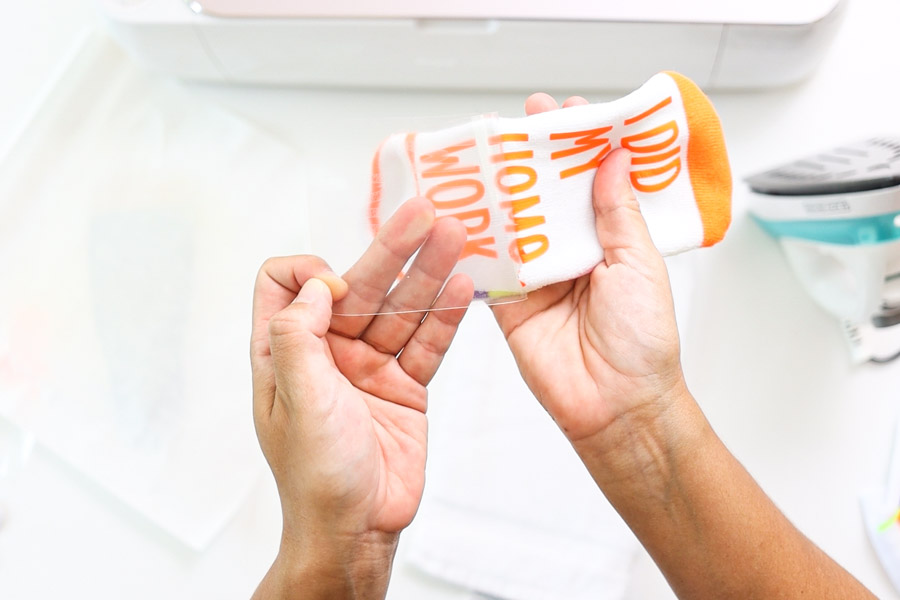
When vinyl is 90% cool to the touch, remove the cardboard, press the sock’s back for about 15 seconds, and then remove the liner from the sock.
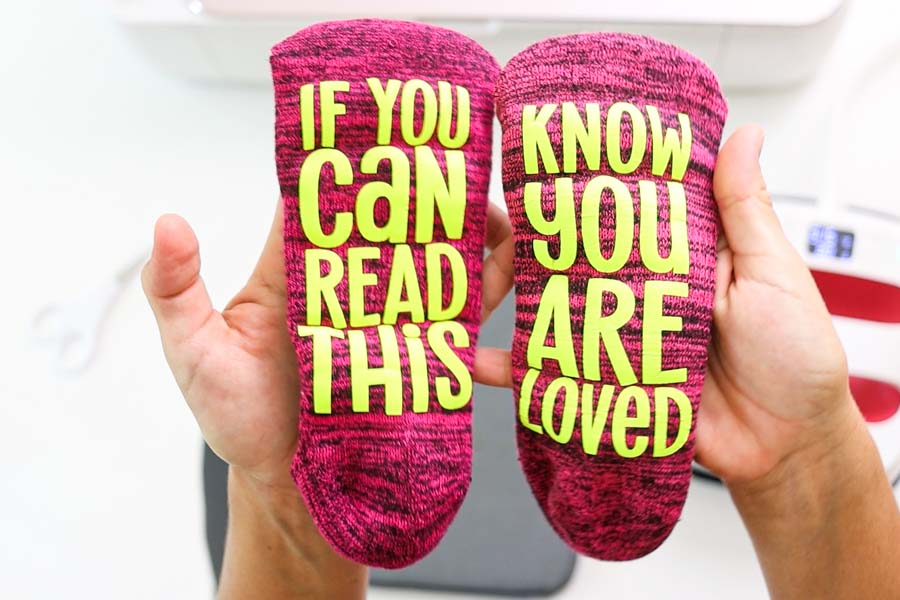
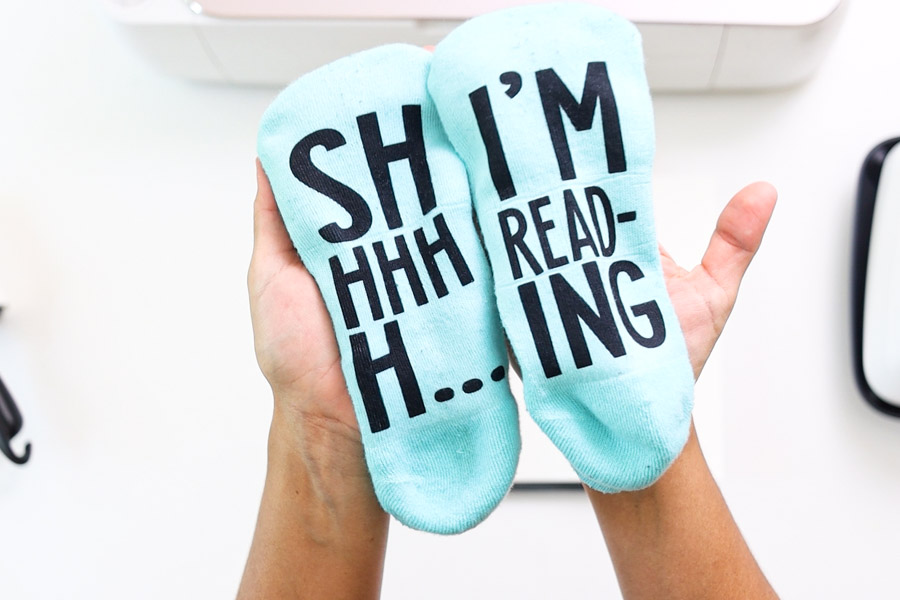
Repeat the same steps with the second sock and voila!
You got yourself a beautiful pair of socks.
Don’t they look pretty?
Transfer Design with a household iron
I know that many of you don’t have an Easypress, I understand, it can be expensive!
Luckily for you, a household iron will help you to achieve beautiful results as well.
Here’s a step by step on transferring HTV to socks using a regular household iron after cutting and weeding your design.
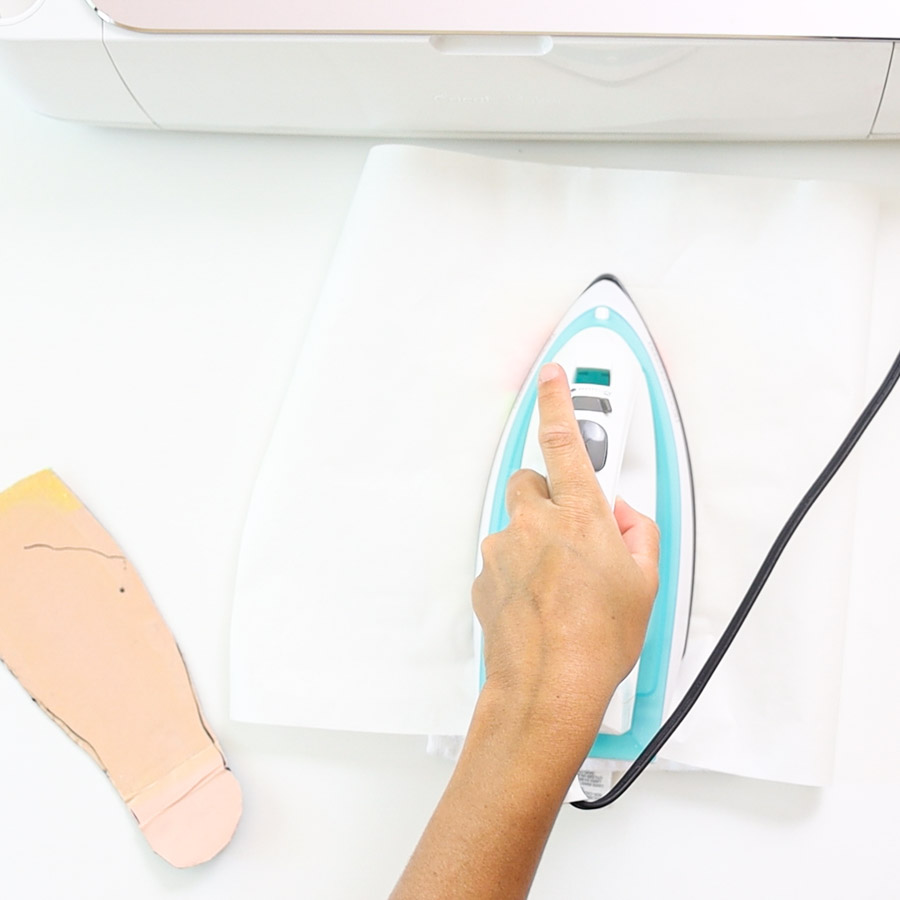
- Preheat your iron (My iron goes from 1 to 6, I set it at 5).
- Place a folded towel on the table or surface you are working on.
- Insert cardboard inside the sock (Don’t forget essential tip)
- Preheat your sock for about five seconds
- Place design on to of the sock avoiding the heel area
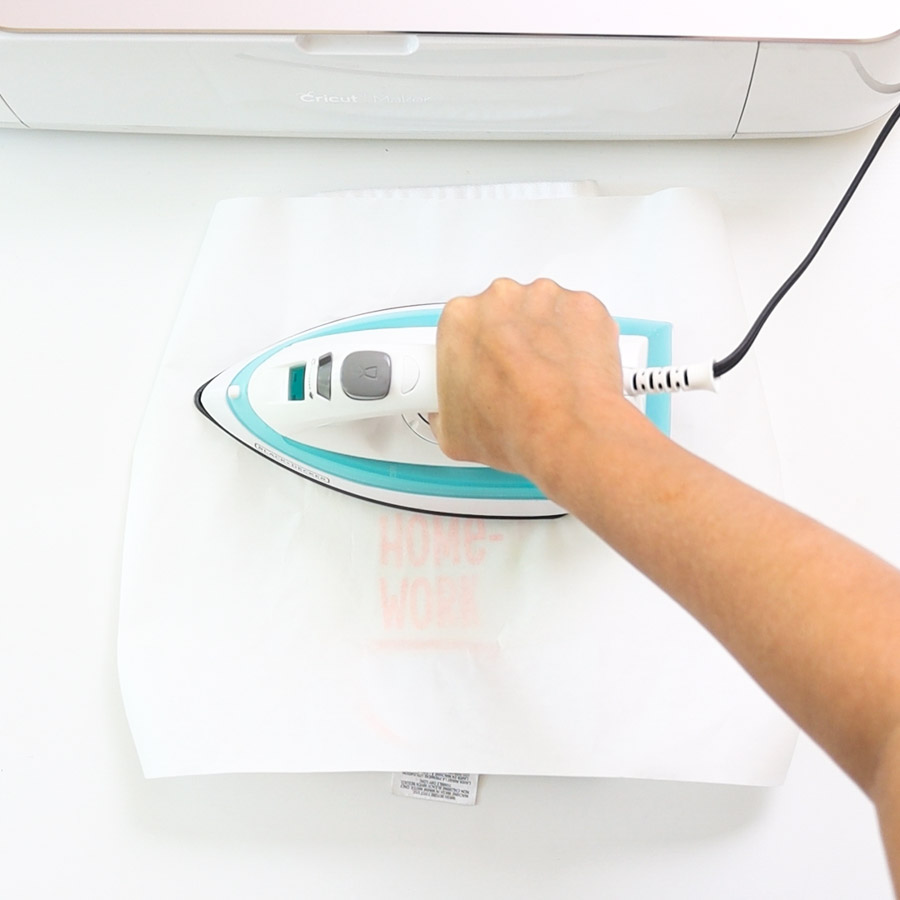
- Cover design with parchment paper to protect your sock
- Press (with a good amount of pressure) the design vertically for about 30 seconds, avoiding placing the iron on the sock’s heel area.
- Divide the design in two and press horizontally the top for another 20 seconds, then the bottom for the other 20.
Wait until the vinyl cools off 90% (if using peel cold iron-on wait until it cools off completely), remove the cardboard from the sock, and press the sock’s back for another 30 seconds (use parchment paper as well).
When the sock is warm to the touch, remove the liner and repeat the same steps with the other sock!
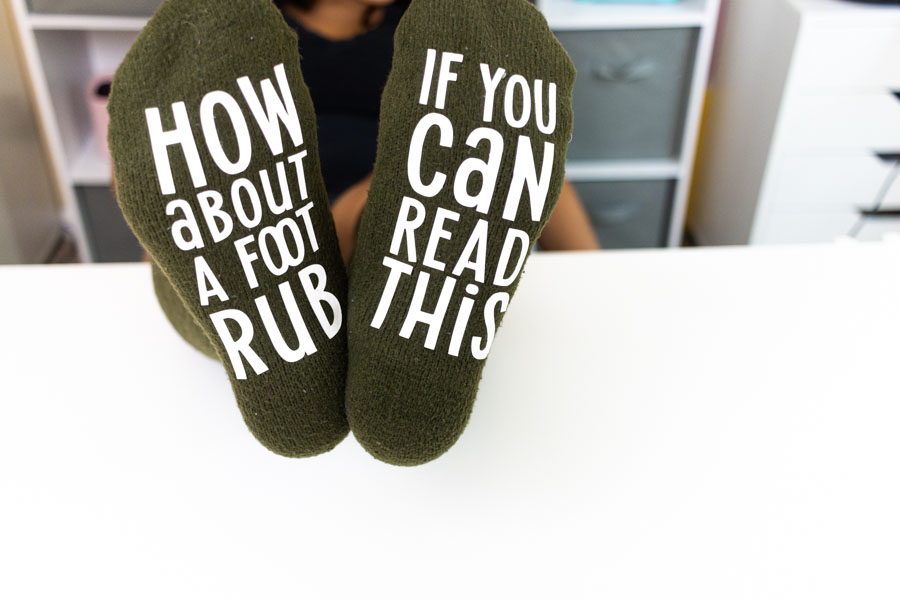
Aren’t these socks fun and a little bit sassy?
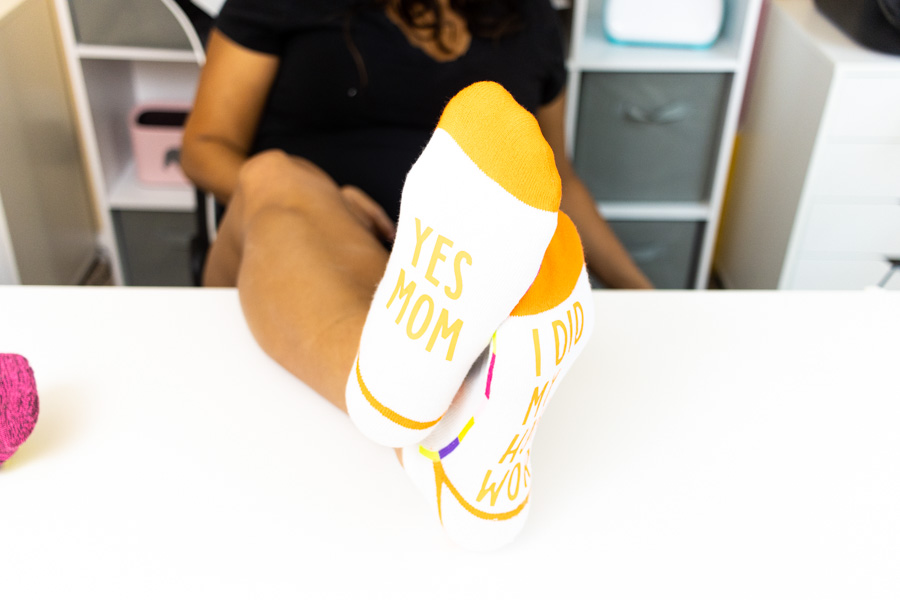
Fun Fact: Taking the pic right above was tough because of a 23-week pregnant belly!
Personalizing Socks with Cricut Infusible Ink
Infusible ink, in my opinion, is the best way to personalize socks!
The steps on Design Space are the same, except when choosing the material, so I won’t cover them in full because I don’t want to be repetitive.
Upload practice file, ungroup, and weld the elements for each sock. Finally, resize according to the essential tip I covered at the beginning of this article.
When you are ready to cut, click on “Make it.”
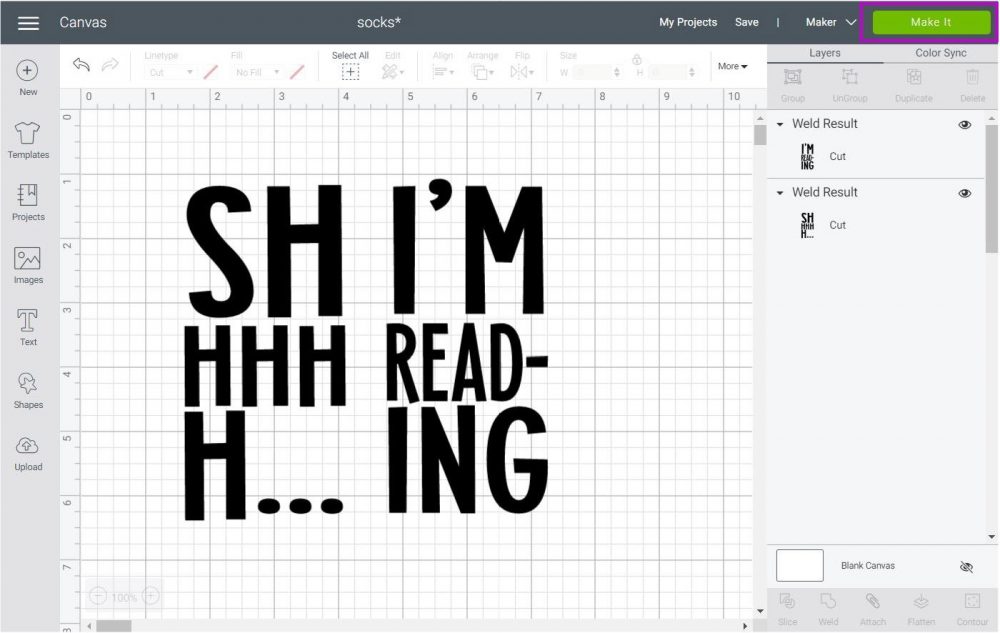
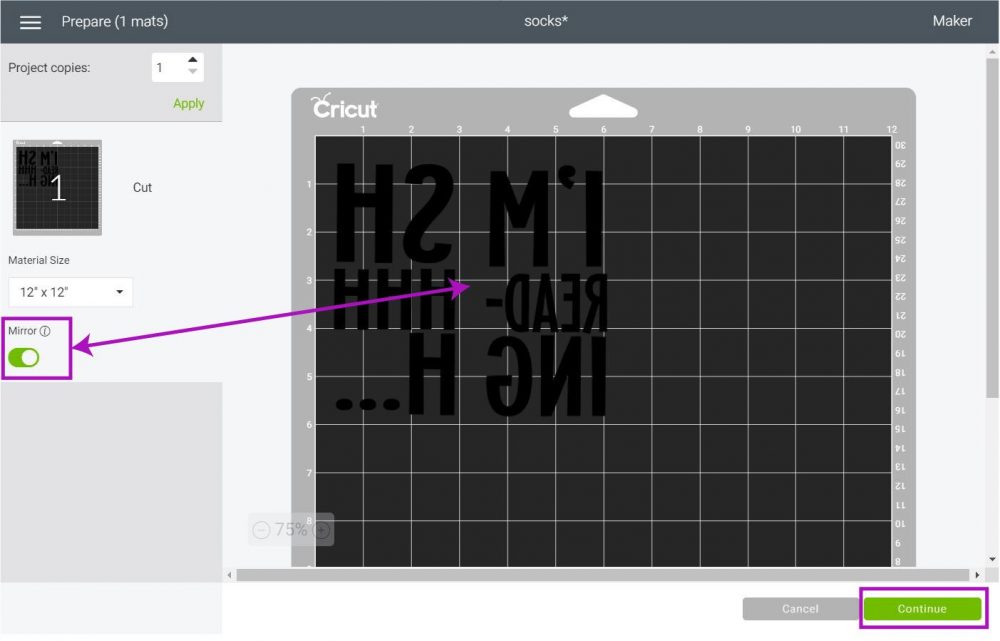
On the mat preview, make sure to turn the mirror on. If you don’t do this, your design will look backwards!
Click on continue to select materials.
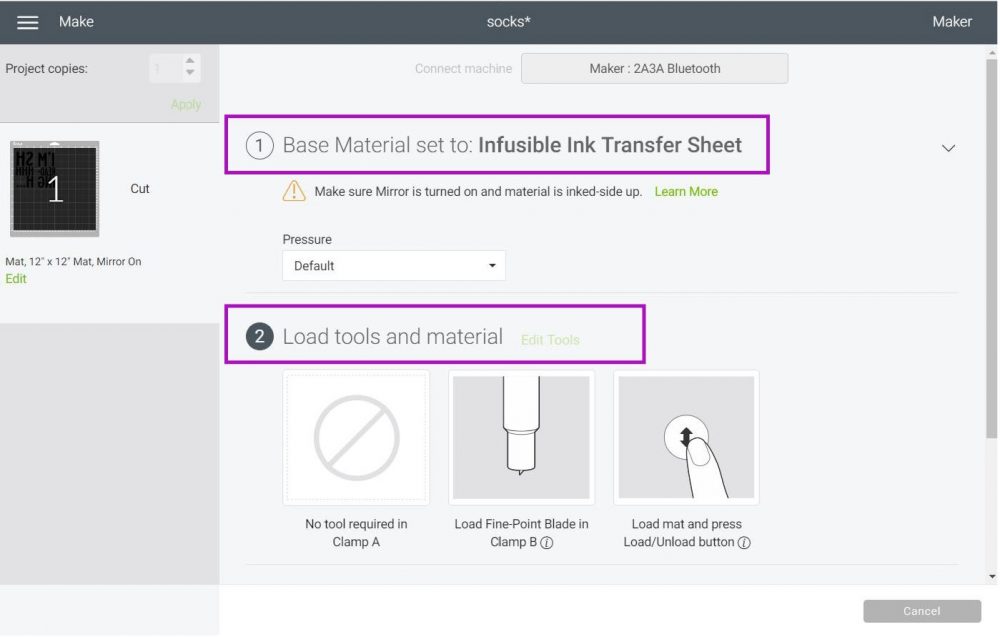
Something cool is that you can cut infusible ink transfer sheets with the Cricut Maker, Explorer, and Joy!
If you have an Explore machine, move the dial to custom and click on “Browse all Materials” from Cricut Design Space to search for infusible ink.
For the Joy and the Maker, click on “Browse all Materials.” and select Infusible Ink transfer sheets.
Let’s move to real-life pics again!
Cut and Weed
Before you touch your infusible ink transfer sheet, wash your hands with soap and water and dry them thoroughly.
If your hands have water residue, sweat, or hand lotion, the ink on the sheet will get damaged!
Once you have impeccable hands, place the transfer sheet on a green mat, and with a brayer or your hand, make sure the material has completely adhered to the mat.
With fine point blade installed, load mat to Cricut and press the flashing go button to start cutting.
When the cut is finalized, unload the mat and bend it to release the infusible ink sheet.
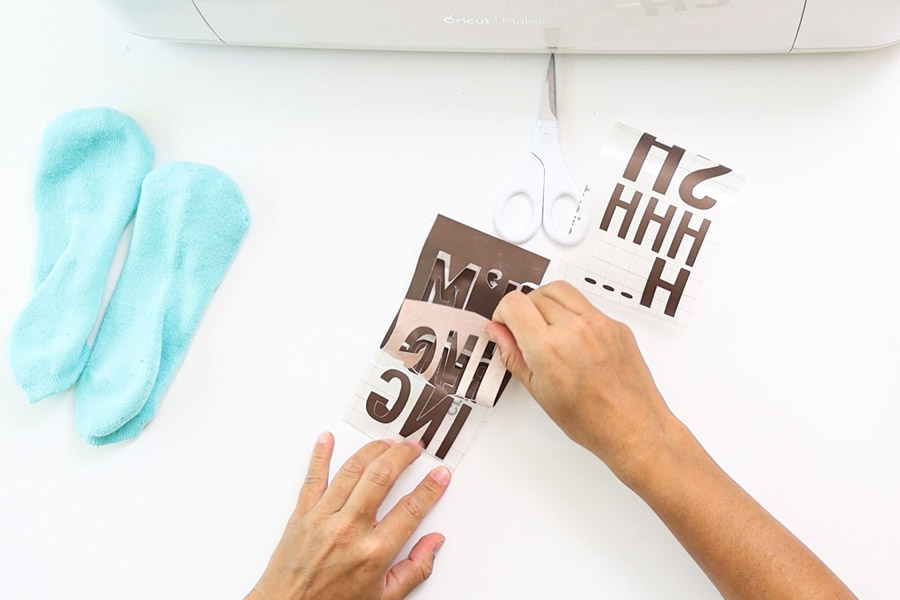
Weeding infusible ink is extremely easy; you don’t need special tools, your (clean) hands are enough.
I like to start from the corners first and then remove the negative cuts from the letters’ inside.
Transfer Infusible Ink to Socks
Infusible ink is quite sensitive, and for it to work you need to have an Easypress (1 or 2), a regular household iron won’t work :/
- If you have the first Easypress, set it to 360° F and 120 seconds.
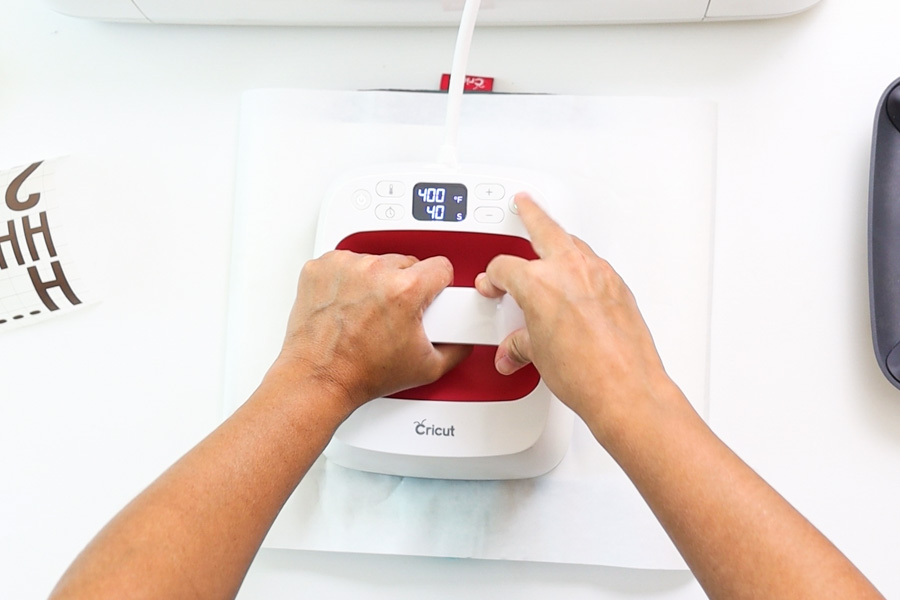
- If you have the Easypress 2, set it to 385° – 400° F (I set it at 400) and 40 seconds.
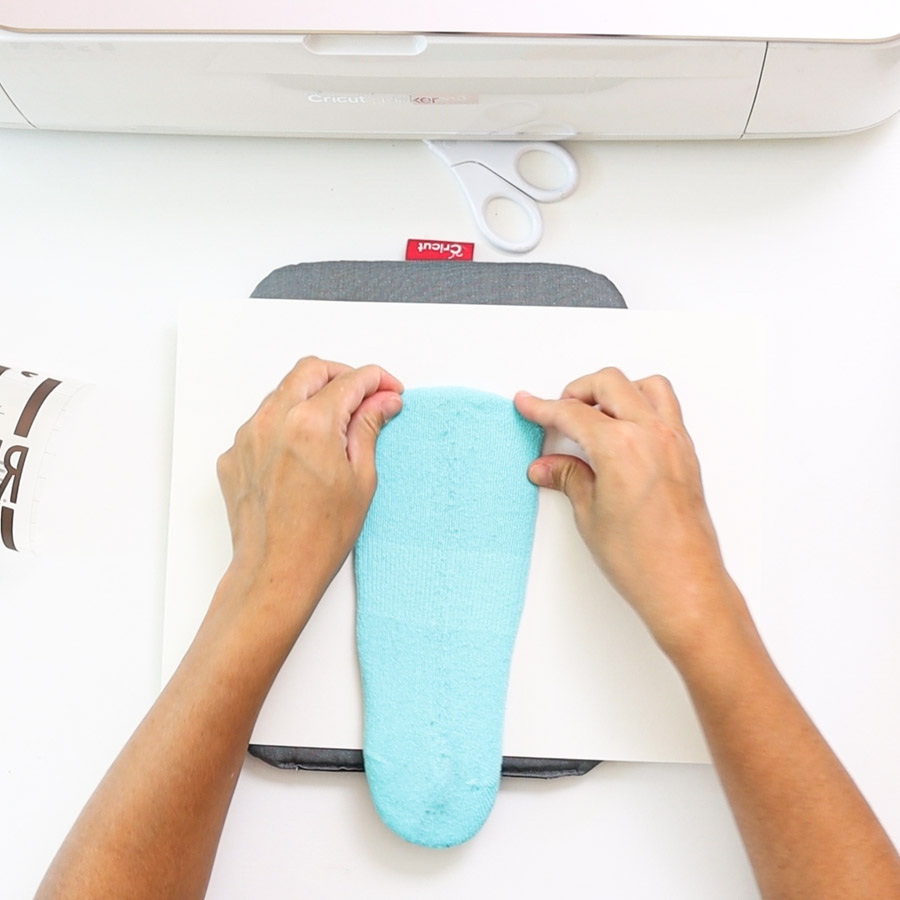
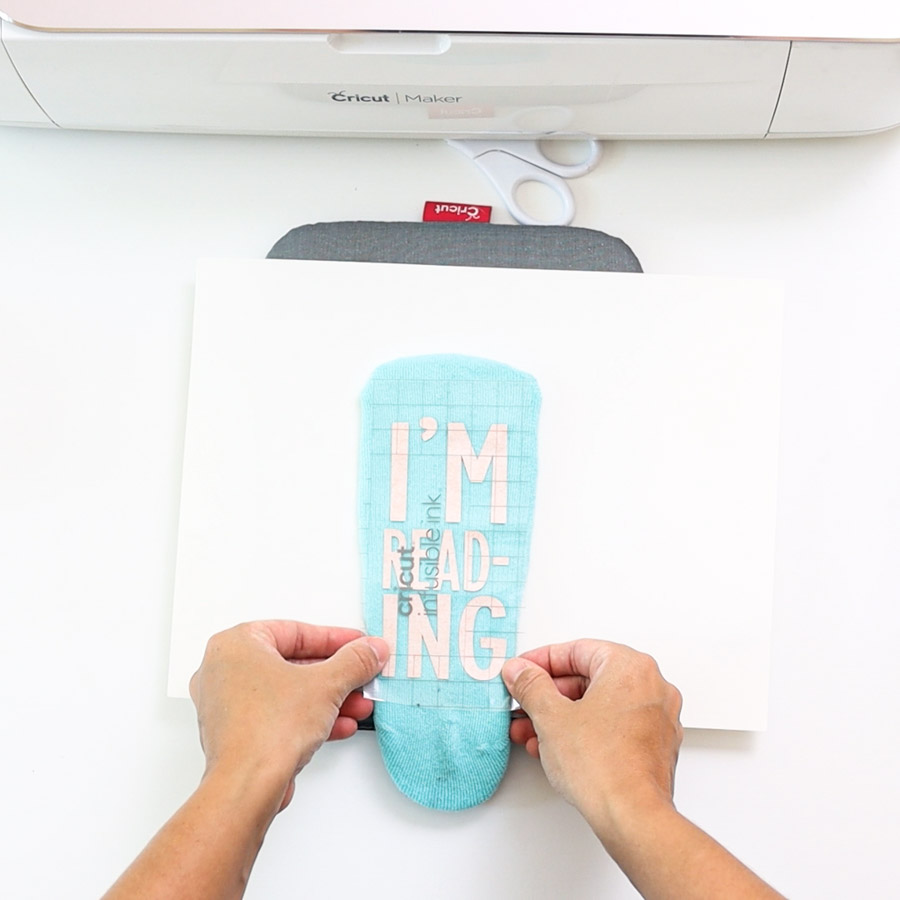
First place cardboard inside the sock, here, the cardboard is to prevent bleeding, you can also use regular cardstock, but I prefer the cardboard because it allows me to separate seams from the surface I want to press on.
Tip: Still use white cardstock underneath between sock and Easypress mat to protect the mat.
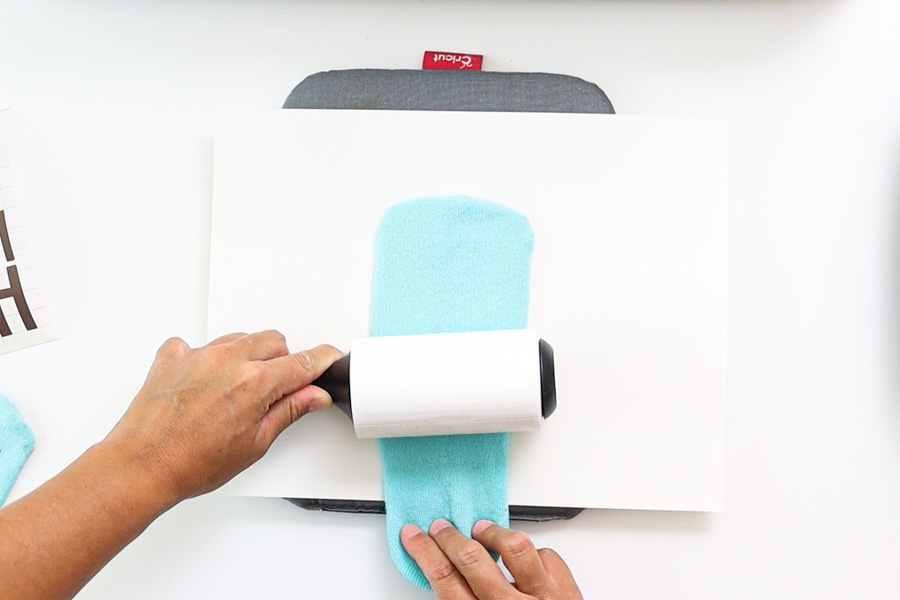
Pass a lint roller over the sock to remove any loose lint or dust from the sock.
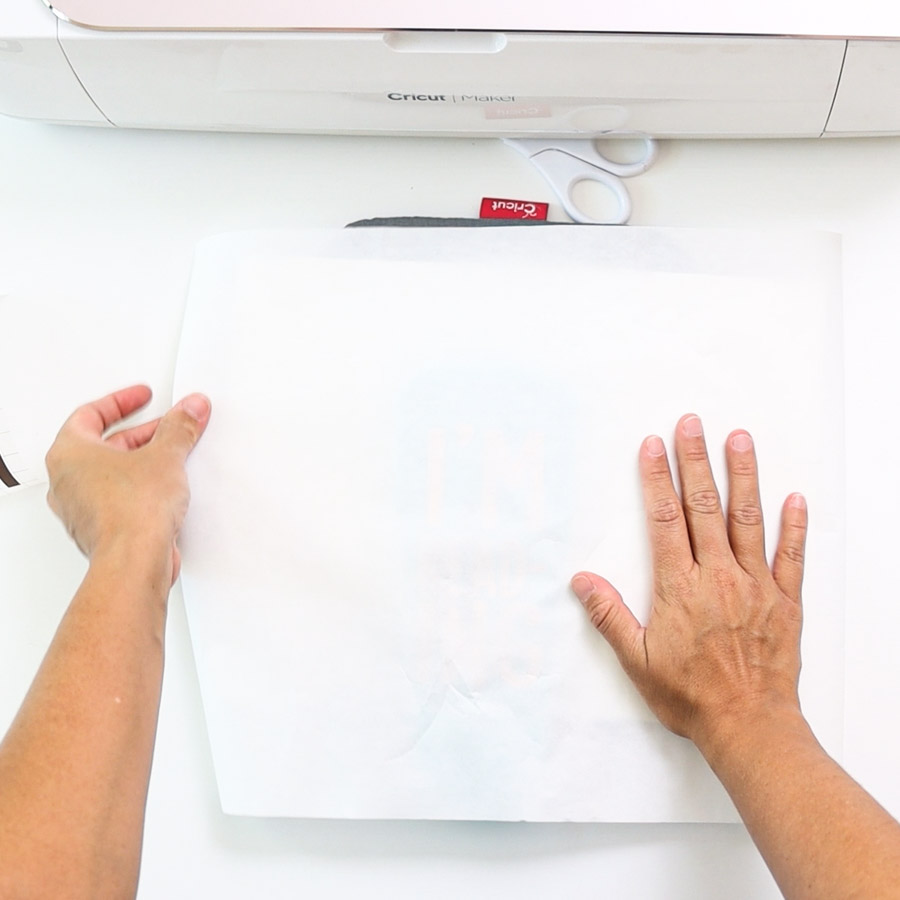
Place the transfer sheet on top of the sock, cover it with butcher paper and press it gently for 40 or 120 seconds (depending on the Easypress you have).
Important: Avoid placing the Easypress on the heel area.
When time is up, lift press very carefully, so you don’t move the transfer sheet.
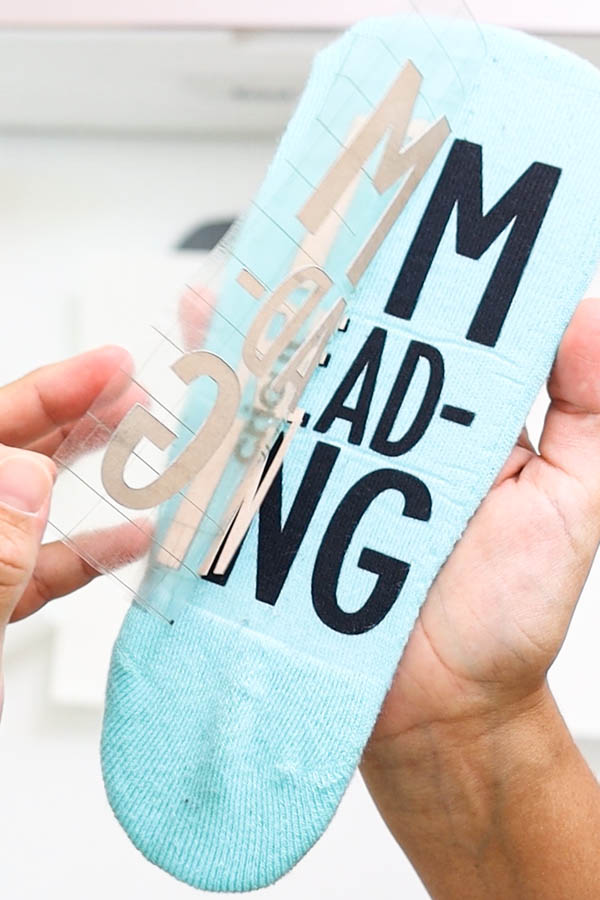
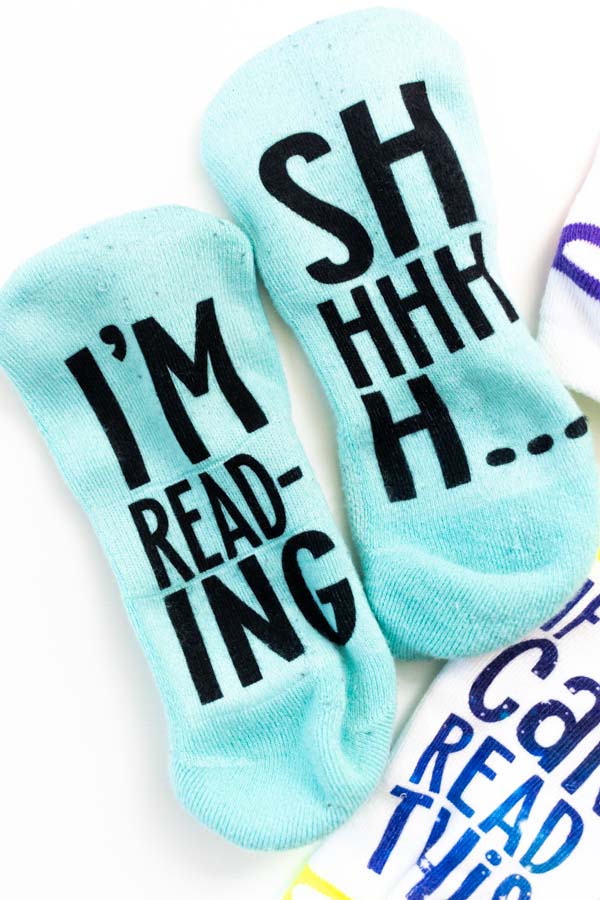
Wait until sock cools off completely and remove the infusible ink liner from it. Repeat the same steps for the other sock.
Don’t they look beautiful?
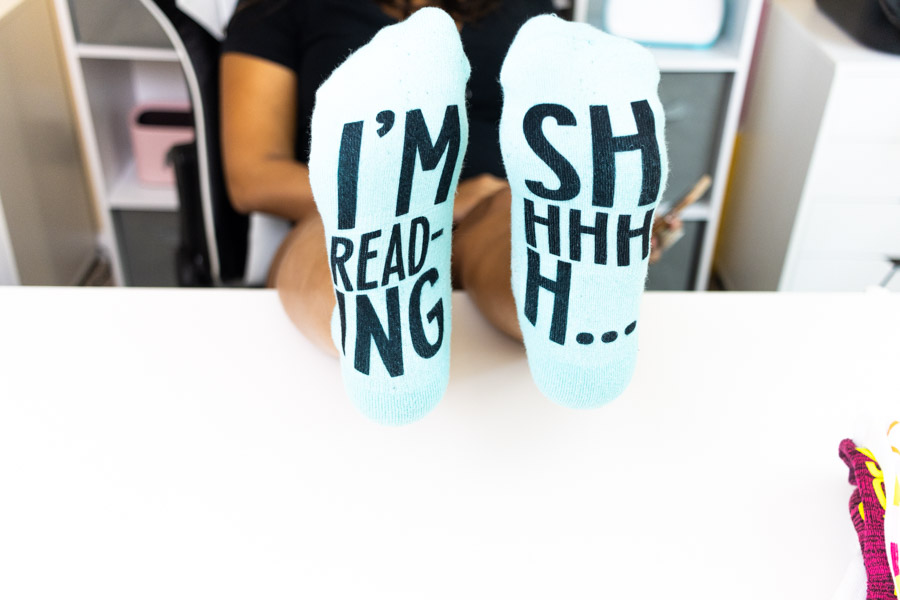
With infusible ink, you don’t have to worry about fading or cracking; the results are super professional!
Free SVG Templates for Personalizing Socks
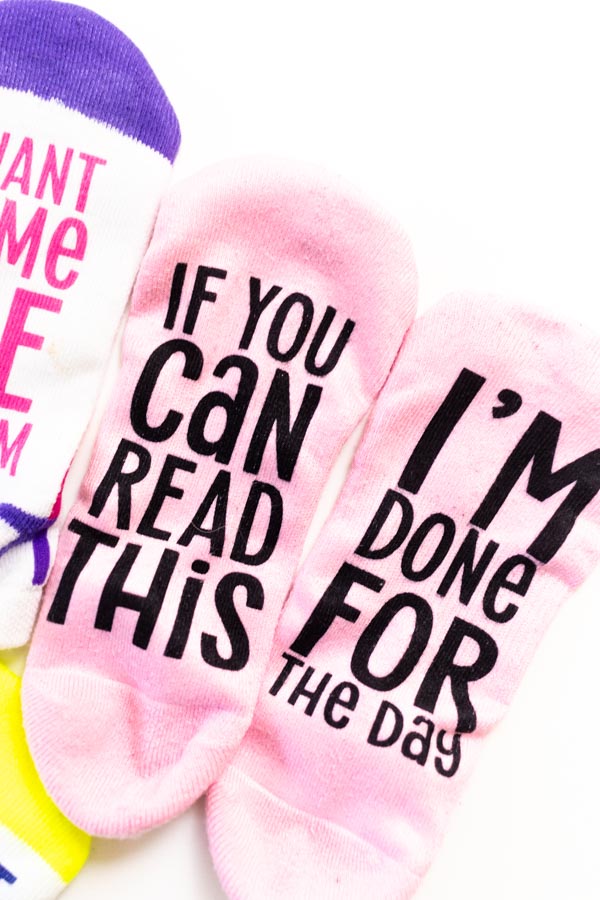
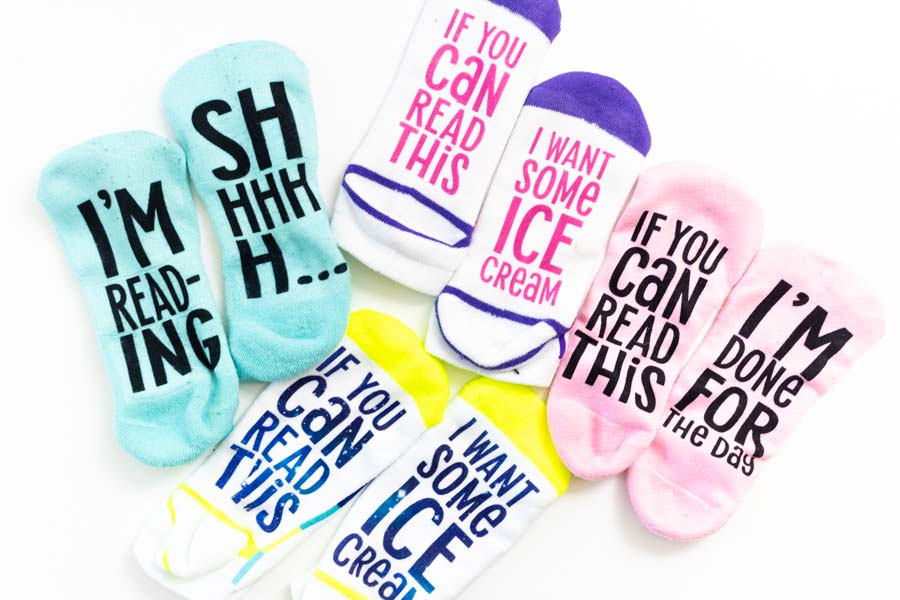
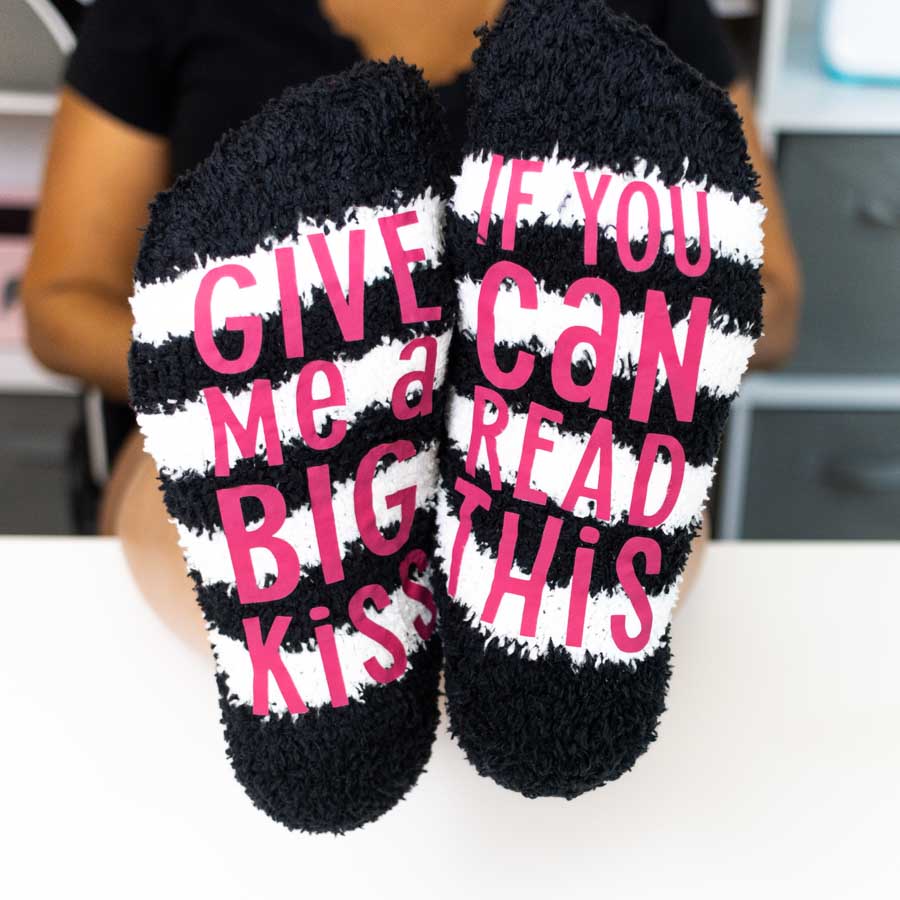
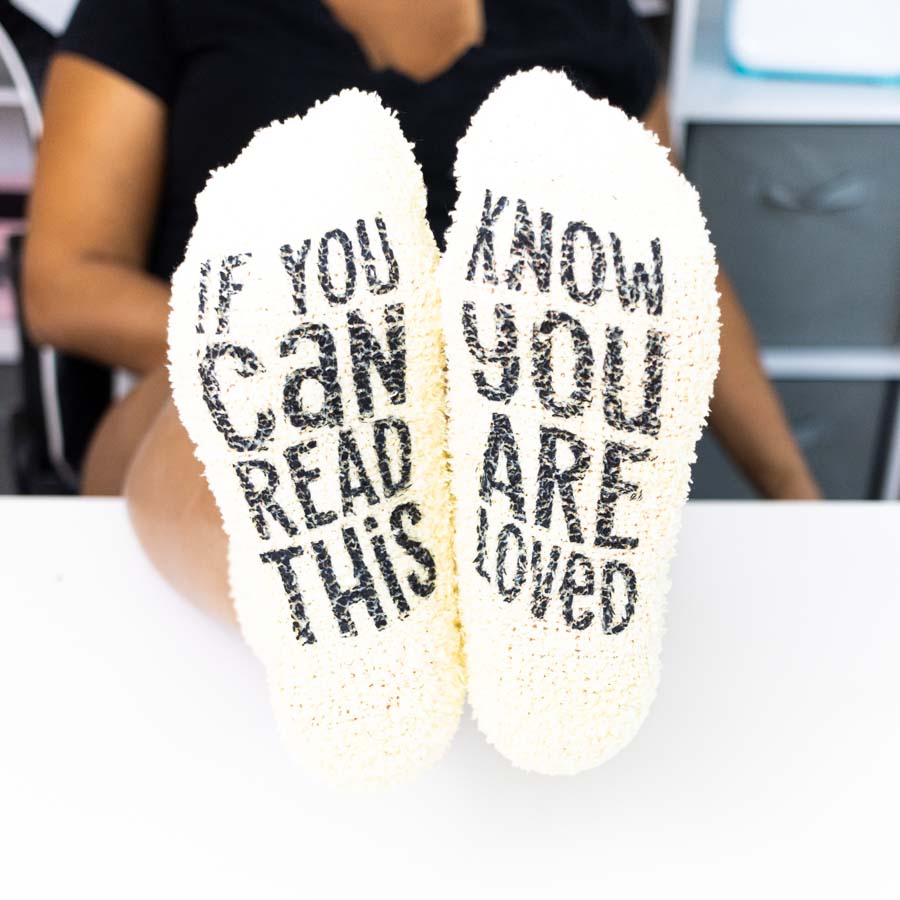
As I mentioned at the beginning of this article, here are some cool templates for you to download and make socks for your friends and family.
They are all so beautiful, simply click on the download buttons on each image. At this time, they only download when working from desktop or laptop computers.
Personal Use Only
Oh!
Just so you know, I also have a library full of free SVG files and Printables for all my subscribers, a.k.a. Daydreamers. You can see a preview right here or get access by filling out this form.
More Socks I personalized with Cricut!
Here are some extra pictures of more socks I personalized with my Cricut!
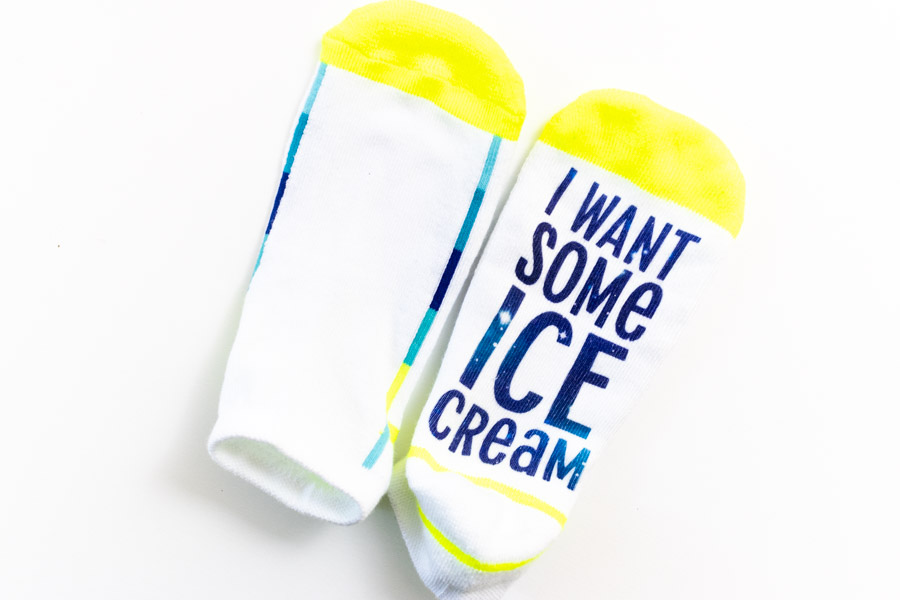
These were all made using infusible ink.
Can you see how vibrant the neon yellow looks?
With infusible ink, you can find matching colors. I am sure if you got these socks, you wouldn’t believe someone added the phrase.
These socks are perfect for the fall/winter season. For these, I used SportFlex iron-on; nonetheless, I prefer to work with regular iron-on.
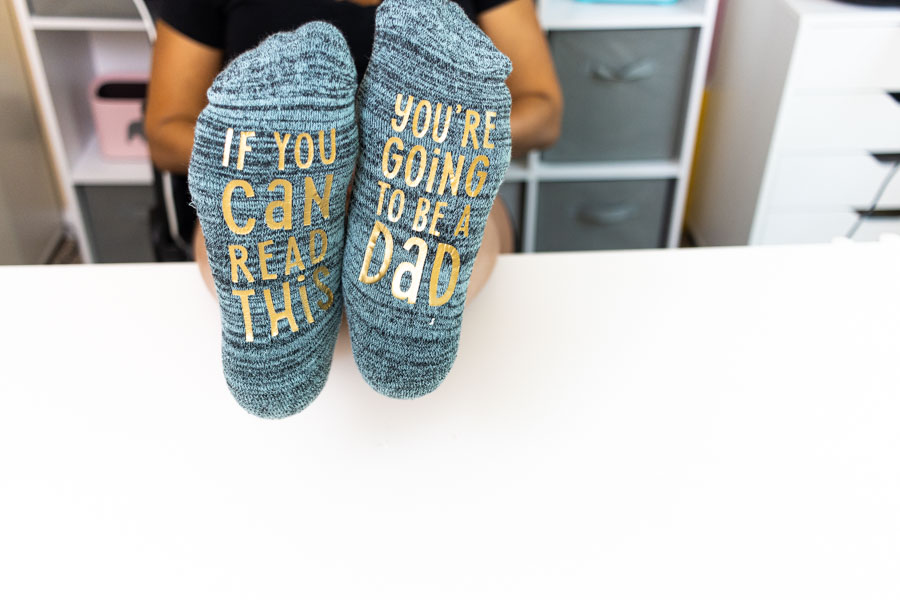
You can announce your pregnancy with socks too!
Aren’t this pair of socks so much fun?
What about using fuzzy socks?
I personalized three pairs of fuzzy socks, and honestly, I don’t like them that much.
I understand why you would want to use this type of socks; they are cozy, comfy, and the perfect gift.
They look adorable on the picture, but let’s have a closer look.
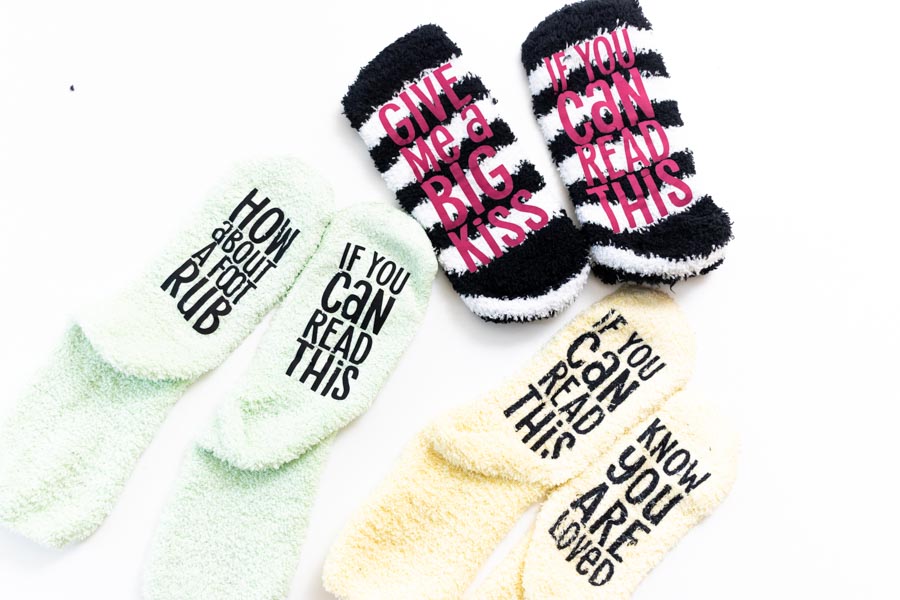
When using iron-on, the vinyl is attached to some of the fibers; I feel these socks wouldn’t last long, especially if you walk on them a lot.
The infusible ink ones (yellow pair) look at how the ink distorts when you wear them.
It’s up to you, though!
Feel free to experiment and have fun.
Taking Care of your Socks
This project’s durability depends on whether you walk on your socks or not, also the way you wash them.
Turn them inside out, use a mild detergent, and stay away from bleach and fabric softeners.
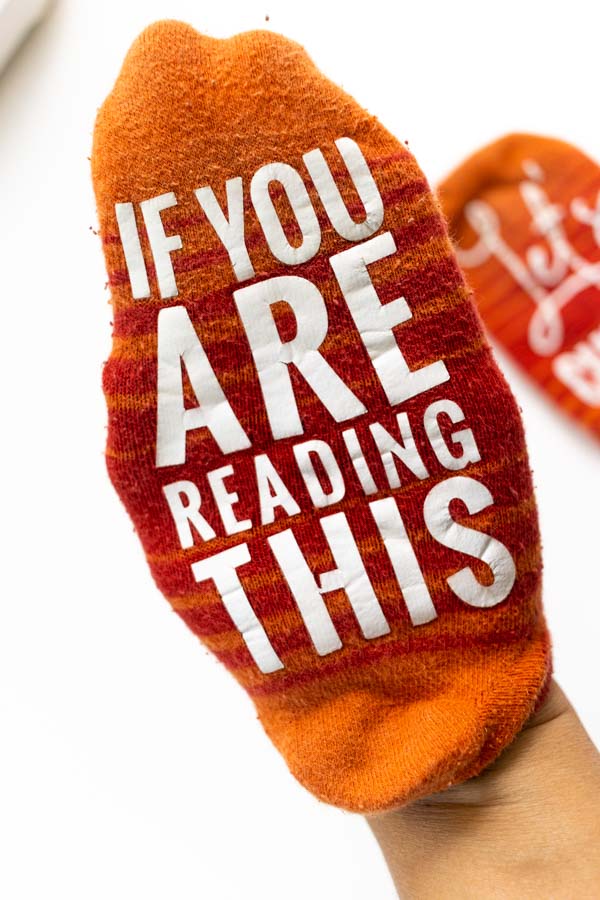
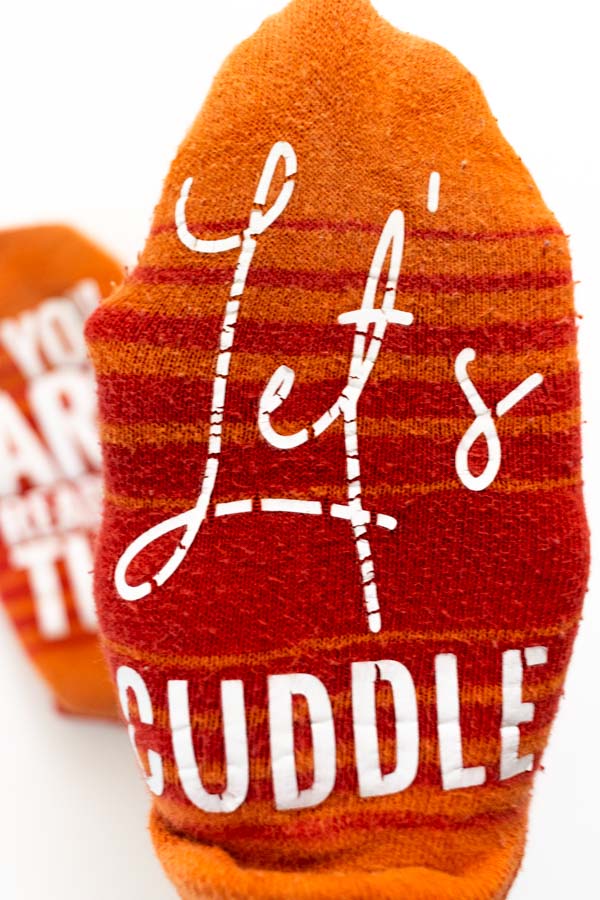
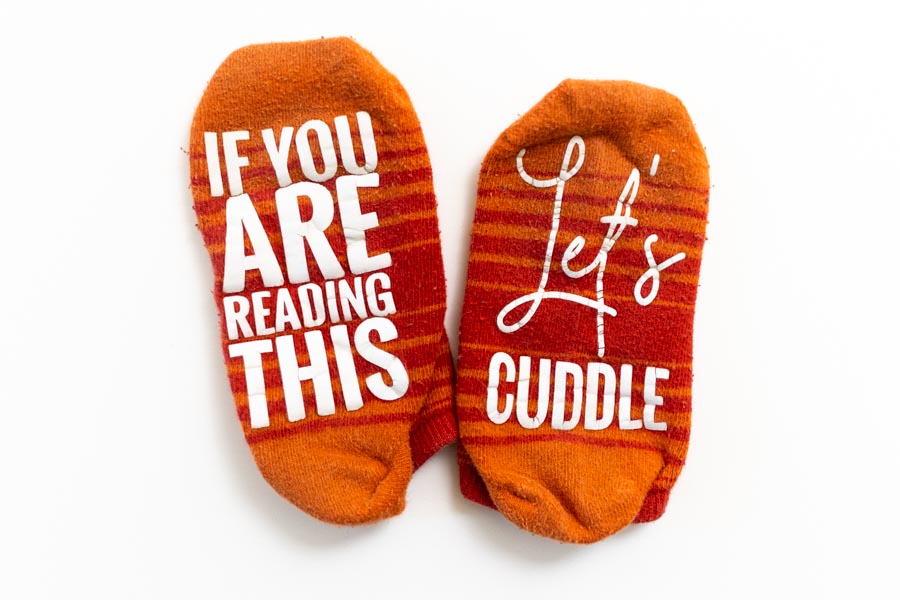
In September 2019, I made my first pair of socks using everyday iron-on and the Easypress mini, I want to test the ones I just published on this article, but I have to wear them first, so come back for an update in about 6-10 months.
Notice how the word “let’s” it’s all cracked? It’s because the design is so thin, so keep this into consideration.
This will happen in a year or so with your socks if you use them a lot and walk on them and wash them without turning inside out (I need the full power of soap to clean them up).
I still like them a lot, though!
I feel all those cracks and tears add some character.
Sharing is Caring!
I hope you enjoyed this tutorial and feel empowered to make socks for any occasion.
Here’s me behind the scenes!

Do you know it takes me over 25 hours to complete a single Cricut article? I know it’s wild, but I want to make sure you understand everything!
I would appreciate your support on Instagram , Pinterest , and YouTube as I try to grow my audience and continue producing great content!






I can’t seem to download the free SVG’s socks
They’re at the end of the step by step tutorial!
Thank you so much for the great tutorial! So many great hints and tricks. Now I’m looking forward to putting my best foot forward!
Great Article! I made them once, without cardboard. I don’t know how they lasted or looked because I made them for a gift. Now I have more confidence to try it again! Everyone will get socks this Christmas!!!
Hi! Best tutorial I’ve come across, can’t wait to try this <3
Is it possible to share where you buy the fun color polyester socks from? I’m interested in trying the infusible ink method.
I bought them at Walmart!
You’ve given some great honest advice for people who are new to Cricut projects – like me. Thank you!
Thank you so much for doing this and all the tips and tricks you gave us along the way. I can not wait to try and make some of these myself.
I did try to download the files but it just brings up the image and not a download 🙁 I have tried using firefox and microsoft edge 🙁 What am i doing wrong?
Thank you again 🙂
If the file opens in other window, right-click on it and select “Save image as” Have a great day!
Thanks for a great tutorial, this is a project that I saw on Pinterest and wanted to do, but being a beginner to Cricut crafts, I have been taking things slow, learning as I go. Thanks for sharing your talents and laying the project out, step-by-step.
You’re very welcome, I am happy I can help!
I love the sock idea. I’m going to try making them.
Let me know how it goes!
This tutorial is so detailed and easy to follow. I’m still trying to learn how to use my Cricut maker. This is going to be a project I try. Thanks for sharing, and congratulations on your new bundle of joy arriving soon!
I am happy you find this project easy to follow. I know it takes time to get there, but you will!
I tried to download the files of the socks. They are so cute. But they wouldn’t download to my computer. What am I doing wrong?
Try another browser. They should download to your PC no problem.
Wonderful article. I feel like I can make socks now and I plan to try.
Thank you so much.
Yay! Very happy to hear.
Super Cute!
Glad you like them! 🙂
The socks are very creativity cute. You do so many good things and make people’s lives better with your teaching moments and provide giant smiles for all that allows instant wearability of finished products for those who feel they are following along with you as you make them. Thank you.
You’re very welcome! Comments like this make all the time I spend writing articles worth it.