Hello Daydreamers!
In today’s tutorial, I will teach you how to make the cutest, adorable Christmas ornaments with wooden slices you can get at Michael’s, Hobby Lobby, or Amazon!

These ornaments are so easy to make, plus they don’t require a Cricut or other expensive machine, and the results are fantastic.
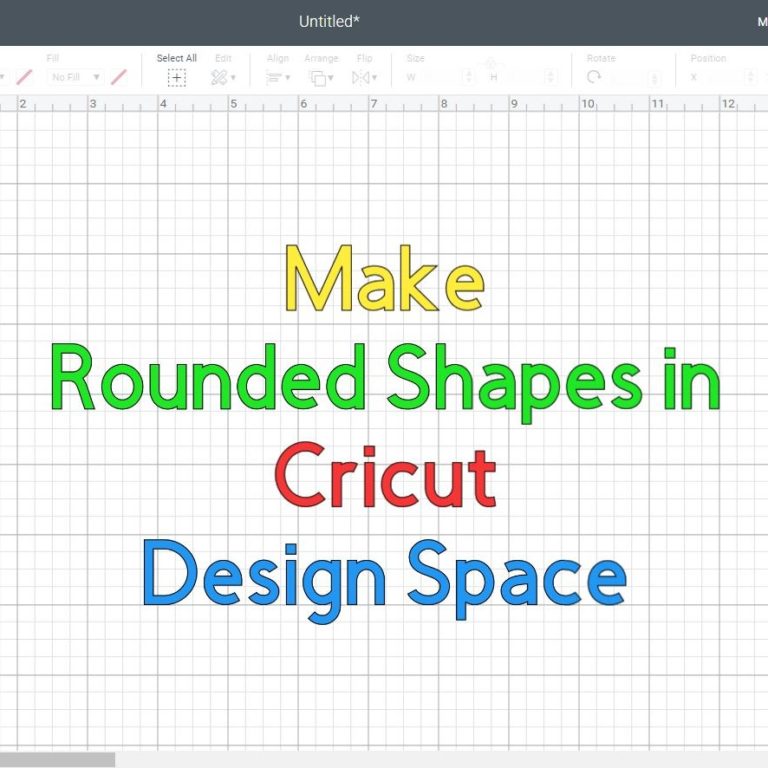
However, if you have a Cricut machine, I have a fun ornament tutorial with many tips and tricks.
Materials
- Ornaments wooden slices
- Graphite paper
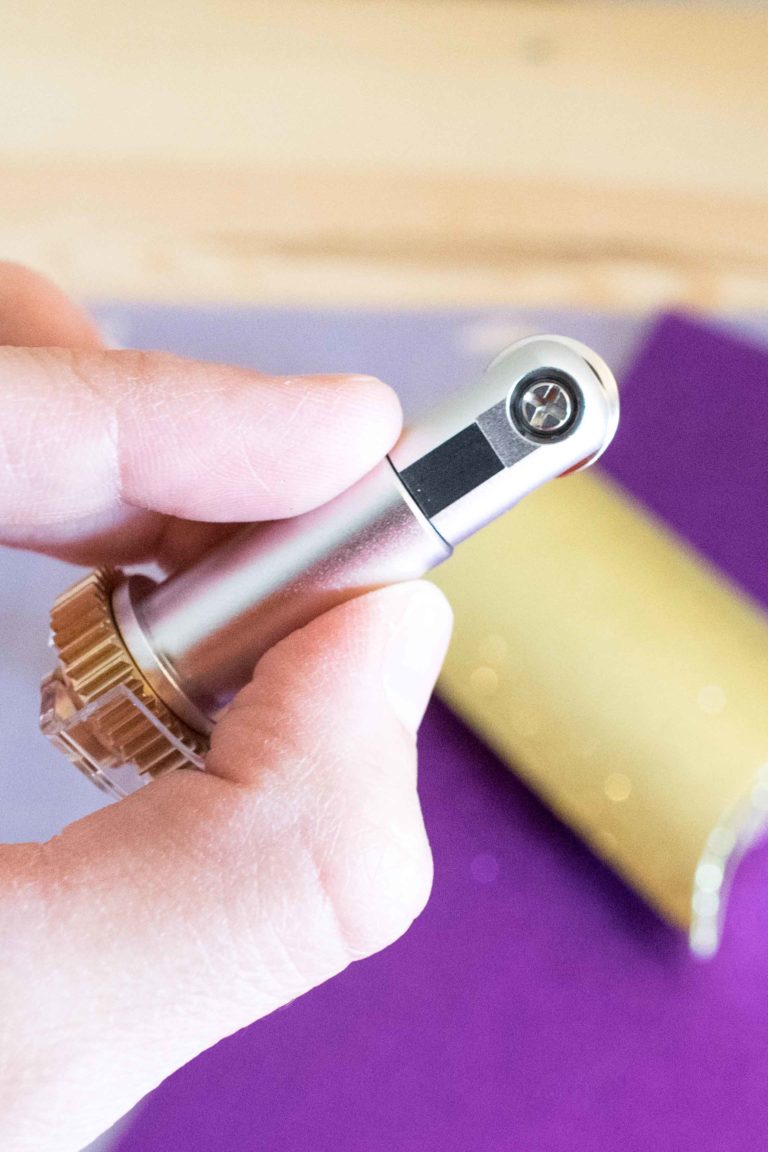
- Scoring Pen
- Tape
- Paint marker (fine tip)
- Regular acrylic paint and fine tip brush (optional)
- Template

There are many types of wooden Christmas slices available. You can buy them finished in white or unfinished!
I bought mine at Michaels with a white, farmhouse-style finish, and I liked them.
Here’s a quick search on Amazon. Just pick what you like the best!
Note: The PDF file I provided you with should work with most ornament sizes. However, you can print on a larger or smaller scale as well!
Step 1
Print the file I provided you with and cut around the design you want to use.
This technique requires patience and a steady hand!
Make a sandwich with the Wooden ornament at the bottom, the graphite paper facing down on the ornament, and the design you want to use on the top.
Tip: I highly recommend using tape to secure the design of your ornament. If your design moves during tracing, you’ll have a big mess.
Step 2
Trace the design on your ornament with the scoring pen. The pen will create enough pressure to transfer graphite to your project.
Projects made with graphite work great on multiple surfaces, including fabric!

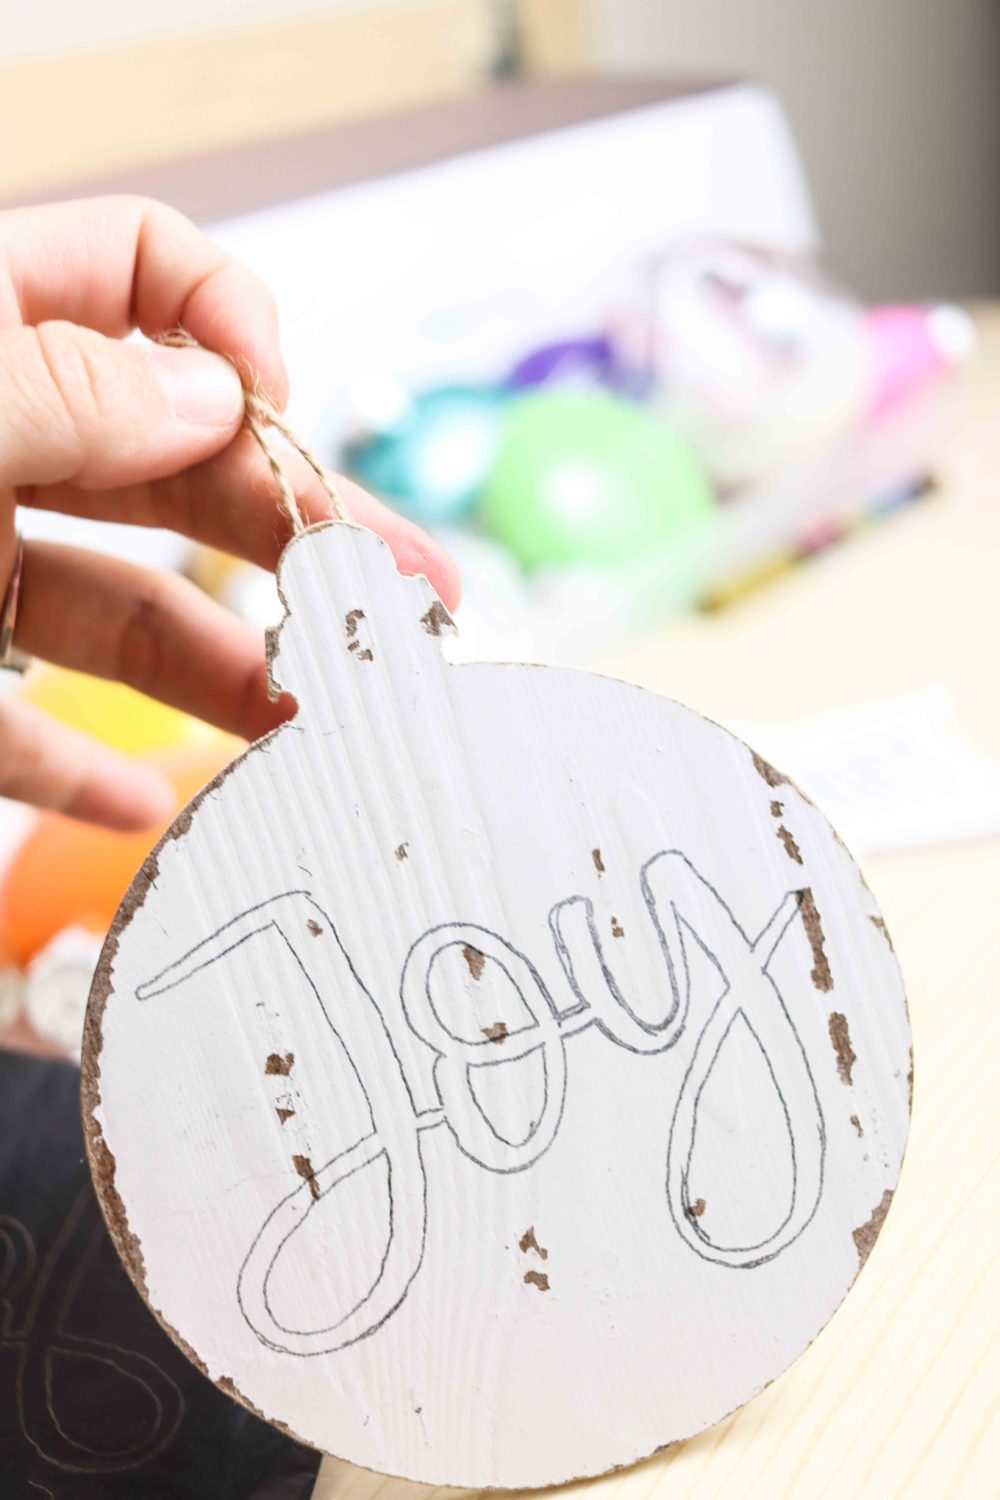
They work best with a chunky design; I don’t have a very steady hand for thin images.
Step 3
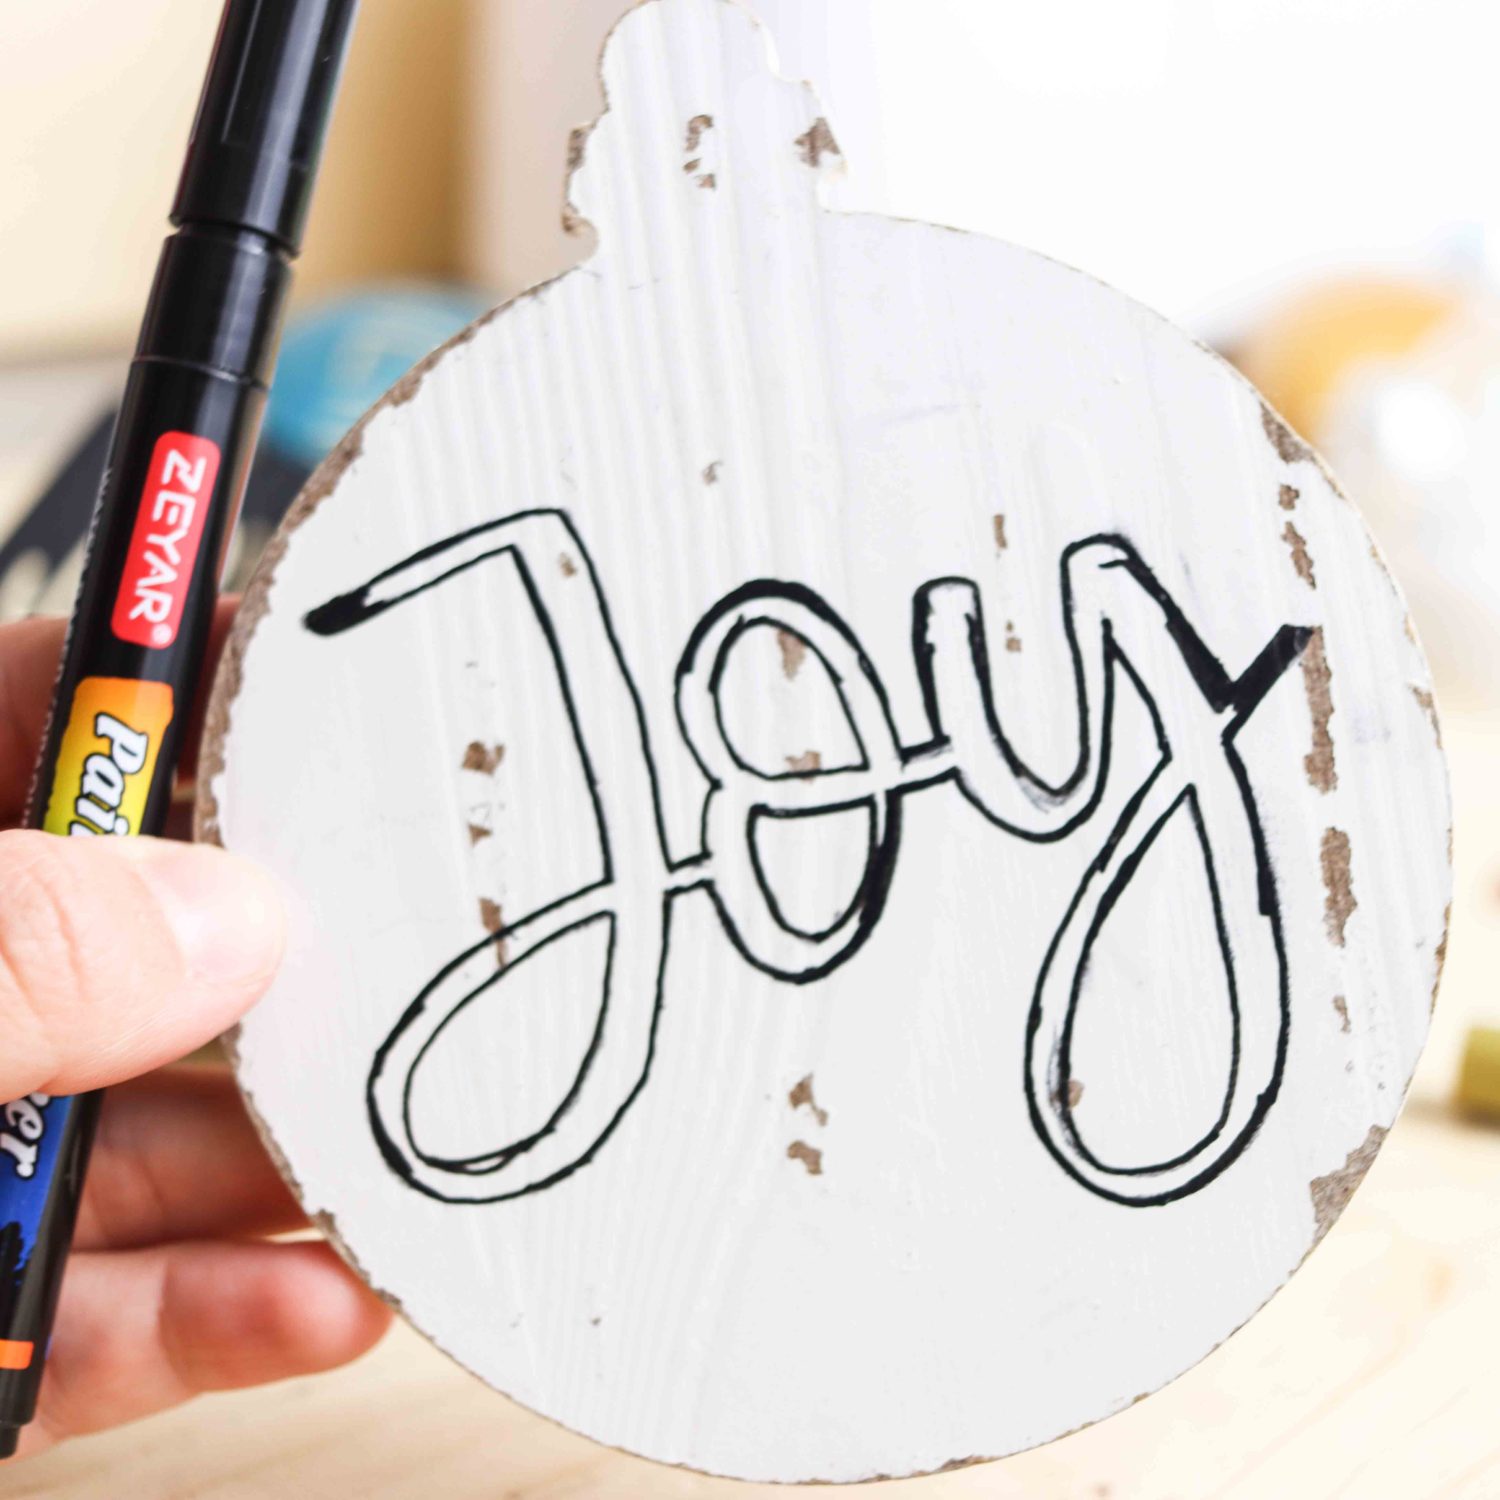
Remove graphite paper, trace the outline of the design with a paint marker, and color inside it.
You can technically use acrylic paint as well; just make sure to use a very fine, high-quality small brush.
I prefer the marker because I feel I have more control over my designs. I got a beautiful set on Amazon in many different colors; I love them because they have very fine tips.
I wasted my money on the ones I got at Michael’s because the tip was very chunky.
Warning: If you use markers, try them on a different surface first, so you know how much paint comes out the first time.

You can also use a bow to decorate your ornament as well!
It’s so beautiful and easy to make. You don’t need expensive machinery to make beautiful ornaments.
Here’s another example!
I used one of the skinny designs; It doesn’t look 100% perfect because my hand is not that steady, plus this was my 20th ornament or so.


I thought it looked a little empty, so I hand-drew some snow and stars on it.
I think it looks so much better, don’t you think?
If you look closely enough, there are still some graphite marks on my ornament.

I didn’t erase them because my paint was still fresh, but you can use a regular eraser to get rid of the marks when your ornament is completely dried.
Share it!
What do you think?
I hope you make the most beautiful Christmas ornaments this coming year and in the future. Don’t forget to tag me on Instagram @daydreamintoreality to see all of your creations.