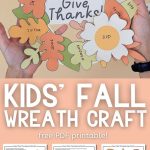

Celebrate the season with this fun and easy Fall & Thanksgiving Paper Plate Wreath Craft for kids!
It’s a simple way to introduce autumn to little ones while making a decoration they can hang on a door, a wall, or in the classroom.
Plus, it comes with a Free PDF Template (no subscription needed).
I aimed to create a color palette that was earthy, inviting, and perfect for decorating a child’s door without feeling like an eyesore, with very bright greens, reds, and oranges. This craft is the ideal combination of aesthetic appeal and vibrancy.
If you’d like a bolder look, you can print the black and white version on different colored paper.
This craft is perfect for preschoolers, kindergarteners, and early elementary students, as it’s easy to cut and paint. But I would say even older kids may love it, too!
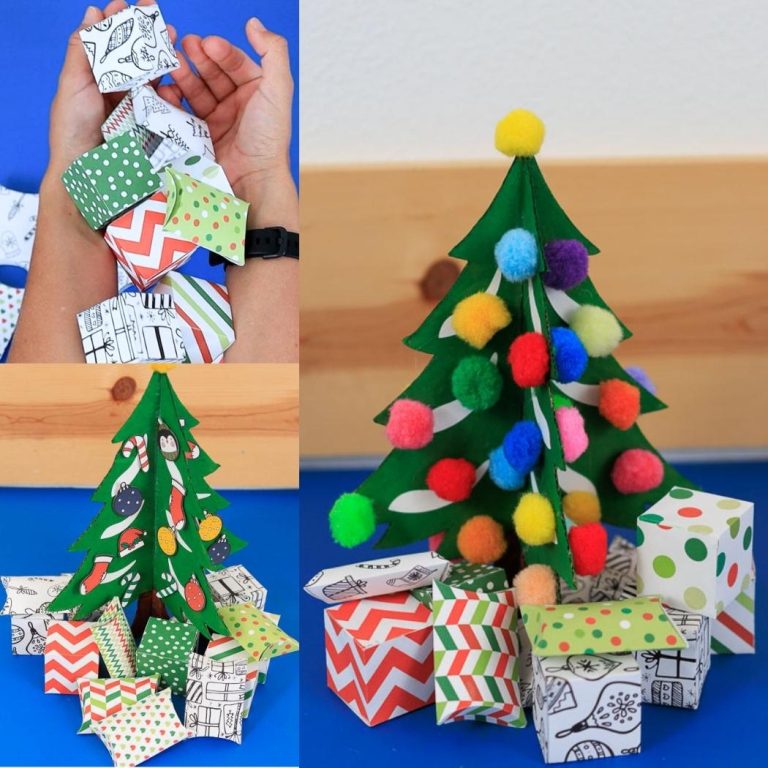
Related: Fall Paper Plate Tree Craft for Kids
Tools & Materials
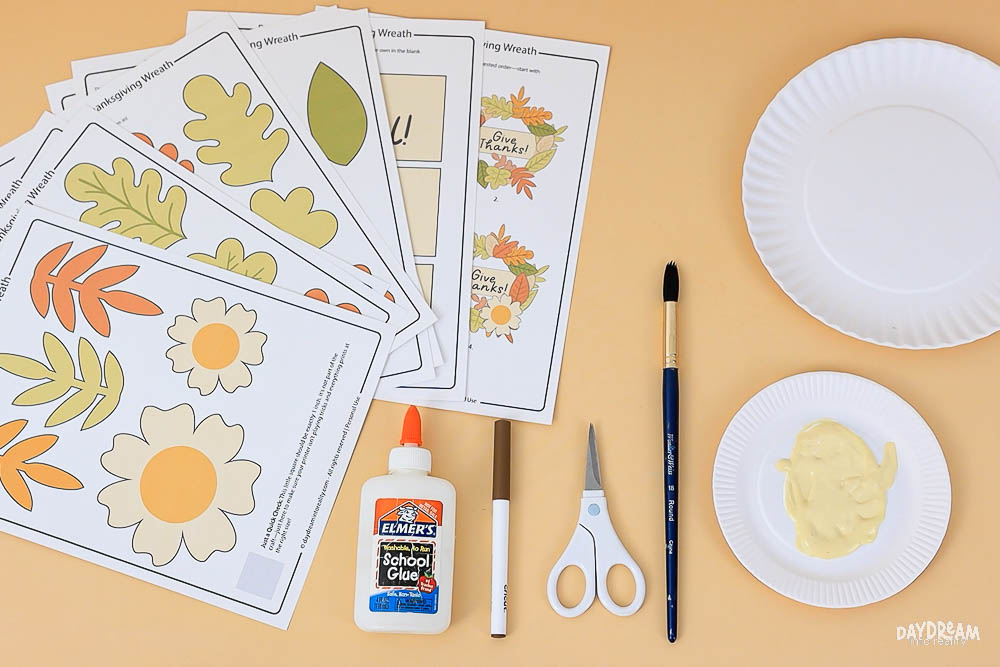
- Printer
- Free template (download at the end of this post — no subscription required!)
- 9-inch paper plates
- Scissors
- White cardstock
- White, yellow, and brown paint*
- Brown marker (optional)
- Crayons, markers, or colored pencils (optional)
*This is to paint the base of the wreath. You can also try a light green, brown, or any other color you’d like to see when leaves don’t cover the entire base. Or for a total mess-free look, you can leave it white, but in my opinion, it looks better to have something in the background.
Super tip: No paper plates? Trace a 9-inch circle on white cardstock and use that instead.
Instructions
Step 1 – Print the Template
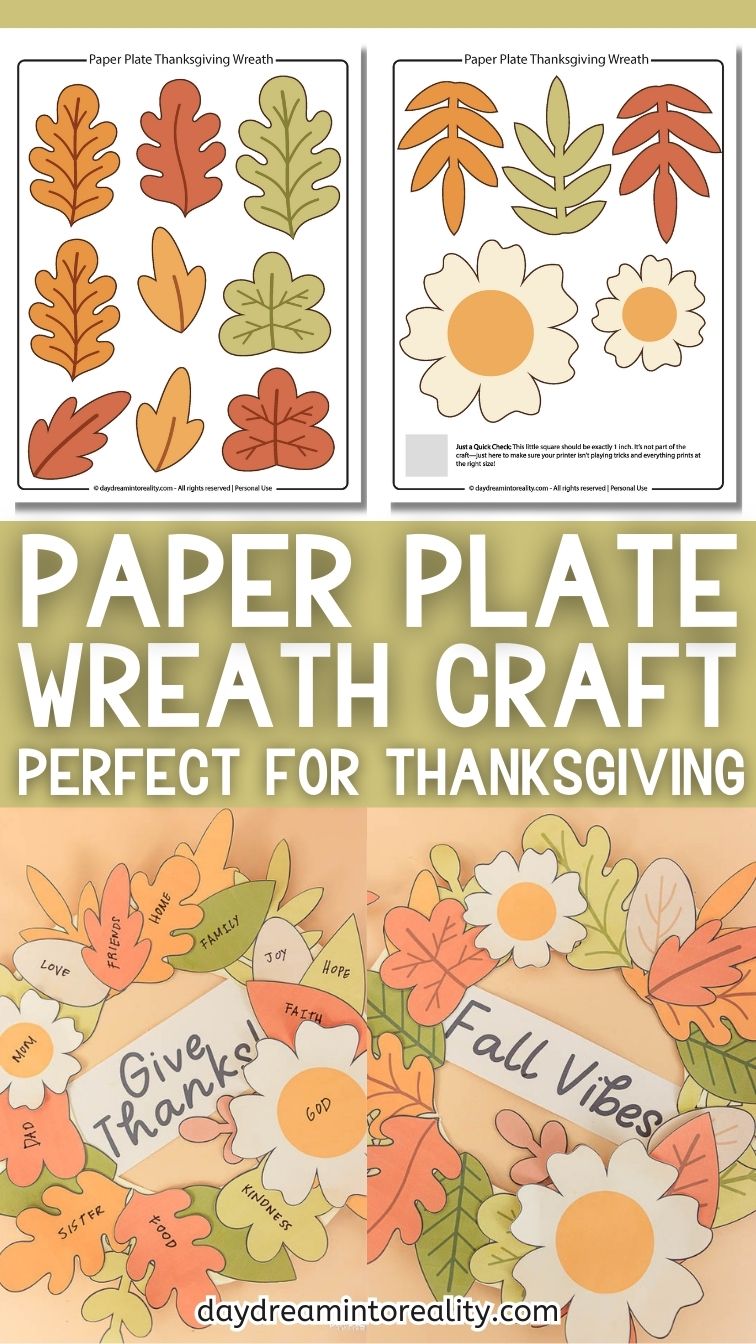
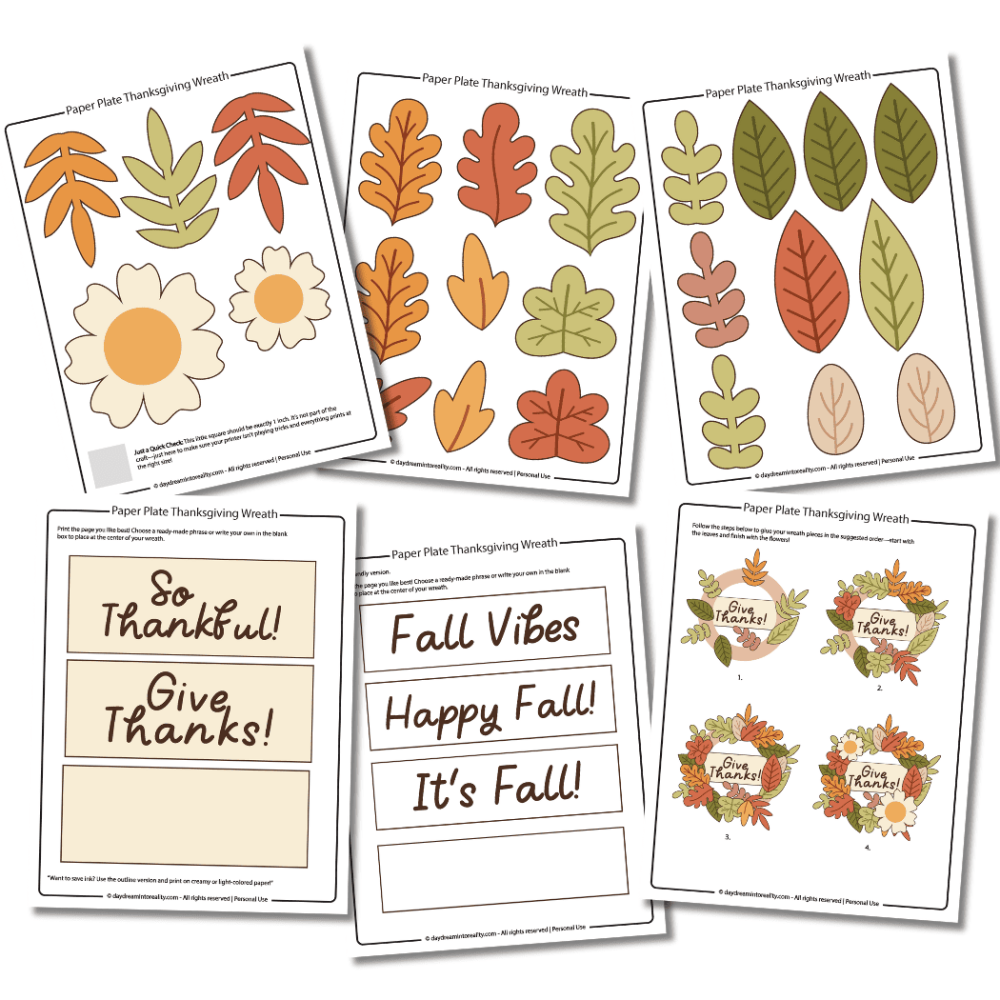
This template is available in both color and black and white, allowing you to color or print on different colored paper.
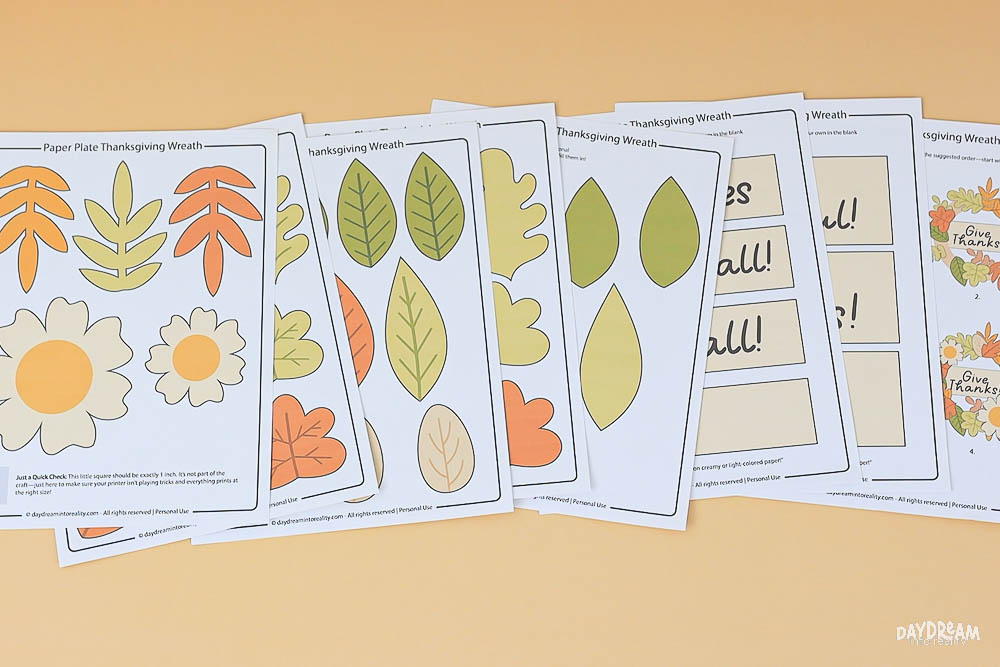
It includes:
- Leaves with veins (great for writing thankful words)
- Leaves without veins
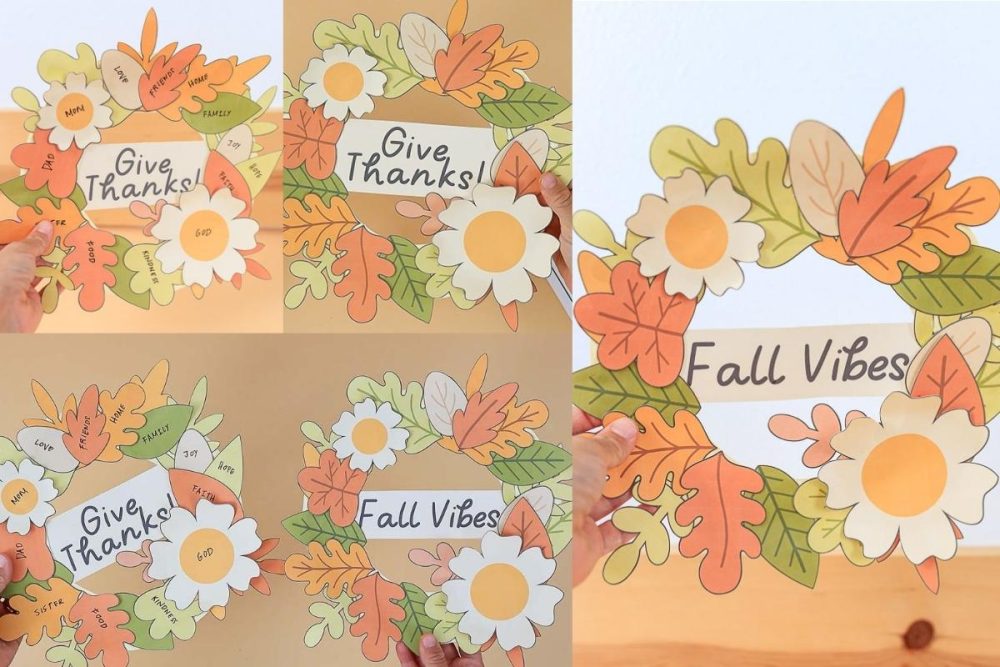
- Flowers
- Banners with “Give Thanks,” “So Thankful,” “Hello Fall,” “Fall Vibes,” and a blank one to make your own
Step 2 – Paint the Plate
Mix about 2tsp of white, 1 tsp of yellow, and about two drops of brown to make a creamy paint. As I mentioned before, you can use any color you’d like for any spaces that leaves won’t cover.

Paint only the outer rim of the paper plate — you’ll cut out the middle later.

If you’d rather skip paint, leave the plate white or let kids color the rim with markers or crayons.
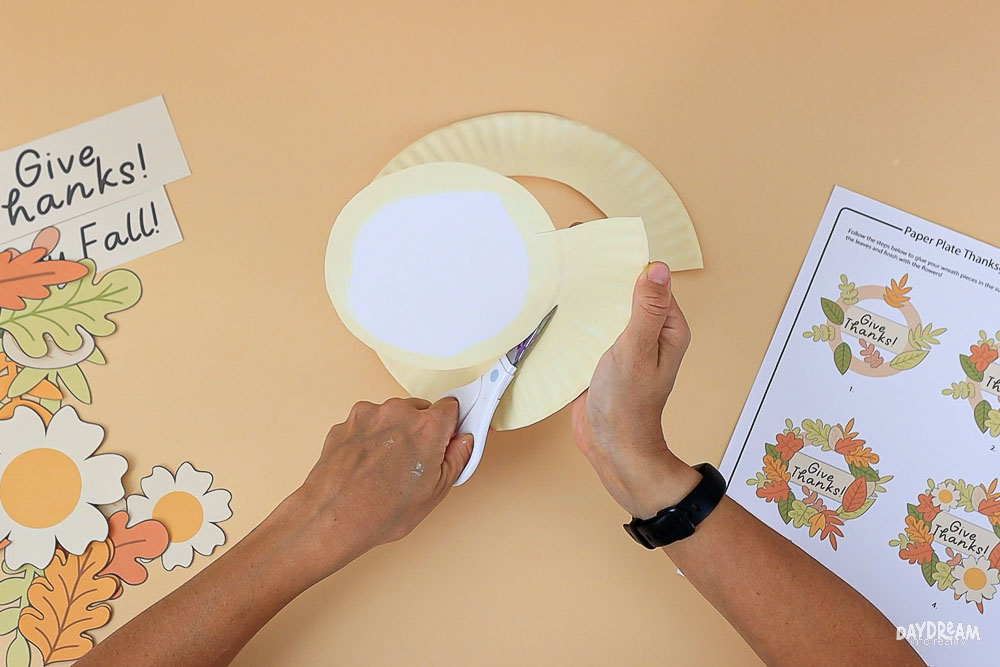
Step 3 – Cut the Plate & Template Pieces
This wreath has a good amount of leaves and flowers. I took it to the best so you can see the possibilities; however, little ones may want to cut only a handful of leaves and flowers. THAT’S OK! Don’t stress about it; it’s a kid’s craft, it’s supposed to be fun.
Cut the center out of your paper plate to make a ring. Be sure to leave enough space so your banner fits across the opening.
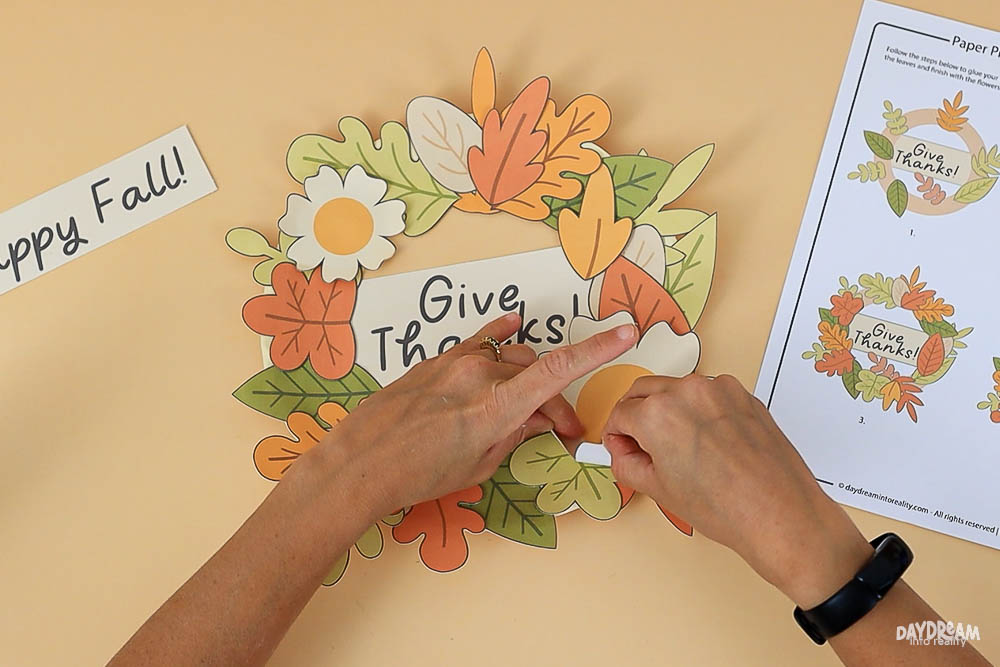
Step 4 – Glue the Wreath Together
If you want your wreath to look exactly like my pictures, I included a handy page with gluing steps. However, feel free to arrange it any way you’d like.
Start by gluing a large leaf over the cut opening at the top of the plate. Add your banner across the middle.


Tip: For a 3d pop effect, try curling up some of the flower petals and leaves. Not everything has to be glued flat. Add some life to the project!
Step 5 – Add Thankful Words
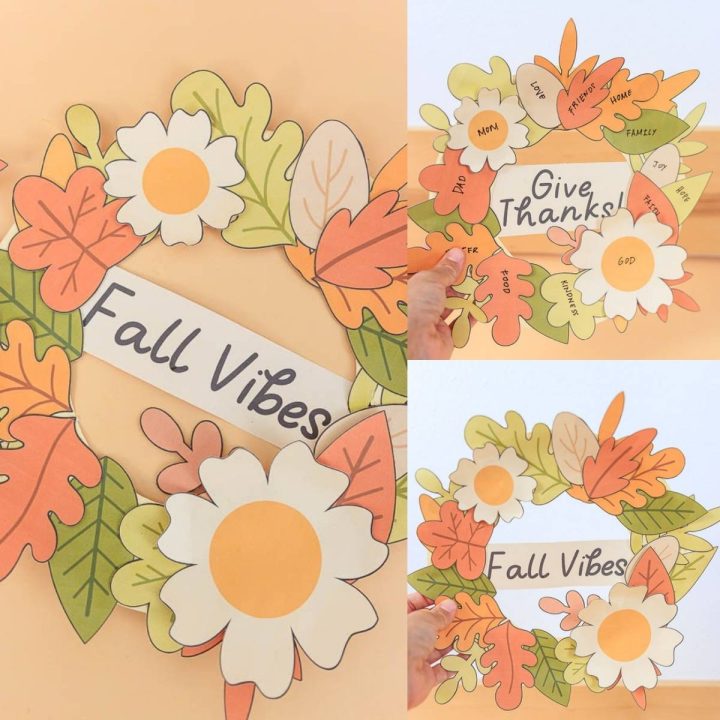
If you’re using the blank leaves, invite kids to write things they’re grateful for. This turns the wreath into a sweet Thanksgiving activity.
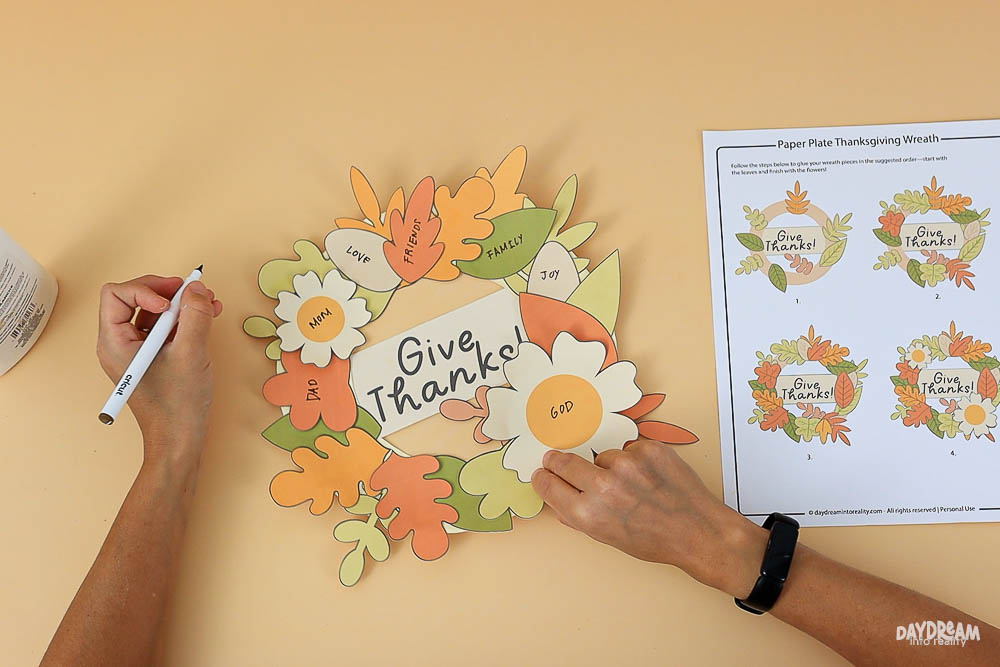
Here are some ideas to get them started: God, Mom, Dad, Sister, Brother, Family, Friends, Home, Teacher, Food, Pets, Kindness, Love, Joy, Health, Nature, Playtime, Books, School, Hugs.
Encourage kids to come up with their own, too.
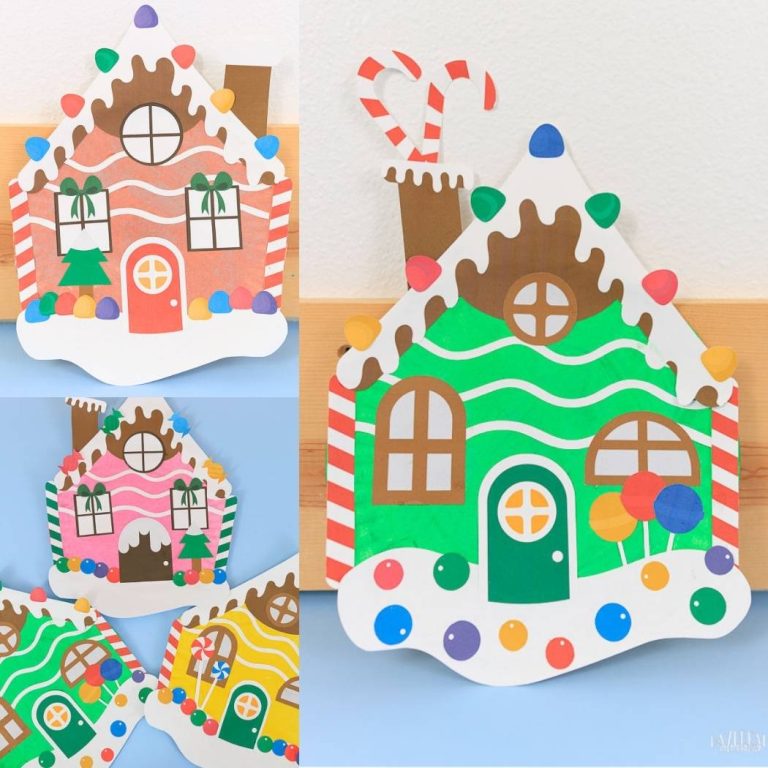
Finished Wreath
That’s it! Your Fall & Thanksgiving Paper Plate Wreath Craft is ready to hang. Add tape or string to the back and display it on a door, wall, or classroom board.


Conversation Starters
While working on the craft, you can guide little ones into a gratitude conversation. Ask questions like:
- What are some things you’re thankful for?
- How can we show kindness to others this fall?
- What makes you happy about this season?
- Can you think of something hard, but you were still thankful for something else?
- What colors remind you of fall?
Download the Template
Click the image below to open it in a new tab, then use the yellow buttons to download.

You May Also Like…
I hope you had fun making this Fall & Thanksgiving Paper Plate Wreath Craft! It’s a great way to celebrate the season, meditate on what you’re thankful for, and have a neat decorative piece at the end!
- Paper Plate Pumpkin Craft For Kids
- Paper Plate Scarecrow Craft For Kids
- Paper Plate Turkey Craft For Kids
- Fall Paper Plate Tree Craft for Kids
- Paper Plate Acorn Craft for Kids
- 35+ Fall Dot Marker Pages For Kids
Happy Crafting!
Fall & Thanksgiving Paper Plate Wreath Craft for Kids
A fun and easy Fall & Thanksgiving Paper Plate Wreath Craft for kids made from a paper plate and free printable templates. Perfect for preschool, kindergarten, and elementary classrooms.
Materials
- Free template (download below)
- 9-inch paper plates
- White cardstock
- White, yellow, and brown paint
- Brown marker (optional)
- Crayons, markers, or colored pencils (optional)
Tools
- Printer
- Scissors
- Paintbrush
Instructions
- Print the wreath template (color or black-and-white).
- Paint the outer rim of the paper plate in a fall color and let it dry. Cut the center out of the plate and cut out leaves, flowers, and banners from the template.
- Begin gluing large leaves around the plate, then attach the banner across the center.
- Add flowers and more leaves, layering pieces for a complete look. Curl petals and leaves slightly for a 3D effect.
- If using blank leaves, write thankful words like family, friends, food, or kindness.
- Add a string to the back and hang it as a fall or Thanksgiving decoration.