Looking for a delightful and meaningful craft activity to engage your kids this Christmas season?
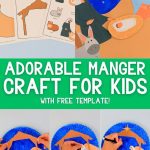
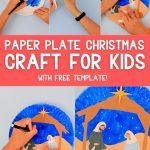
Look no further than this adorable Paper Plate Nativity (Manger) Craft! It’s easy and fun and a perfect way to bring the true meaning of Christmas to life.

In addition, kids can enhance their fine motor skills as they cut, paint, and color, making this craft an enjoyable and beneficial activity for everyone involved!
This craft is suitable for toddlers, preschoolers, kindergartners, and even older children with the assistance of a parent or teacher.

Why Make a Paper Plate Nativity Scene?
Christmas can sometimes get lost in all the hustle and bustle of presents and decorations. Our paper plate nativity craft helps refocus the season on its true significance—the birth of Jesus.
You and your kids can use our free template to create a beautiful representation of the nativity scene. As you craft, you can share the story of Jesus’ birth, why it matters, and why we are grateful for His coming as a baby for all of us who believe in Him.
Related: Nativity Story Puppets with Popsicle Sticks!
Tools & Materials
- Printer
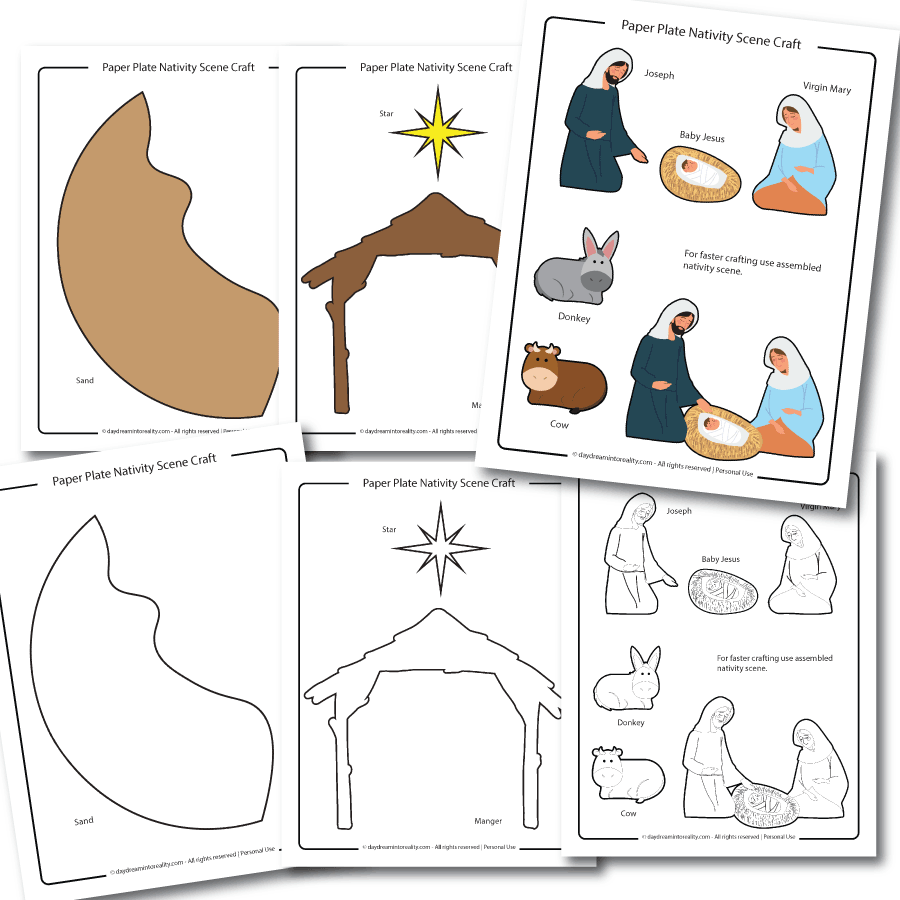
- Template (download at the end of the article; you don’t need to subscribe!)
- Glue
- 9-inch paper plate
- Scissors
- White cardstock
- Navy blue paint
- White paint or chalk marker
- Foam dots (optional)
- Colors, markers (optional)

Super tip: If you don’t have paper plates, use white cardstock and cut an 8-9-inch circle.
Step 1 – Print Nativity Scene Template
To add extra value, I included a pre-colored and coloring version. And, as with all of my crafts, you can make them as easy or difficult as you want.
To save time, print the colored template, and for a more extended activity, print the coloring version.
I printed the colored template!

Step 2 – Paint
Always start by painting, as it takes longer to dry. Your child will likely want to glue as soon as they finish cutting.
Paint the paper plate navy blue to make the scene during the night.

Step 3 – Cut Template
On the characters page of the template, there are two ways you can assemble “Joseph, Mary, and baby Jesus.” For easier crafting, cut the illustrations where they are joined.
I decided to cut around every single character.
Tip: I usually leave the black outlines out. But if I could go back in time, I would use them on the craft to add more contrast.

Since there are quite a few pieces to cut, your child may need help!
Step 4 – Glue
When the plate is completely dried, get all the pieces together to assemble the craft!

Start with the sand hill. You’ll want to glue it aligned with the bottom of the plate. Keep in mind that sometimes printers change the original size of printables.
If the sand doesn’t align 100%, trim the paper plate or the sand to fit.
Next, glue the stable as shown in the pic below.

Now, it’s time to glue the rest of the characters.
I don’t know how often you craft with your little ones, but if you love crafting, I recommend you get double-sided foam dots. They are super cheap, but they add a 3D pop effect to all your crafts that regular glue can’t achieve.
Kids love using them because they add extra beauty and instill a love for crafting. Always ensure you’re always supervising when crafting with children three and younger.


If you don’t have them, you can also use glue! I used foam dots on baby Jesus and the yellow star.
Once all your characters are glued, use white paint or chalk marker and make tiny dots on the plate to create a starry night!


Now you have your little manger scene to celebrate Christmas!
Question Ideas
I encourage you to read the next section for some questions and conversational ideas to ask your children while you do this activity with them.


- Is Christmas your favorite holiday of the year?
- What do you think the meaning of Christmas is?
- Do you know Jesus is the best present we ever received from God?
- What are you the most excited about this Christmas?
- We celebrate Christmas because…
Download Template!
As I mentioned, here’s the Nativity template for your craft! Click the image to open the PDF in a new window or the yellow button to trigger a download on your phone or computer.
Oh!
Just so you know, I also have a library full of free SVG files and Printables for all my subscribers, a.k.a. Daydreamers. You can see a preview right here or get access by filling out this form.

Paper Plate Nativity Craft For Kids | Free Template!
This paper plate nativity scene engages children in a meaningful Christmas craft. Featuring a free printable template, it's an ideal DIY project for families and classrooms, perfect for preschool and early school-aged children.
Materials
- Template
- 9-inch paper plate
- White cardstock
- Navy blue paint
- White chalk marker or white paint
- Colors, markers (optional)
- Foam dots (optional)
Tools
- Scissors
- Glue
- Paint brush
- Printer
Instructions
- Download the template.
- Paint the paper plate navy blue to give the scene a "nighttime" appearance.
- Print out the version of the template you want to use.
- Cut template
- Glue the sand hill at the bottom of the plate.
- Glue house frame.
- Glue the characters on the Christmas scene**
- Use white paint or chalk marker to make a starry night.
Notes
**Use foam dots to create a small pop-up effect. I used them on baby Jesus and the yellow star.
You May Like These…
I hope you enjoyed crafting a lovely nativity scene with your little people. If you enjoyed that activity, I’m sure you would also love some of the following.
- Fall Paper Plate Craft
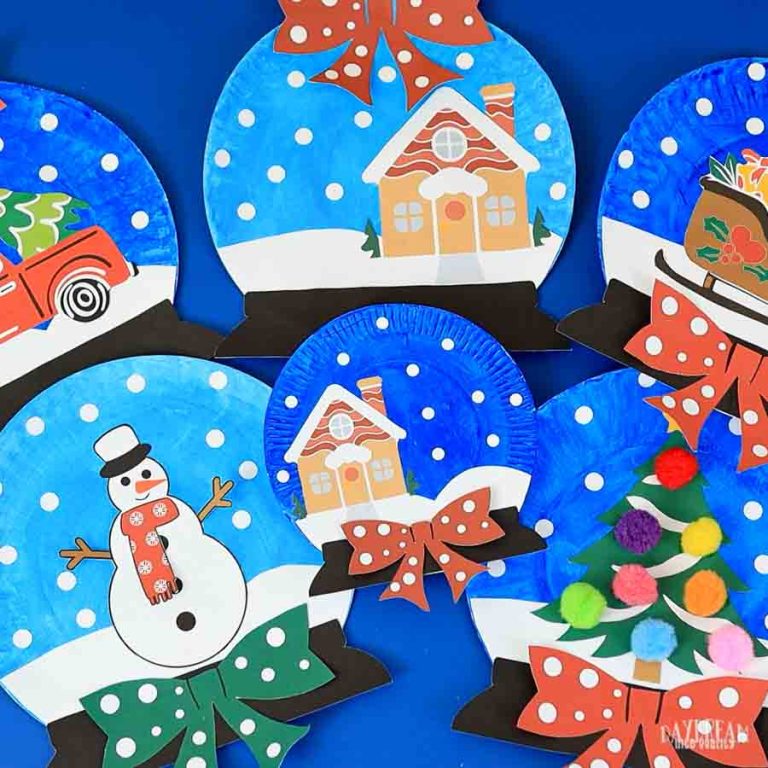
- Paper Plate Snow Globes with 5 different scenes!
- Paper Plate Baby Chick Craft
- Turkey Headband Craft
- Build a Salad Craft
- Build a Fish Tank
- Paper Plate Cow Craft
Happy Crafting!


Paper plate nativity manger craft for kids
It’s available on the article. No need to subscribe.