
Are you looking for a fun and creative activity for the winter and Christmas holidays?
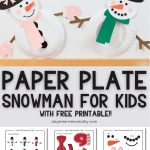
Try making a Paper Plate Snowman Craft with your little ones! This lovely craft is perfect for toddlers, preschoolers, and kindergarteners, keeping them entertained on cold and snowy days.
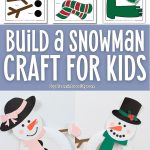
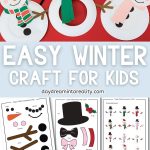
To make life easier, I’ve included a free template with different hats, scarves, and mittens that children can mix and match to create their own unique snowman or even a snowwoman! This craft is a fantastic way to celebrate the festive season while having lots of fun!

Here’s another snowman craft if you just have printer paper on hand.
This activity is enjoyable, promotes developmental skills, and encourages creativity as your little ones cut, glue, and personalize their own adorable snowman.
Throughout the tutorial, I’ll share some extra tips that’ll help you make crafting much more fun.

Tools & Materials
- Printer
- Template (download at the end of the article; you don’t need to subscribe!)
- 9-inch paper plate
- Scissors
- White cardstock
- Glue
- Double-sided tape (optional)
- Brown pipe cleaners (optional)
- Googly eyes (optional)
- Black marker (optional)
- Colors, markers (optional)

As with all of my crafts, you can make them as easy or difficult as you want. To save time, print the colored template, and for a longer activity, print the coloring one.
The template includes everything you need to make an adorable snowman, but if you have other crafting supplies, such as pipe cleaners and googly eyes, you can add extra sparkles of fun to this craft.
Super tip: If you don’t have paper plates, use white cardstock and cut 6 and 8-9-inch circles.
Step 1 – Print Snowman Template
Print the template pages that best fit you (at the end of this tutorial).
Before you send it to the printer, check out the template. With just the first two pages, you can make a decent snowman. Print the pages with the scarves and mittens if you want extra fun.
You can also check the “Assemble Ideas” page and ask your little ones which snowman they prefer to build!

Step 2 – Cut the Snowman Head
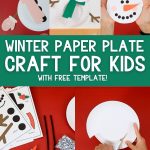
To make a two-piece snowman, we’ll be using a 9-inch paper plate.
If you’re using the same paper plates as mine, you’ll notice a 6-inch circle for us to cut along. If you’re using different plates, you can measure or print the 6-inch circle in the template to follow along.


You don’t need to discard the paper plate after cutting the smaller circle! You can use it to make another snowman, and yes, I have some pictures for you so you can choose what you like best!
Step 3 – Cut Template
The eyes and mouth are a bit difficult to cut. For very small children, you may want to use a black marker or paint instead.

Step 4 – Glue
It’s time to glue our adorable snowman!
Check out the assembled ideas! There are so many to pick from. For this particular tutorial, I just followed the flow.
I also noticed some pieces (head, body, and arms) are a little hard to glue, so you may have to help your child. In cases like that, I like to use double-sided tape. It’s still possible, though! Just a little heads up.

I recommend starting from the top to the bottom. Glue the red or green strip on the hat, followed by the holly.
Tip: Don’t put glue on the leaves; fold them a little bit to give your snowman a 3D appearance. You can also do this with the nose.


Then, glue the hat to the 6-inch cut-out and finish gluing the rest of the pieces. (Eyes, cheeks, nose, and mouth)
You can even have a one-piece snowman; it also looks fantastic!
Although the pictures don’t show this step-by-step (I made a mistake), I recommend you glue the scarf between the body and the head, not on top.


Finally, glue the buttons, arms, and mittens to the snowman. Just like I did with the nose and holly, I didn’t glue the scarf to add another 3D pop!
Sometimes, you may need to cut some of the arms so they don’t show.
There you have it, a lovely paper plate snowman!
Other Assembly Ideas
Here are some pictures of other snowmen you can make using my template!


I wanted to make a little “Snowgirl,” too! She looks so fancy, and I love the hat and all the pink decorations.
Do you see the snowman with a hole in the tummy? I think it looks cute, too; plus, you can use it as a photo prop if you leave the scarf out and use a bowtie instead.
If you pay attention to the scarves (pink and green), you’ll notice they look a little different than the one for the step-by-step tutorial. At this point, I was tired of cutting and made a straight cut. You can also do this! I love adding little details to my templates to make things fun and unique.
Also, did you notice I didn’t make the same mistake with the scarf?
Here’s another snowman using different craft supplies!
You can make the snowman’s arms with brown pipe cleaners. Simply bend one, twist the ends to make the “fingers,” and glue on the back.


Don’t they look beautiful?
They are so easy and fun to make!
Which one is your favorite?

Download Template!
Just as I mentioned, here’s the snowman template for your craft! Click the image or yellow button to open, save, or print the PDF.

Oh!
Just so you know, I also have a library full of free SVG files and Printables for all my subscribers, a.k.a. Daydreamers. You can see a preview right here or get access by filling out this form.

Paper Plate Snowman Craft for Kids
Follow our easy guide to making a paper plate snowman, which includes a list of materials and step-by-step instructions. This is a great DIY craft for kids during winter and Christmas.
Materials
- Template
- 9-inch paper plates
- White cardstock
- Brown pipe cleaners (optional)
- Googly eyes (optional)
- Black marker (optional)
- Colors, markers (optional)
Tools
- Scissors
- Glue
- Double-sided tape (optional)
- Printer
Instructions
- Download the Template
- Check out the assemble ideas page on the template. Pick your favorite snowman and print the pages that best suit you.
- To make a two-piece snowman, we'll use a 9-inch paper plate. Cut the inside of one of the plates to make a 6-inch circle.
- Cut the template pieces for your snowman.*
- I recommend starting from the top to the bottom. Glue the red or green strip on the hat, followed by the holly.
- Glue the hat to the 6-inch cut-out and finish gluing the rest of the pieces that form the face. (Eyes, cheeks, nose, and mouth)
- Glue the head to the body. If using a scarf, make sure you glue it in between. Don't glue on top.
- Finally, glue the buttons, arms, and mittens to the snowman.
Notes
*The eyes and mouth are a little difficult to cut. You may want to use a black marker or paint instead for very small children.
You May Like These…
So there you have it – a variety of fun and cute paper plate snowmen to make with your children this winter or Christmas day. Remember to keep things interesting by mixing and matching colors and parts of the template!
- Paper Plate Snow Globes with 5 different scenes!
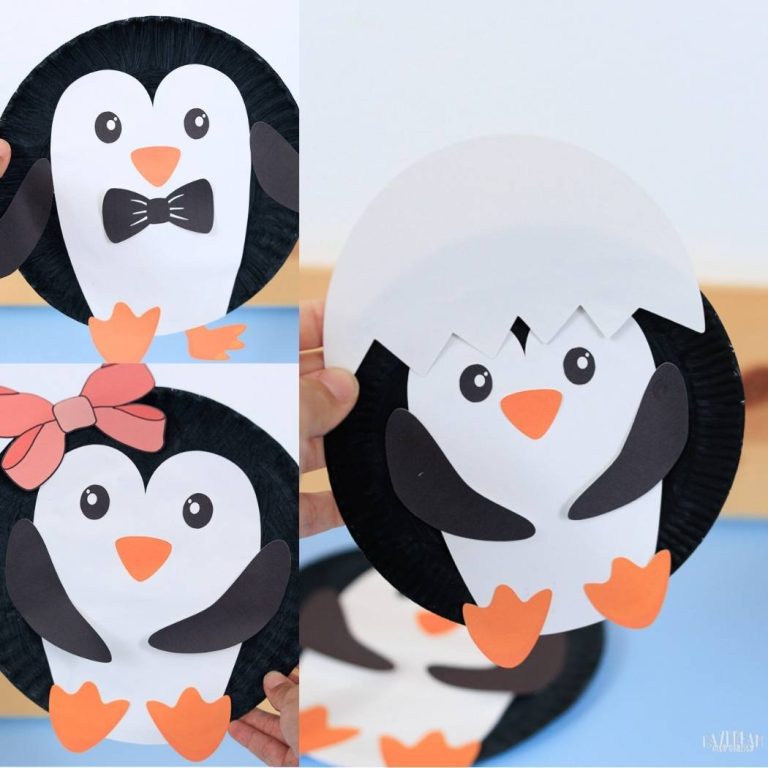
- Paper Plate Baby Chick Craft
- Paper Plate Turkey Craft
- Build a Salad Craft
- Build a Fish Tank
- Paper Plate Cow Craft
Happy Crafting!


Would love a copy for my students
You can download it from the article. No need to subscribe.
PDF Template
You can download it from the article.
Would love template for
Library activity for disabled adults
Please do! The template is on the article for you to download!
Can i have a copy of template for ny primary students thank youuuuu
Of course! You can download it from the article itself. You don’t need to subscribe!