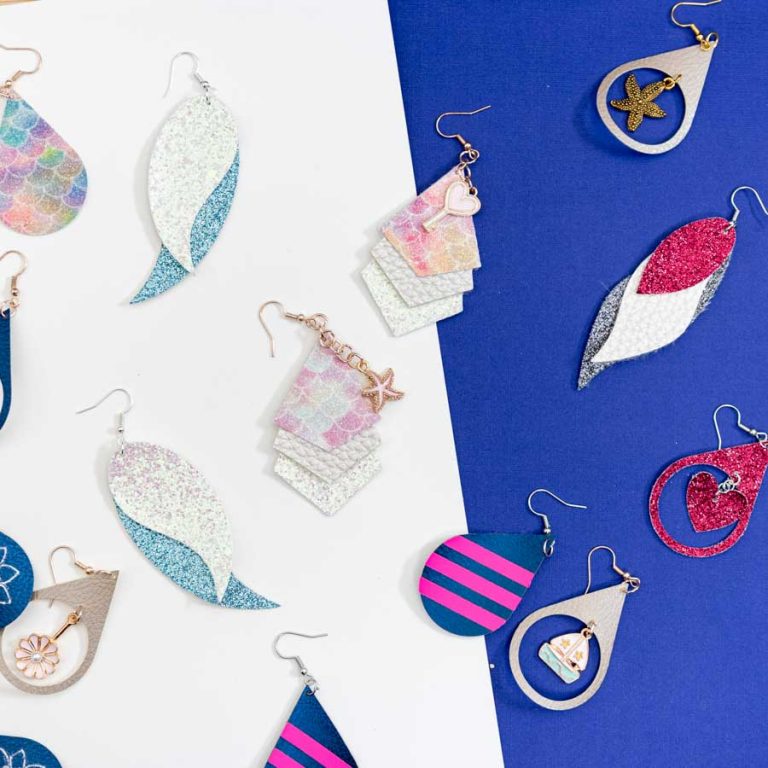
Hello Daydreamers!
Today you are going to learn everything there’s to know about vinyl in the Cricut (and other die-cutting machines) world.
When I first got my Cricut I think I grew some gray hair trying to figure out all of the differences and types of vinyl out there.
There’s so much to take into consideration when making a project with this type of material, that if you don’t know the principles behind each type of vinyl, you may run into some trouble.
No worries, though!
In a nutshell, this is what I am going to cover in this article:
- What is vinyl
- What are the two major types of vinyl
- Adhesive vinyl Guide
- Iron-On HTV Guide
- Free resources to replicate projects
- What is printable vinyl
- Different brands that sell vinyl
- Best machine to cut vinyl
Note: Although there are tips for cutting and transferring vinyl in this article, this article is not a tutorial on how to precisely cut and transfer vinyl. I like going into a lot of details in my articles, and I deem necessary to write a specific piece for cutting and transferring.
Are you ready?
Let’s Daydream Into Reality
What is Vinyl in the Cricut/Die Cutting World?
Vinyl is a type of material that sticks to a wide variety of surfaces like glass, metal, wood, ceramic, etc.
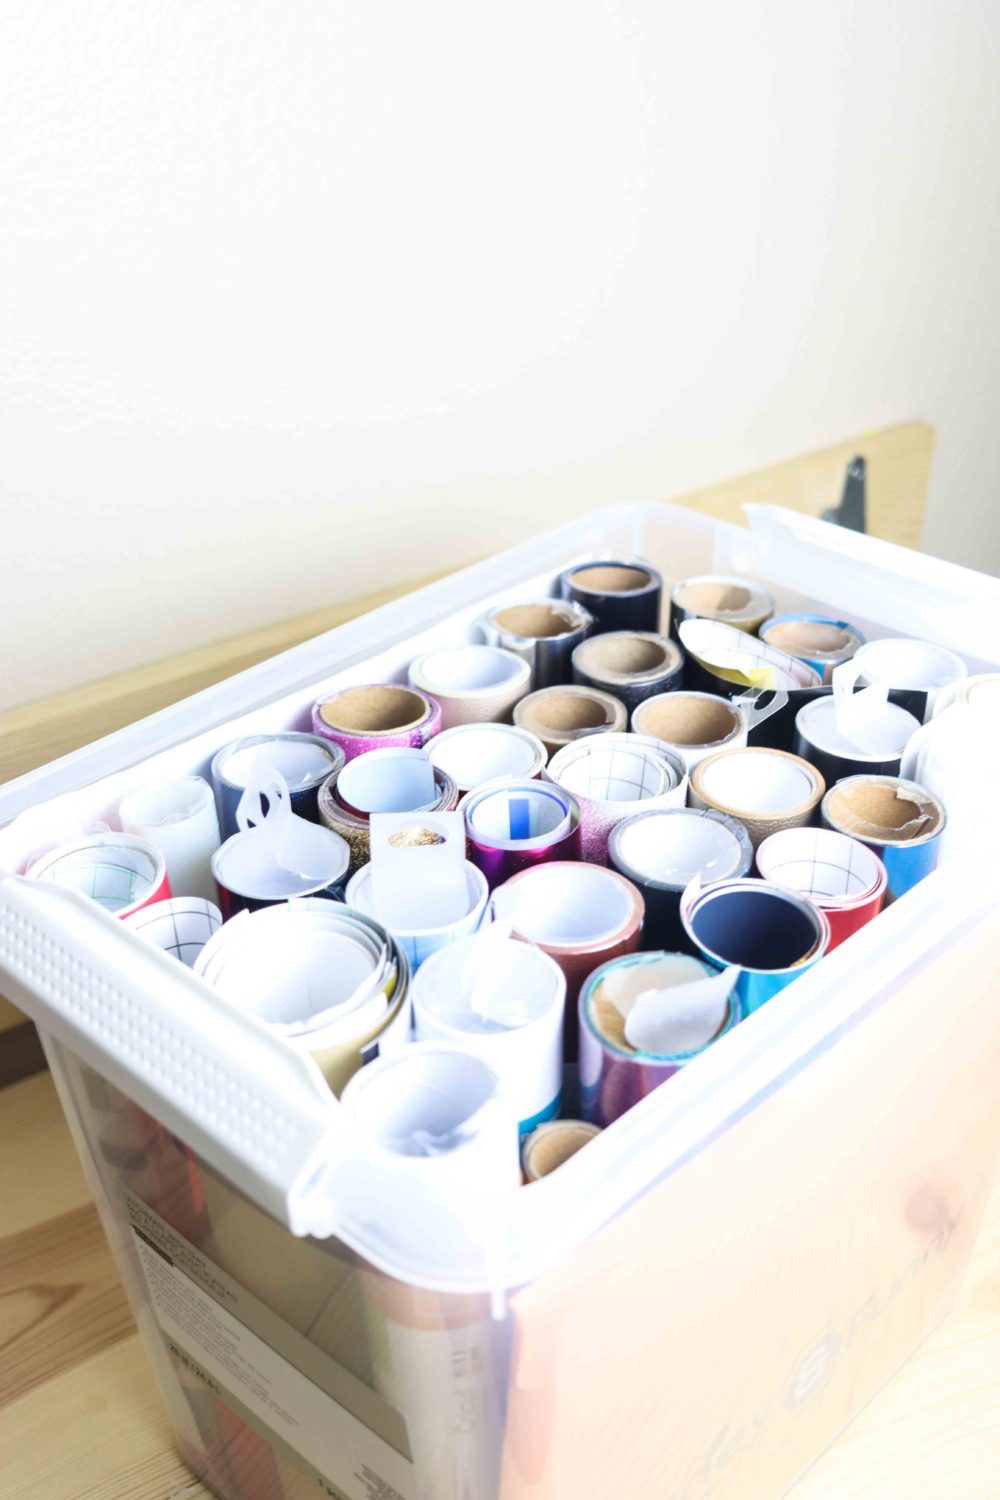
Vinyl, in general, comes two different presentations:
- Rolls: The overall width of a vinyl roll is 12in, and the length can go from 12in to 20 and even 40ft. There’s less variety on large rolls, but tons of it when you buy anywhere from 12x48in.
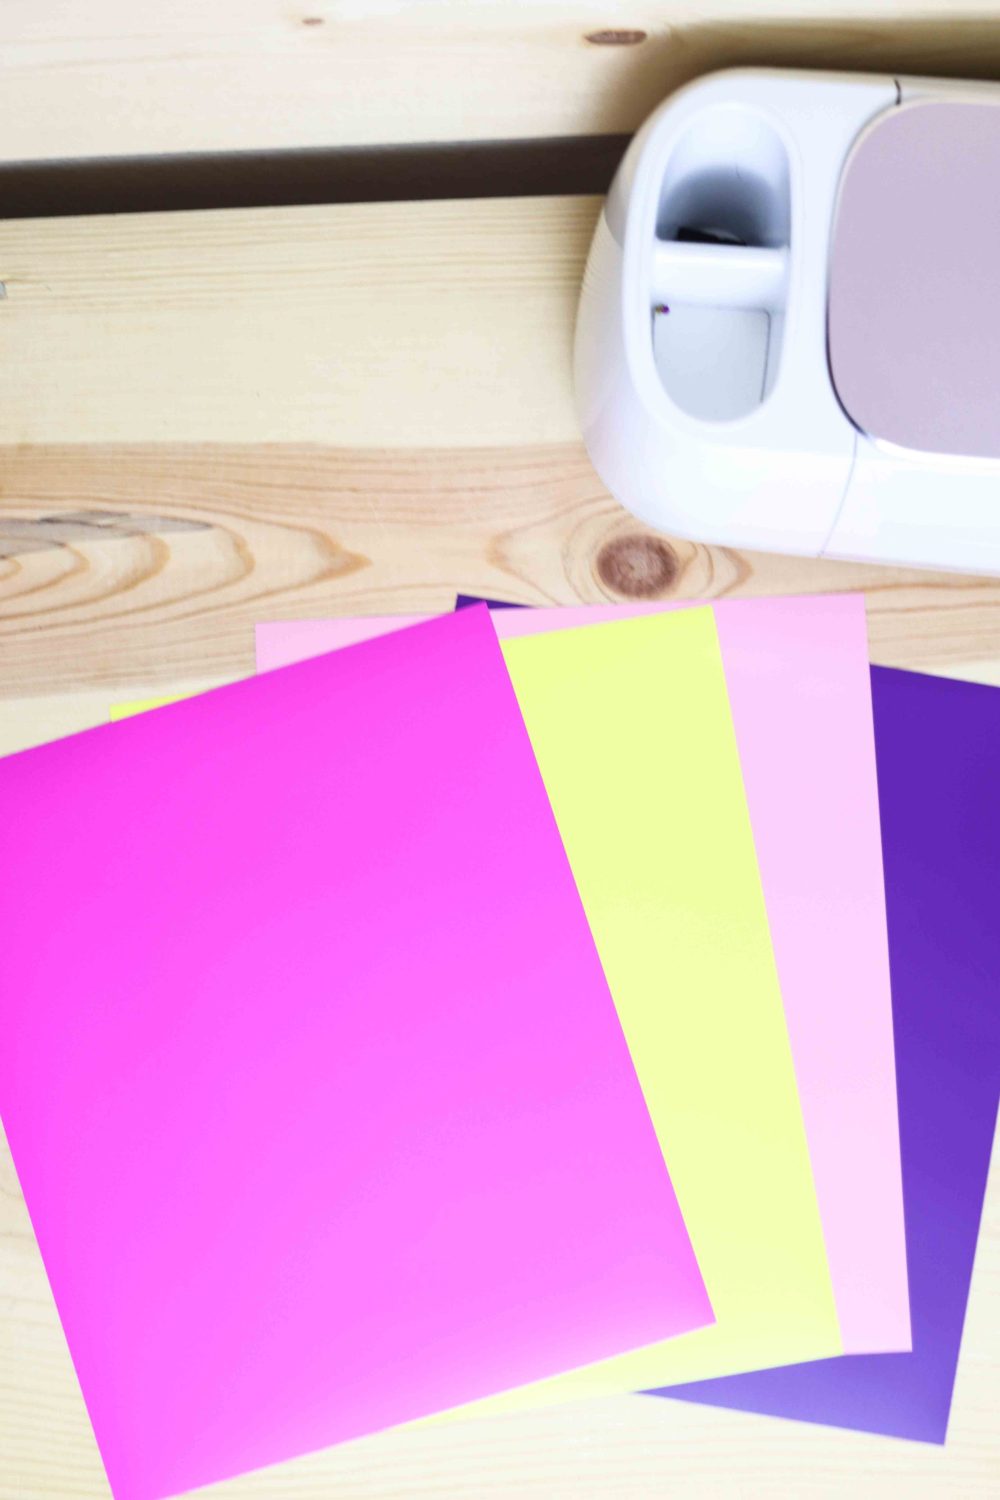
- Individual Sheets: They are sold in different sizes; the most common ones are 12x12in and 12x10in. The cool thing about individual sheets is that you can get a single package with all kinds of colors.

Individual sheets 
Vinyl Rolls
Not all vinyl works the same!
Depending on the finish, durability, and surface you want to use it on, you will need a different type of vinyl.
What are the major types of craft vinyl?
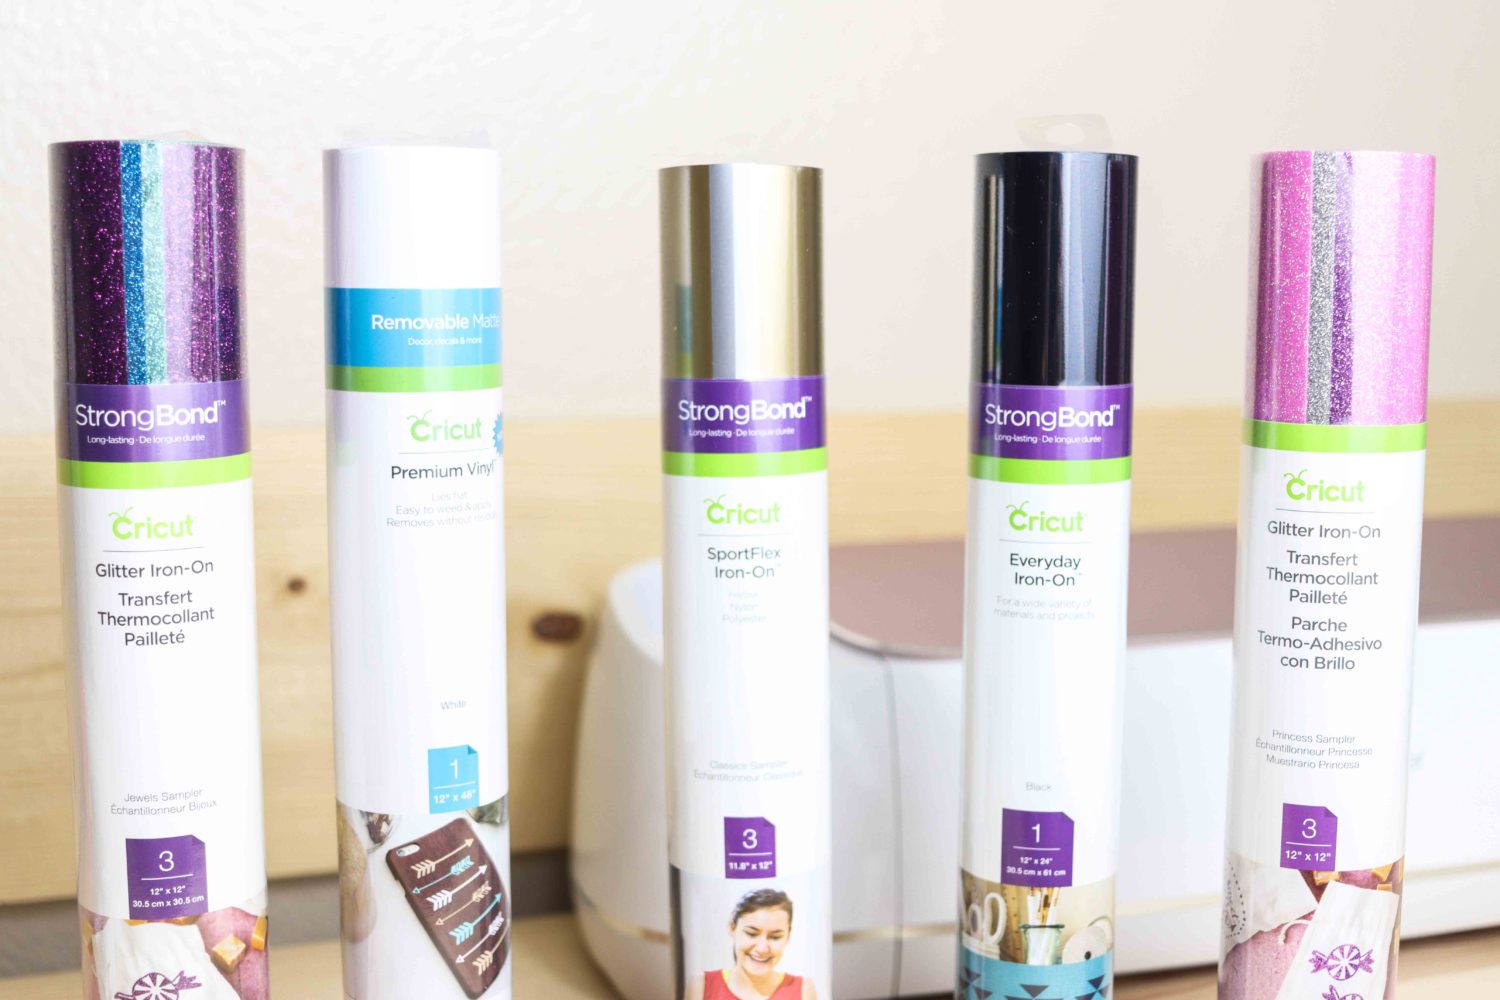
There are two significant types of vinyl, “Adhesive” and “Heat Transfer Vinyl” (HTV); however, each type has all kinds of options.
Adhesive vinyl has a sticky surface to it, and, because of that, you can transfer it on different surfaces such as mugs, paper, metal, plastic, windows, etc.
Heat Transfer Vinyl (HTV) or also known as Iron-On, requires heat for you to be able to transfer it. Most people use HTV on fabric, but you can also use it on wood, porcelain, and even metal!
Pink (HTV) Blue (Adhesive) Pink (HTV) Blue (Adhesive)

Now that you are aware of the two major types of vinyl let’s see a full guide on each one of them.
All about Adhesive Vinyl
Adhesive vinyl is an excellent material to personalize a lot of things, from simple items such as plastic cups to car and house windows.
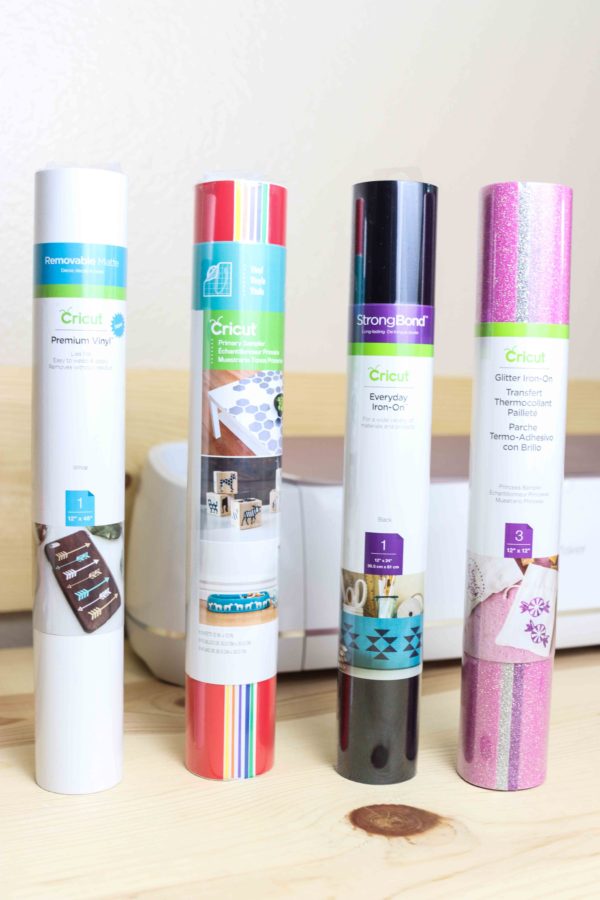
Adhesive vinyl is classified into two different groups; permanent and removable vinyl, and in those categories, you’ll find unlimited colors variety.
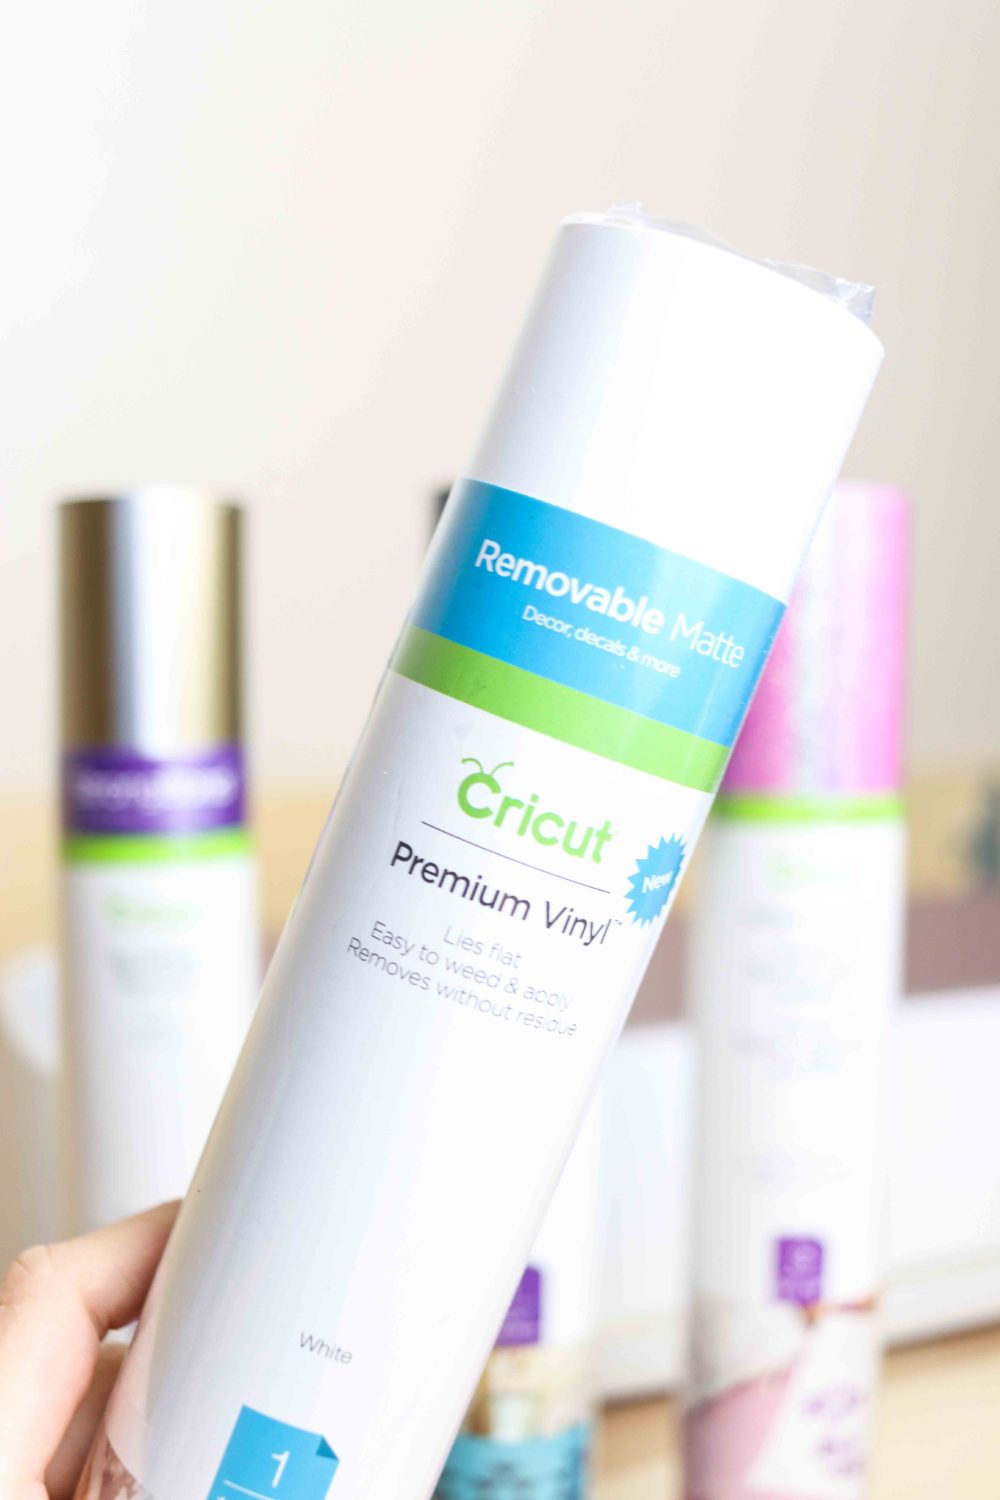
Adhesive Removable Vinyl
If you are planning on making something for indoor use (and not exposed to a dishwasher or harsh indoor conditions), this type of material will be your best friend.
It works beautifully on walls and doors. You can design and cut gorgeous monogram designs and decorate your bedroom, bathrooms, nursery, etc.
Walls are a perfect example of using removable vinyl; if you are renting, you don’t want to damage the paint of your wall when you are removing your design. And even if you own the place, removable vinyl is the best way to keep the integrity of your paint, in case you change your mind.
Also…
If you ever plan on removing a decal from a surface anytime soon, always use removable vinyl.
For instance, if you are decorating mugs for a particular day (permanent vinyl is better for cups), use removable vinyl so you can remove it with ease from your surface.
You don’t want to have a permanent design on something that was supposed to be for just one day.
What if you got married, and want to decorate your car with a “Just Married” vinyl decal?
Even though it is better to use permanent vinyl on cars, a “Just Married” sign on a vehicle is only for a couple of days. In that case, removable vinyl is the best answer.
Adhesive Permanent Vinyl
Permanent vinyl is perfect for decals you intend to use in outdoor areas and that are exposed to the elements such as water, heat, cold, etc.
Designs for outdoor flower pots, car windows, and mugs (that you wash regularly) are the perfect surfaces you can use permanent vinyl on.
Note: Mugs made with permanent vinyl are NOT dishwasher safe. If your dishwasher is not that powerful, you may be ok, but if you have a super edgy (good for you) dishwasher, the vinyl may come off.
It’s a trial and error, I’ve held on making mugs because I don’t like hand-washing and I am testing more technique, so stay tuned!
When buying permanent vinyl, check out the life span of it; because it can last anywhere from 3 to 10 years.
Different Types of Adhesive Vinyl
There are so many different finishes for adhesive vinyl, and there are more coming every single day.
It just amazes me, and also leaves me broke every single time, I go to Amazon or Cricut’s shop.
Most permanent and removable vinyl can be found in all of these finishes. Make sure to read the description, and that you are buying the type of vinyl you want to use.
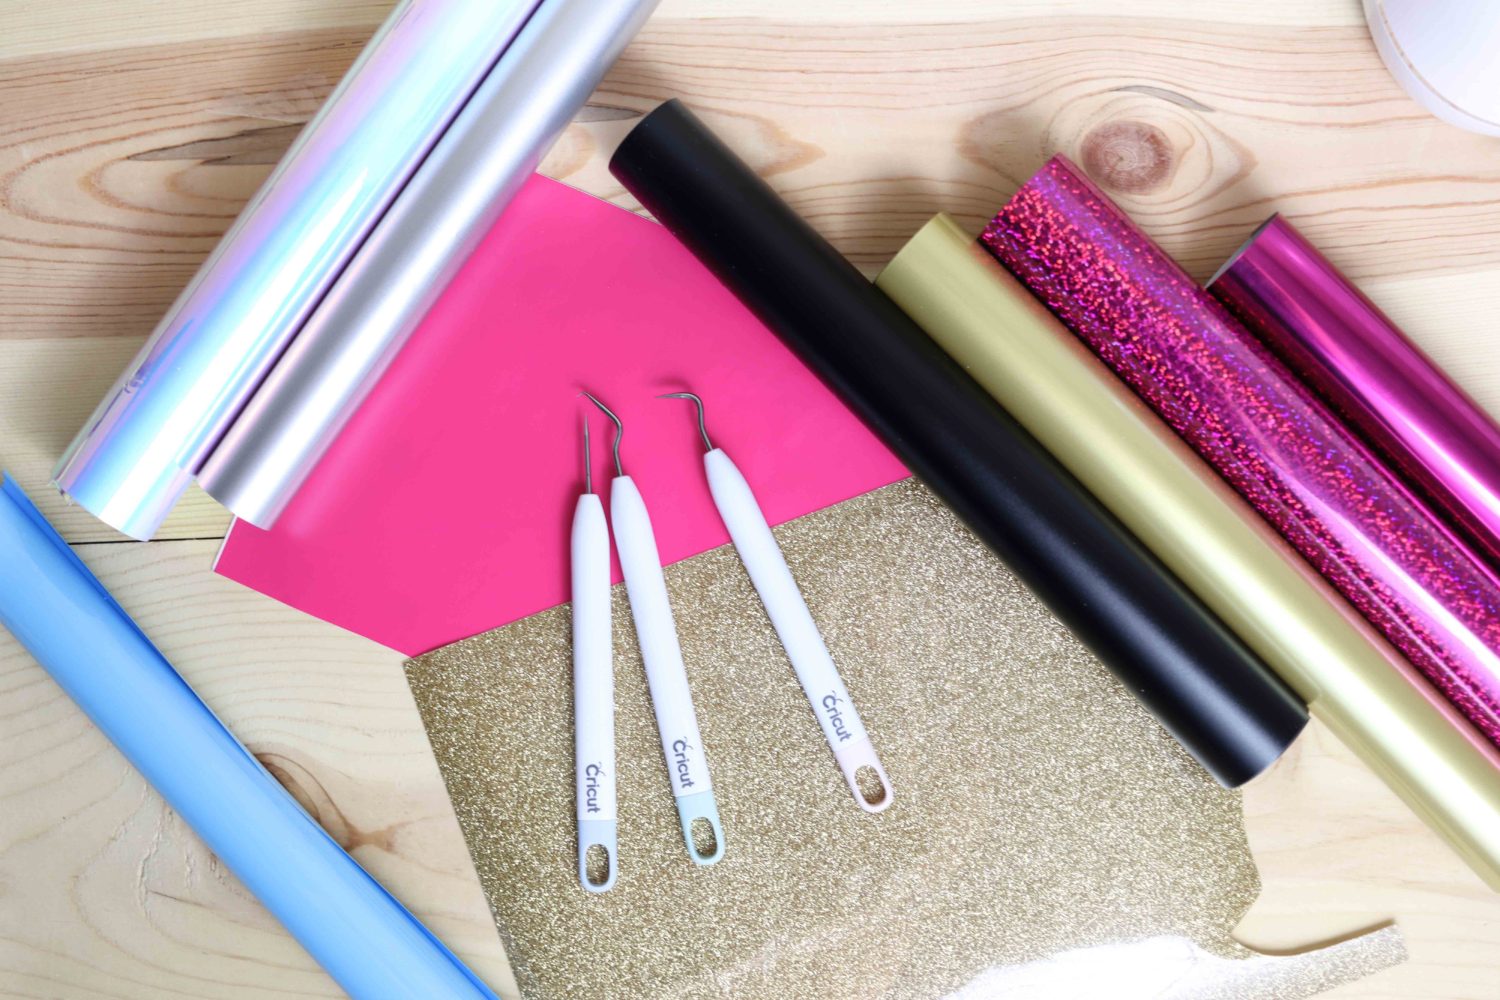
I don’t own all types of vinyl, but I will show you some pictures of the ones I have so you get an idea!
Patterned: there’s a lot of variety, and great styles for patterned adhesive vinyl, most common ones are florals. However, if you shop Cricut, you can find beautiful Disney and holiday-themed options.
It’s harder to find patterned permanent vinyl. (Not many options out there)
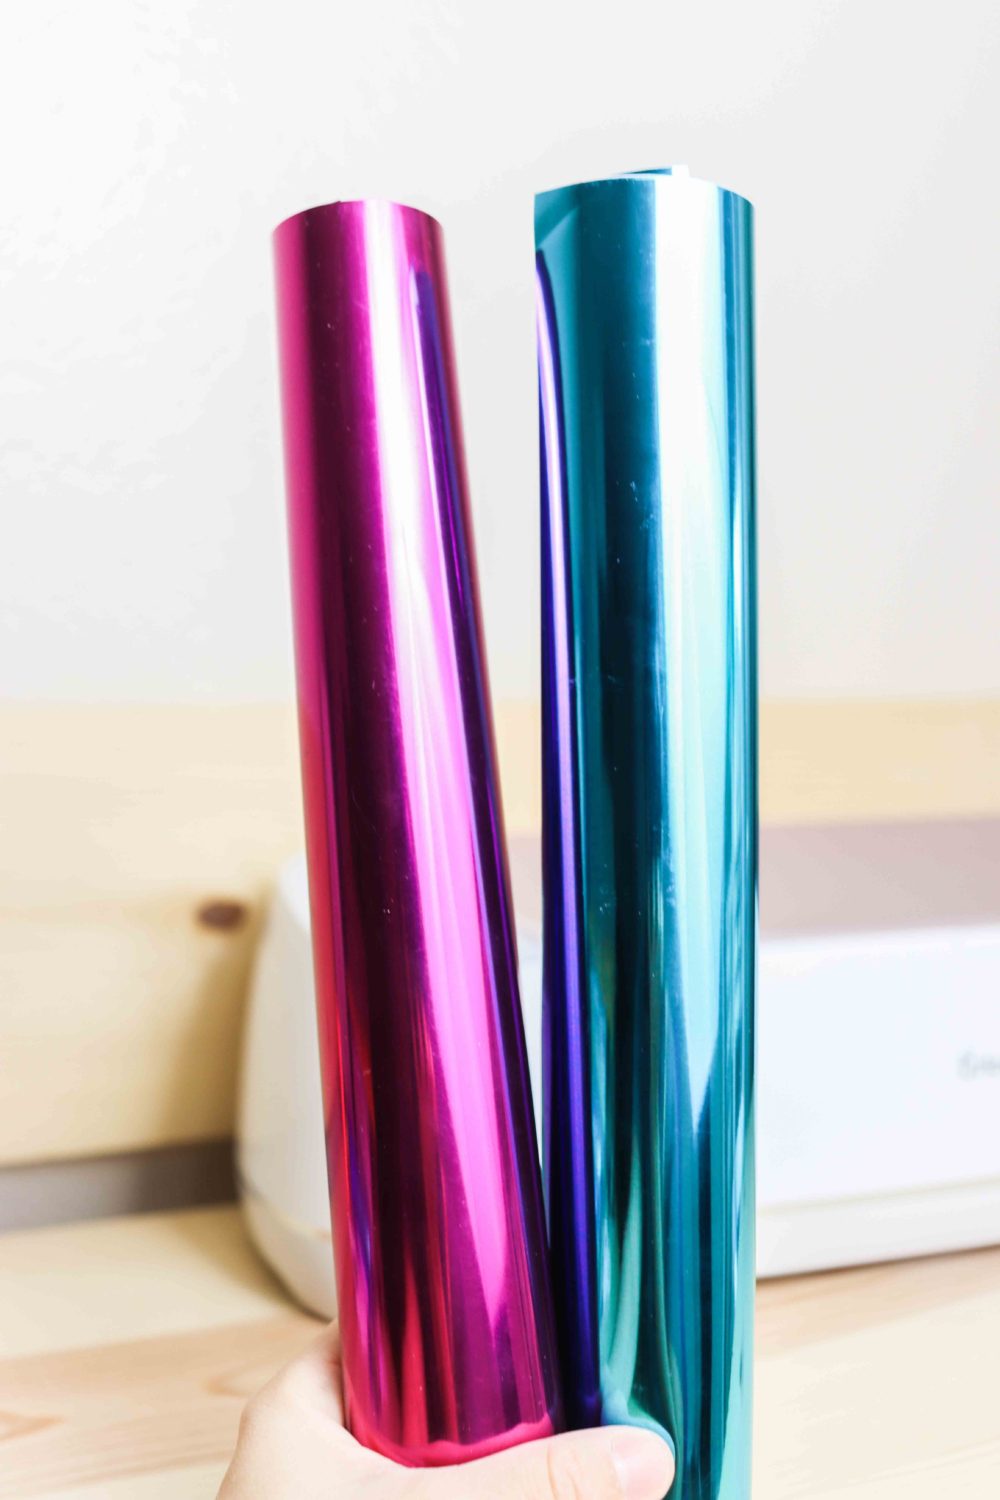
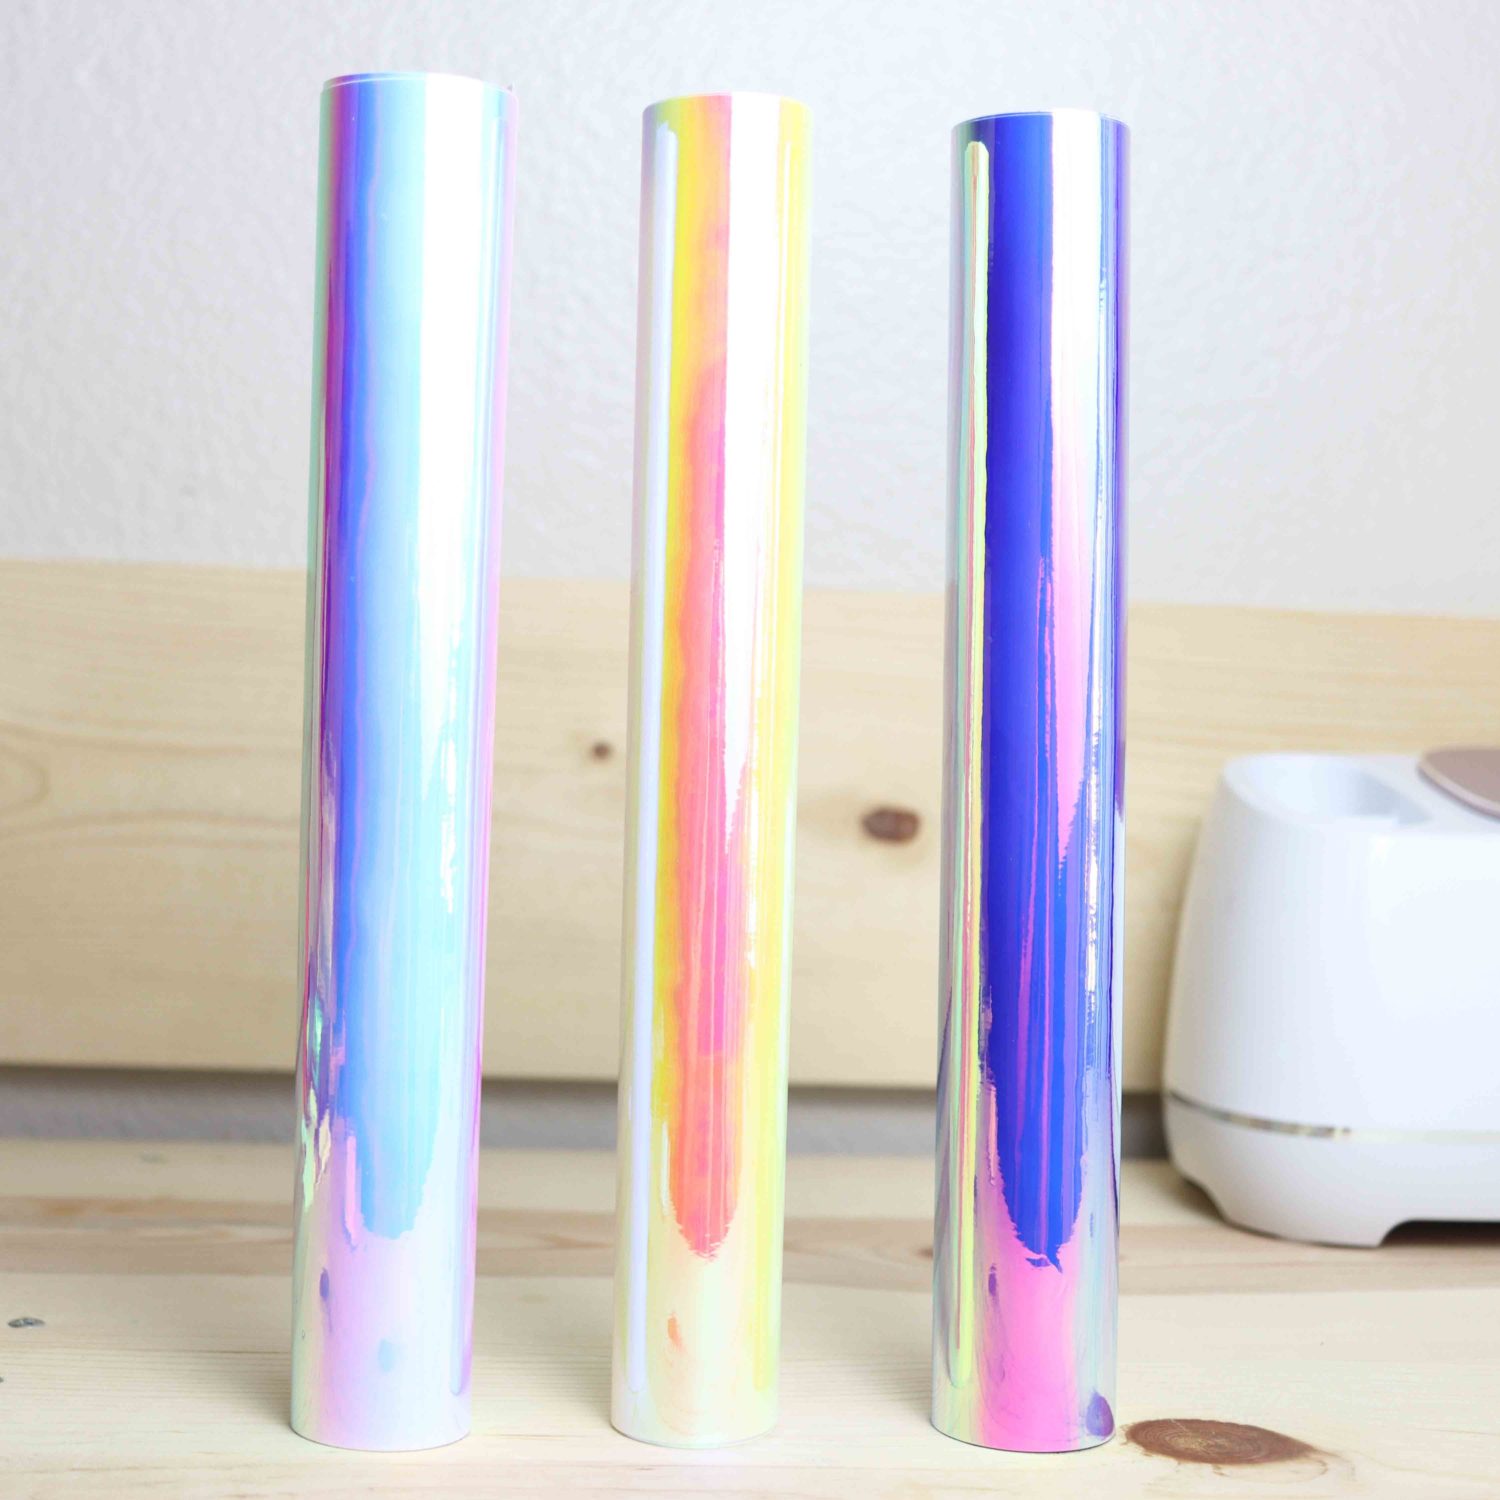
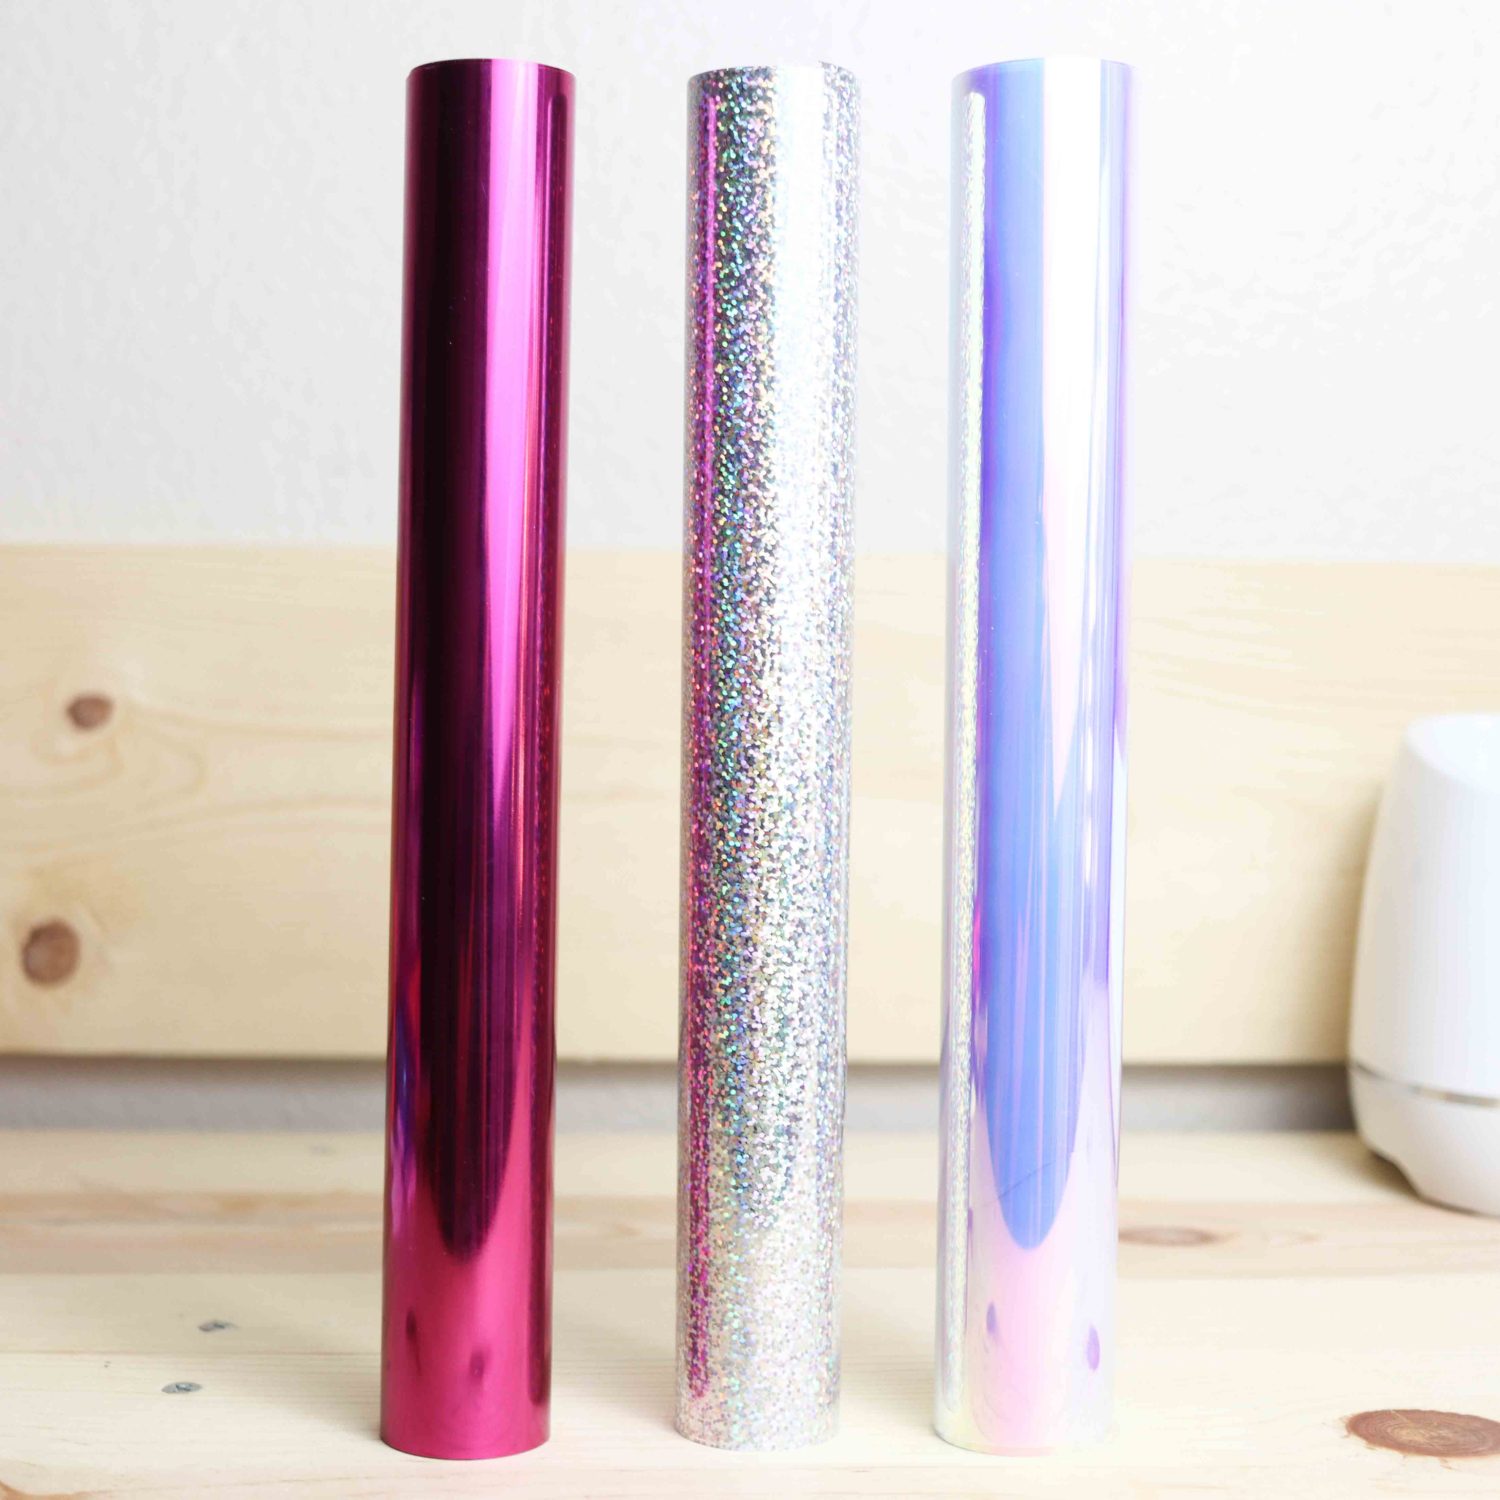
Holographic: this type of vinyl is so beautiful, it gives different shades of color depending on the direction you look at it. Holographic vinyl is quite bright, and it’s perfect for unicorn themed projects.
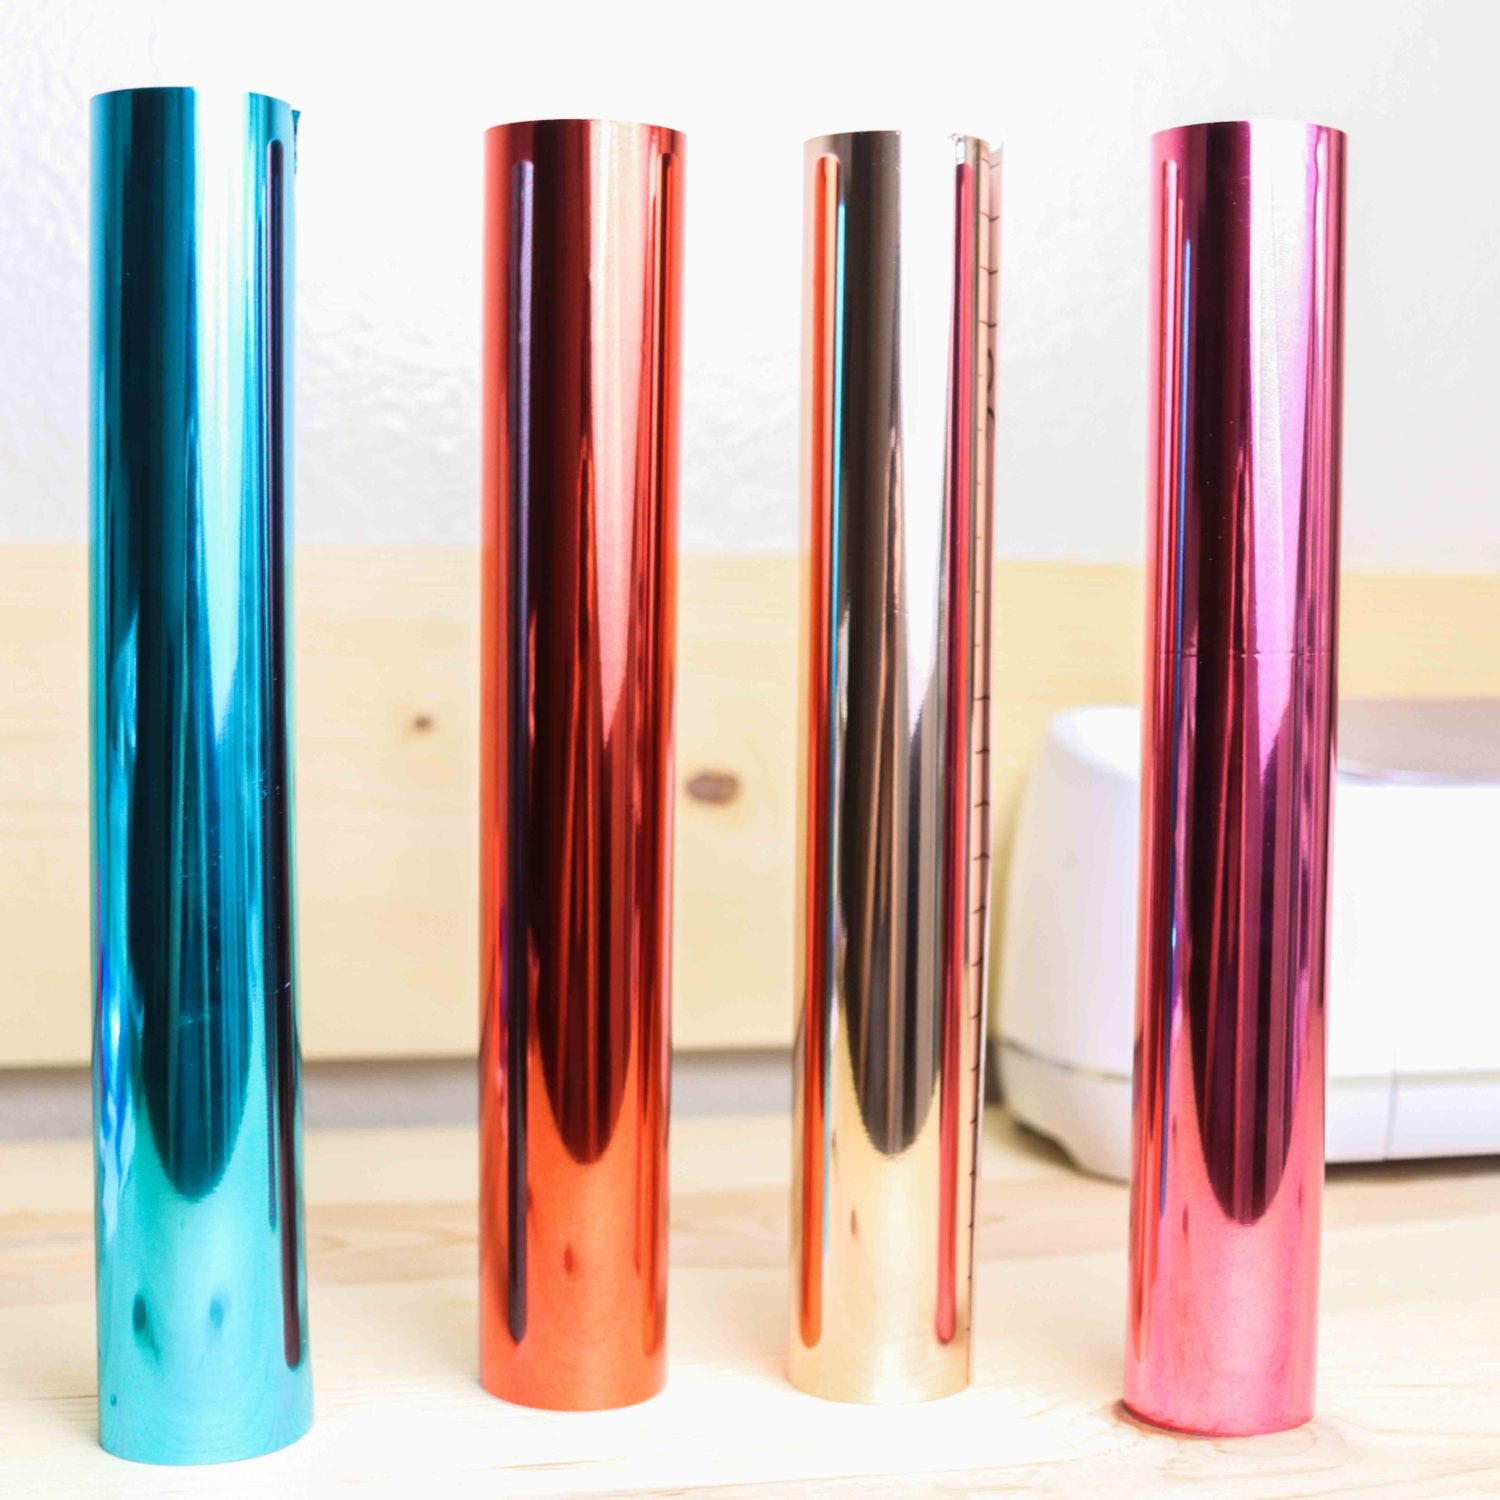
Foil: Foil is one of the most stunning types of vinyl out there! It’s very similar to holographic vinyl, but it doesn’t change colors when you tilt it. It’s pure shine, and it’s perfect for decorating wedding-themed projects.
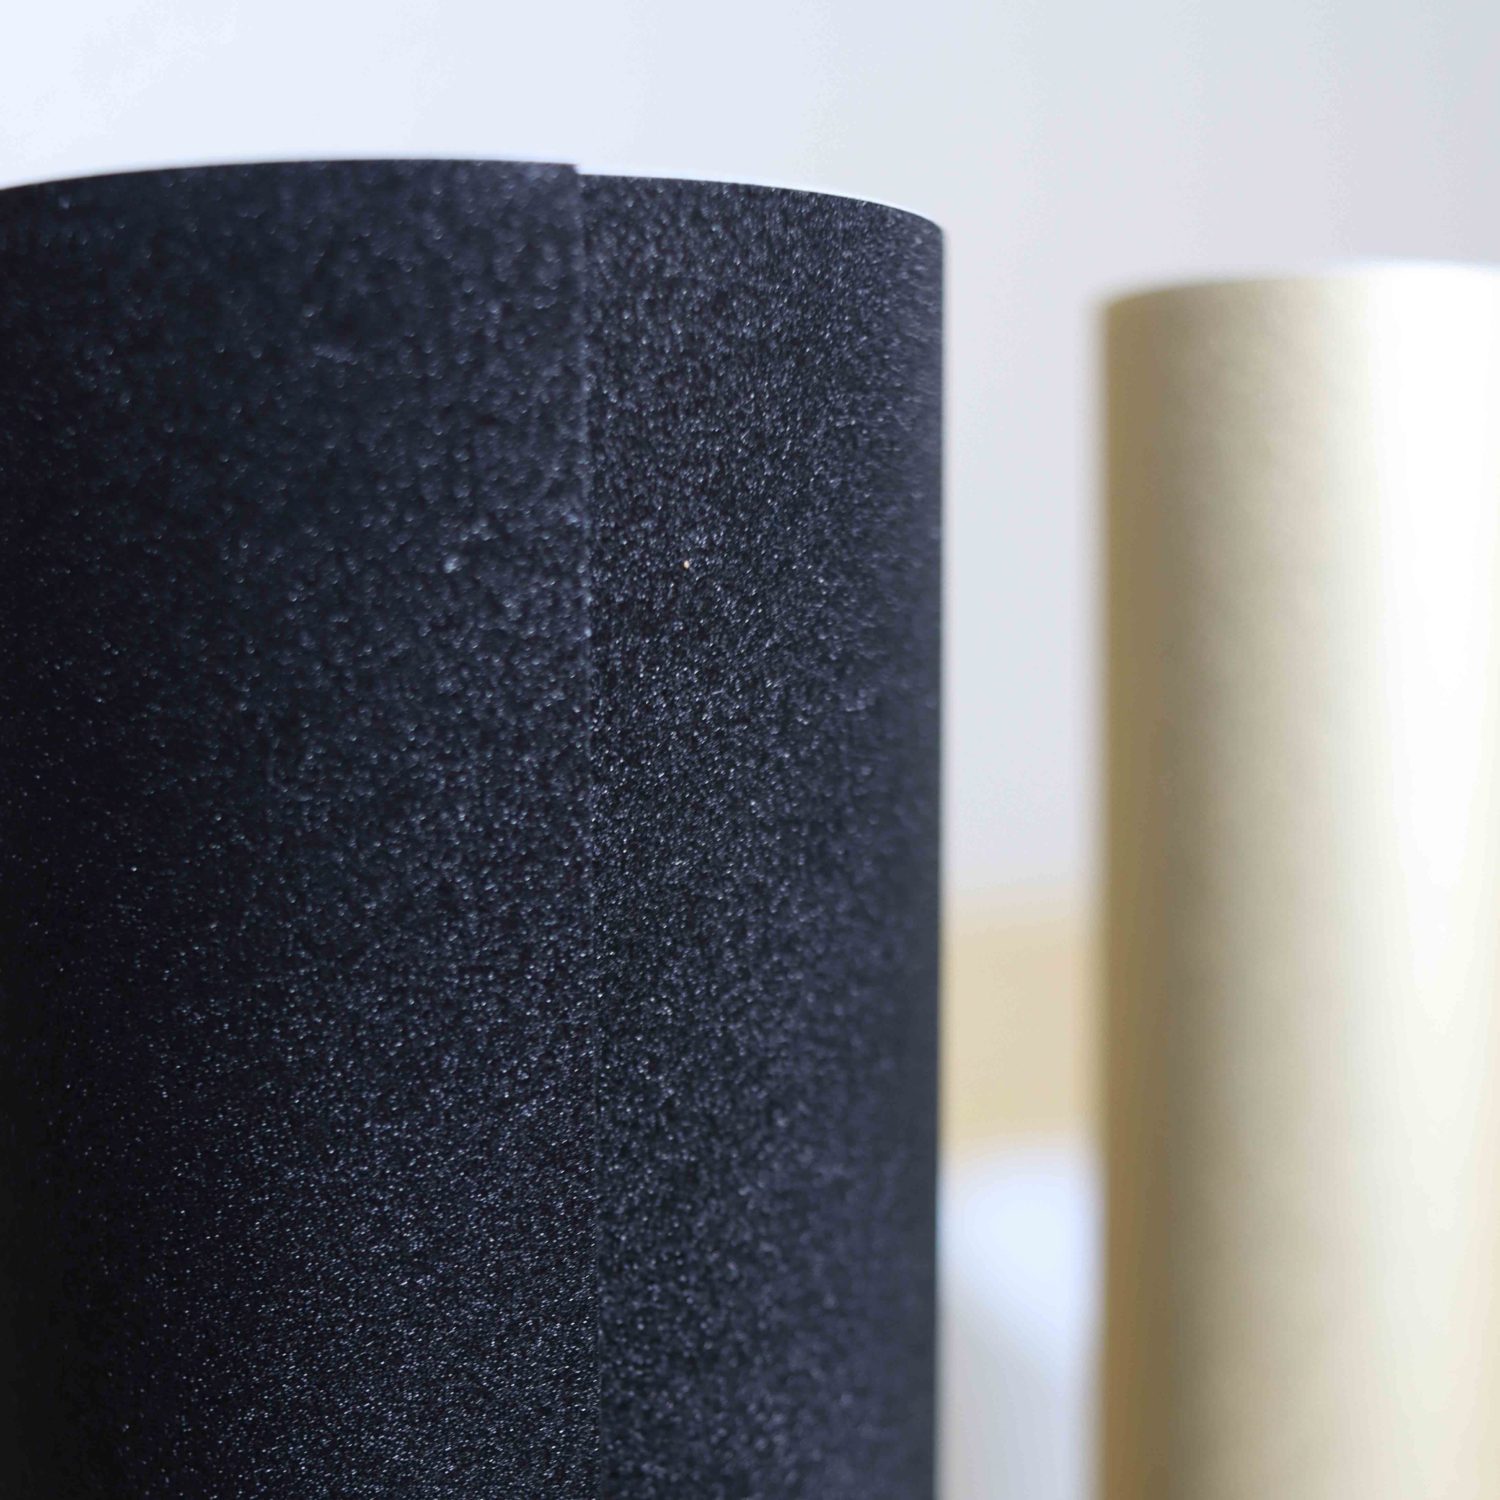
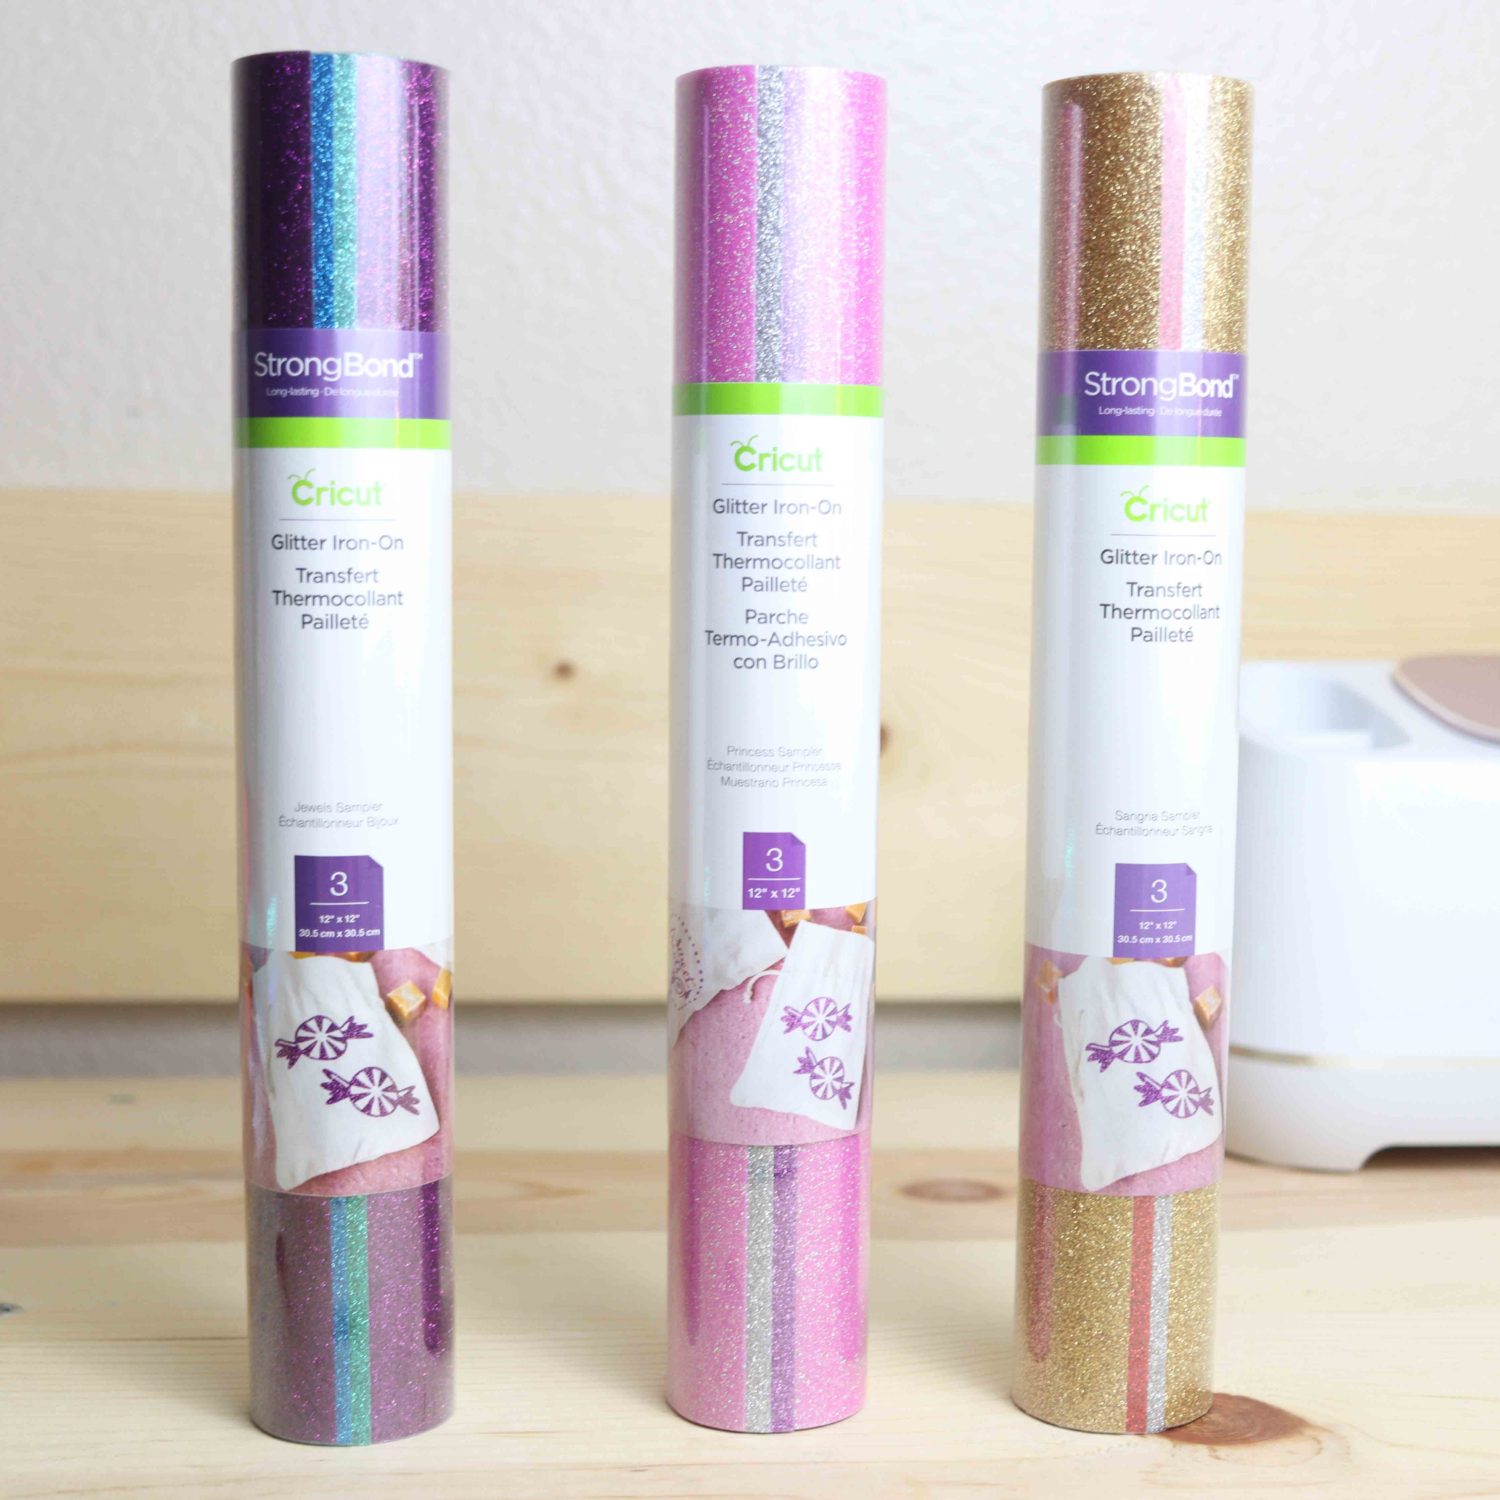
Glitter Vinyl: I love GLITTER! Glitter adhesive vinyl is tricky to work with, and it’s harder to weed as well. Although it’s beautiful, if you are getting started, focus on other types of vinyl instead.
Mosaic: This is quite a unique type of vinyl, and it’s made by Cricut (I am not aware of other brands). Unlike a regular sheet of vinyl that is a solid material, mosaic vinyl sheets are made of small circles, squares, stars, etc.
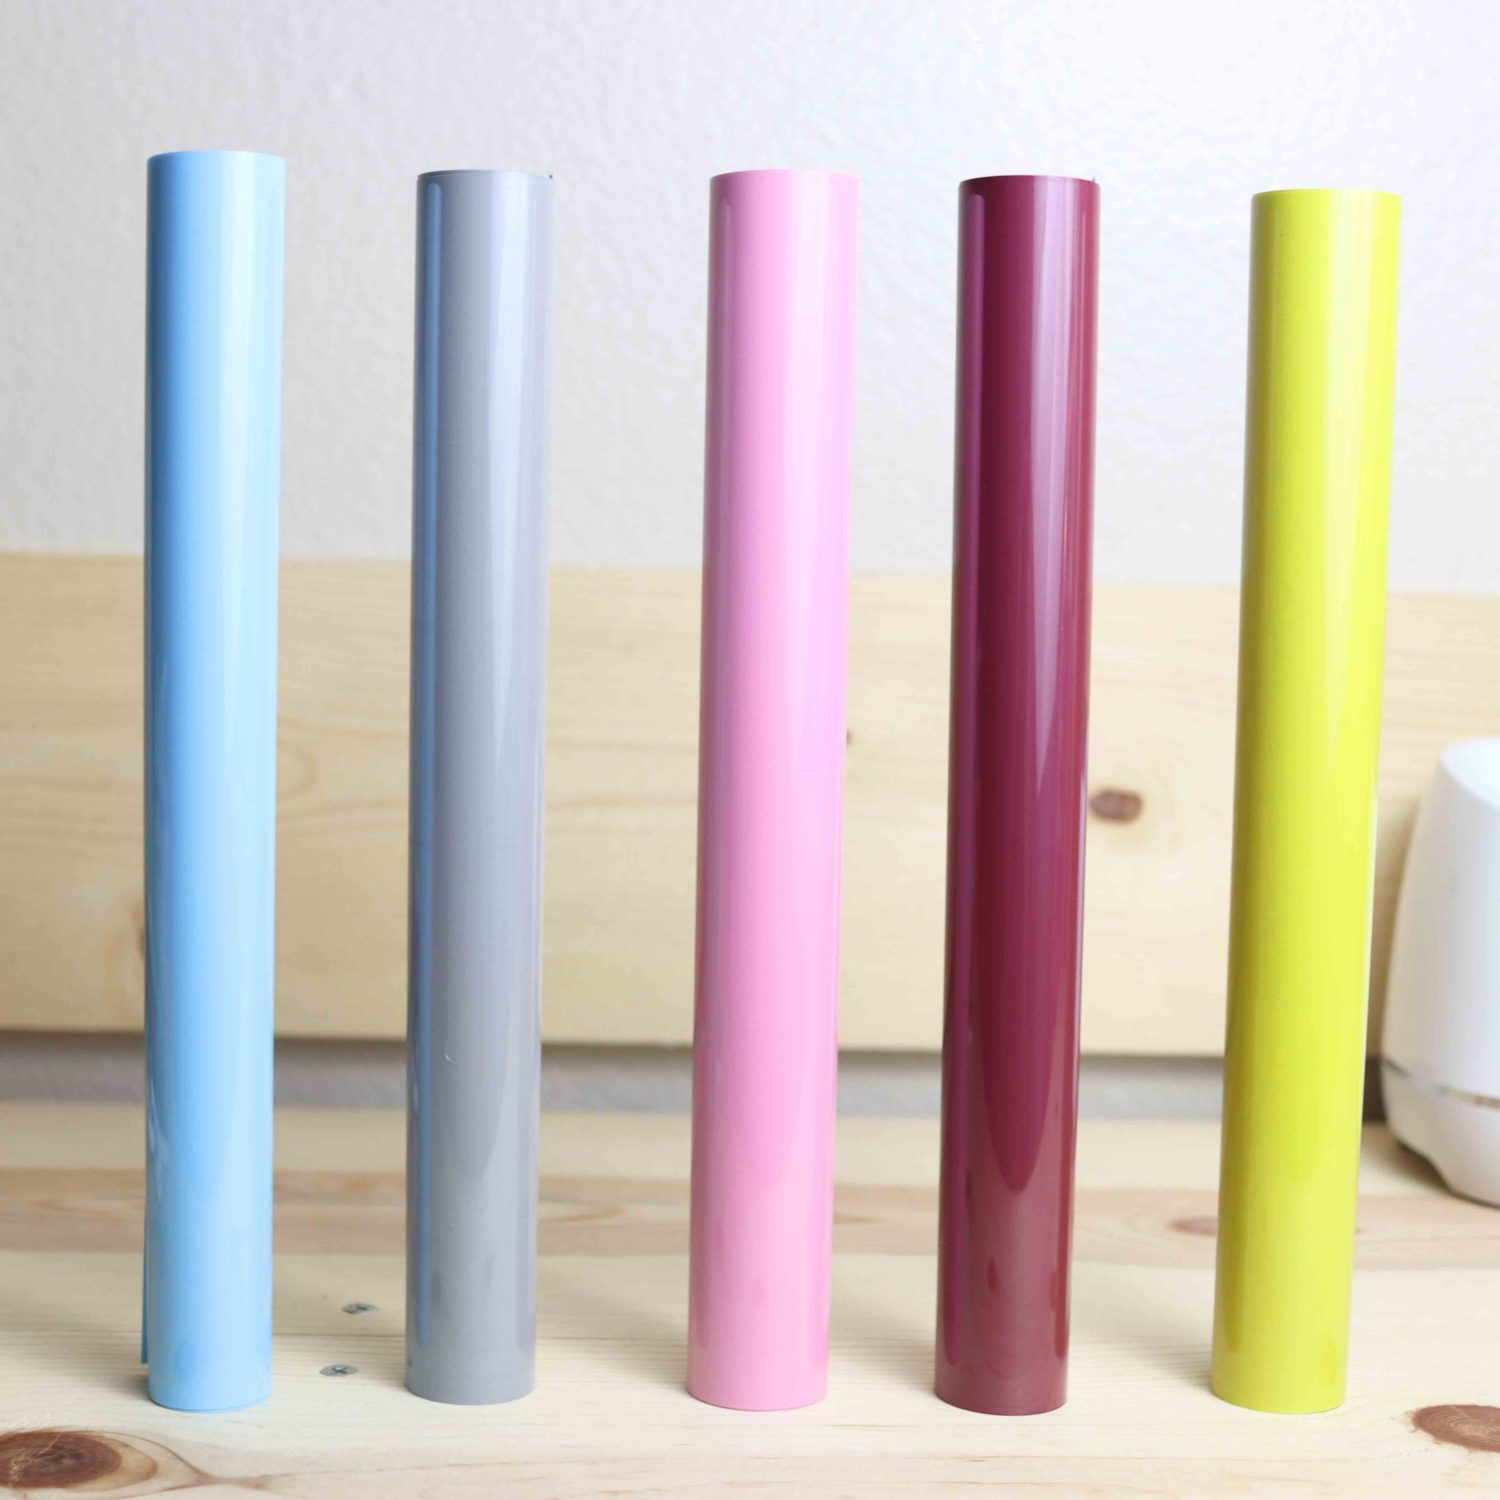
Glossy: Available in all types of color, and it’s very shiny. When using bright colors, I prefer a glossy finish all the way!
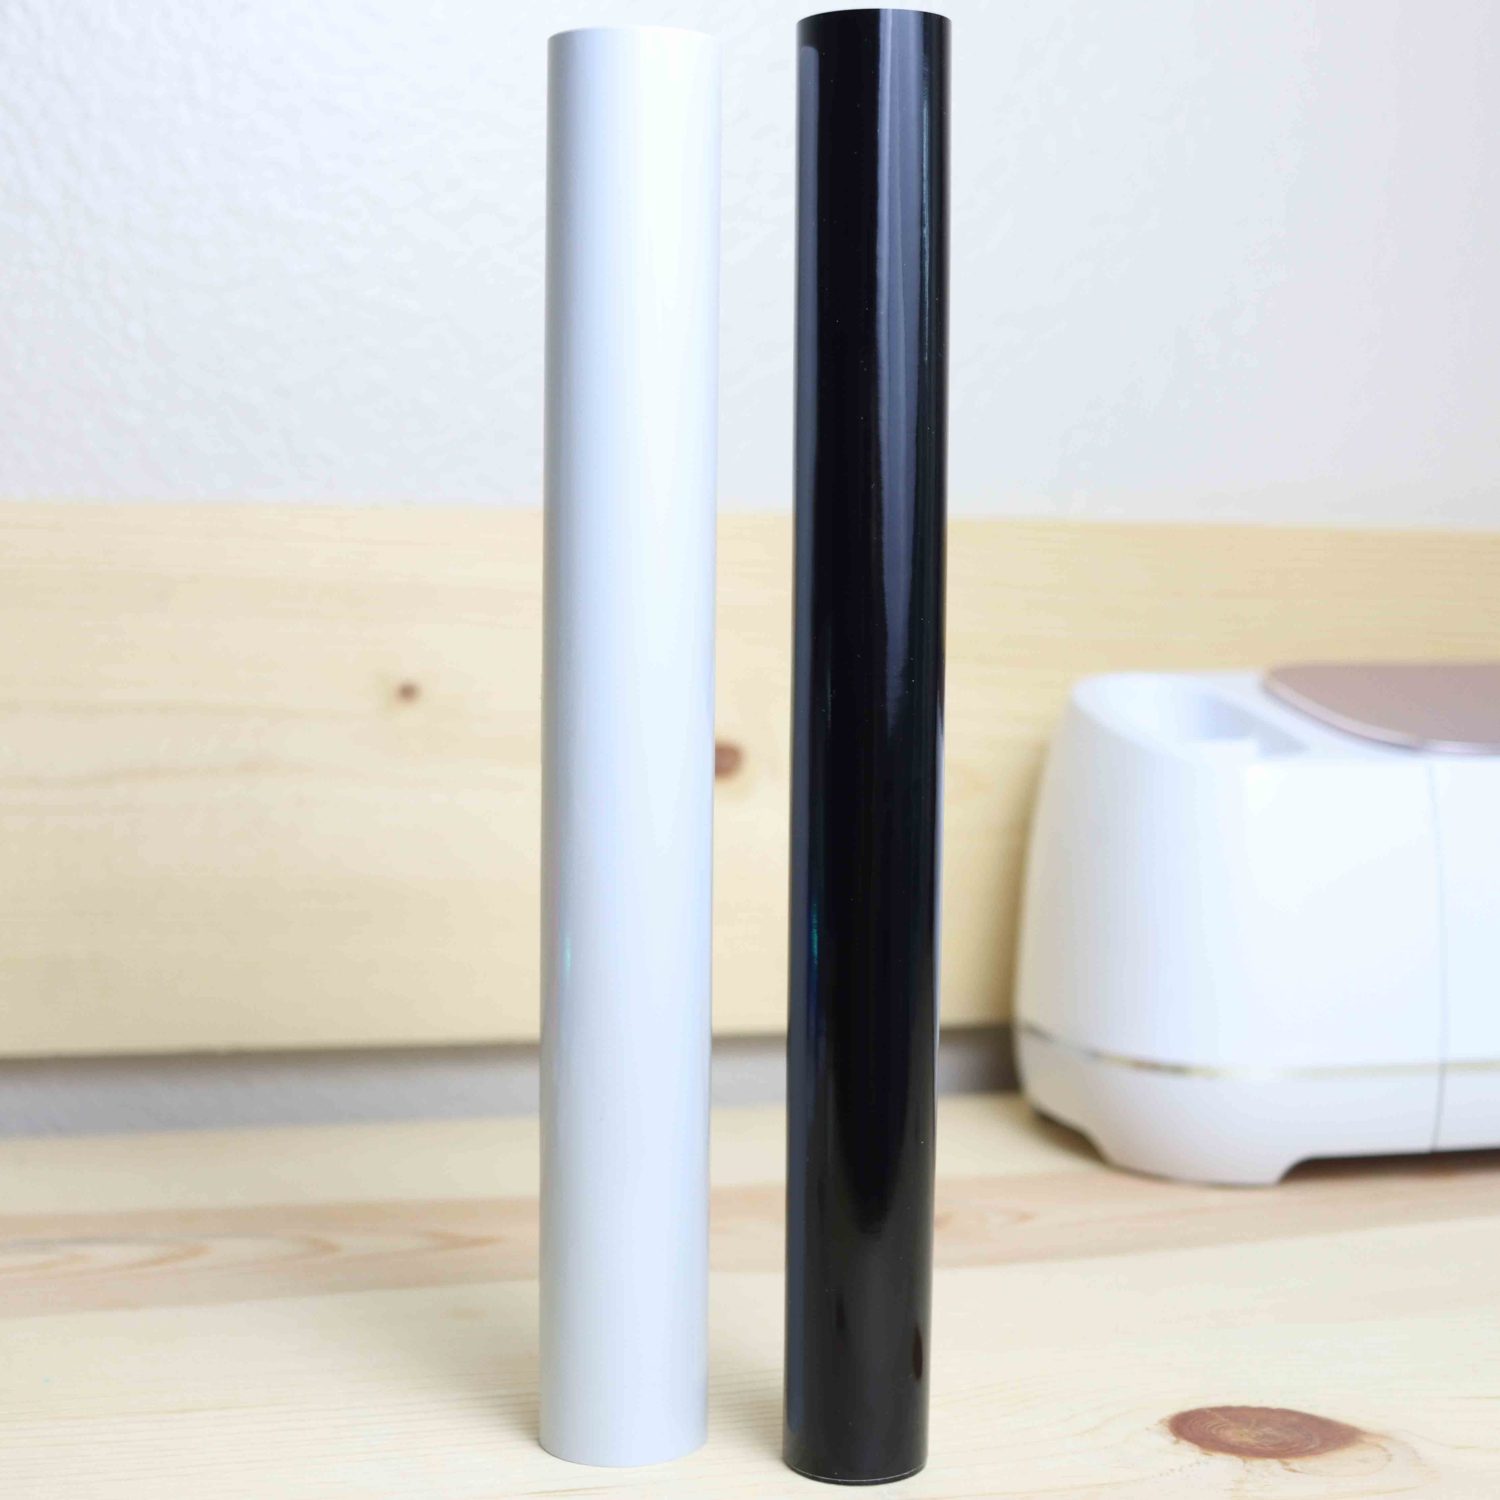
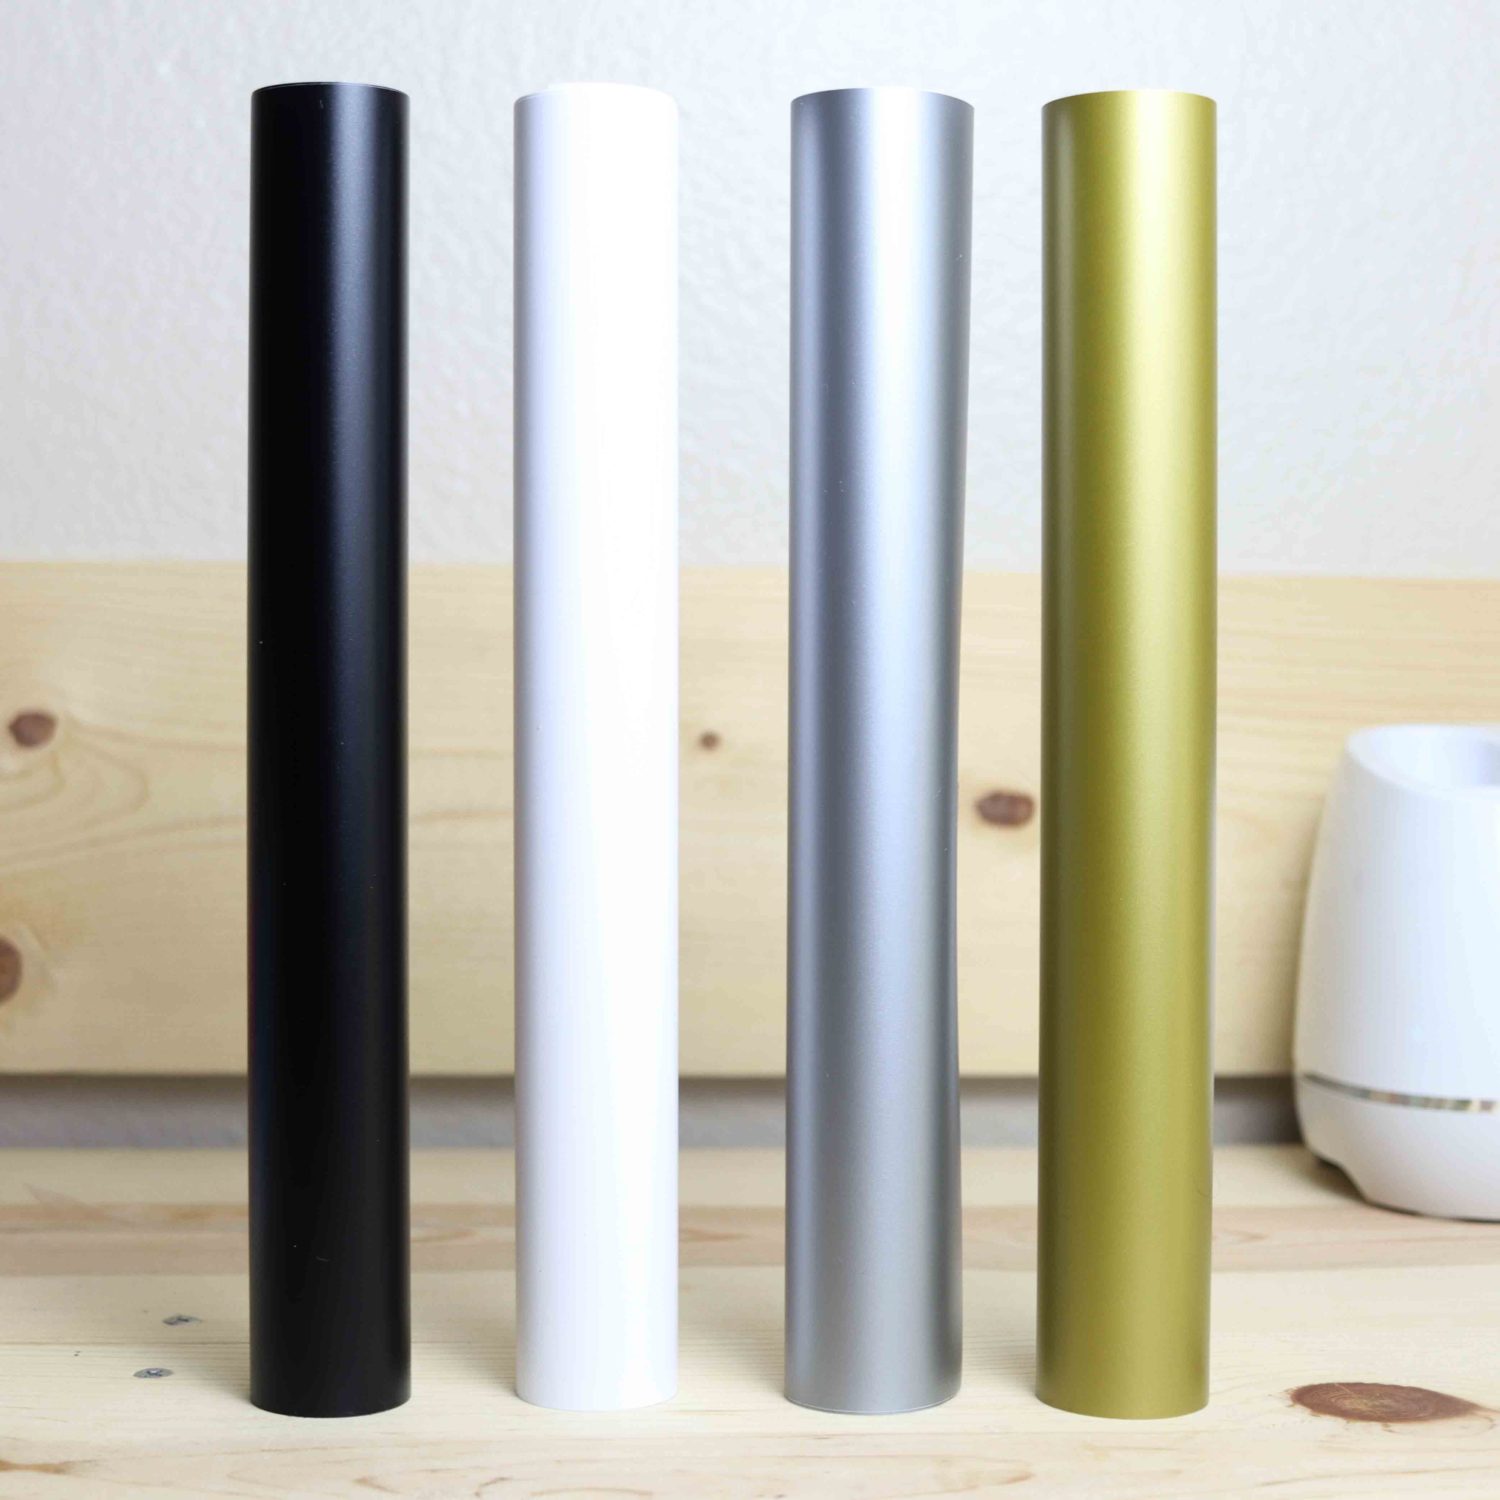
Matte: Total opposite from glossy vinyl. Matte finish looks beautiful on projects where you want to keep it classy, and edgy. When using black and white colors, I always prefer matte.
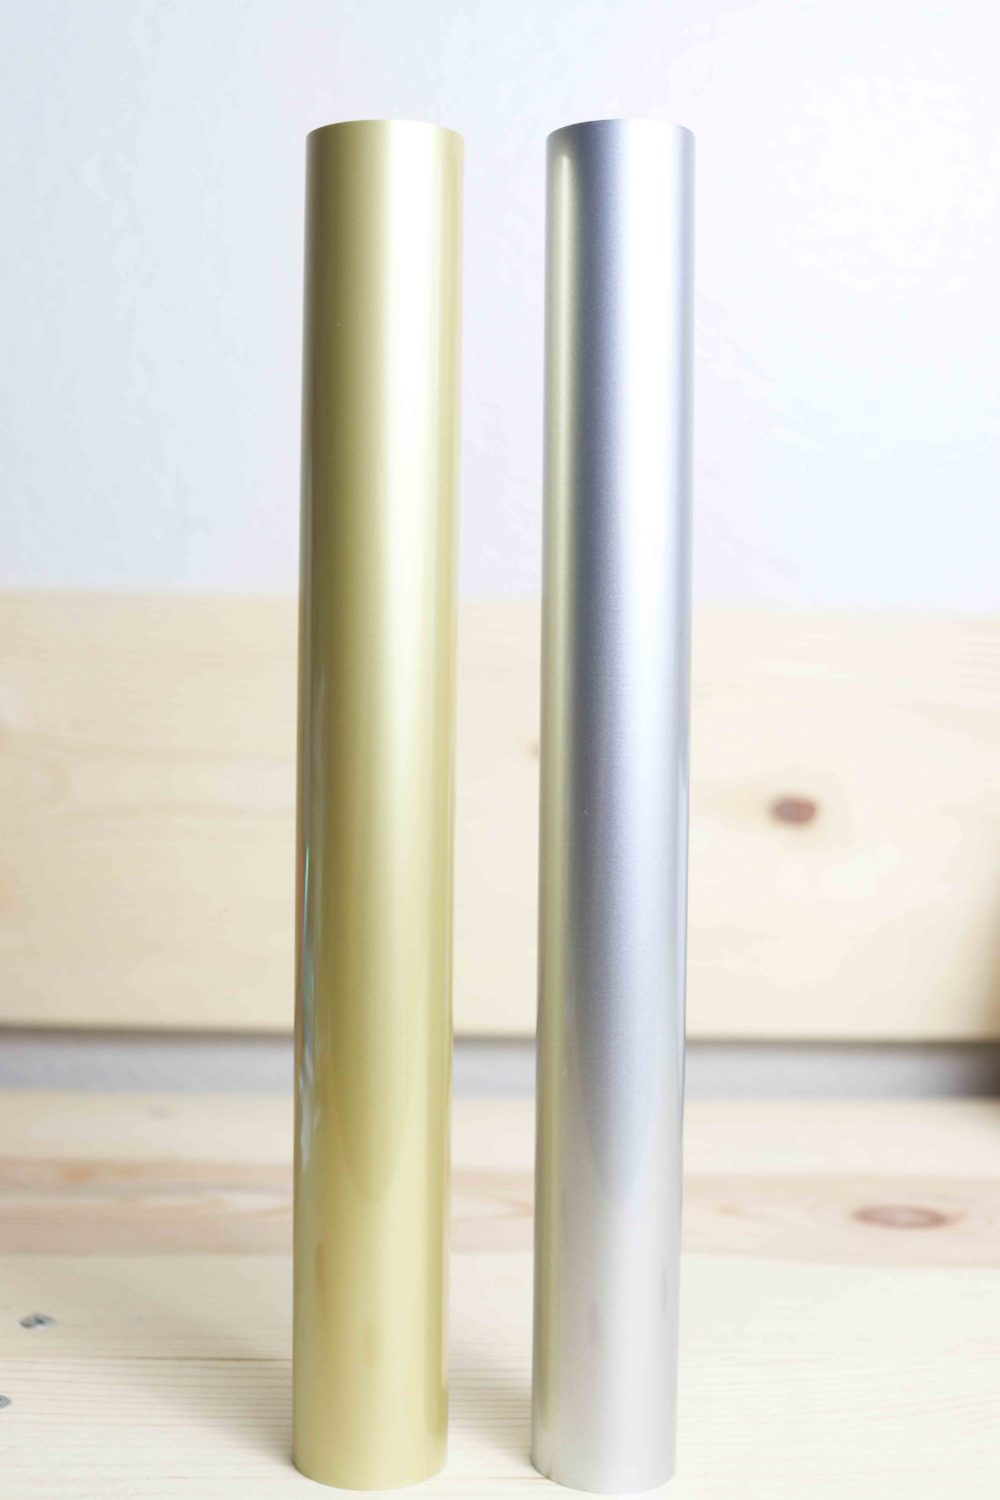
Metallic: you can find them in both matte and glossy finish. And you can find any metallic color such as gold, silver, rose gold, etc.
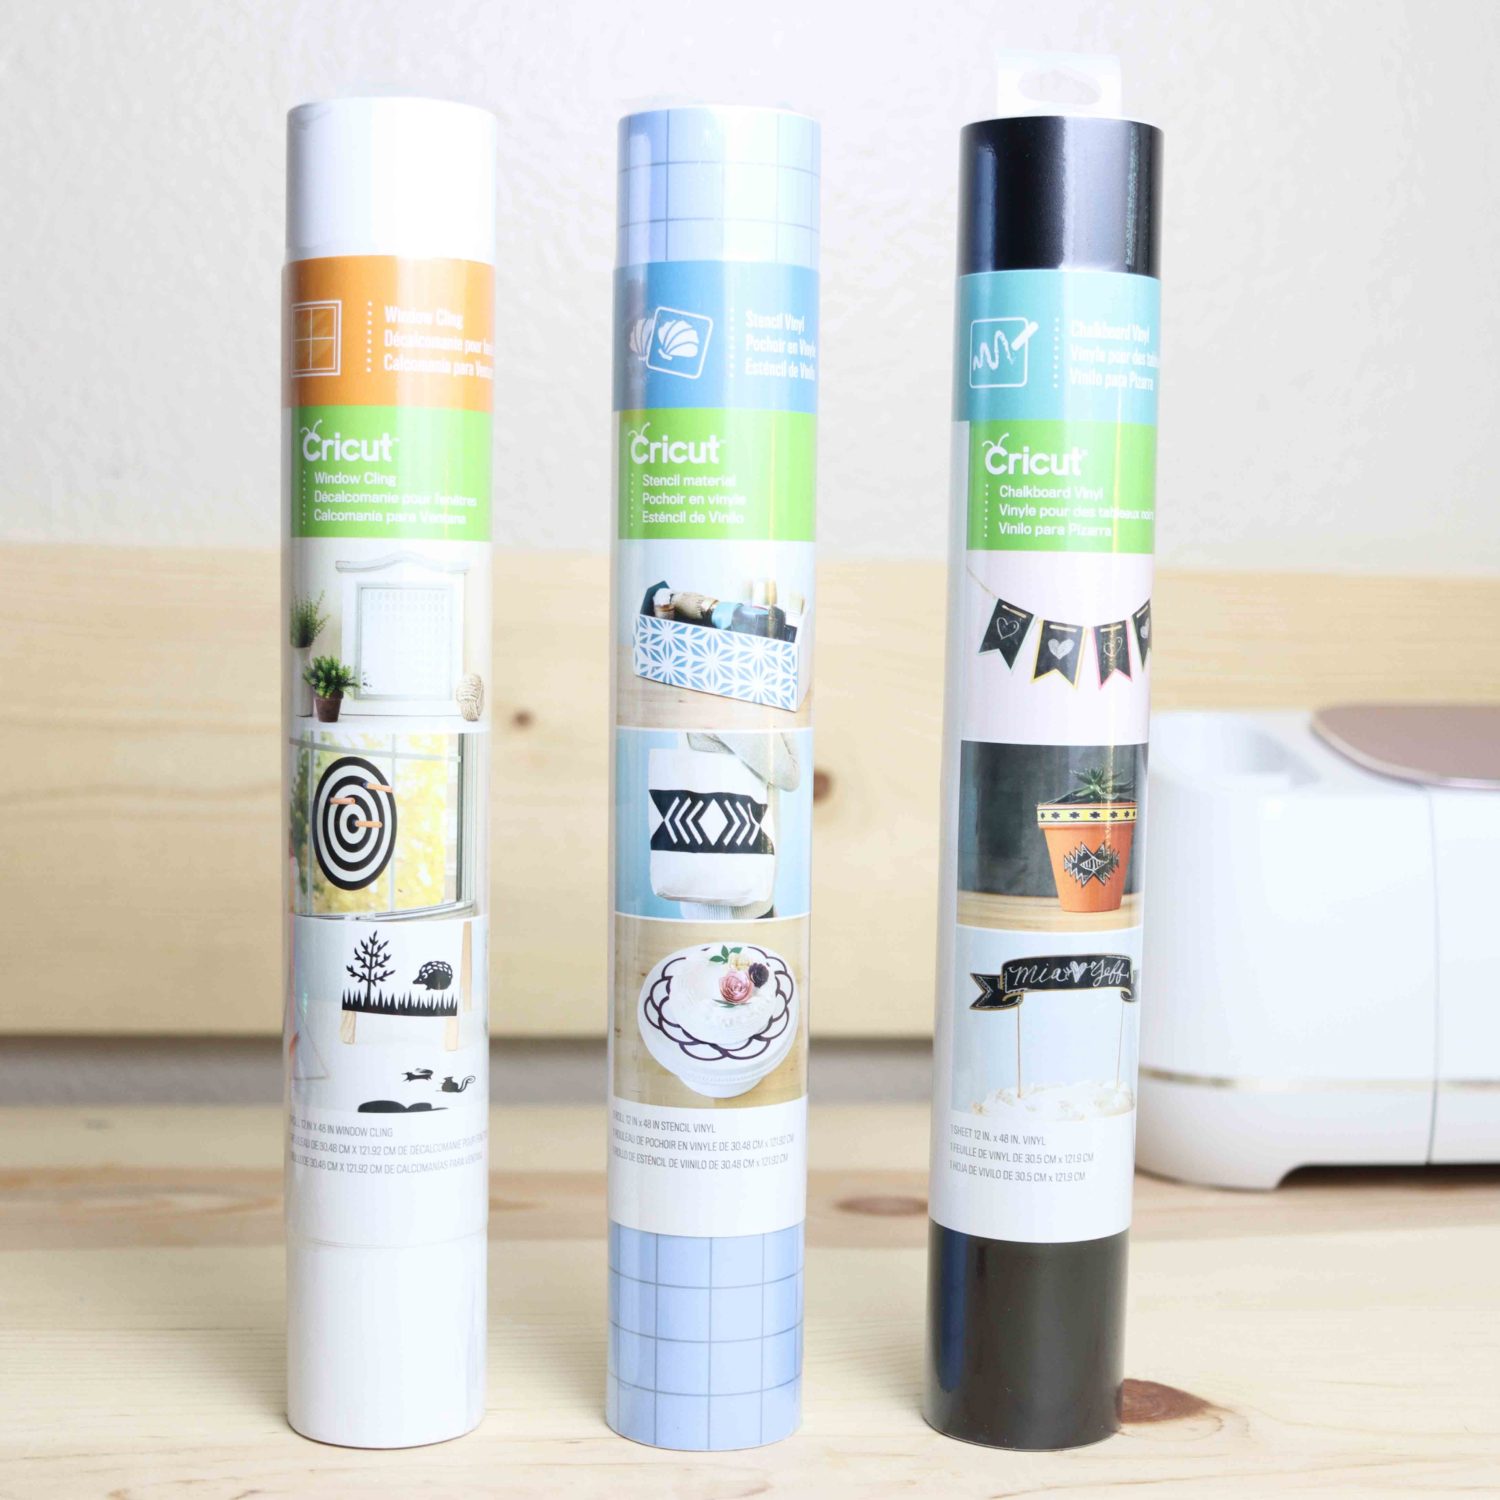
Stencil: perfect vinyl to use for projects where you need to paint. It’s often used for painting wood.
Chalkboard: If you love everything chalk, and also have excellent hand-lettering skills, this vinyl is a great way to customize certain areas of your home. You can make labels for your cooking spices, pantry, bathroom toiletries, etc.
Window Cling: If you want to add a touch to your windows and want to remove it quickly, window cling vinyl will be your best friend. You can cut fun figures and let your kids decorate their windows or mirrors with it too.
Glow in the dark: Needless to say, who doesn’t like to glow in the dark? I haven’t tried this vinyl yet, but it seems quite fun!
Etch Glass Vinyl: Instead of etching with specialty creams, you can use this vinyl that has an “etch” look.
More: The sky is the limit, and I am sure there’re more types of adhesive vinyl. If I am missing one you love working with, let me know in the comments.
Tip: If you are trying to find a particular type of vinyl, you can type in amazon or google the Color (green, white, black, yellow) + Finish (matte, glossy, glitter,etc.) + Type of Vinyl (Permanent/removable).
Here are some examples:
- White glossy permanent vinyl
- Black matte removable vinyl
- Pink glitter permanent vinyl
- Gold foil removable vinyl
Or you don’t care about the finish; you can type yellow removable vinyl, glitter vinyl, etc.
I am confident you can find almost ANYTHING!
Just make sure you read the reviews and all of the specifications, so you buy the right thing, and not the first thing that appears on the search.
Cutting and Weeding Adhesive Vinyl
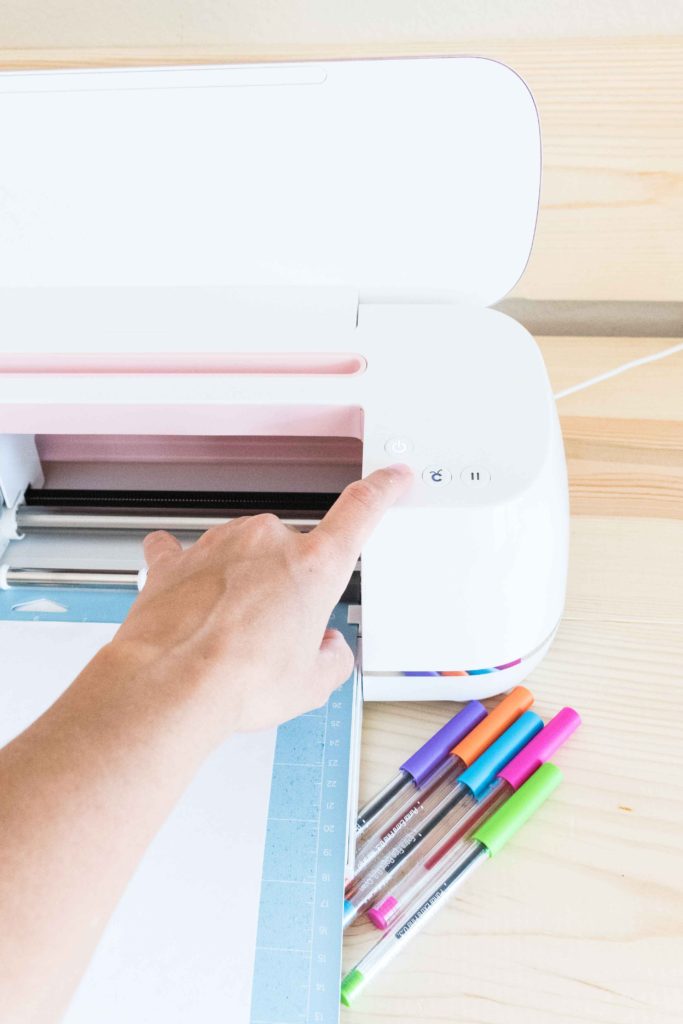
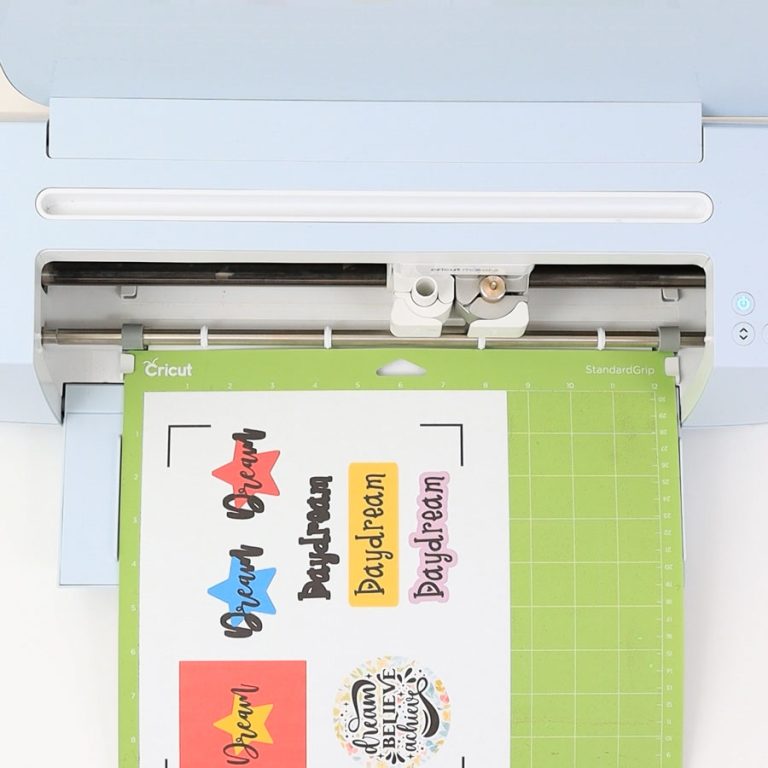
The best way to cut your vinyl is by using a die-cutting machine.
If you are reading this article, most likely you know what a cutting machine is, but in case you don’t, here’s the quick answer. A cutting machine is a device that cuts a wide variety of materials, with a lot of great detail.
A home cutter will allow you to make intricate cuts that would be pretty much impossible to make with scissors or a precision knife (unless you have cutting ninja skills).
Vinyl is not a cheap material, and to make the best out of your investment; you need a cutting machine.
I love my Cricut. Learn more about it in this guide I put together.
If you don’t have a Cricut, you can also cut by hand simple designs, like stars, hearts, etc.
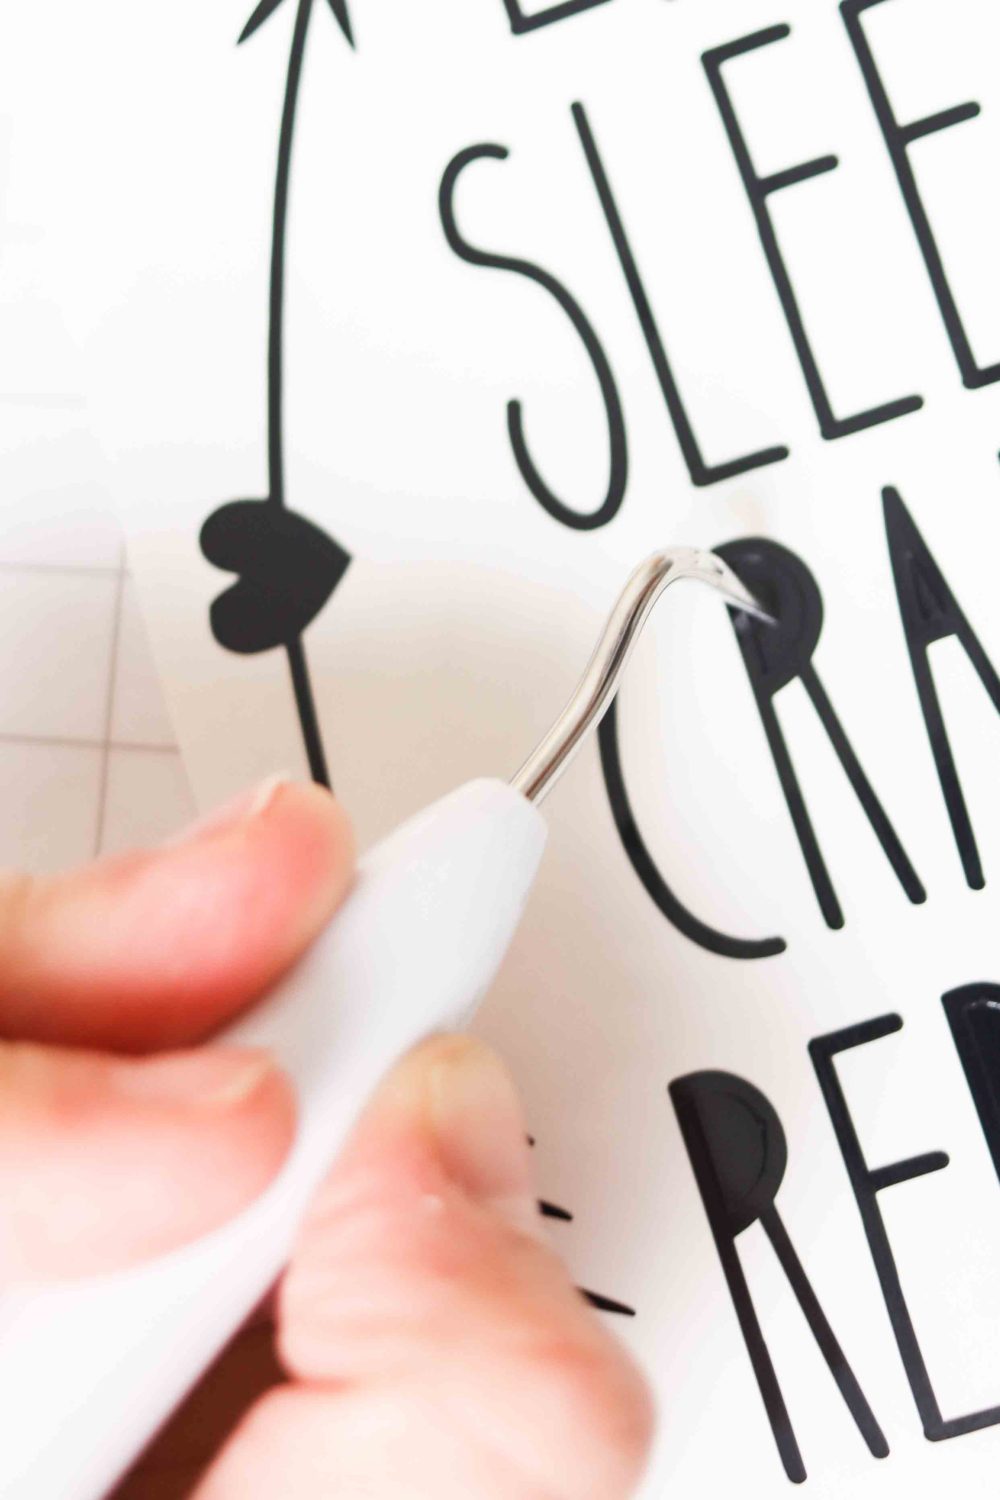
When you are done cutting your design, you need to weed it.
Weeding in the cutting machine world means to remove the parts that don’t belong to your design.
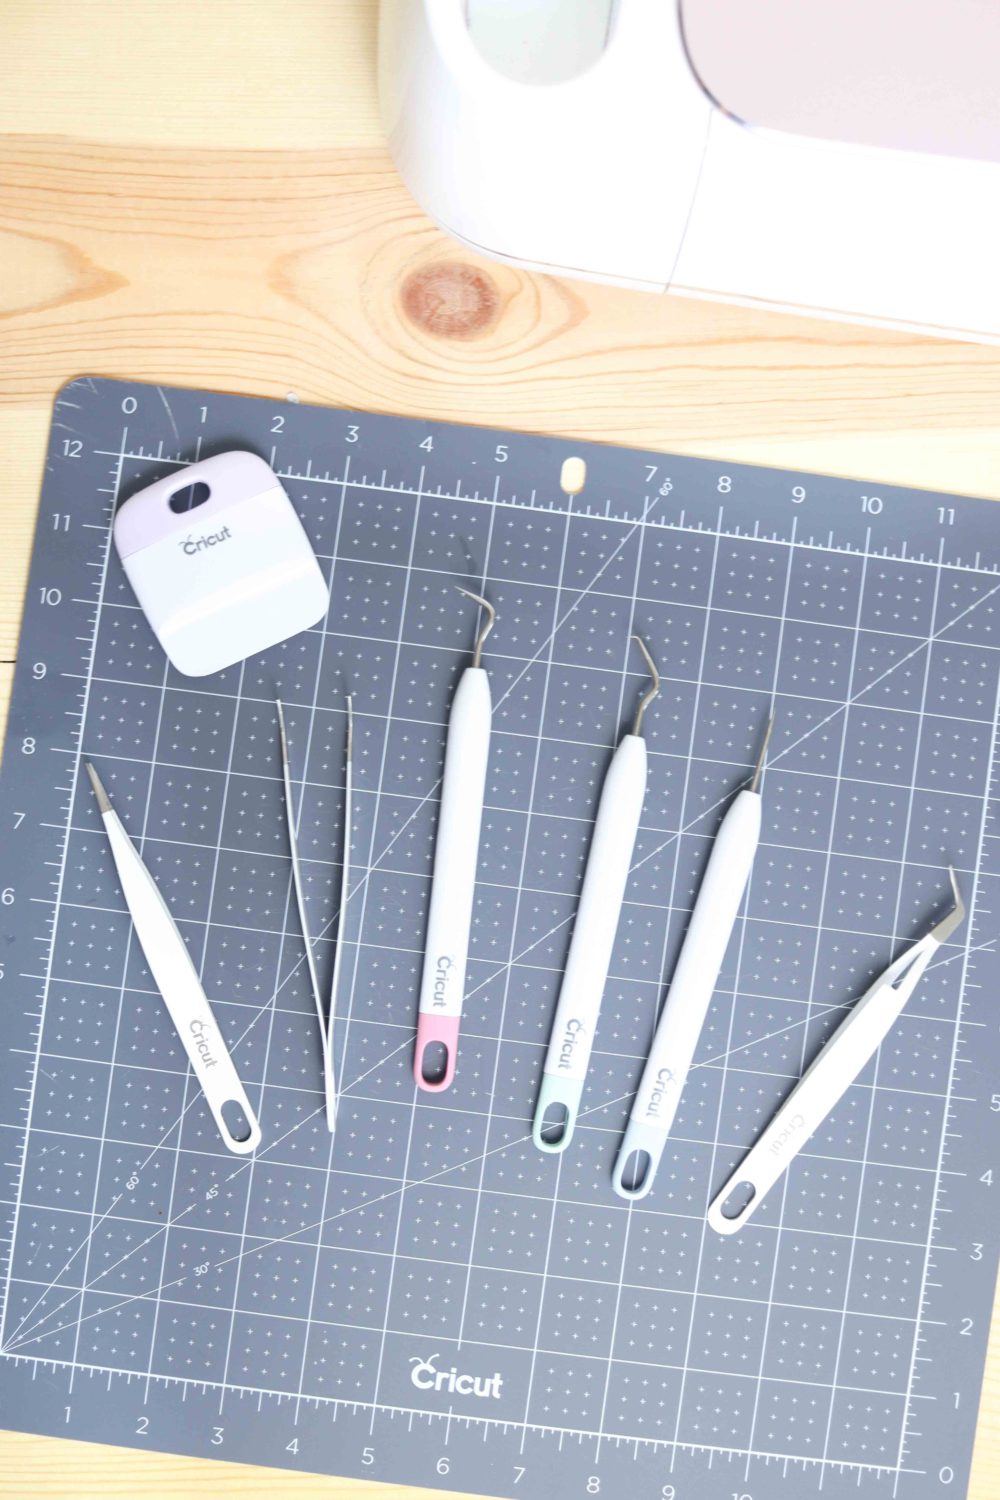
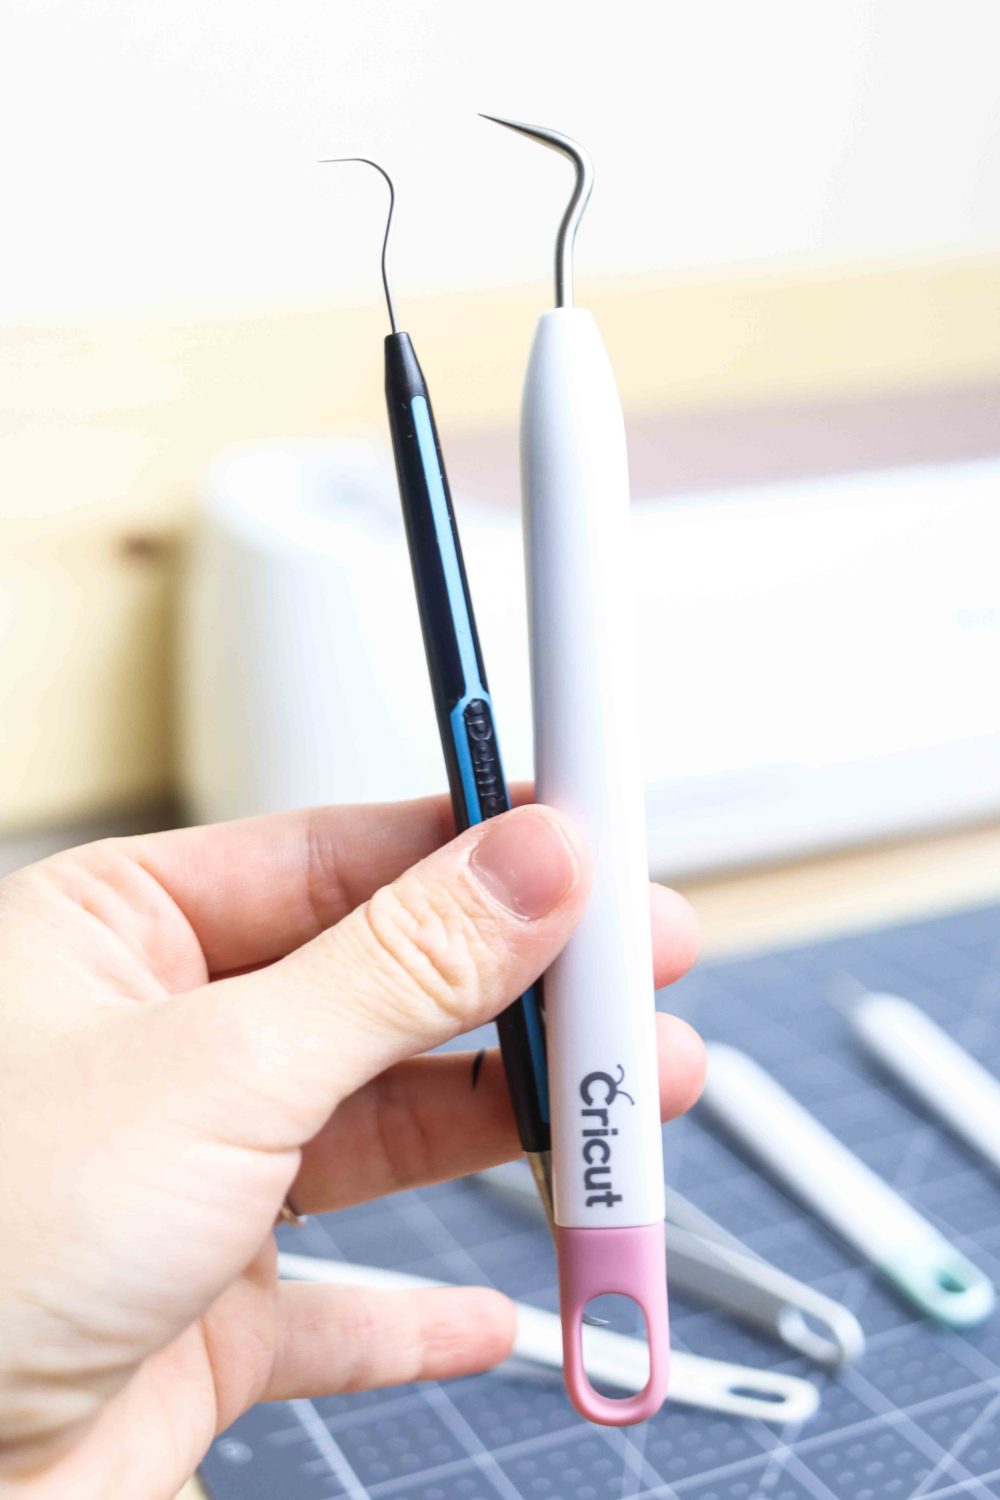
For this, you need a unique tool called “weeder.”
There are many types of weeders, and if you love working with vinyl, it’s a good idea to get a single weeder or a set; on the other hand, if you don’t work with vinyl that much, you can use cheap home dentist tools.
When weeding your design, have a picture of the original out. I can’t tell you enough how many times I’ve weeded out something that I wasn’t supposed to weed.
So frustrating! (expensive mistake too)
Transferring Adhesive Vinyl
Now let’s talk about transferring your projects!
Adhesive vinyl (permanent, removable) is attached to a carrier sheet. When cutting your vinyl on your cutting machine, the carrier sheet will stabilize the vinyl, so it doesn’t move during the cutting process.
The sticky part of the vinyl lays on the carrier sheet, and the regular side will be the finish/color.
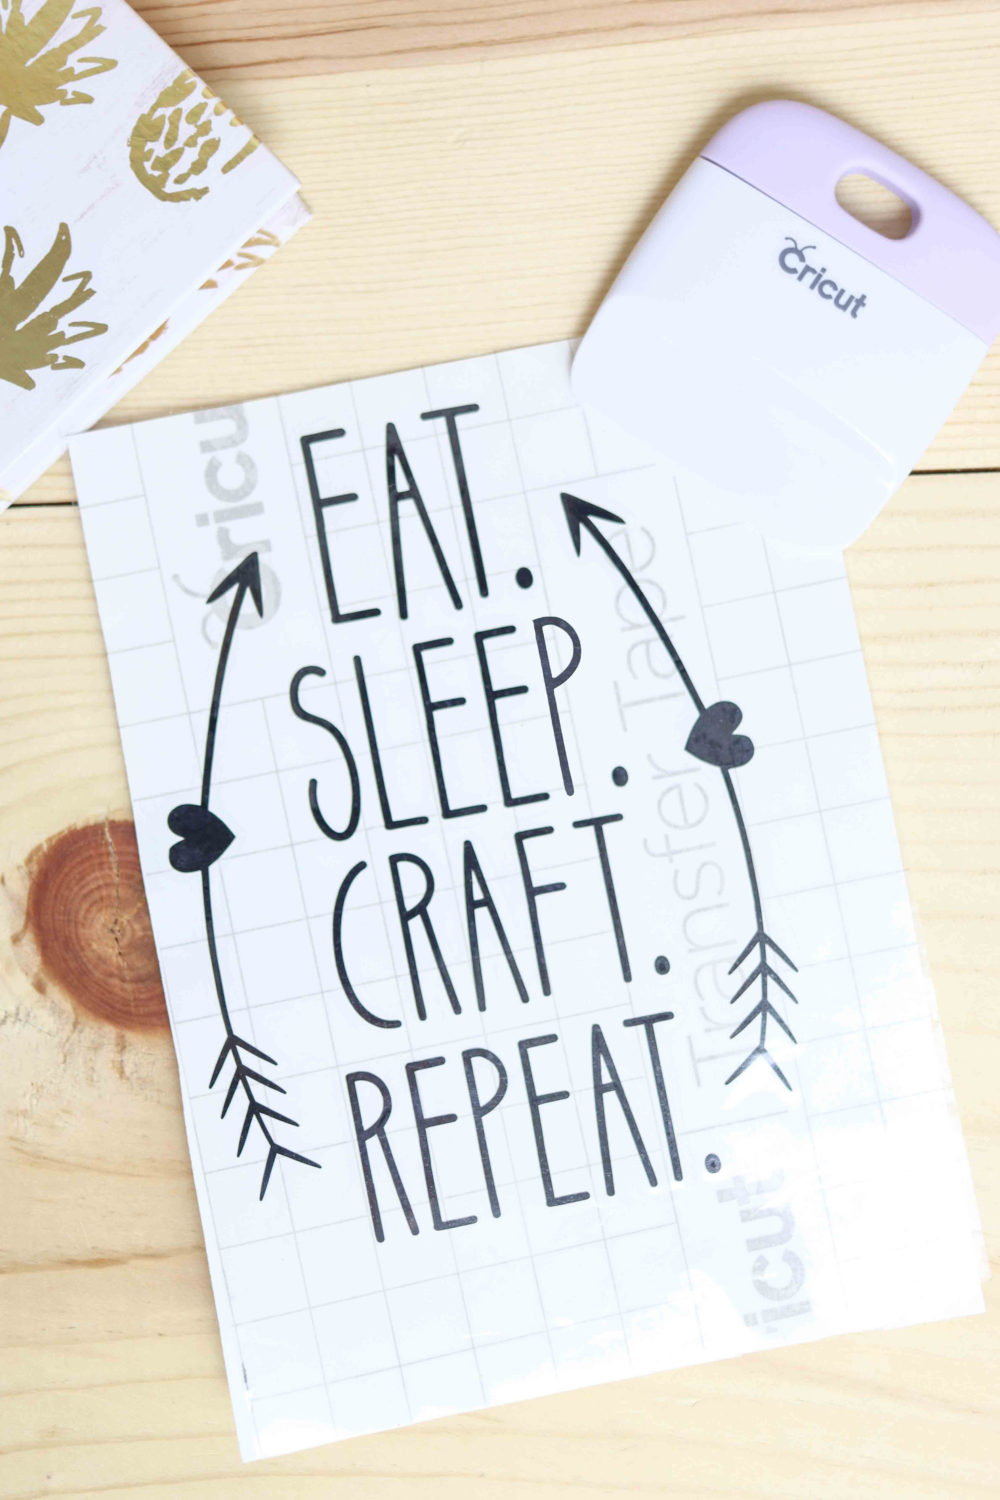
The ideal way to transfer vinyl to a surface is by using transfer tape!
Transfer tape is also sticky but not a sticky as the vinyl. You can pick up your design with transfer tape and place it on your project very easily.
Regular Transfer Taper Strong Transfer Taper
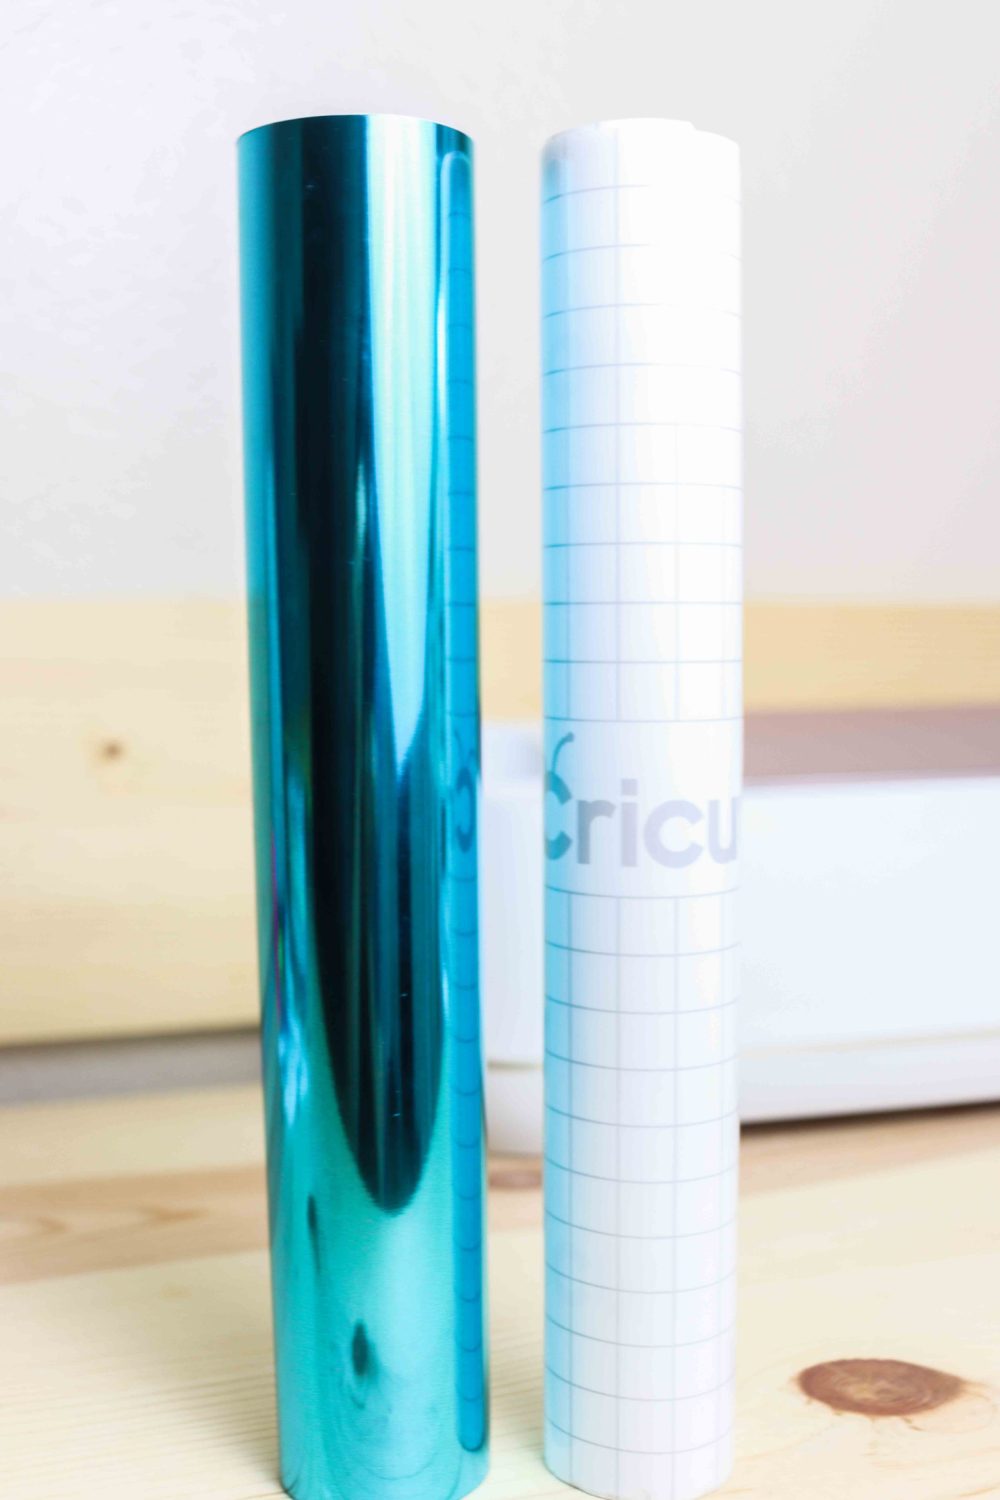
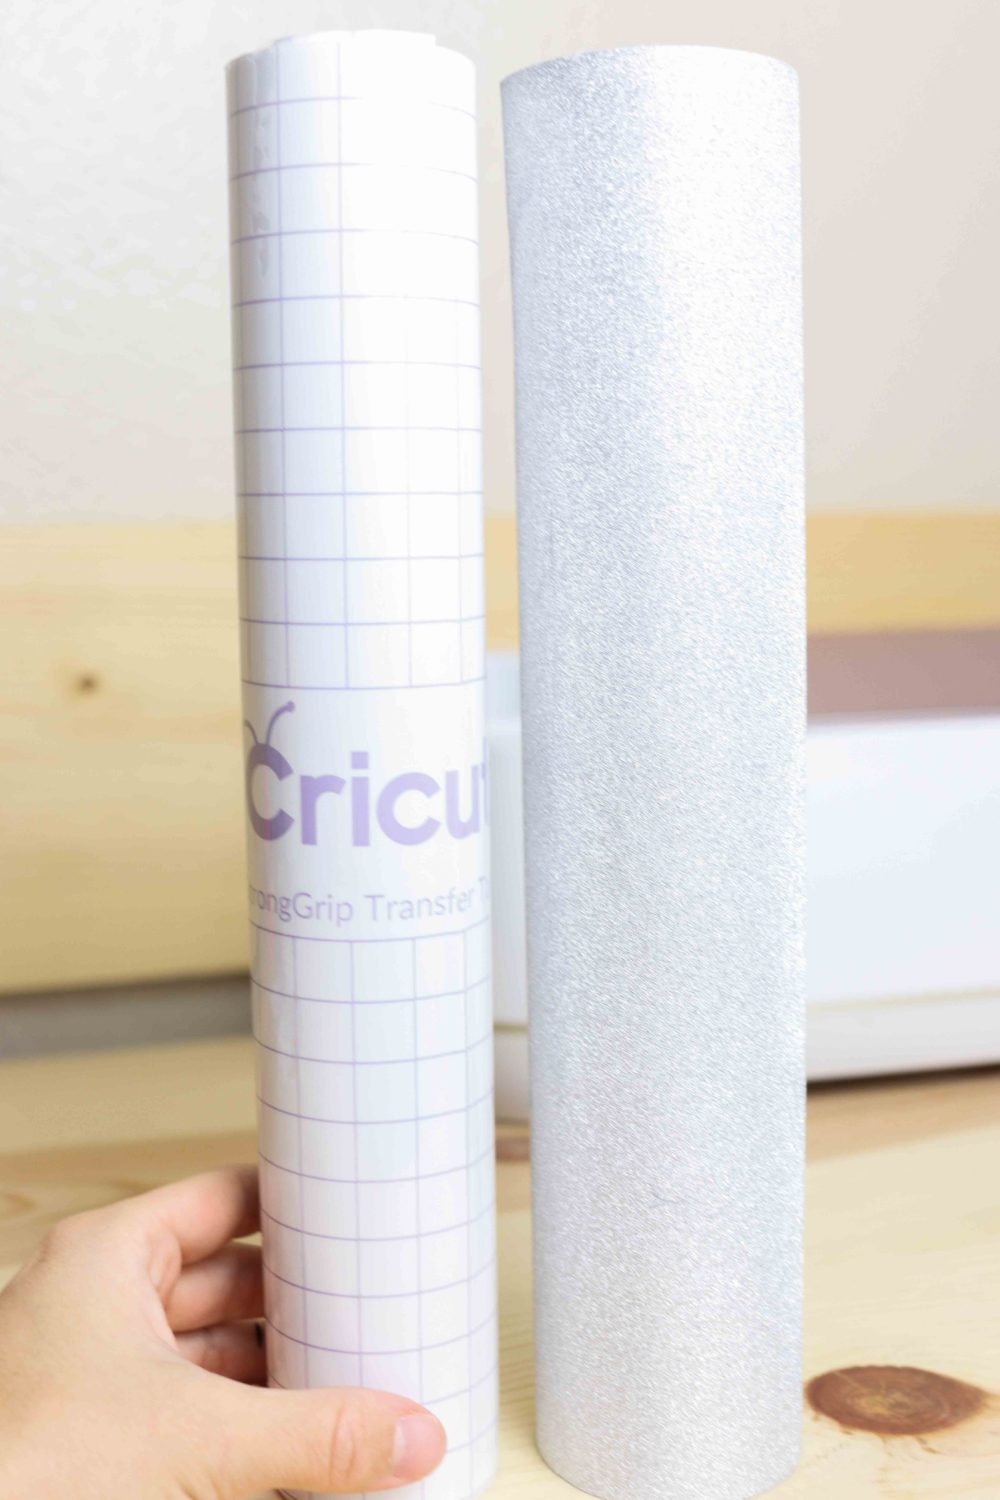
Important: If you are using glitter vinyl, you need to use Strong Grip transfer tape.
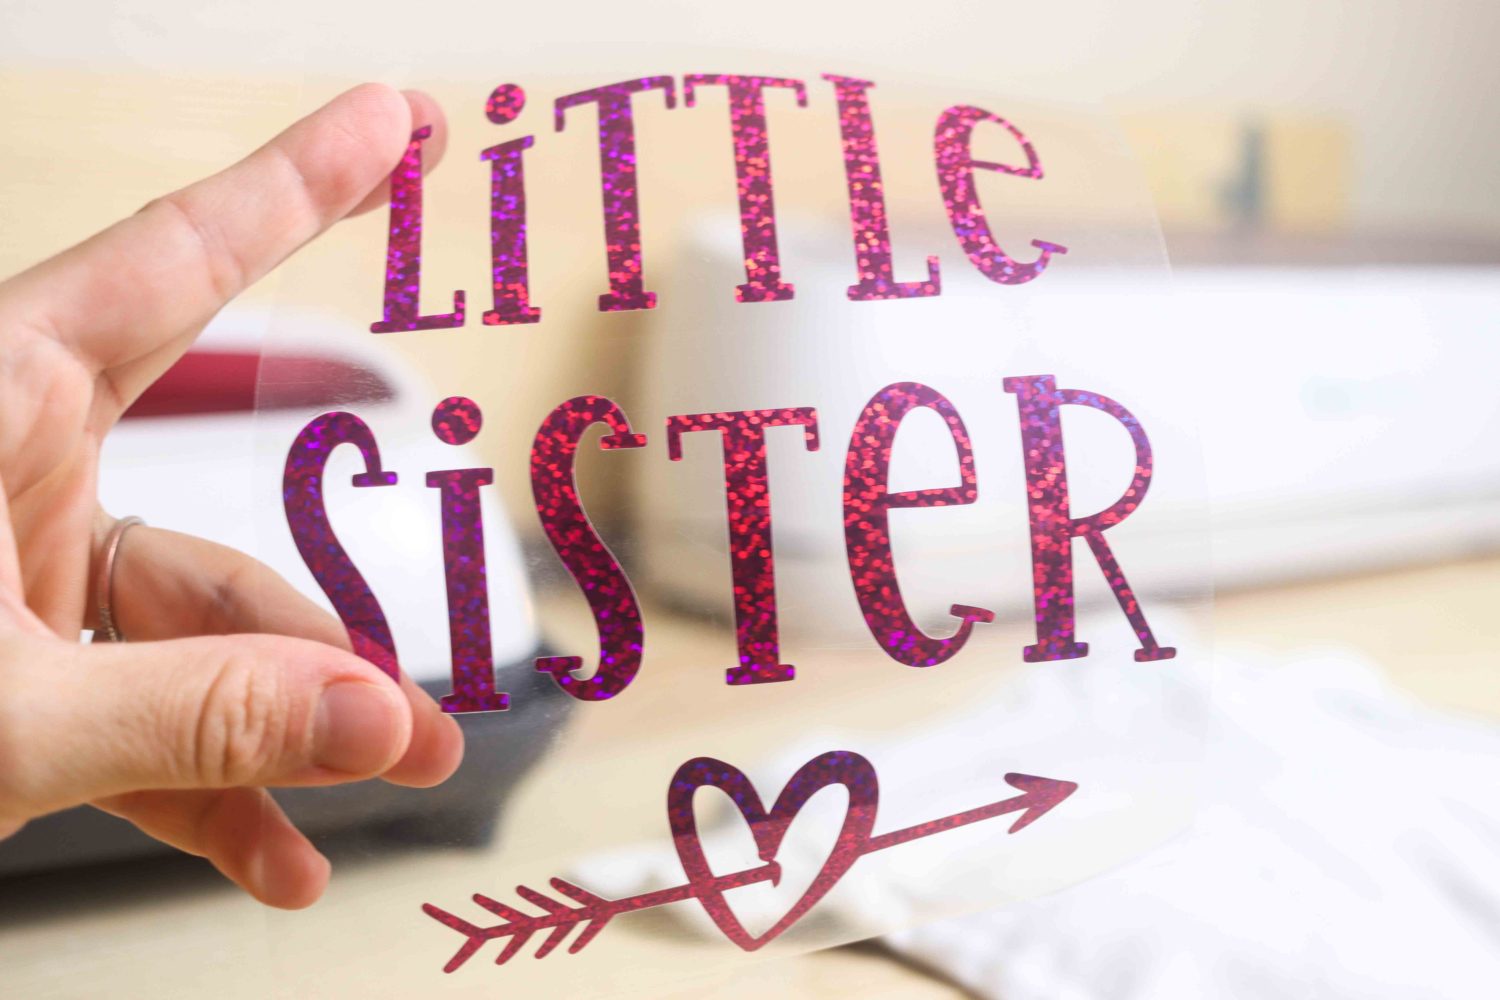
Here’s a quick photo step by step.
1. Cut and weed your design
2. Cut transfer tape and place it on top of the design

Step 1 Step 1
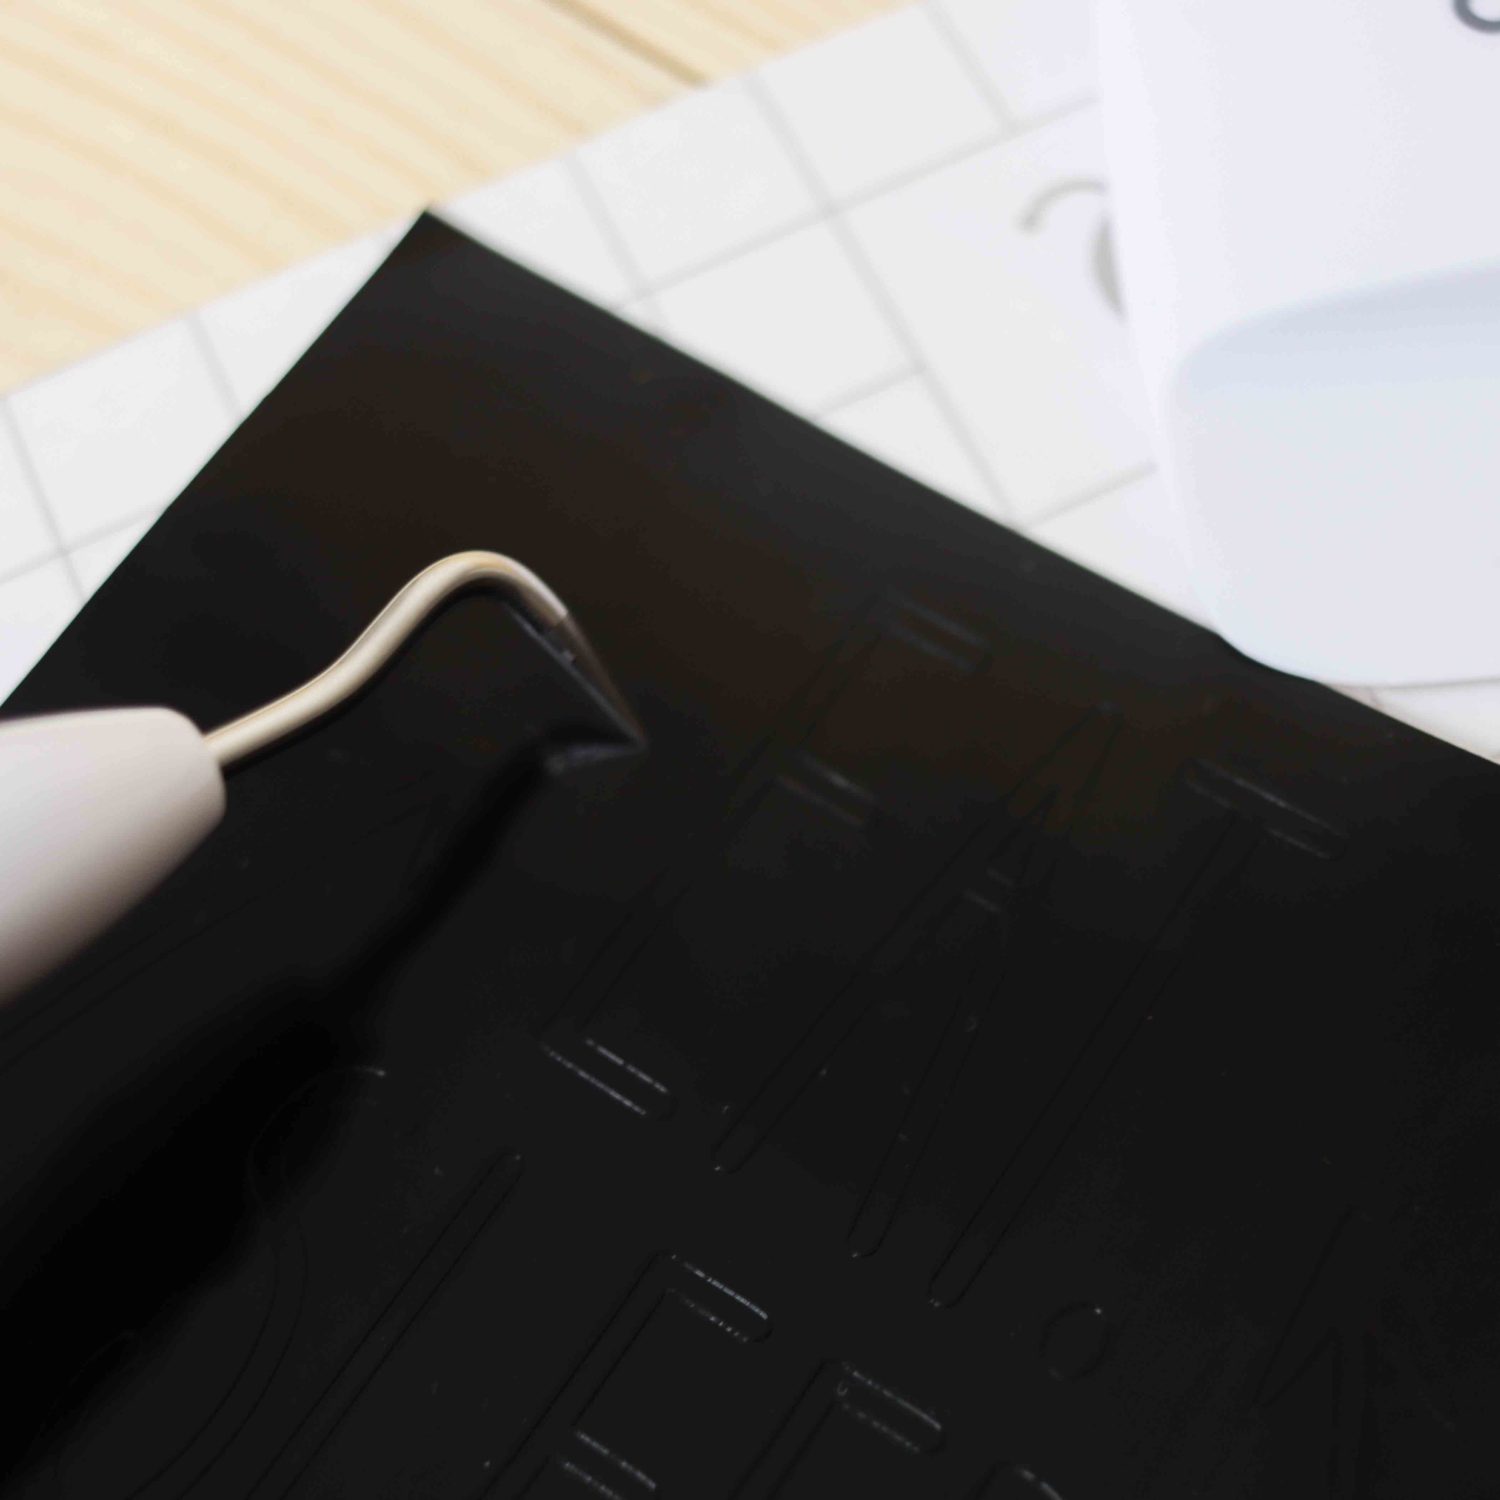
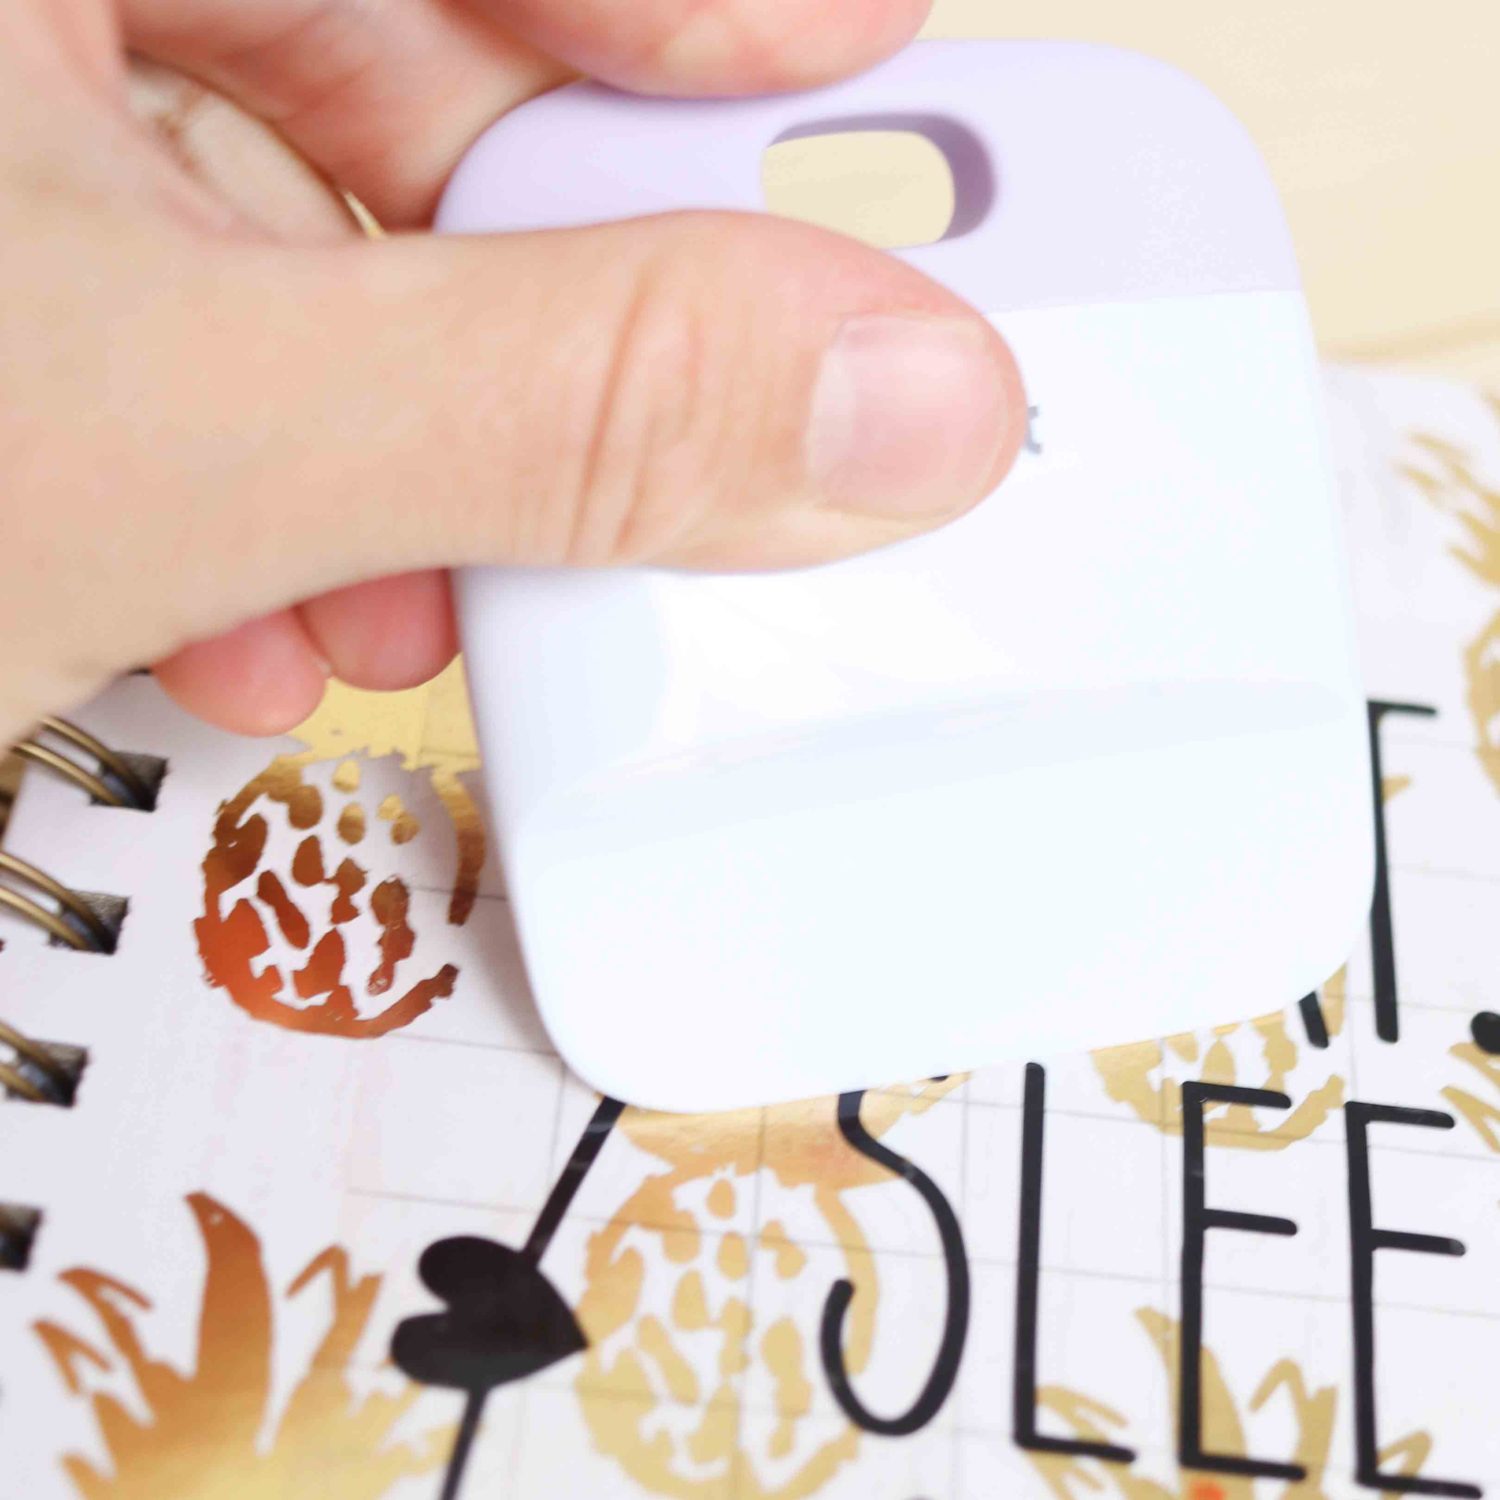
3. Use a scraper (or debit card) to stick transfer tape to vinyl
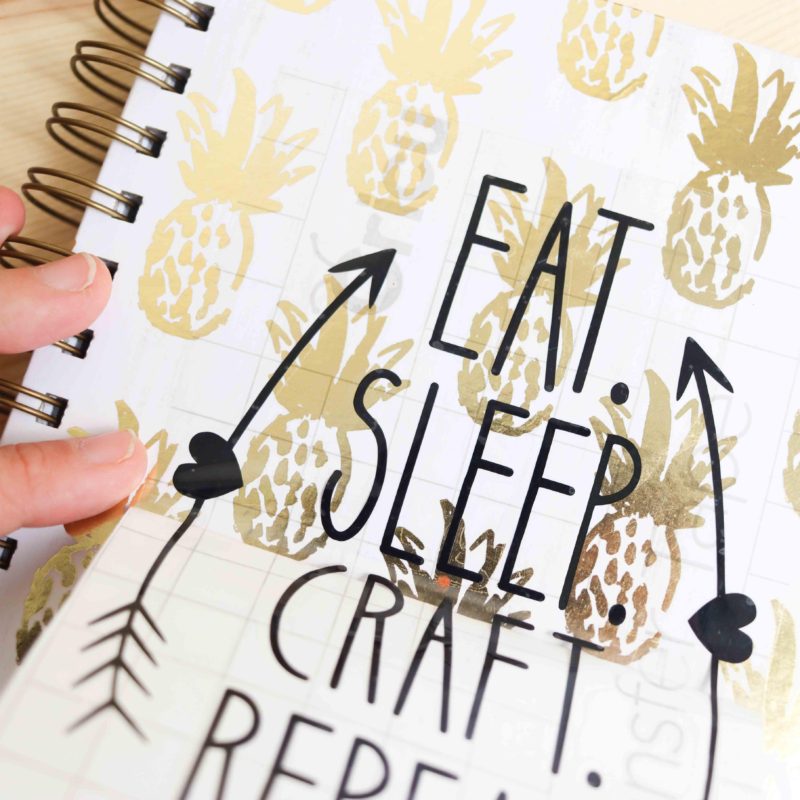
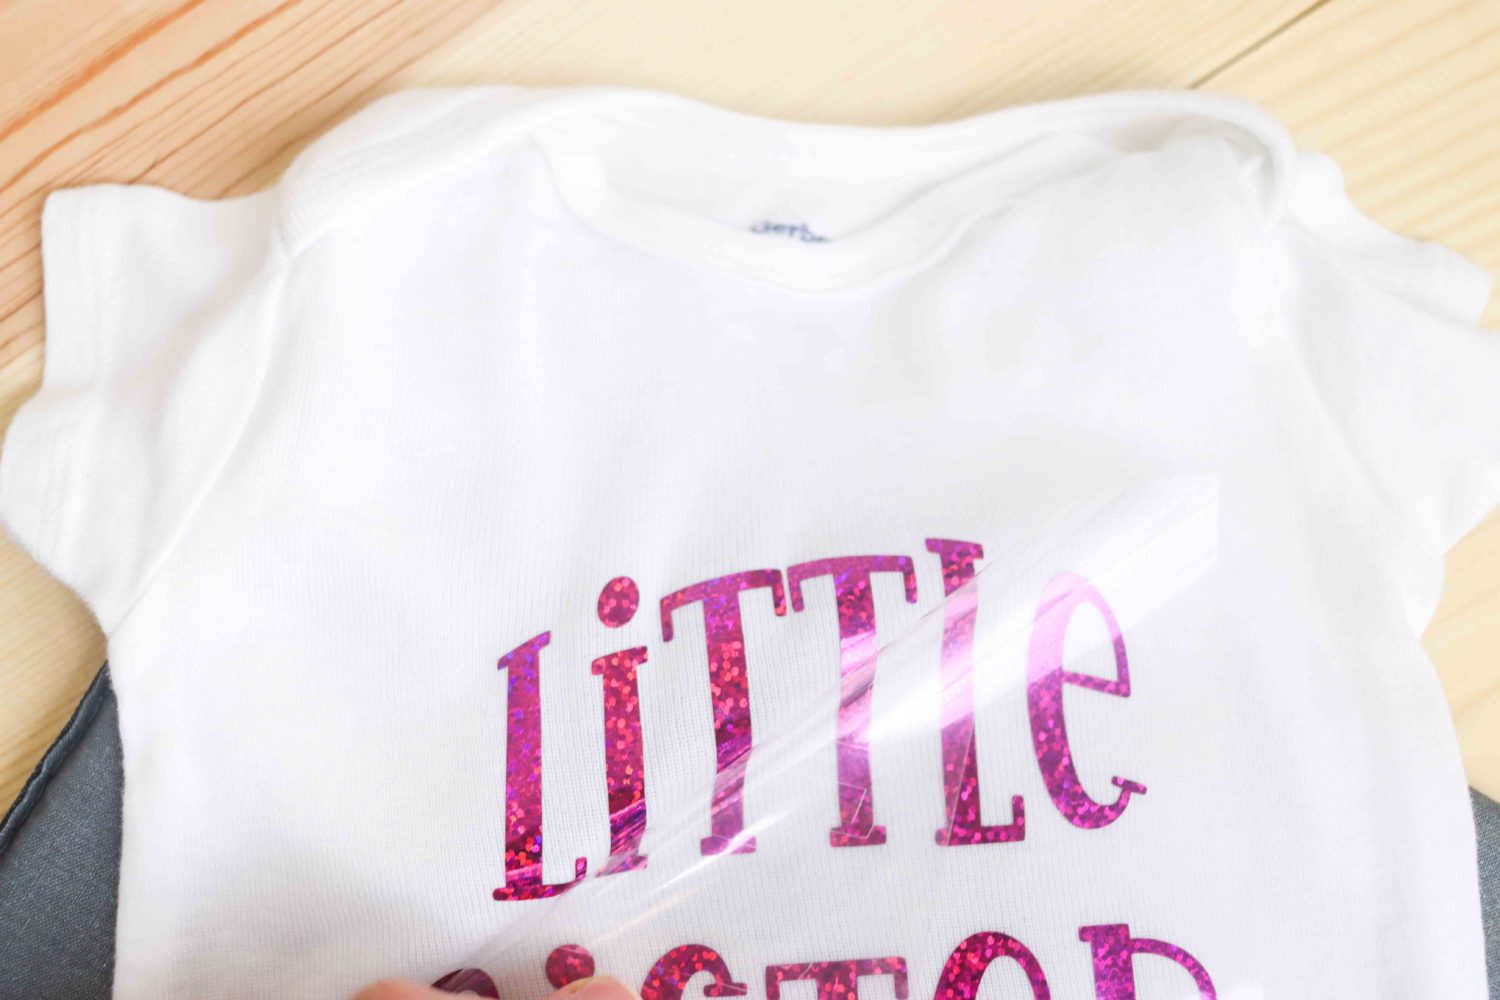
4. Lift the transfer tape from the carrier sheet
5. Transfer design to your surface and apply with the scraper
6. Remove transfer tape!
Step 3 
Step 4 Step 5 
Step 6
There are tons of tips and tricks when transferring adhesive vinyl that I can’t cover them all in this guide, but I will have a tutorial coming up soon.
All about Heat Transfer Vinyl (HTV or Iron-On)
Heat transfer vinyl is one of my favorite materials to work with. You want to use HTV in soft materials that are heat resistant like fabric.
You can also try them in other materials like wood, metal, and even ceramic (for mugs). Don’t use it on plastic, or surfaces that can melt when you apply heat.
Different Types of Heat Transfer Vinyl or Iron-On
Most Iron-On (HTV) options out there have the same finishes I covered for adhesive vinyl, only IN these cases you need to change the method you transfer them.
Picking the right HTV for your project is essential because it will ensure whether your project lasts or not.
Some HTV is designed for stretchy clothing like leggings or workout shirts. Othe types of Iron-On are design to work with cotton and poly-blends.
When in doubt, you can check Cricut’s heat guide to see what type of vinyl works best with a type of fabric or material (Sometimes they are not compatible). They only guarantee those results with their products, but it’s a great guide to learn about what are the best temperatures, etc.
Here are some of the most common styles of heat transfer vinyl:
Glitter: you can find multiple colors with this option. The sky is the limit. Glitter vinyl is tough to weed. Do these projects with enough daylight.
Holographic: Very similar to foil, but Holographic vinyl changes in color depending on the angle you are looking at.
Foil: it’s shiny and stunning. However, working with foil iron-on can be a pain sometimes. You see, this material is very delicate, and you need to follow to the tee all of the instructions.
Regular (Solid Color): The most common HTV. You can find any solid color out there, including neon colors. In my experience, all vinyl with regular colors has a matte finish.
Patterned: there’s a lot of variety, and great styles for patterned adhesive vinyl, most common ones are florals. However, if you shop Cricut, you can find beautiful Disney and holiday-themed options.
Mosaic: This is quite a unique type of vinyl, and it’s made by Cricut (I am not aware of other brands). Unlike a regular sheet of vinyl that is a solid material, mosaic vinyl sheets are made of small circles, squares, stars, etc.
Metallic: This HTV is your typical gold and silver color. They usually have a matte finish.
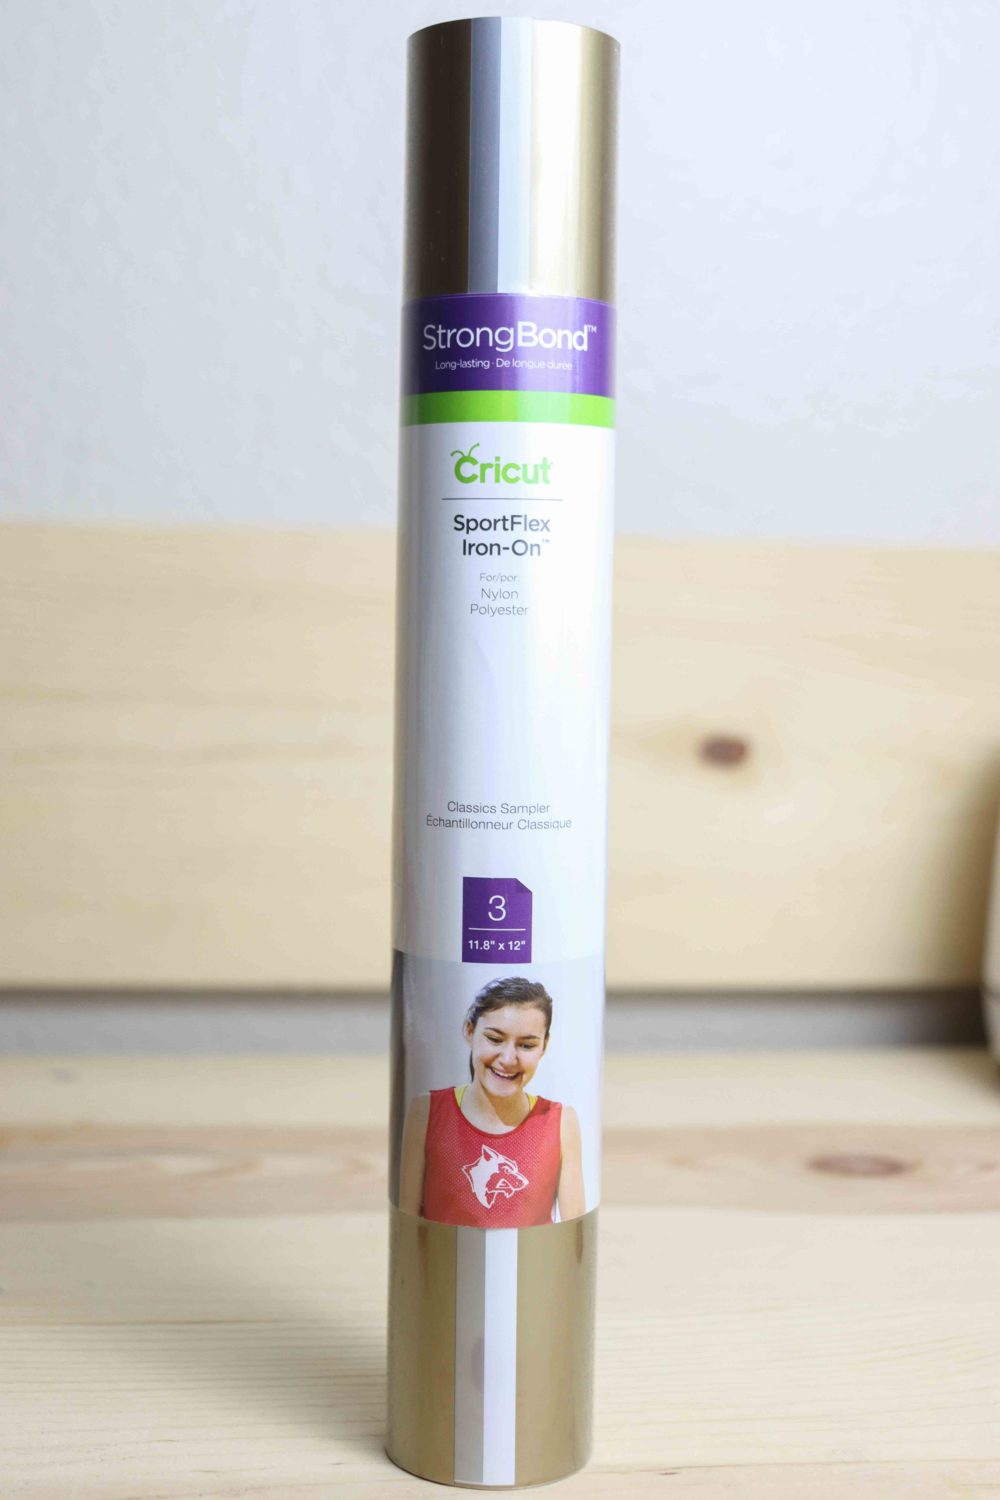
SportFlex Iron-On: This is a type of HTV that will stretch with your fabric. It’s perfect for use on nylon, neoprene, and polyester fabrics; this is the vinyl you will want to use on your swimsuits and clothing.
Metallic Iron-On SportFlex Iron-On
Cutting and Weeding Iron-On Vinyl
Heat Transfer Vinyl comes attached to a carrier sheet that keeps everything in place when you are cutting it with your machine.
Here’s the big caveat (take notes).
The carrier sheet is attached to the front of the vinyl; this means the side that you can see when you transfer it to your project.
Why is this important to take into consideration?
Unlike any other materials, when you cut HTV, you are cutting the back of your project; therefore, you have to mirror it on your software before you cut.
You can see how to do it in this article for t-shirts.
Most HTV will have a Pretty/Shiny side, this is the backing side, and you have to place it down on your cutting mat. Nonetheless, other brands have vinyl where both sides look very alike; sometimes, the brand will put a label that says cut side.
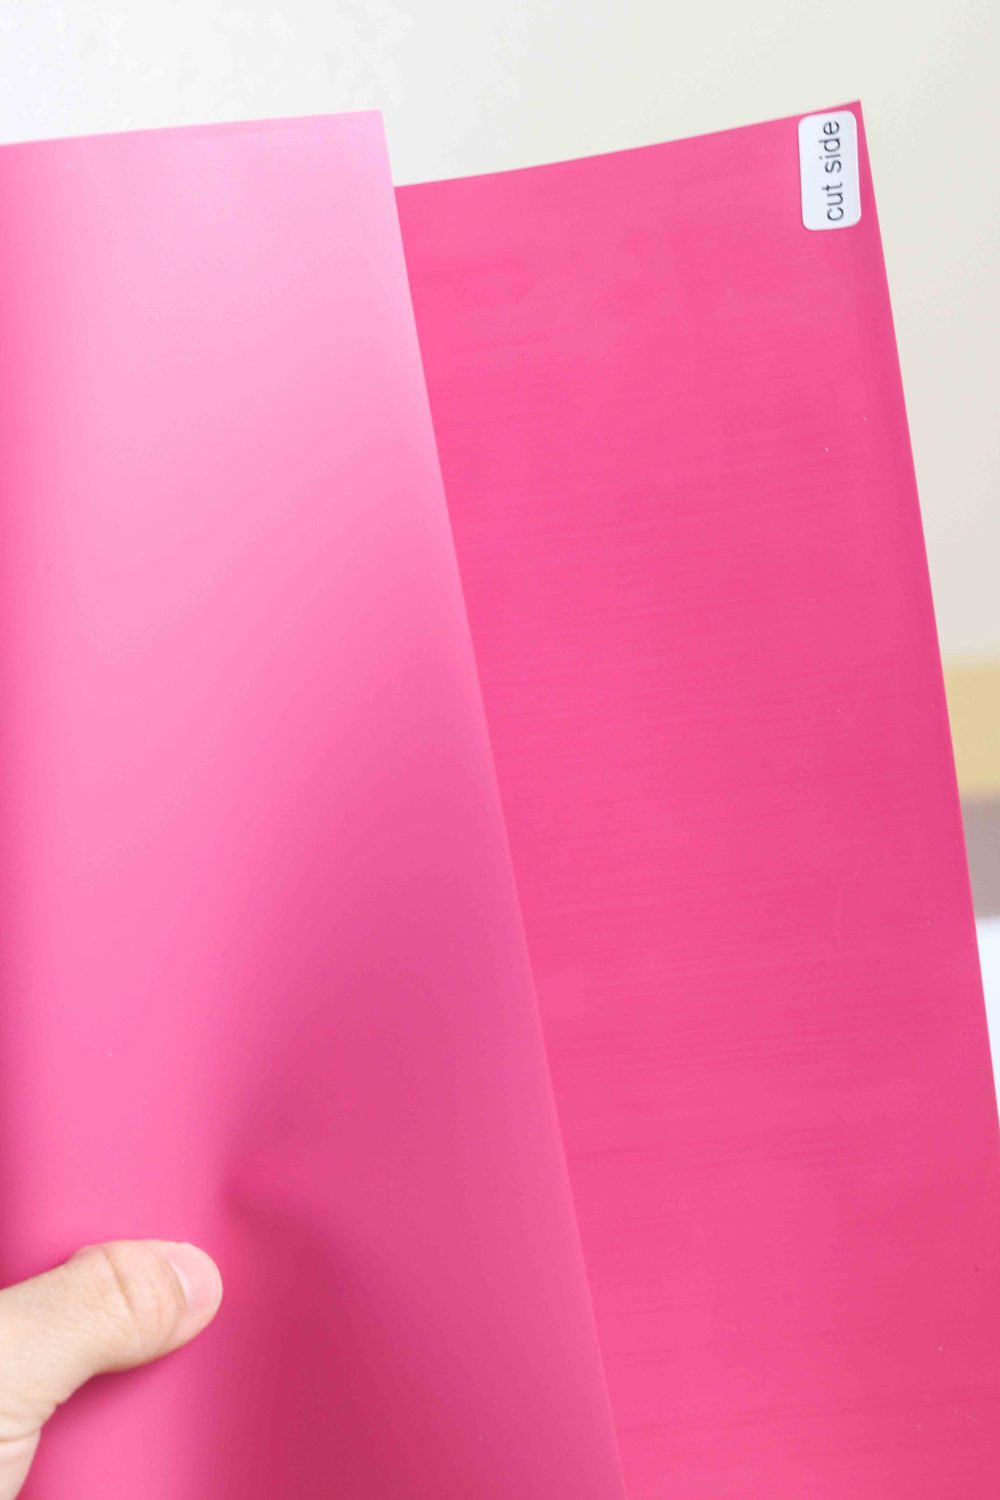
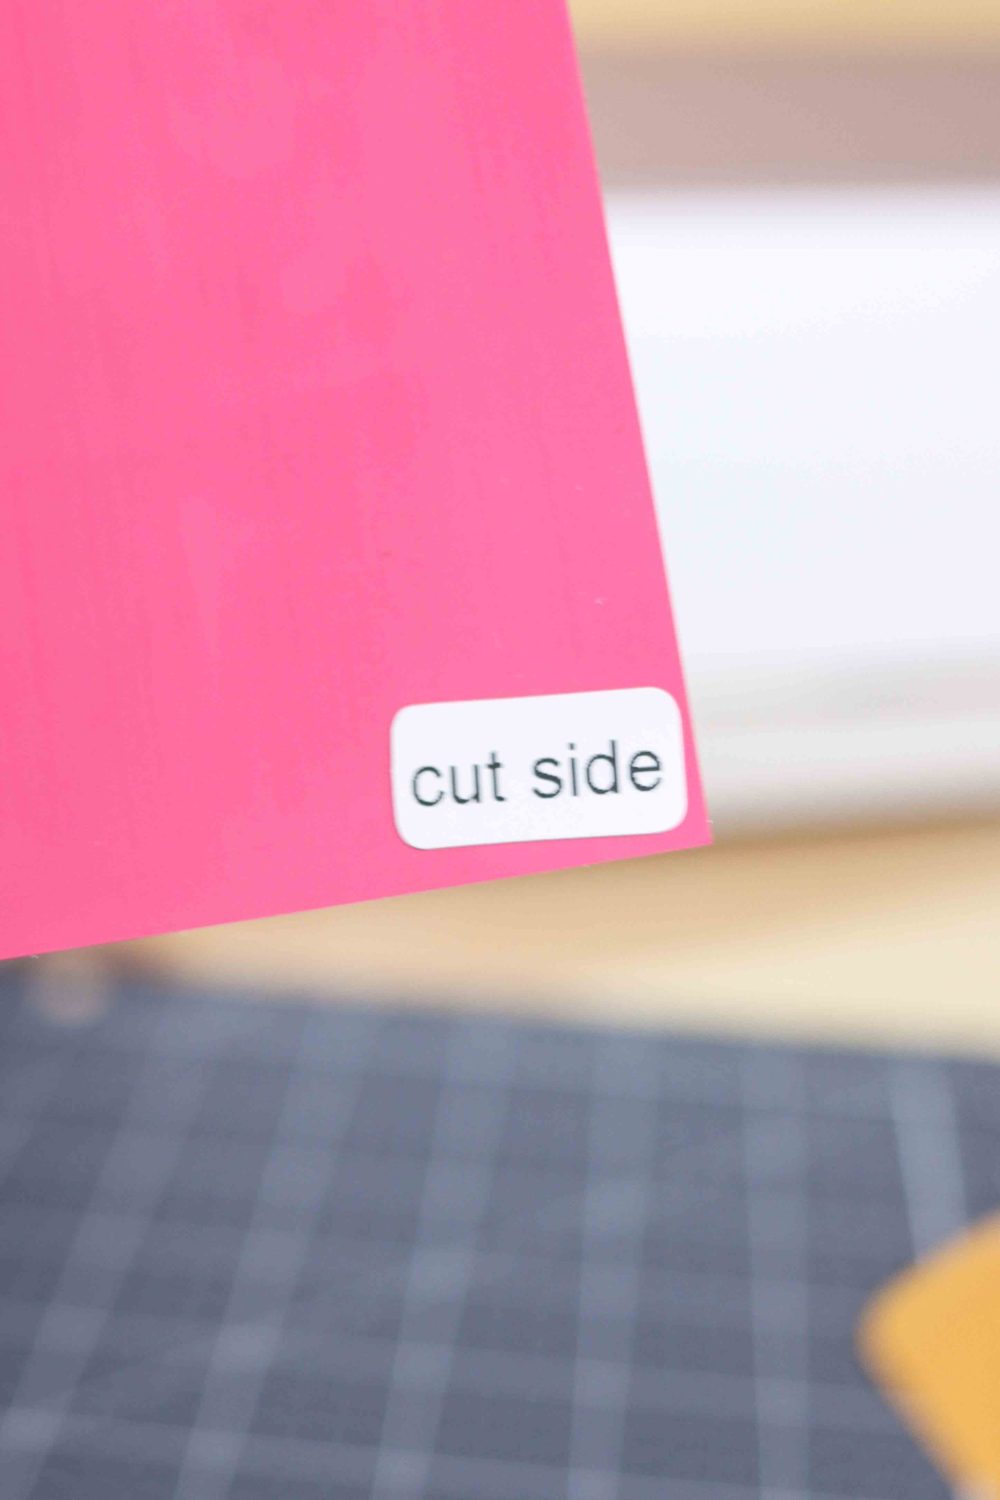
If you don’t know what side to cut, use your weeder in a small corner to identify what side the carrier sheet is.
Note: I will be creating a complete guide in cutting and transferring HTV; this is a full topic I want to develop to its full extent and potential.
Once you cut, use a weeder to remove the negative parts of your design with a weeder. Try to weed when you have a good light source, especially if you are working with glitter iron-on.
If your design is very complex, have a picture of it while you weed. You don’t want to remove the wrong areas.
How to Transfer Heat Transfer Vinyl
If you intend to transfer to fabric, prewash it first. Especially if you are working with cotton or fabric that will shrink after the first wash.
To transfer vinyl to your projects, you need heat!
Not too much, or too little. You need the right amount of heat. Most people transfer HTV to their surfaces with a household iron, easypress, and a heat press.
Note: If you are interested in learning about the differences, you can check out my Easypress 2 review where I compare it to a household iron and a heat press.
I’ve used both Iron, and Easypress and I have to say that although the experience with the latest one is the best, you can also get great results with an iron.
If you plan on doing tons of HTV projects, treat yourself with the Easypress.
Here’s a quick step on how to transfer HTV to fabrics with an Easypress
1. Prewash your garment
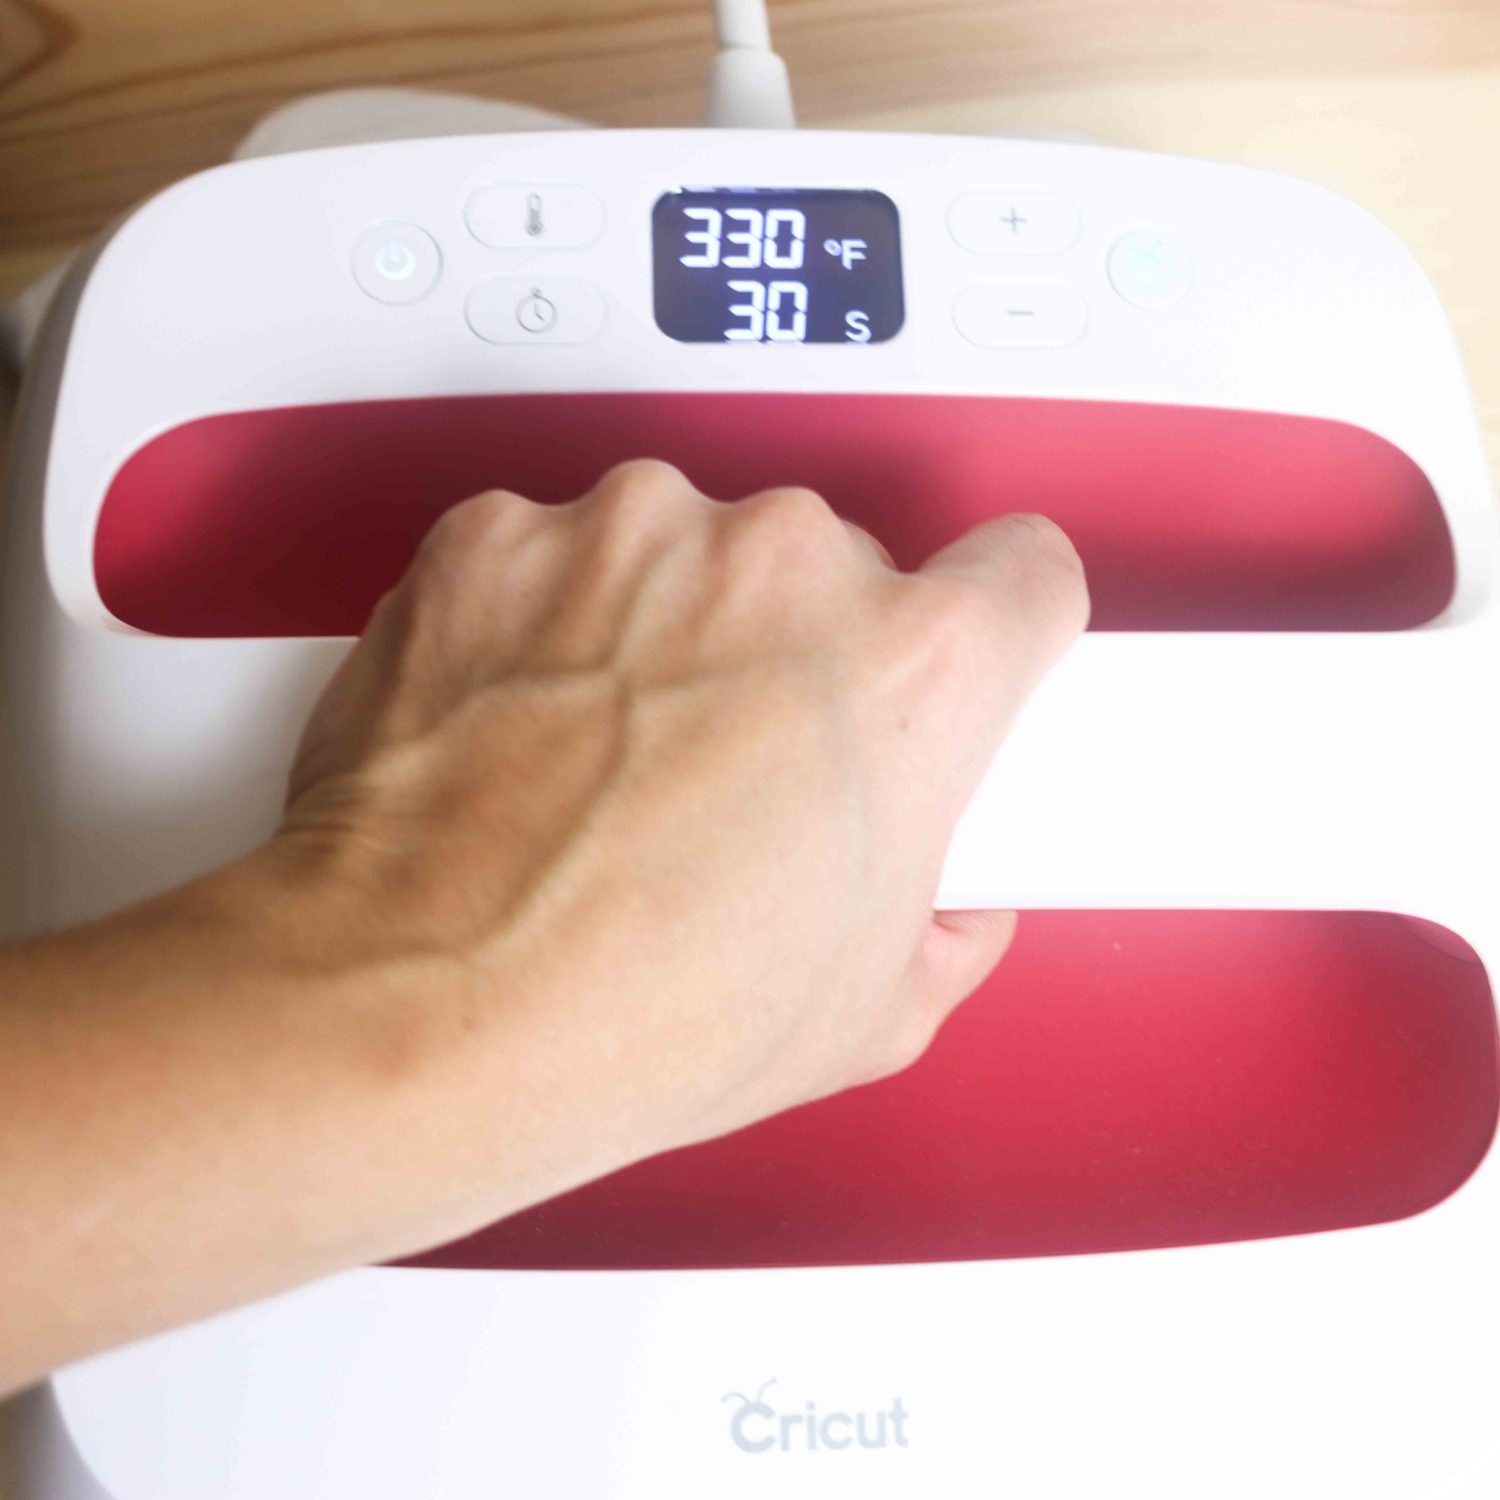
2. Preheat Easypress using Cricut’s heat guide.
3. Get rid of wrinkles and press for about 5 seconds where you want your design.
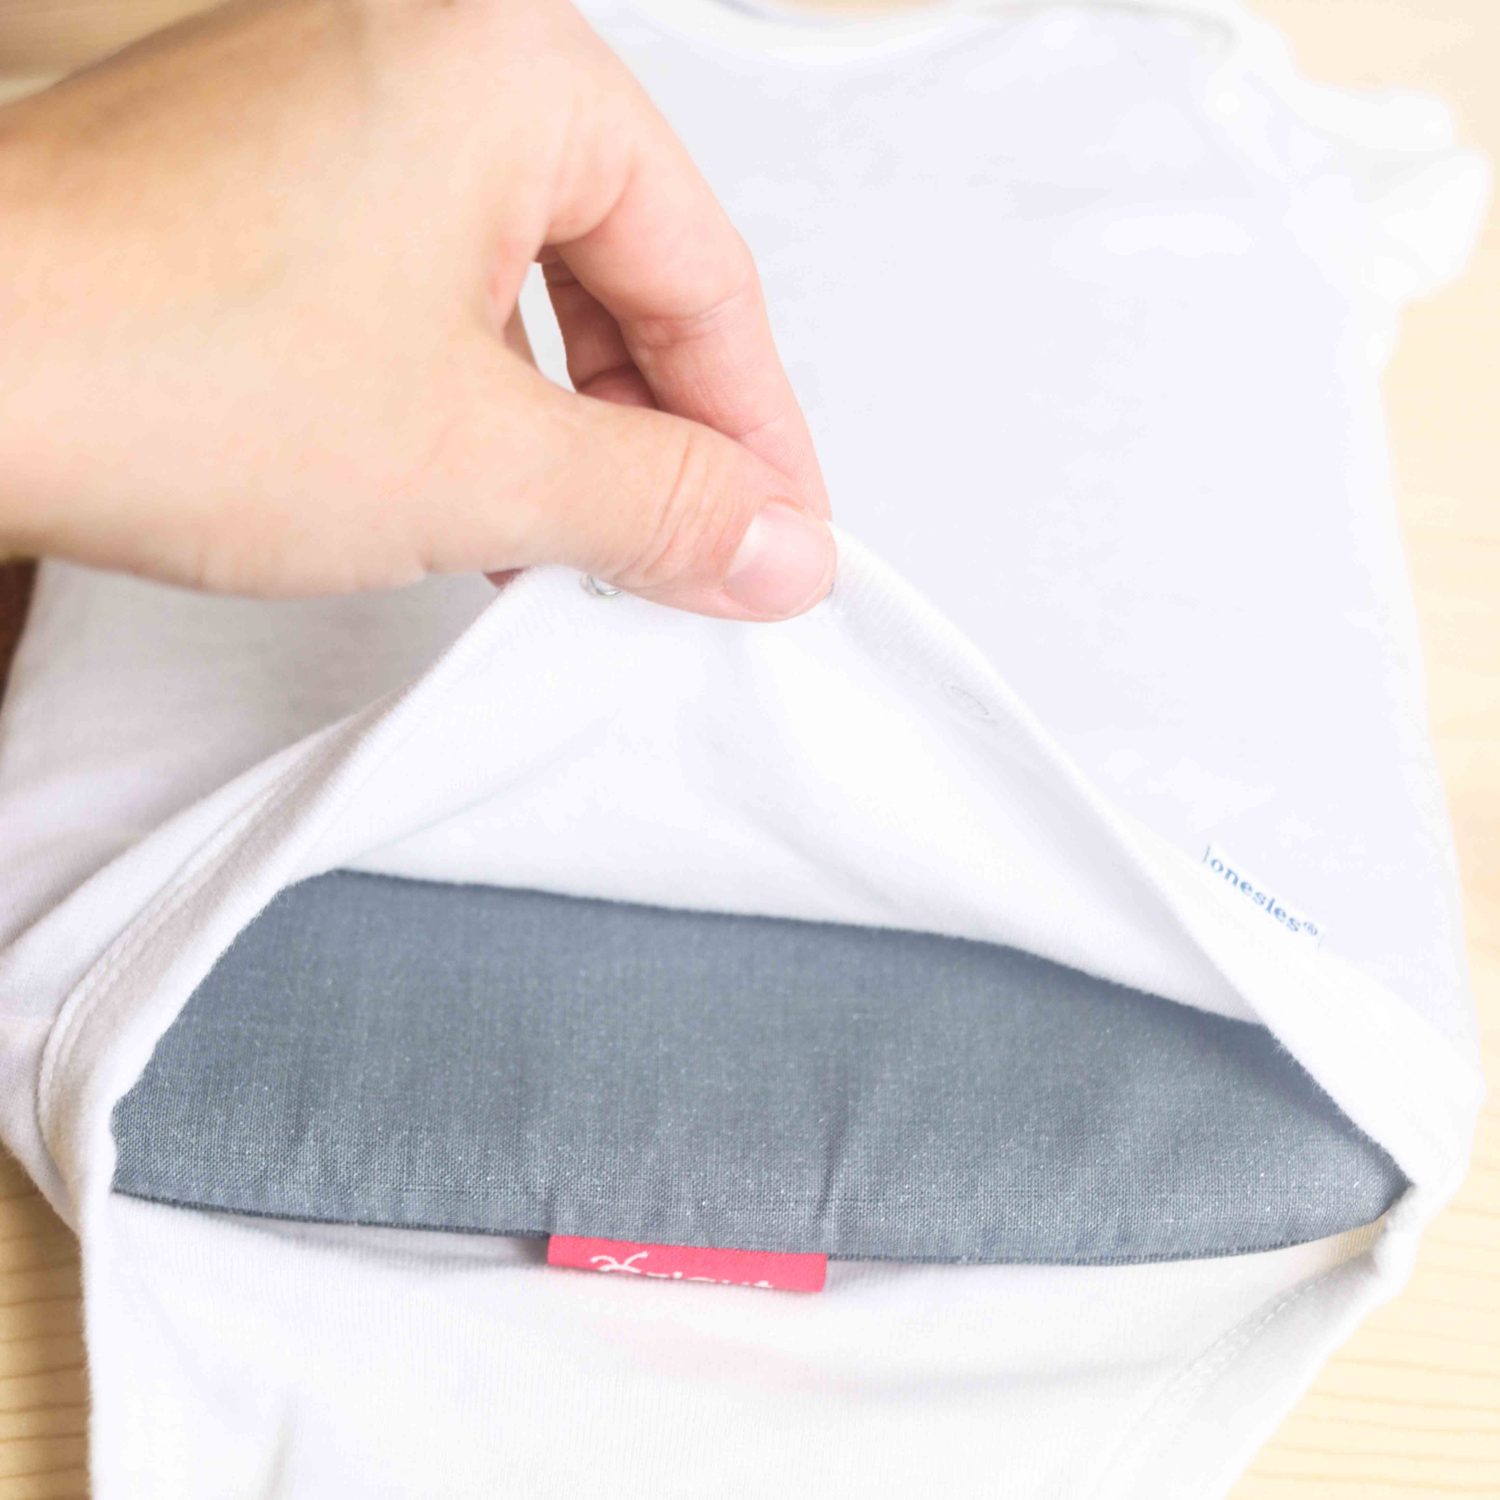
4. Place a towel or Cricut heat mat in the middle of the garment, or back of the garment.
5. Press your design for 30 seconds (confirm time in Cricut’s heat guide).
Step 1-3 Step 4 
Step 5-6
6. Press the back of the garment for about 15 seconds.
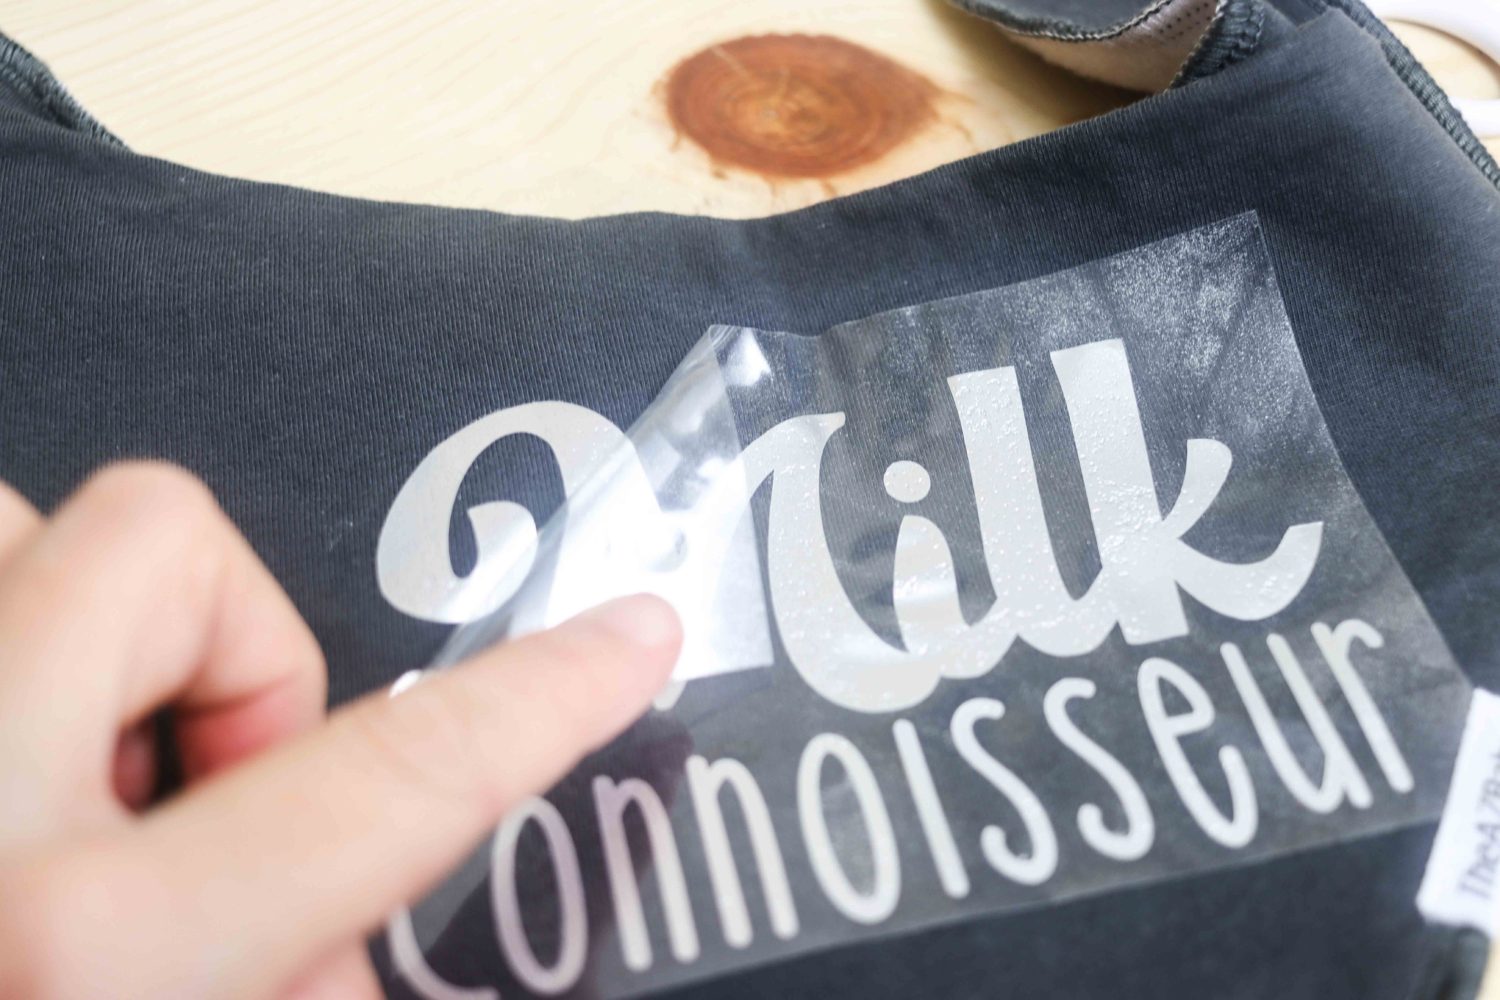
7. Peel off carrier sheet using Cricut’s heat guide. Sometimes you need to remove while it’s warm to the touch (regular vinyl), and sometimes when it’s cold (foil iron-on).
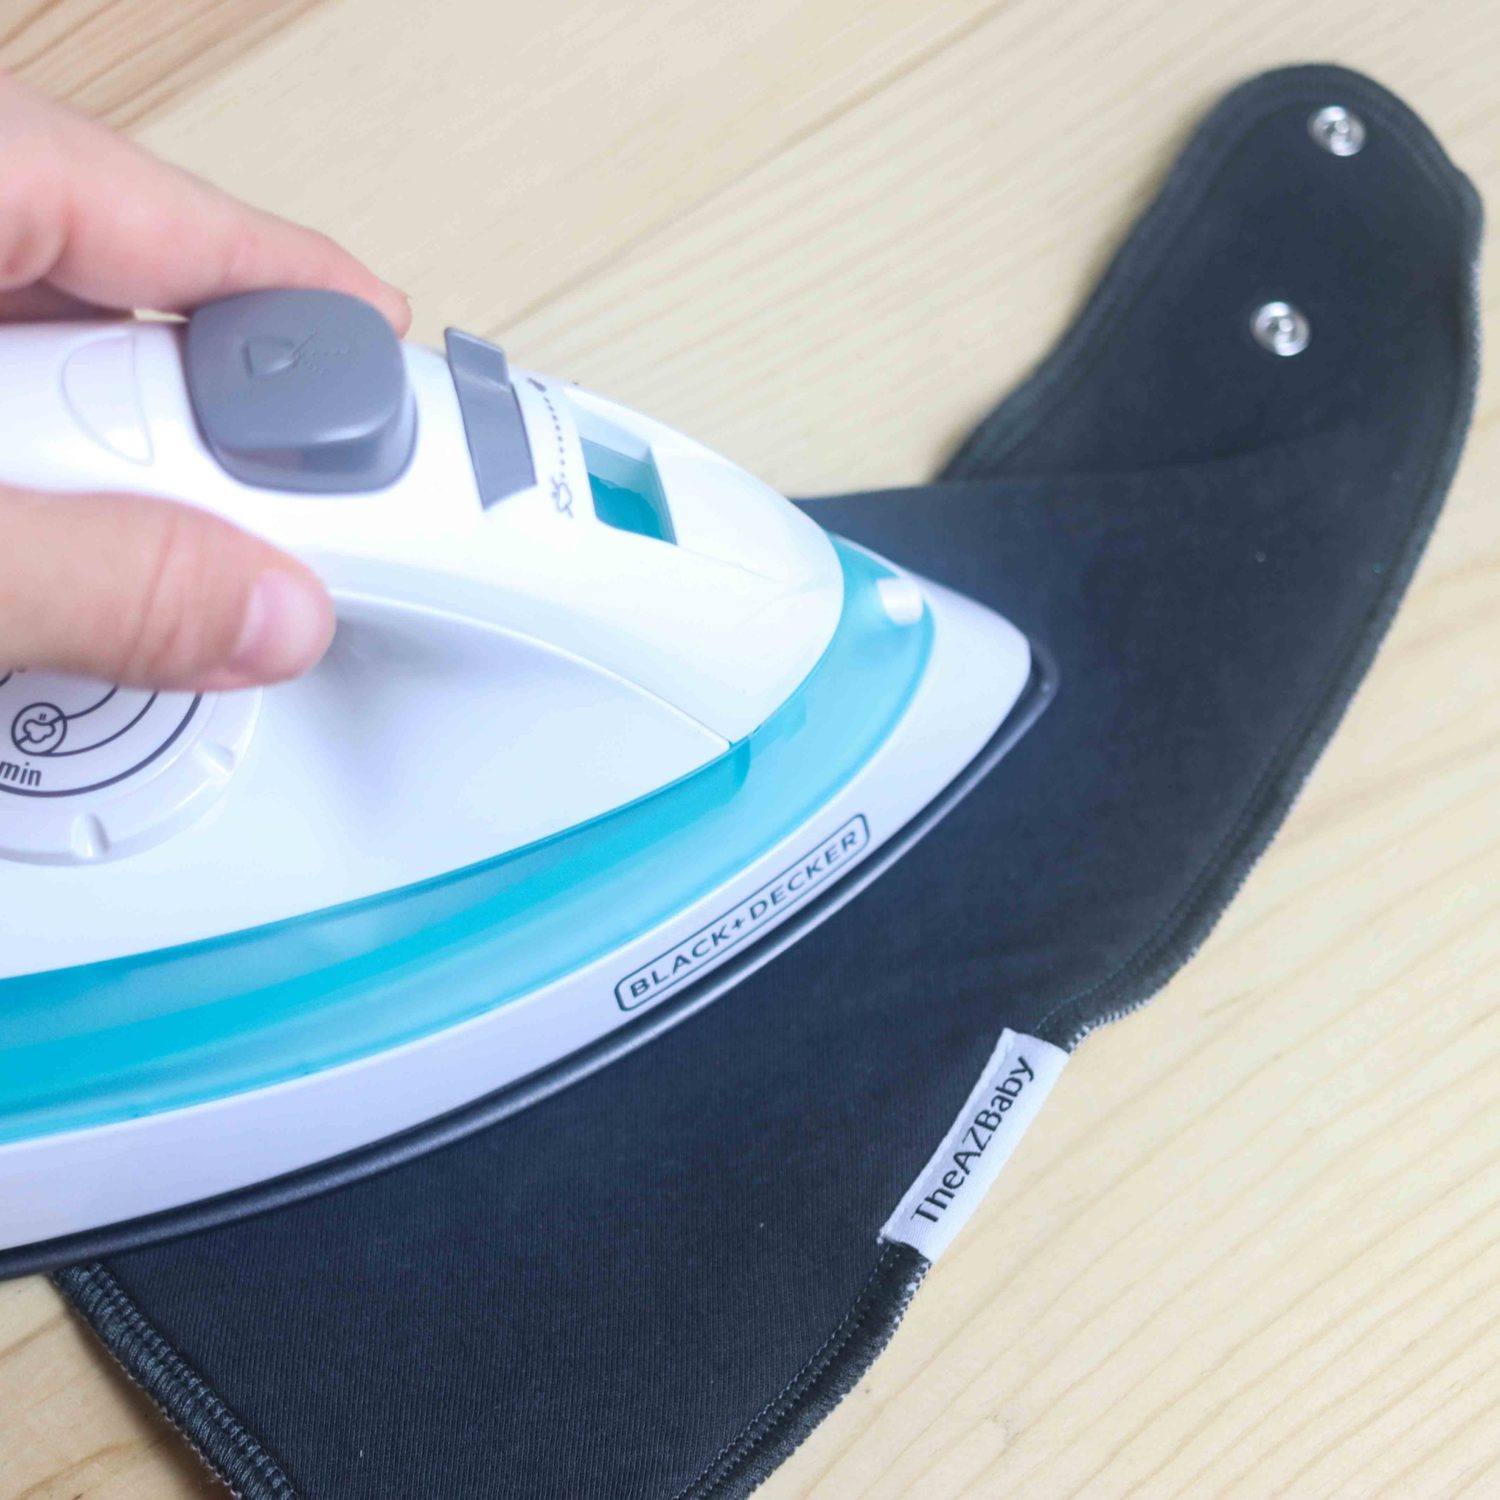
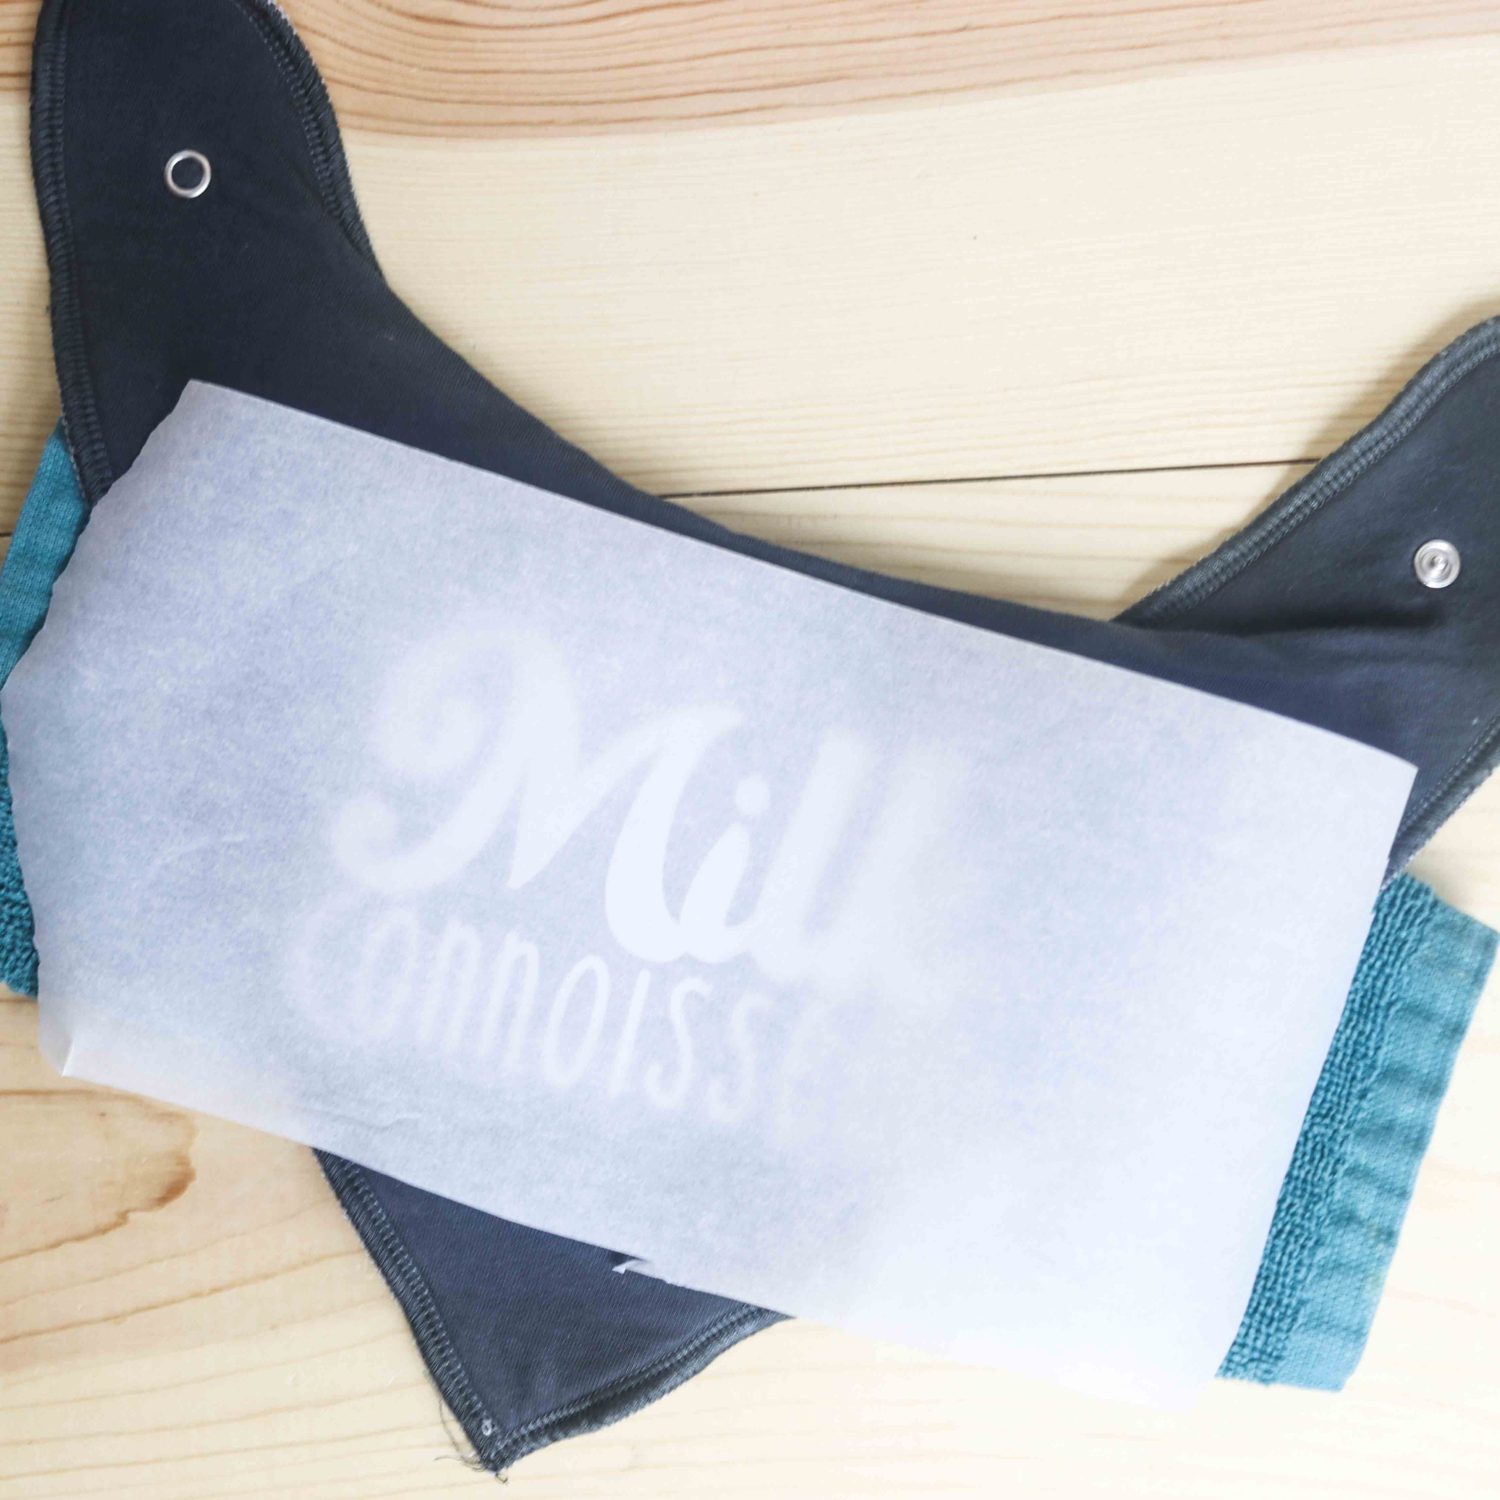
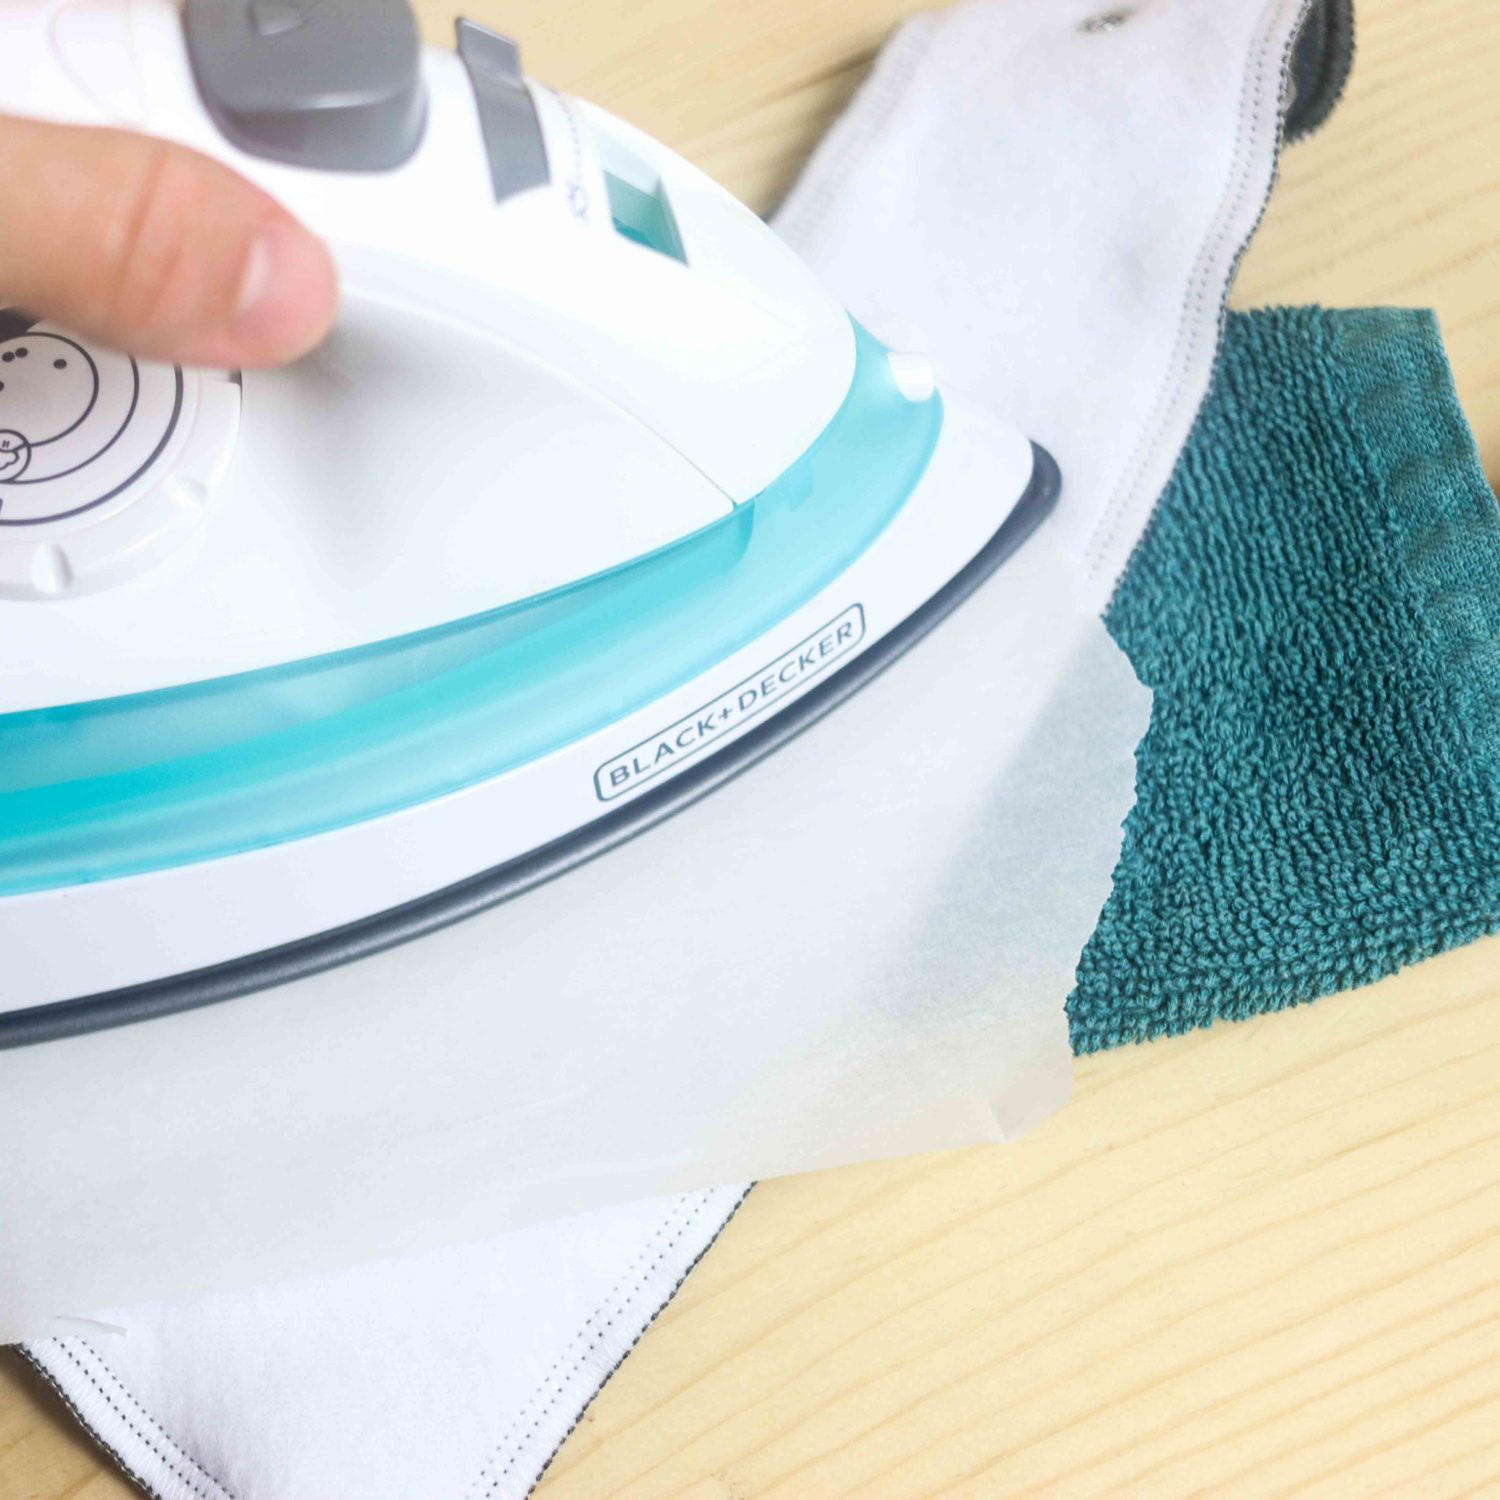
Here’s a quick step on how to transfer HTV to fabrics with a household iron.
1. Prewash your garment
2. Preheat iron to the max heat.
3. Get rid of wrinkles and press for about 5 seconds where you want your design.
4. Place a towel or the middle of the garment, or back of the garment.
5. Place your design and cover it with a thin cloth or with parchment paper.
6. Press your design in different directions in individual 30-second presses. Make sure you press all parts of your design.
Steps 2-3 Steps 4-5 Step 6
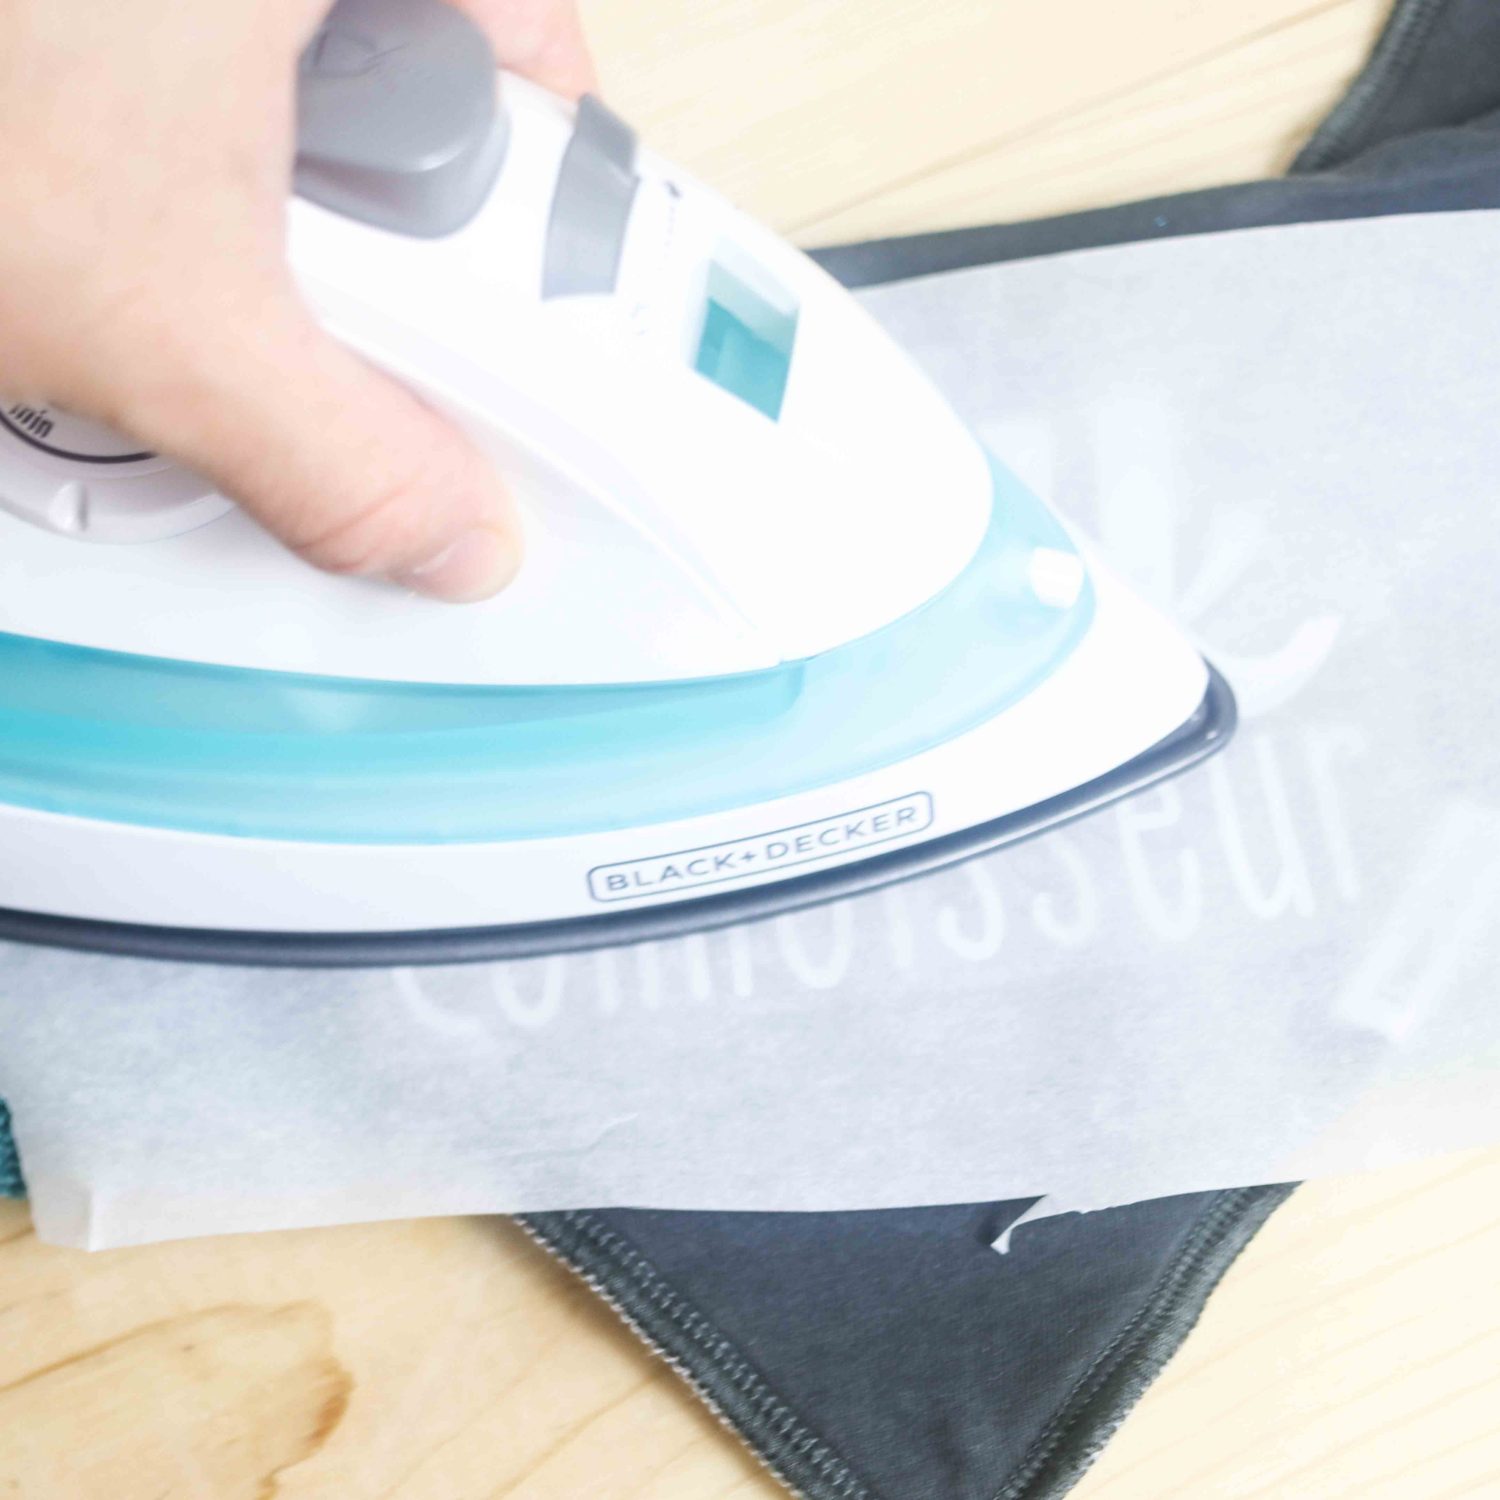
7. Press the back of the garment for about 30 seconds.
8. Peel off carrier sheet using Cricut’s heat guide. Sometimes you need to remove while it’s warm to the touch (regular vinyl), and sometimes when it’s cold (foil iron-on).
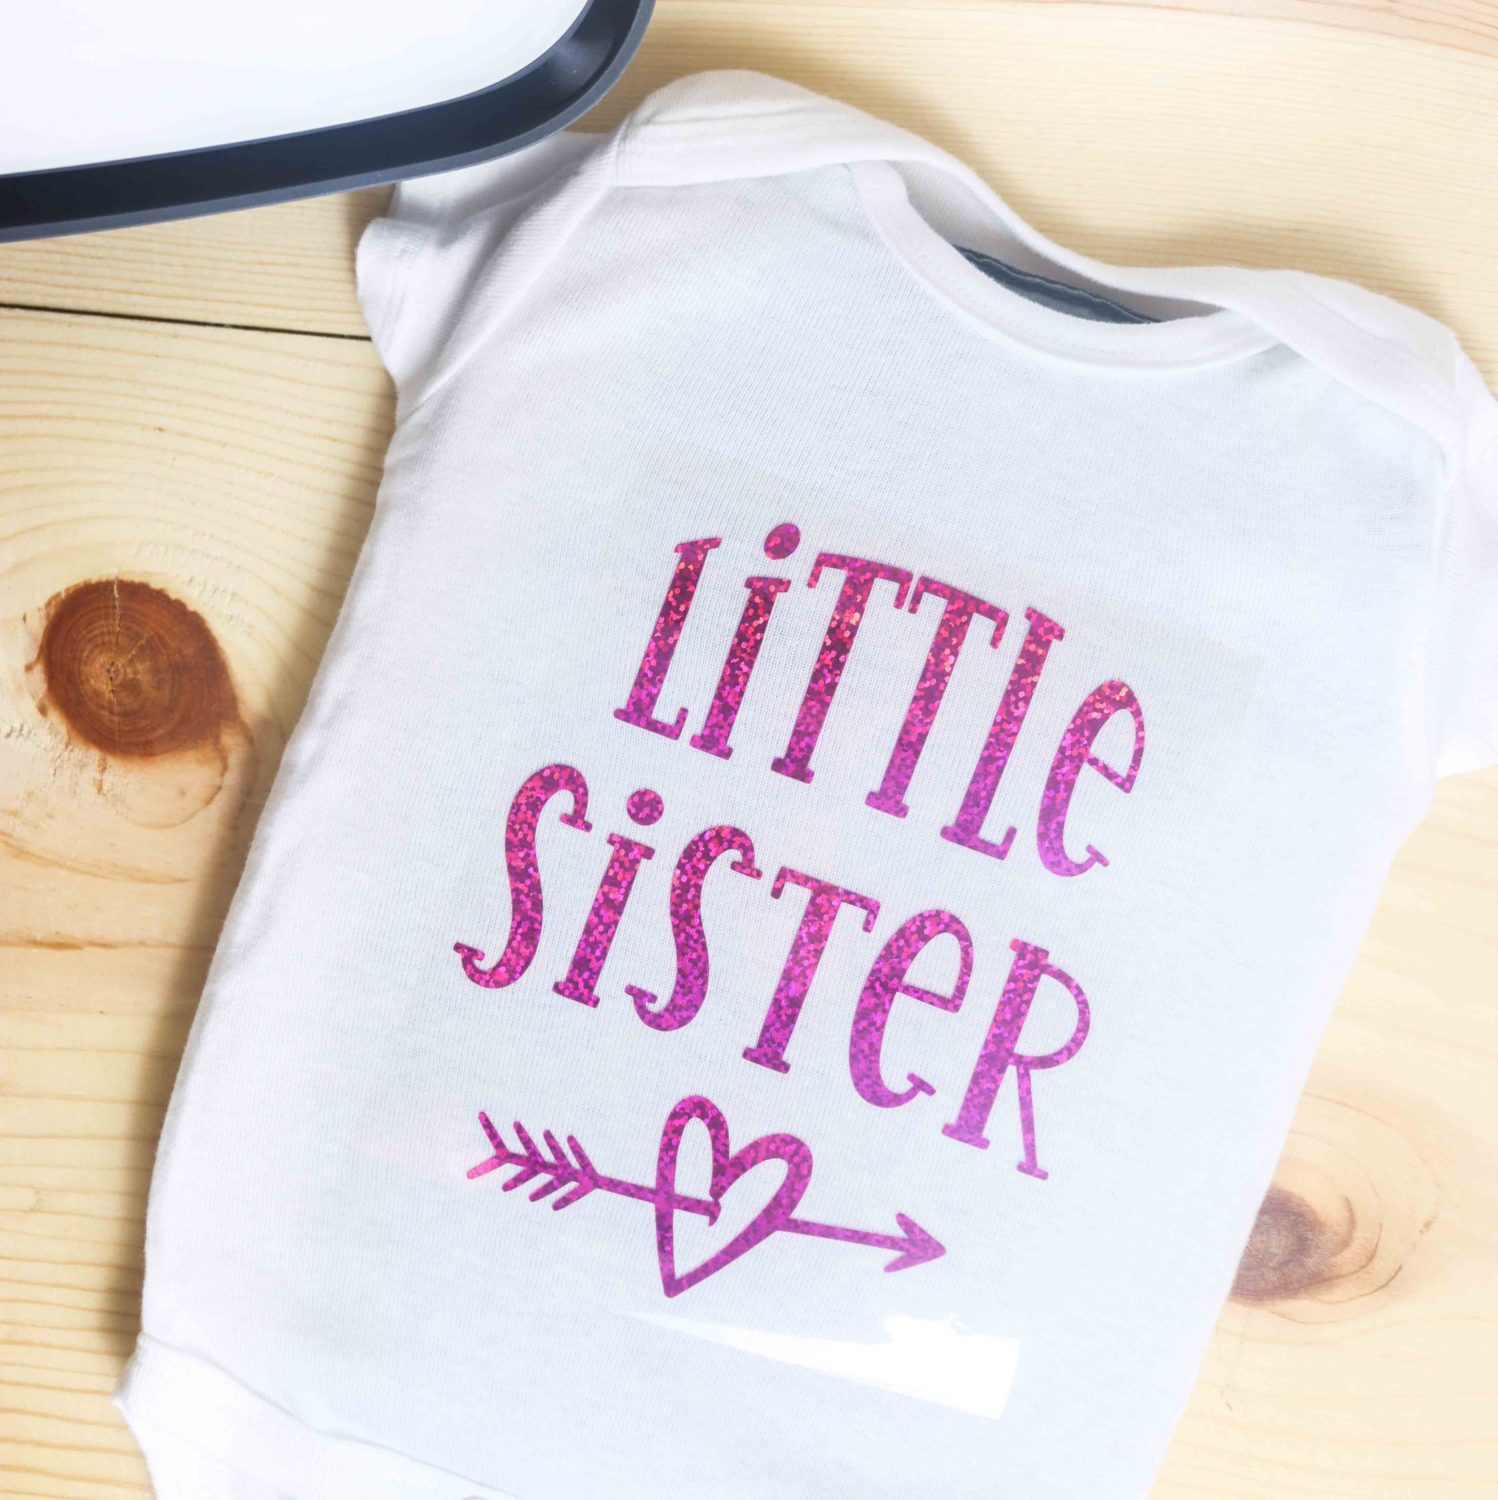
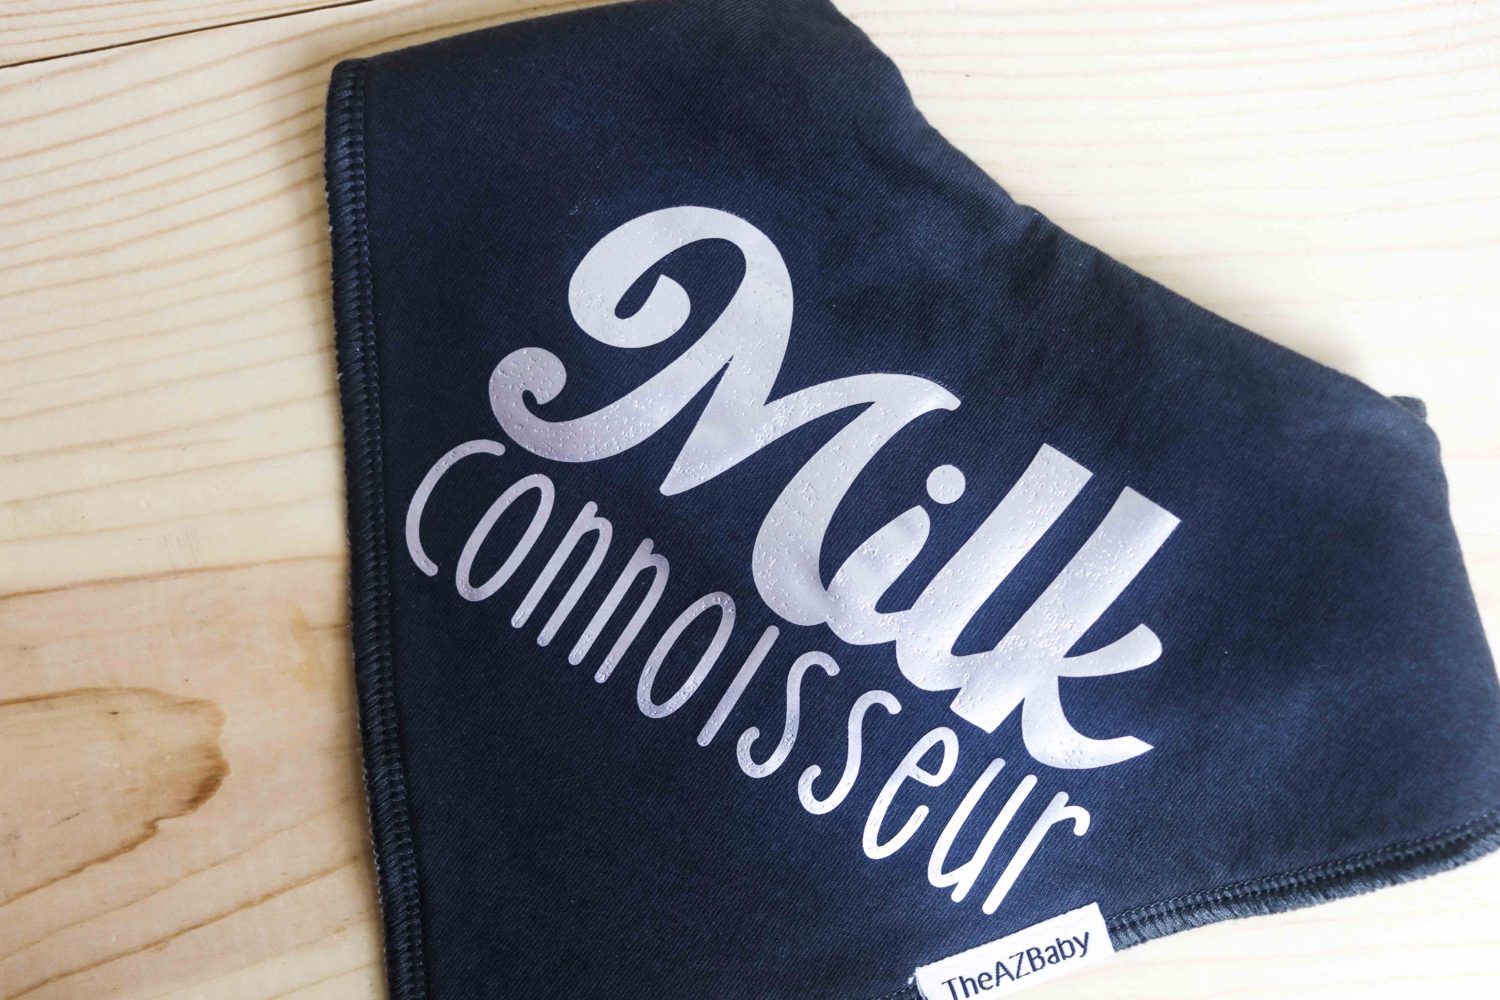
Step 7 Step 8 So cute!
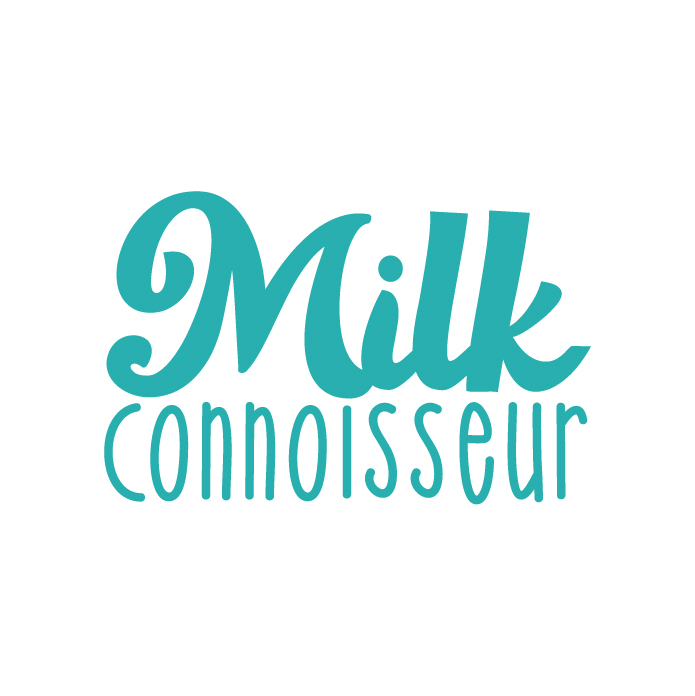
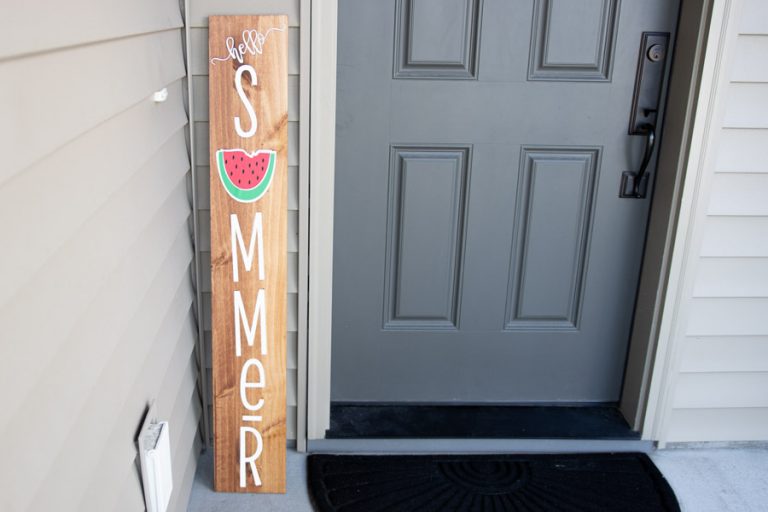
Free Resources
If you want to replicate the projects made in this article, here are the SVG files.
They are for personal use only.
You need to be from a desktop computer. Smartphones are not that smart when it comes to these types of files.
Oh!
Just so you know, I also have a library full of free SVG files and Printables for all my subscribers, a.k.a. Daydreamers. You can see a preview right here or get access by filling out this form.
What is Printable Vinyl
Printable vinyl is another type of craft vinyl that, although is vinyl, is very different from the other ones I just mentioned.
The unique feature from this vinyl is that you can print your favorite designs and then transfer them to your ideal surfaces.
There are two types of printable vinyl:
- Adhesive Printable Vinyl: Ideal to make stickers. Usually, once transferred, this vinyl is water-resistant.
- Heat Transfer Printable Vinyl: Ideal for making t-shirts and other fabric projects.
Something essential to know about Printable HTV is that you need an INKJET printer (no laser). You also need to consider the colors of your t-shirt
When purchasing Printable HTV, make sure to read whether it’s made for dark or light fabrics because the cutting process is different. For light fabrics, you need to mirror your image before you cut it; and for dark fabrics, you need to leave the mirror option off.
What is the best cutting machine to cut Craft Vinyl?
ALL OF THEM!
Any die-cutting machine like Cricut, Cameo, and Brother is perfect for cutting vinyl.
I happen to love Cricut, and it’s the machine I recommend, but if you look at the reviews on Amazon, everyone loves their machine.
If you are thinking about getting a Cricut, make sure to read the differences between the latest two models (Maker & Explorer).
Choosing the ideal machine for you depends on whether you want to cut thicker materials or not, and also the different specifications each device has.
Common Craft Vinyl brands
Just as there are so many finishes and colors for vinyl, there are also multiple brands that sell it.
Most common brands for vinyl are:
- Cricut
- Siser
- Silhouette
- Oracal
Note: Not all brands carry all styles and types of vinyl. For example, Oracal doesn’t sell HTV.
Most brands name their products with names that are easy to distinguish. They may have words that are specific to that brand, but the names are pretty straightforward and fit within the types of vinyl I’ve explained to you in this article.
Sometimes they offer unique traits of their vinyl, so I recommend you check out their options and styles.
The exemption to this rule is Oracal; many people love this brand, but their vinyl names are quite tricky.
- Oracal 651: Permanent vinyl
- Oracal 631: Removable vinyl
They also have other vinyl names with numbers that you can check out on their website.
Besides the regular brands that everyone knows, there are also small stores on Amazon that sell vinyl and are pretty good. Sometimes they even come with their weeding tool!

Here’s the warning, though!
With “ALL” vinyl brands, you are going to see love/hate reviews and beautiful/terrible final results after cutting. Seriously, no matter how big or small the brand is, there’s always going to be some issues.
I’ve never had a problem with vinyl, not cutting. No matter the brand.
If you are starting a project with a vinyl you’ve never had experience with, I recommend you make a small cut in the corner of the vinyl sheet to see if the blade is cutting the test.
You may have to tweak your settings until you find the best outcome!
Share it!
I hope this guide was useful for you and that all of your questions were solved.
Do you know it takes me over 25 hours to complete a single Cricut article? I know it’s wild, but I want to make sure you understand everything!
I would appreciate your support on Instagram , Pinterest , and YouTube as I try to grow my audience and continue producing great content!


Thank you for this very informative article. This covers a lot of questions I had. Thank you!
Great article. Covers understanding how to identify and use vinyl well
Very I formative! I understand vinyl so much better! Thanks so much!
La información me ayudó muchísimo ya q tengo una cricut joy, y voy hacer mis regalos navideños y quería saber q vinilos usar para cual proyecto. Gracias.
Me alegra que hayas aprendido mucho!
This was so helpful, thank you. I just bought a Cricut and am anxiously waiting for it to arrive.
So exciting! You’re going to have so much fun!
This was very help to me as a beginner! You have really put alot of effort into your articles. I bought a Cricut Maker 3 and cannot wait to start using it. Thank you so much ????
Merci beaucoup, très utile et très complet pour une débutante car j’ai mon premier projet en cours et j’avais beaucoup de questions : répondues
Following much previous search and resulting confusion, your article has been most helpful, informative, easy to follow and given me a greater understanding of wide range and selection of vinyls available to use with my recently purchased Cricut Maker & Easypress – thank you.
My only remaining query is regard to printable Heat Transfer Vinyl or Iron-On Vinyl. Although aware of being able to use a standard home Inkjet Printer to print onto Transfer paper, can I use same printer to do likewise on printable HTV or does that vinyl require a special or more expensive type of inkjet printer or inks to produce successful results?
It really depends on your printable HTV and what that particular brand recommends.
Thanks for the info, much appreciated
I’m new to using my CRICUT so this information has been very helpful!
I’ve been using the Cricut maker for a couple of months. It was great to see this article and appreciate the time it took to write it. It was very helpful. I’ve often wondered about the different types of vinyl and why there were so many different types. I’ll be sure to hold on to this article, I know I’ll need to use it.
Thank you, this article was very helpful! I am new to the Cricut world and reading this gave me some light. I actually wanted to start with baby onesies for my sister so this really hit the spot! Thank you for your time in explaining everything!
Great information. I love it. Great to know, been using my cricut for a couple years and I learn new things everyday and it’s great to learn new things to make it easier.
Thank you, the article was very useful and the clear manner in which the article is written makes it both easy reading and totally understood.
Thanks for taking the time to write such an informative article. I’m still researching products and support available in RSA but I’m fairly certain I’ll be investing in a Cricut Maker 3. I have pinned your article so that I can refer back to it. Oh and I love your sites name “Day dream into reality”. I’ve been thinking about an idea for over a year now and you have certainly made it one step closer to becoming a reality.
THIS IS A GREAT TO KNOW. DO YOU HAVE A FREE CHEAT SHEET ON THIS, I WOULD LOVE TO HAVE A CHEAT SHEET.
I am glad you liked the tutorial. I don’t have a cheat sheet, though!
Oh my gosh thank you so much for taking the time to write this! I’m glad I took the time to read it and take notes. I just brought a cricut but was overwhelmed by the info out there and what is what. Really appreciate your work. Thank you kindly 🙂
You’re very welcome 🙂
I absolutely love this post and I advise everybody to read it. Beginner or expert. It was very informative.
Thank you!
I definitely agree! It was very helpful! @Karen,
Thank you so much for this article It was full of information that I definitely needed to know you explained everything so well and where I could actually understand really appreciate this !!!!!!
You’re very welcome 🙂
Thank you! I learned so much.
First time I have seen or read about this product.I have been looking for a hobby as I am now house bound due to illness,I read your article and very informative that I think I have found the hobby I’ve been looking for.Thank you.
That sounds amazing! I pray you will get better.
I’m brand new to the cricut world – so I’m trying to learn a bit before I dive in. In your experienced opinion, what’s the best HTV for shirts that doesn’t result in a still transfer? Are there thin kinds that allow for a comfortable garment?
You mean stiff? I mainly buy Cricut’s iron-on, but I’ve also bought other brands from amazon as well. Figuring out what’s best it’s a trial and error.
This was amazing. I have been watching tutorials for two weeks and finally got brave and started a project and I have cut out 3 different times now with no luck. I tried to start with glitter, and now I see that you said glitter is very hard. I was getting really discouraged but now I am ready to do it with something else instead. Thank you so much
Happy to help!
Hey lovely. Thanks for this article. I have a scan n cut but it’s spent the last 2 years packed up as not had any space but I want to do a few projects with it. I’m guessing the principles are the same. Basically I want to put a logo on an apron. The problem is its wipeable so I think HTV wouldn’t be an option as I’m worried the apron would melt! So I was wondering if maybe a printable vinyl would work or would it just peel off?? Xx
I don’t think printable vinyl would work either, it’s hard to adhere adhesive vinyl to those sorts of materials. Maybe it will work if you cut a stencil and use paint?
I just bought my Cricut Maker 4/10/21, and only my kids have gotten to do test cardstock cuts. But it’s really for me. LOL. I got it to cut fabric for my barbie patterns to justify the cost…but want to do some chipboard and vinyl cutting to, but have been to uninformed to venture into that territory for to long over the years (many people have said..,get a Cricut). I found this so helpful…I have been searching for days on info on Vinyl and still couldn’t decide on what to buy. Thank you so much!
You’re very welcome 🙂
I absolutely love your articles. They are so informative and very easy to follow. I am new to Cricut and they have been extremely helpful. Thank you!!
You’re very welcome; I am glad you’re learning with me!
Thank you! Very informational !
Thank you so much for taking your time and effort to make this fantastic guide. It’s put together so well, and concisely, anyone should be able to follow along. I even learned a couple of things, and I’ve been crafting with vinyl for fifteen years! I feel certain you are an angel to the crafting community!
You’re very welcome. I am glad you’re learning!
Hi, great article! I have cricut joy for scrapbook pages and I’d like to label my CM albums along removable spine which is fabric on cardboard. Any recommendations on type of Matt vinyl iron on or stick on? Thanks
I love using iron-on on paper and fabric. I think it will be great for labeling your scrapbook pages.
Thank you so much. I will be following you. That was a very informative article.
You’re very welcome 🙂
totally grateful, just what I needed to read, learn and know about vinyl.
You’re welcome 🙂
I bought some American Crafts Holographic Vinyl but it says nowhere on the packet or online whether it’s permanent or removable. Do you happen to know?
No idea, maybe you can email them?
First of all your blog is amazing and has helped me in my decision to purchase a Cricut. My plan is to use for fabric designs, wall decor, and cups/mugs. What other graphic design software can I use other than what Cricut offers? I want to be able to create my own vision designs.
Thanks
Glynis
I love Adobe Illustrator. But you can have great results with Inkscape! – I am glad I was able to help!
Thank you so much for this tutorial!
You’re very welcome 🙂
Thank you! This was awesome!! I just got my Cricut Maker and I want to take a picture of my puppy and adhere it to our masks, is this something you can do? If so how?
I am a visual person so any visuals would be helpful!
Thanks again
You can! You need Heat transfer printable vinyl. You can get it on amazon. I don’t have a tutorial for it yet, but there are tons of good resources online that can guide you!
Thank you so much for this – I’m new to my cricut machine and want to use vinyl for lots of projects. I’m planning on using both permanent and removable vinyl to decorate my classroom. Is it possible to weed and store the designs? I’ve never used vinyl before and I was hoping to get lots of prep work done over the summer but the only information on storing cut designs is for HTV!
Of course! You can prep ahead and transfer later. Get a nice folder and put them in there until you need them.
15 hours well spent! Thank you so much! This was such a great article for learning about vinyls!
You’re very welcome 🙂
Hi! Thank you for the informative article! I’m a big crafter and finally about to buy my first Cricut – the Maker; so I’m definitely a newbie with this… What type of vinyl should I use to cut out a reusable template?
For a reusable template, I wouldn’t use vinyl. I don’t have a tutorial for this yet, but here’s a good youtube video that can help you with the process.
A huge question :
can I use heat on
Silhouette adhesive vinyl
You can’t use heat on adhesive vinyl. Only on Iron-On or HTV.
What type of vinyl would you use on painted furniture ? Iike name of baby on small chair
Thank you
If the wood is very smooth you can use adhesive. Although HTV can also work (test on a small area of the chair first to see how it looks).
Exactly what I was looking for! I started looking for an explanation on different vinyls and thank God I found this!!!! Thank you so
much for taking your time explaining all of it!!
You’re very welcome 🙂
Thank you. I have been reading so much about the Cricut/vinyl, etc. and yours is the most explicit by far. Thank you.
You’re very welcome 🙂 I am glad I can help.
So I was gifted a ton of vinyl and I don’t know how to tell if it’s permanent or removable. Any suggestions?
Sometimes, on the back of the sheet, you’ll see the brand and or the words permanent or removable. If you only have a white sheet, I would be careful to use it on walls, or any other surfaces you may want to remove later.
I believe it’s removable that usually has a grid on the back
Just wanted to say this was very helpful. You mentioned things that I had not heard of. I read your blog twice. I even saved it. I’m sure I will read it again.
You’re very welcome 🙂
Hi there, no questions from me, I just wanted to let you know how much I love your blog! You’re instructions are always easy to follow, you are very thorough, and, best of all, you give a table of contents with clickable navigation.
Thank you and keep up the great work!
I was wonder if you have advice on using both siser and Cricut htv on the same project. I see that my Easy press says 315 degrees but Siser calls for 305 degrees.
Hi! If the Brand has a particular temperature, I will go for what the brand says. Just do two different temperatures. Although, In my case, I will probably do one with Cricut’s instructions. At the end of the day. It’s just 10 degrees difference.
Many people, can’t even get the temperature right because they are using an iron.
I’m confused by step #4 in your HTV iron on process. What does it mean? The rest is good info for me!
Thanks…
Hi Linda. Basically you want to put a towel or Cricut heat mat behind or inside the garment you want to transfer Iron-on onto. This will help you during the transfer process because you’ll have something to press against, making the transfer easier and more durable.
Do you have any suggestion to the iron on protectant sheet? Or how to use it?
Hi Mary, I always use parchment paper. It works amazing. You can also use a thin cloth.
I have had my Cricut for about 2 years and love crafting with it. This article was the best by far of what research I have read over. Thanks a million!
Thank you, Hope! I am so happy you like this guide!
Catalina,
Thank you for this in-depth article. you have clearly defined the different types of vinyl which is so helpful for newbies like myself. And I love the addition of your explanation with the Easy Press as well as pointing out we made need to adjust our blade settings.
You’re very welcome Alicia! I see you’re learning a lot with my tutorials, and that makes me really happy!
Being new to the vinyl world, this article was so concise and understandable. I had sooo many of my questions answered just through your one article. I will follow you now to continue to absorb your tips & warnings. Thank you for taking the time to share!
I am happy to hear Joanie!
Me too thankyou so much