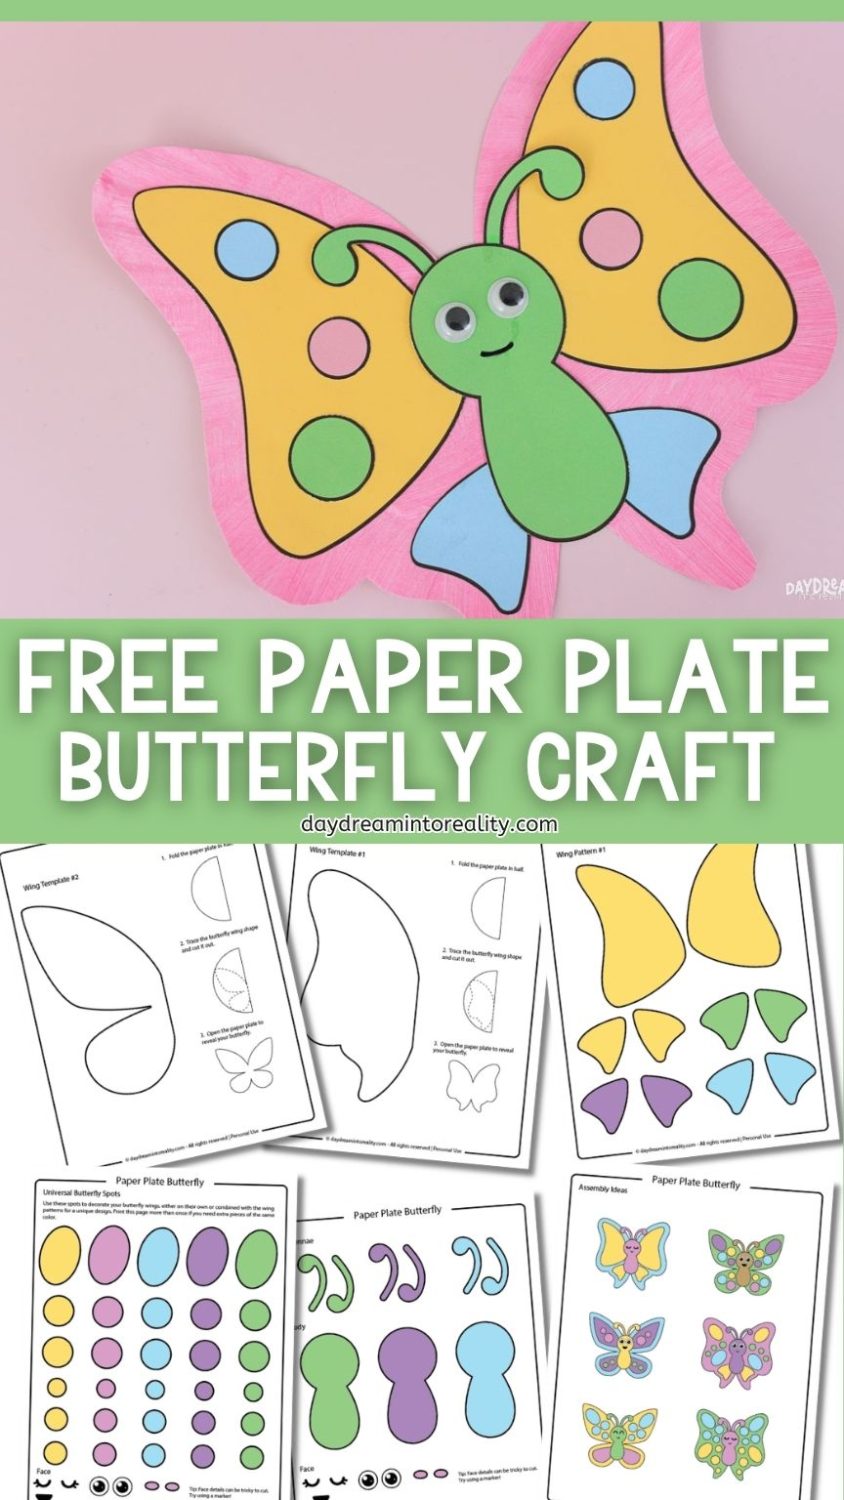
Want a simple craft that still lets kids get creative?
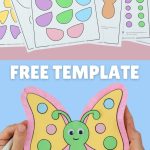
This easy paper plate butterfly includes a free PDF template and lets kids mix and match colors, patterns, and shapes to create something unique every time. It’s perfect for preschool, pre-k, and kindergarten, and even toddlers can join in with a little extra help.
Why use paper plates for crafts?
It’s not just about convenience; it’s about helping kids see everyday items in a new light. When they transform something as simple as a paper plate into a butterfly, it encourages creative thinking and demonstrates that they can create something amazing from ordinary materials.
Tools & Materials
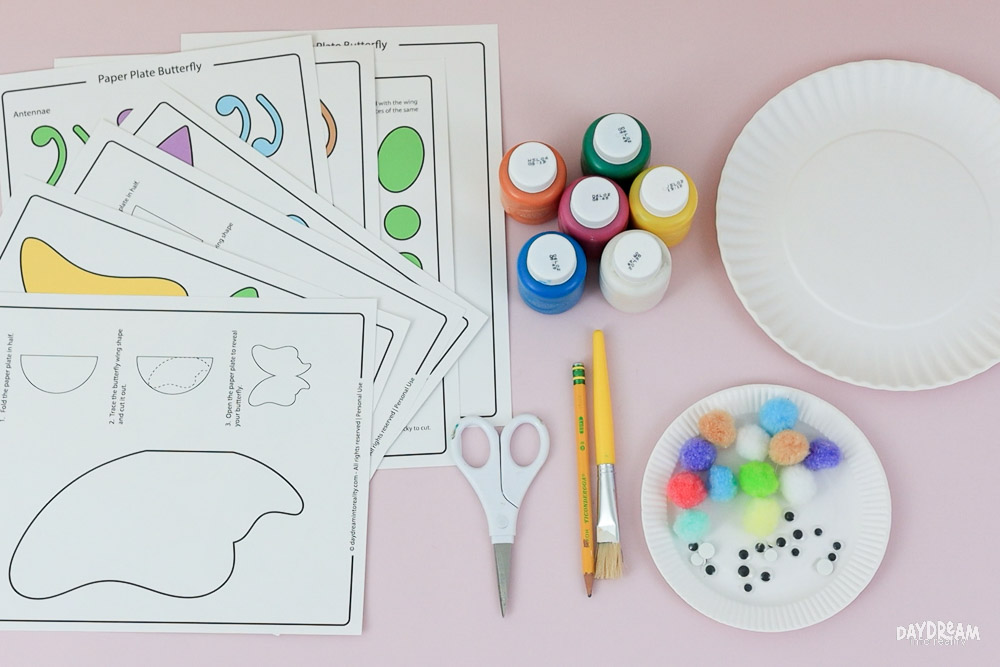
- Printer
- Template (download at the end of the article – no subscription required)
- 9-inch paper plate
- Scissors
- White cardstock
- Paint
- Glue
- Black marker (optional)
- Googly eyes/pompoms (optional)
- Crayons or markers (optional)
Step 1 – Print Paper Plate Butterfly Template
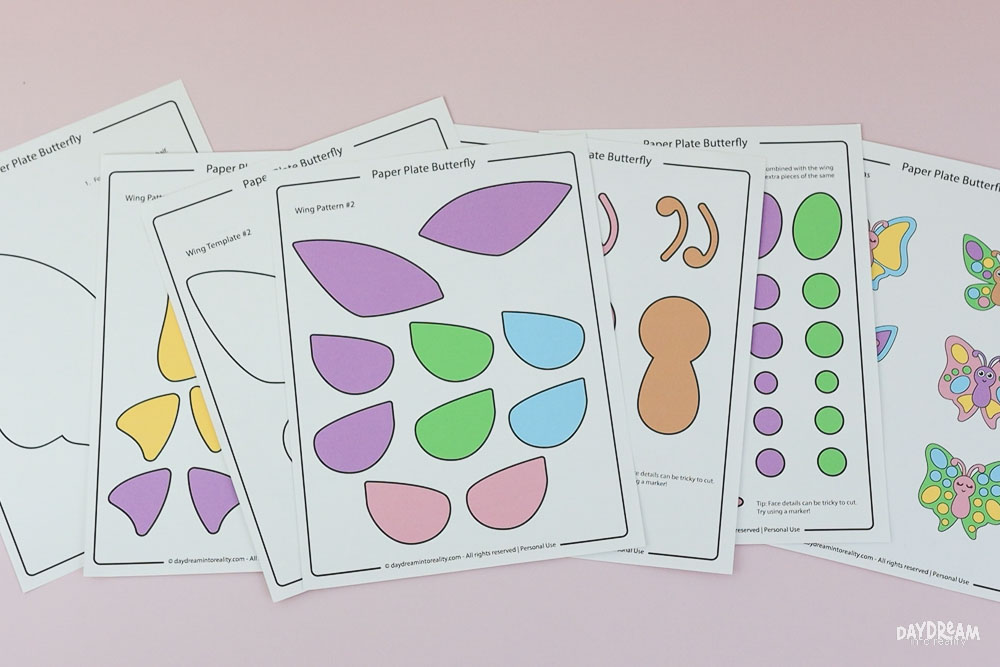
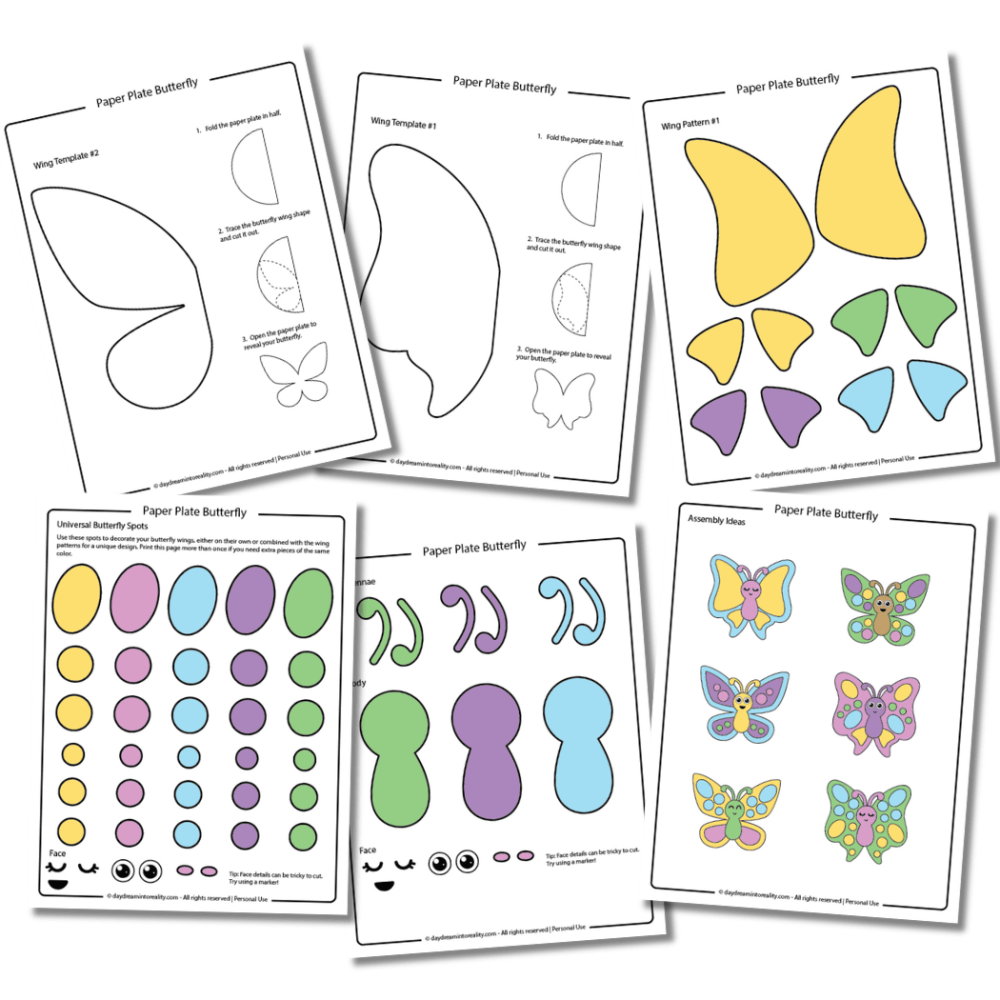
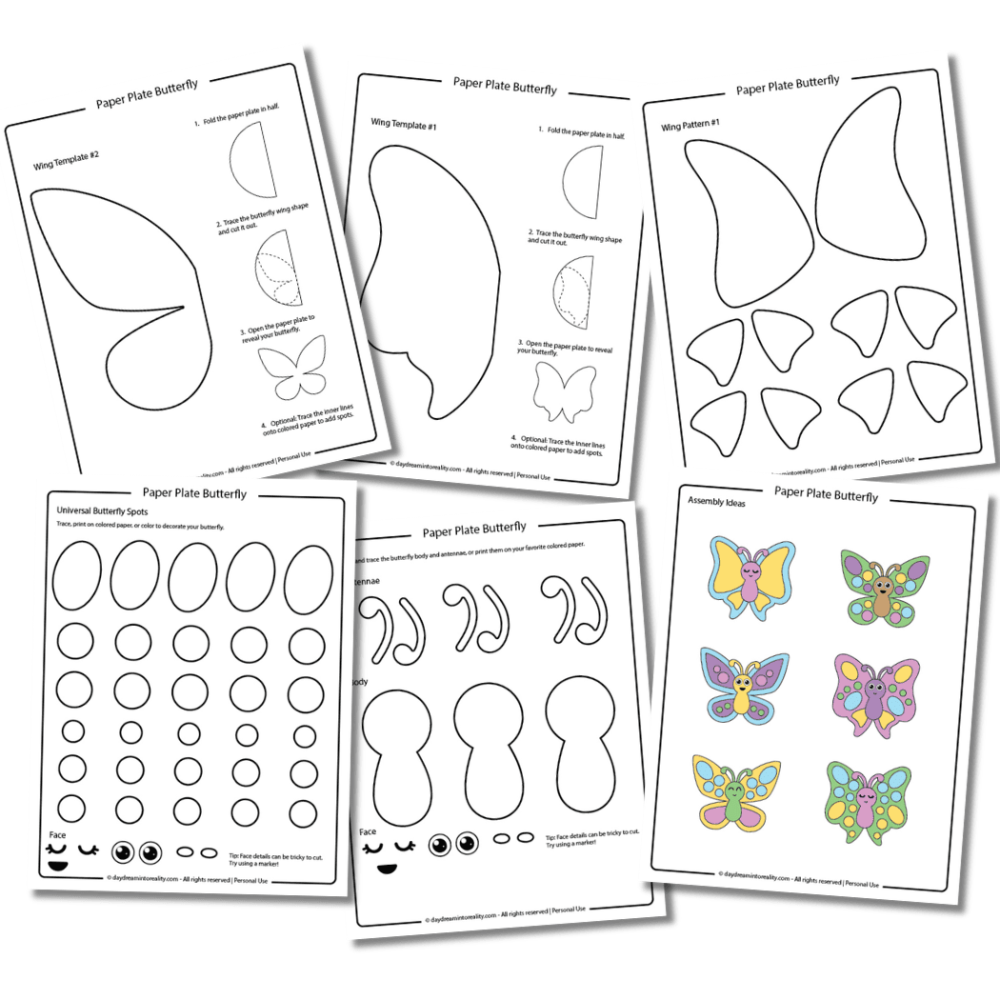
This template comes in two versions: a full-color version and a black-and-white version for coloring. You can also use the black-and-white version to print parts on different-colored paper, which is a great way to save ink and skip coloring.
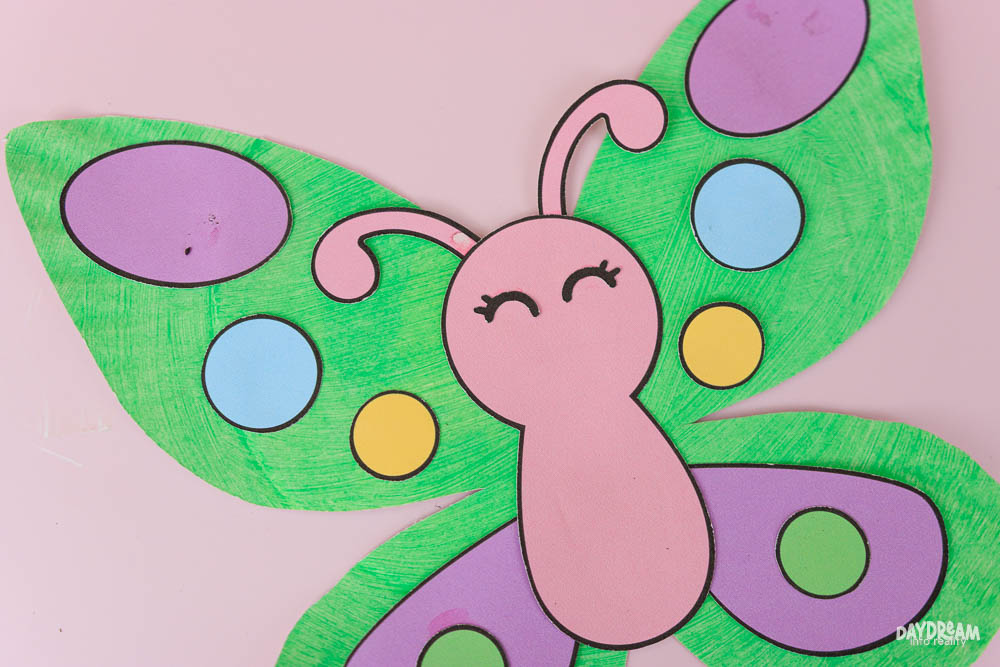
For this step-by-step tutorial, I decided to use the full-color version.
Inside the template, you will find two different wing shapes and inner patterns. There’s also a “Mix & Match” page that shows you different ways you can assemble the butterfly. I recommend showing this page to your little ones and having them pick their favorite style, then printing the pages you need.
Your printable happy place
Find your favorite printables in seconds, save Favorites, and open PDFs without ads.
Peek Inside the VaultStep 2 – Paint Paper Plate
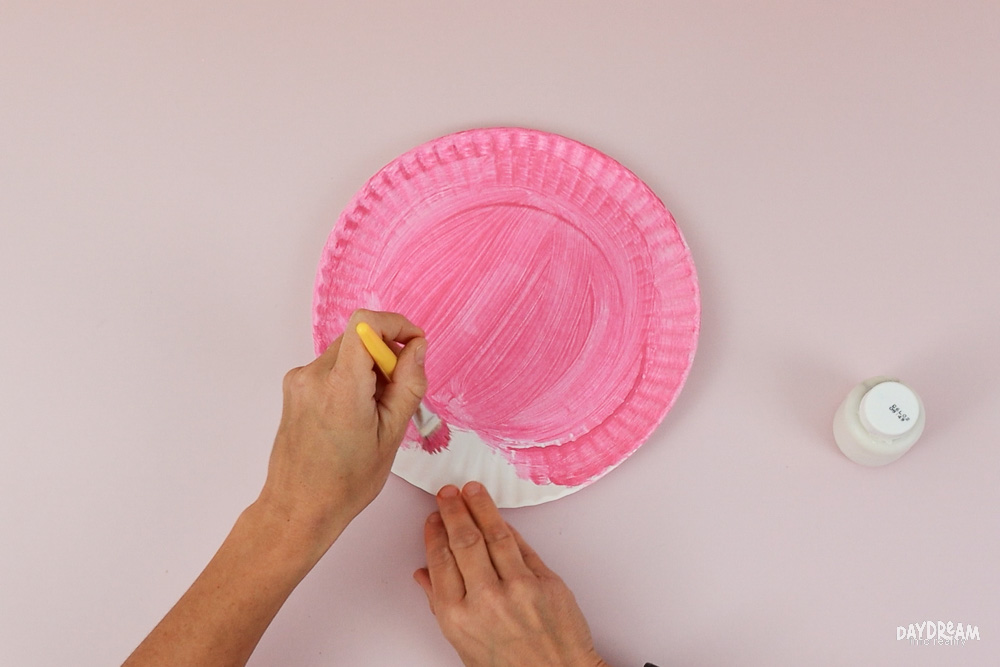
Start by painting the paper plate, since it takes the longest to dry. While it dries, you can cut and prepare the rest of the pieces so everything is ready to assemble once the plate is dry.
Step 3 – Cut & Trace
It’s time to cut your template!
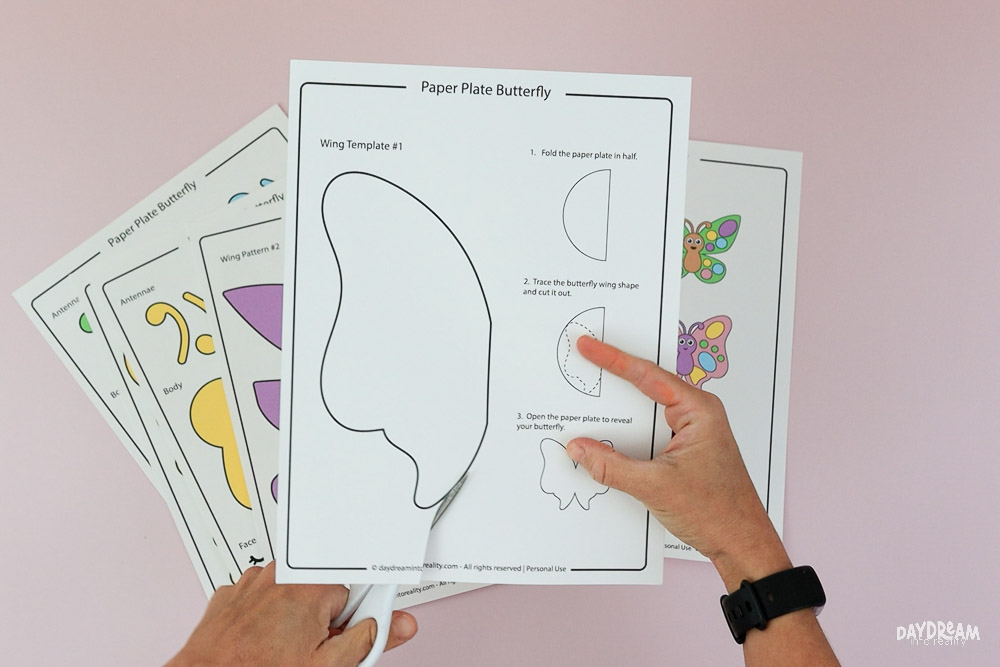
Eyes and mouth can be a bit tricky to cut. I’ve included them if you feel confident, but you can also use googly eyes or draw them with a black marker.
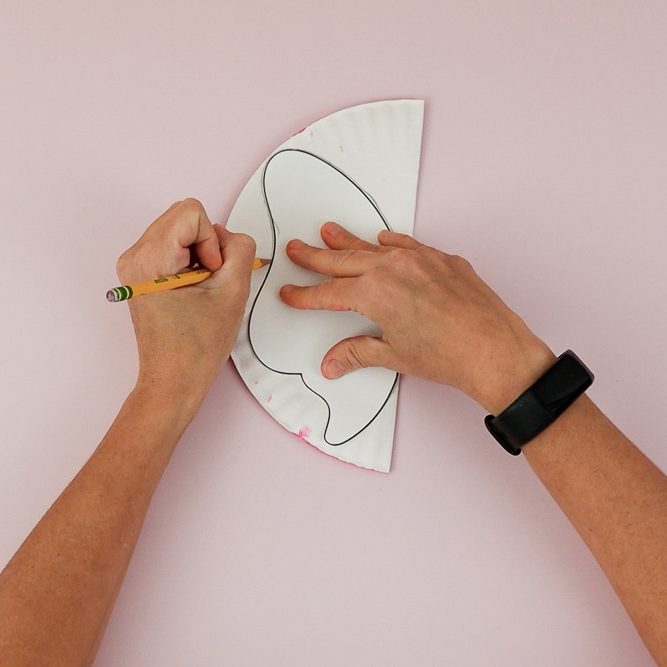
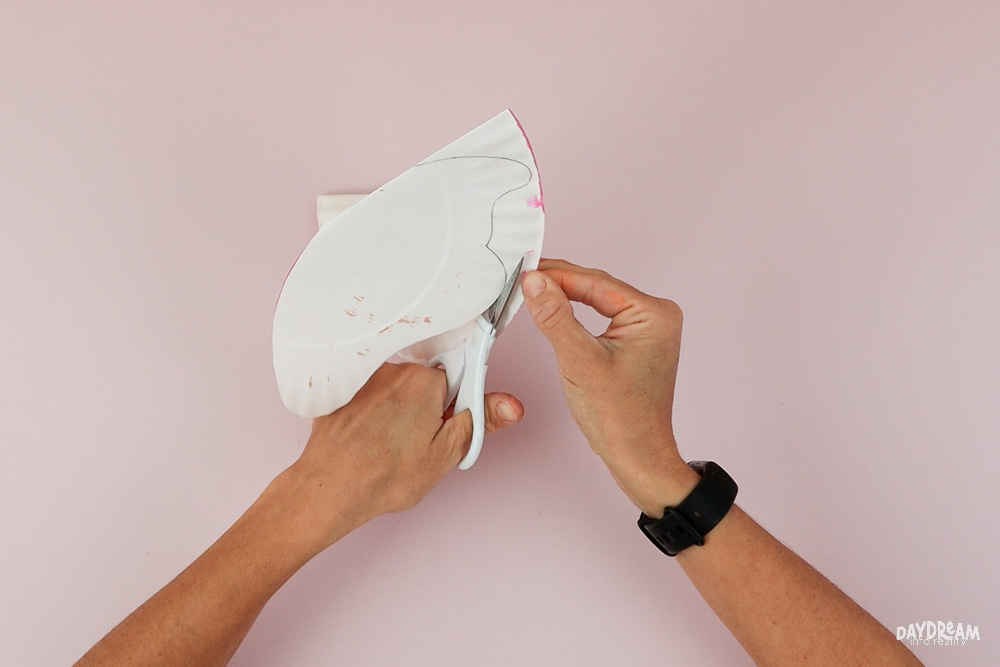
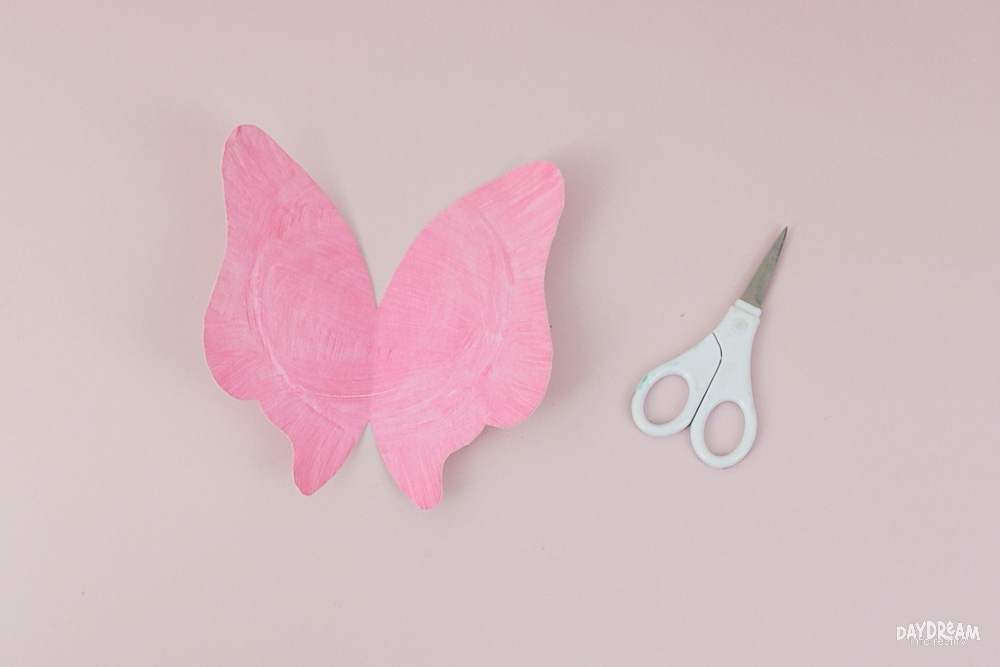
- Fold the paper plate in half and align the straight edge of the butterfly template with the folded side, then trace the shape.
- Keeping the plate folded, carefully cut along the traced line to form the butterfly wings.
- Open the paper plate to reveal your butterfly shape.
Step 4 – Assemble Butterfly
Ready to put the butterfly together?
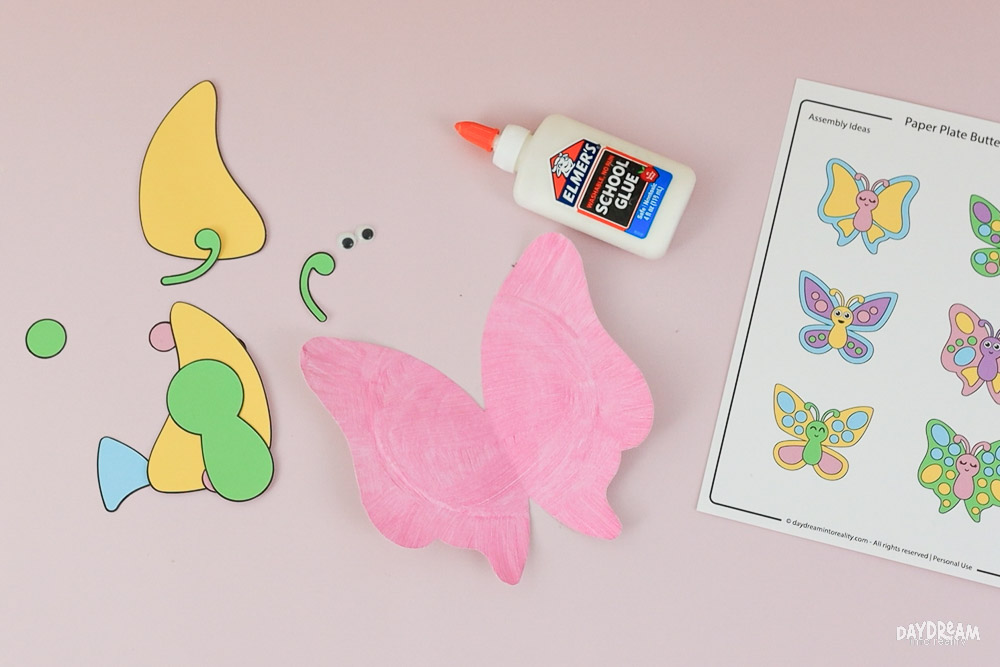
I went with the flow and just used my imagination; I didn’t really use the “Assembly Ideas” page this time! You can also do that, too!
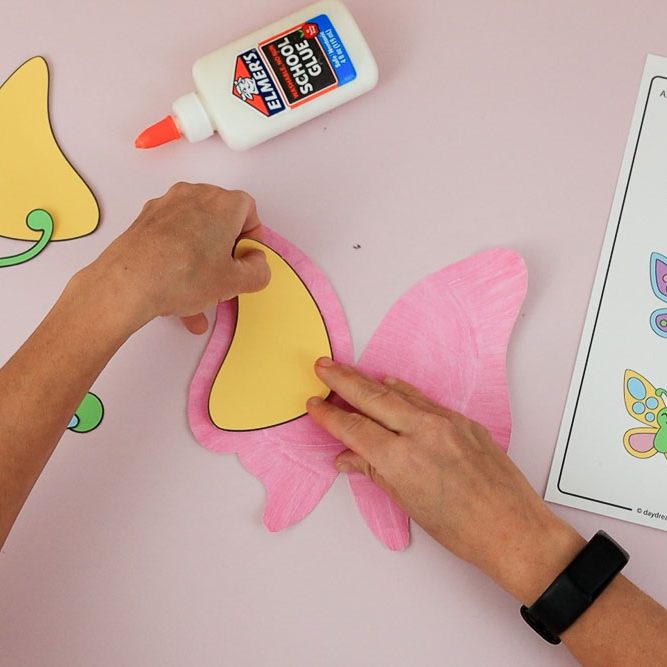
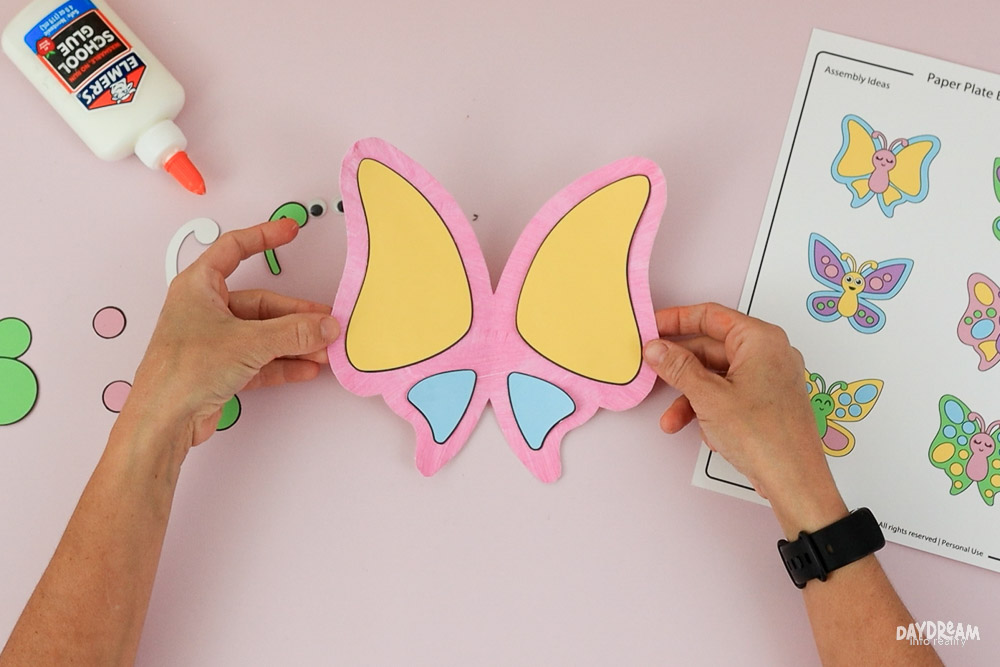
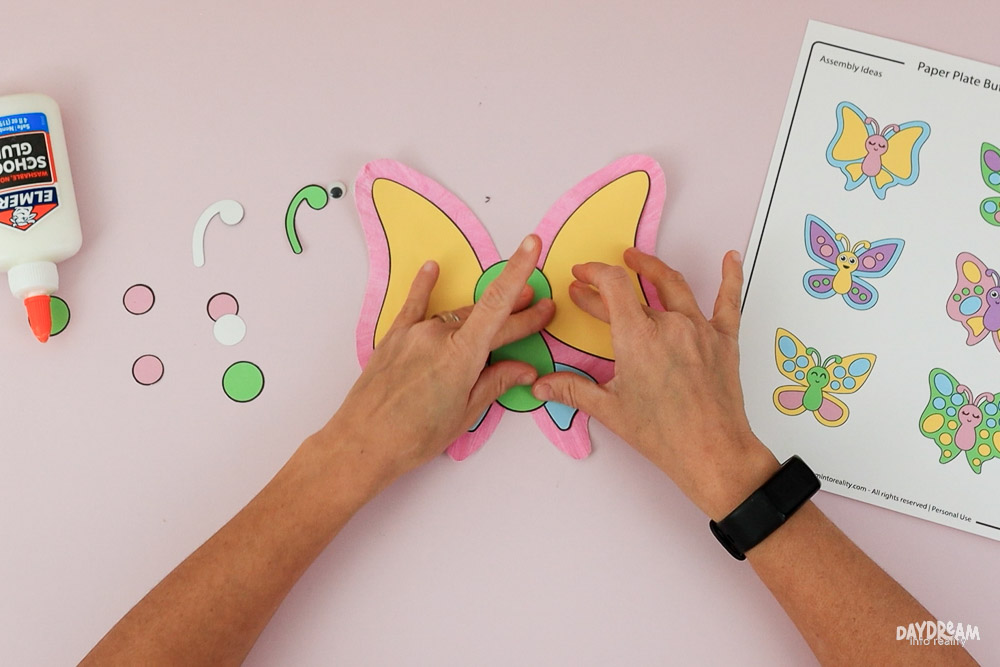
- Glue the first wing pattern pieces onto the paper plate, following the shape of the wings.
- Glue the body in the center, leaving a small area at the top unglued so you can tuck the antennae in.
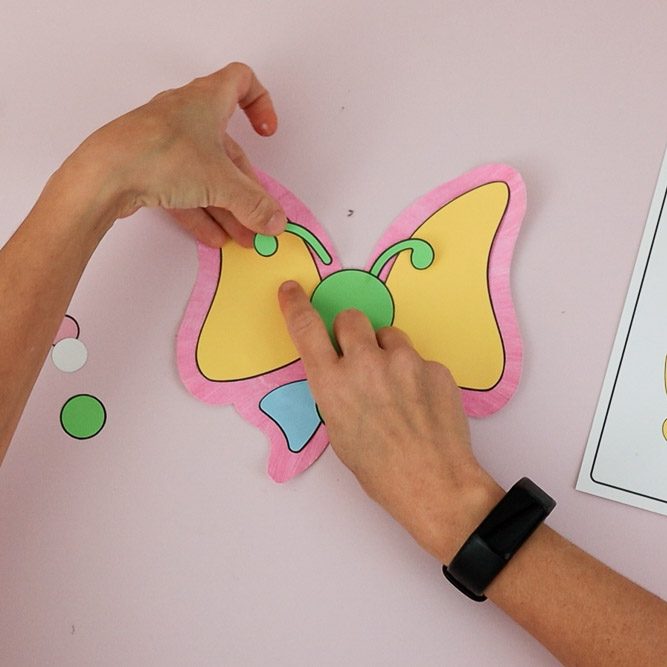
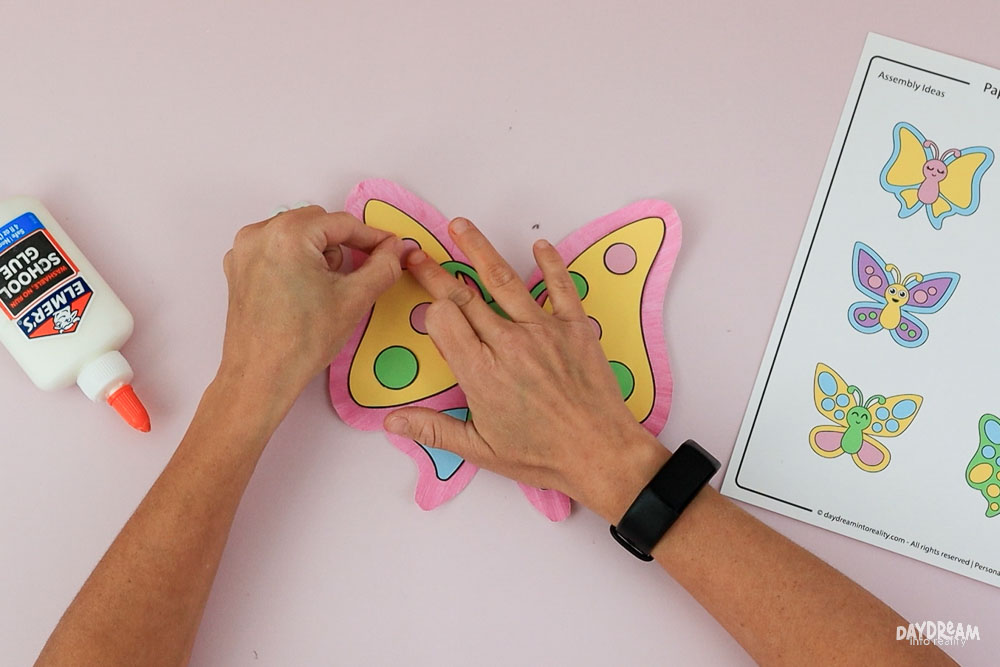
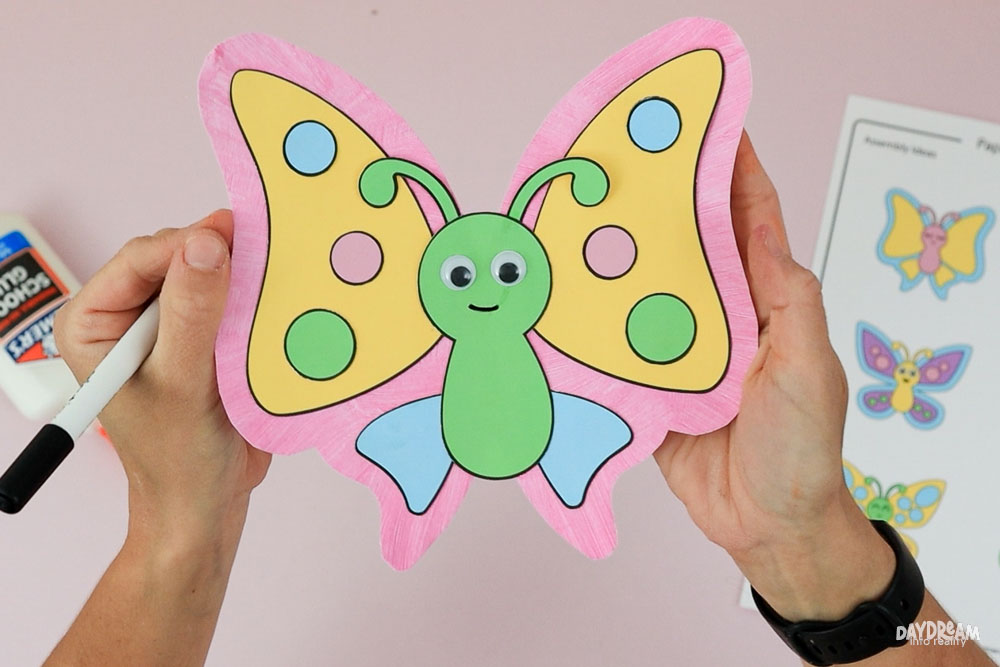
- Slide the antennae into the unglued space at the top of the body, add a little glue, and press down to secure them.
- Add the spots to the wings, placing them wherever you like to decorate your butterfly.
- Finish the paper plate butterfly by adding the face details using the templates, googly eyes, or a marker.
Other Paper Plate Butterfly Ideas
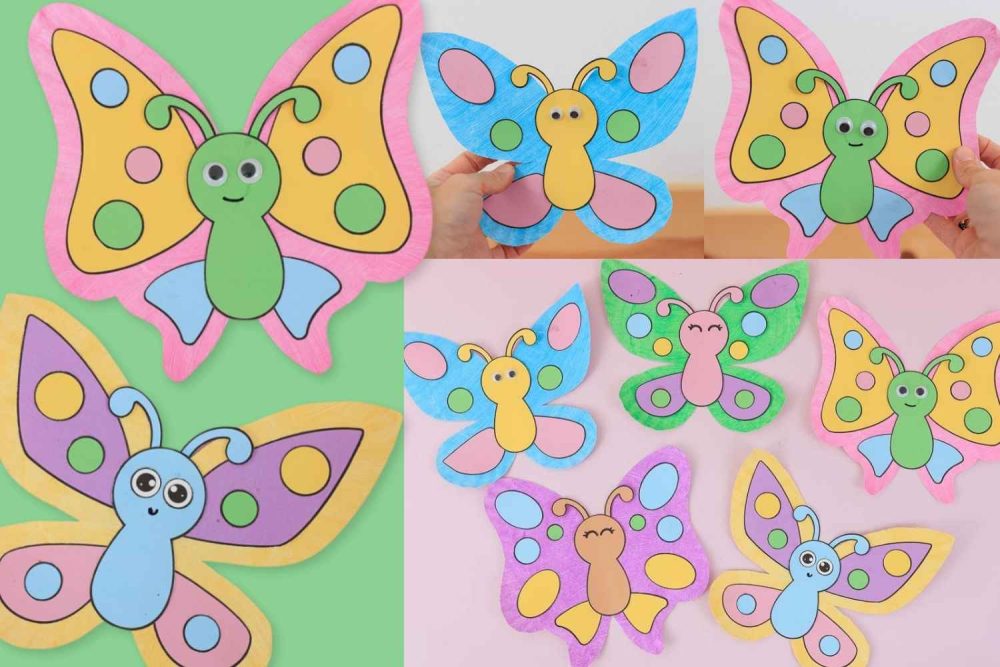
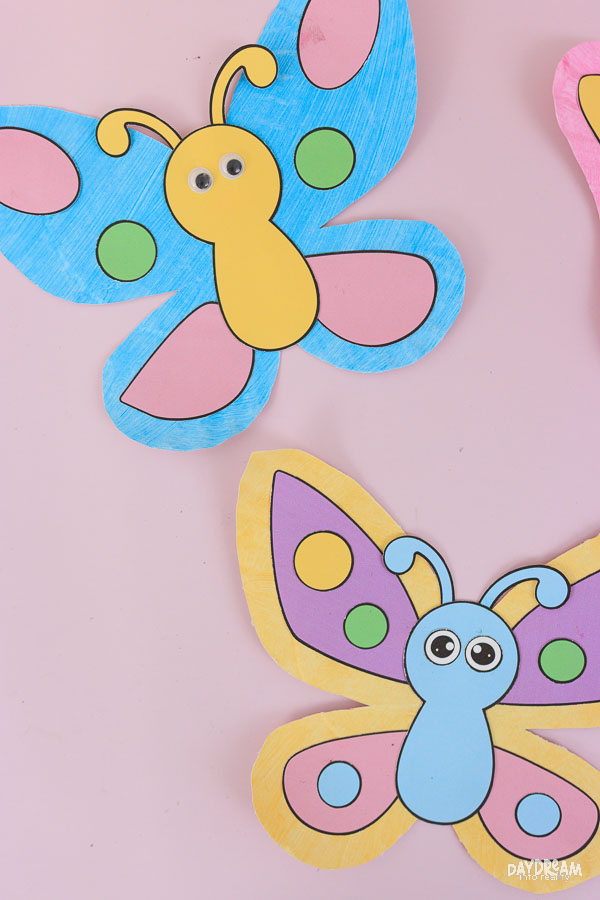
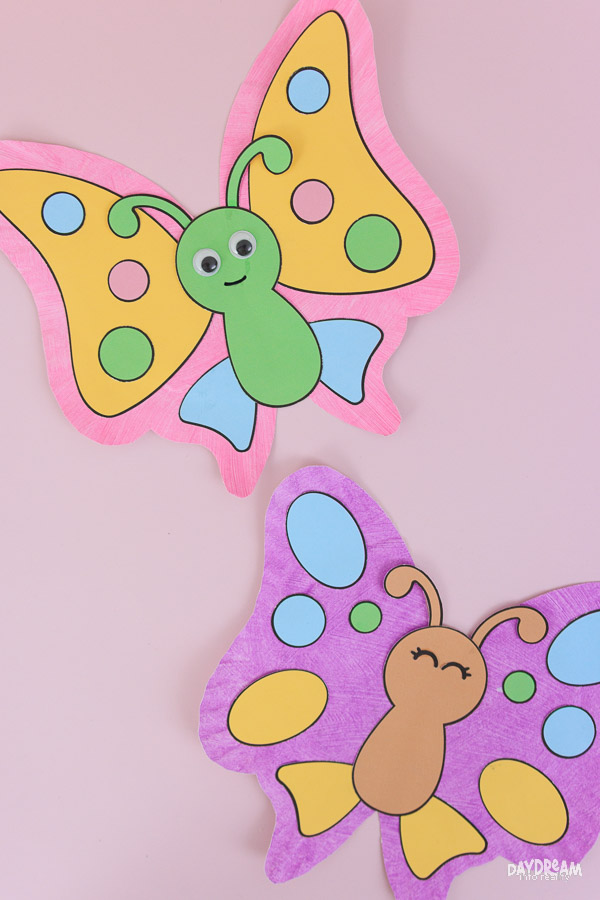
Get creative and try different color combinations, patterns, and shapes to make each butterfly unique. Mix and match the wing templates, spots, and body pieces to create new designs every time. There’s no right or wrong way.
There’s only one rule: have fun!
Download the Free Template
As mentioned above, you can download the free paper plate butterfly template here. Click the image to open in a new tab or the yellow button below to download the PDF printable to your computer.
You’re welcome to print as many copies as you need for personal, family, or classroom use, but please don’t sell them, share the PDF directly (share the link to this post instead), or claim the designs as your own.
Paper Plate Butterfly Craft For Kids | Free PDF Template!
Follow these simple steps to create your own colorful paper plate butterfly using the free PDF template and your favorite materials.
Materials
- 9-inch paper plate (or white cardstock circle)
- Free butterfly template (download in post)
- White cardstock (for template pieces)
- Different paint colors
- Crayons or markers (optional, for coloring version)
- Glue
Tools
- Printer
- Scissors
- Paintbrush
- Black marker (optional)
Instructions
- Print the butterfly template. Choose the pre-colored version or the coloring page version.
- Paint the paper plate and let it dry completely.
- Fold the paper plate in half.
- Align the straight edge of the butterfly wing template with the folded side of the plate and trace it.
- Cut along the traced line, then open the plate to reveal the butterfly wings.
- Cut out the body, antennae, wing patterns, and spots from the template.
- Glue the wing pattern pieces or spots onto the butterfly wings.
- Glue the body to the center of the butterfly, leaving a small space at the top for the antennae.
- Tuck the antennae behind the body and glue them in place.
- Add the eyes and mouth using the template pieces, googly eyes, or a marker.*
Notes
*Smaller pieces may be trickier to cut; use a marker instead!
You May Also Like…
I’m excited you made this paper plate butterfly craft! Below, you’ll find a wonderful list of fun and creative activities to inspire your next crafting adventure. Enjoy!
- Paper Plate Ladybug Craft
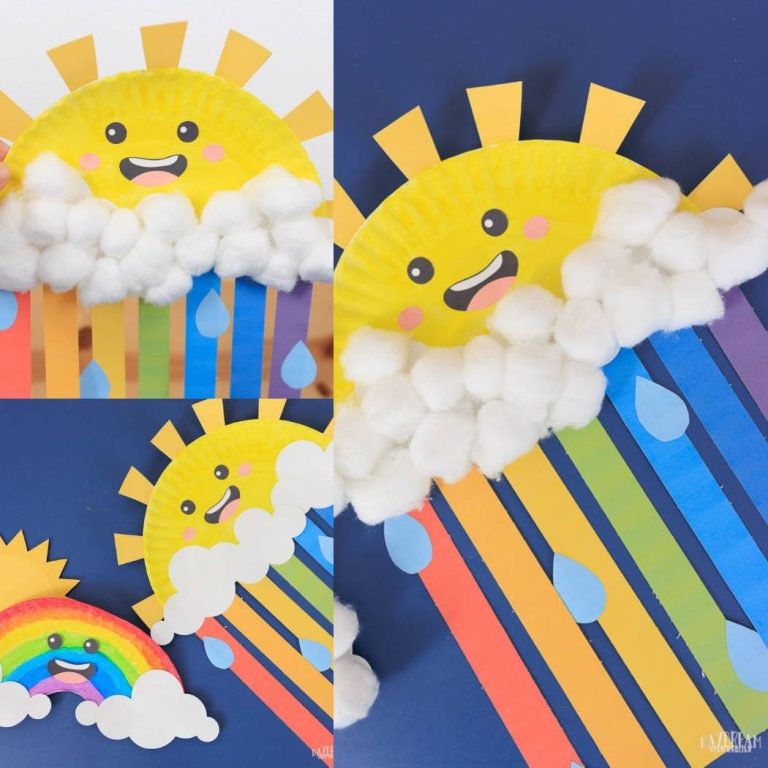
- Paper Plate Rainbow Craft
- Paper Flower Bouquet Craft
- Paper Plate Baby Chick Craft
- Bugs Dot Marker Printables
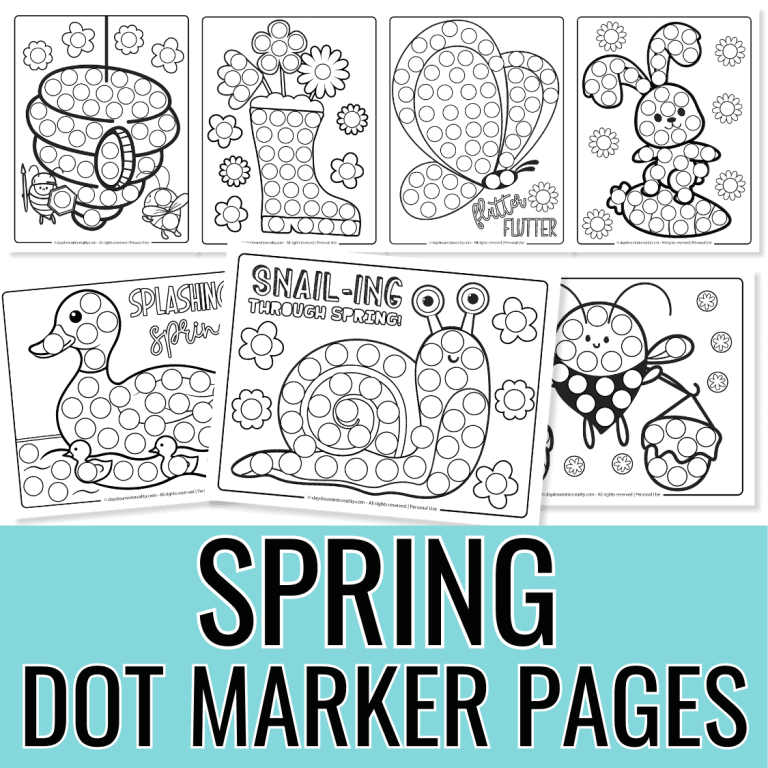
- Spring Dot Marker Pages
- Spring Coloring Pages