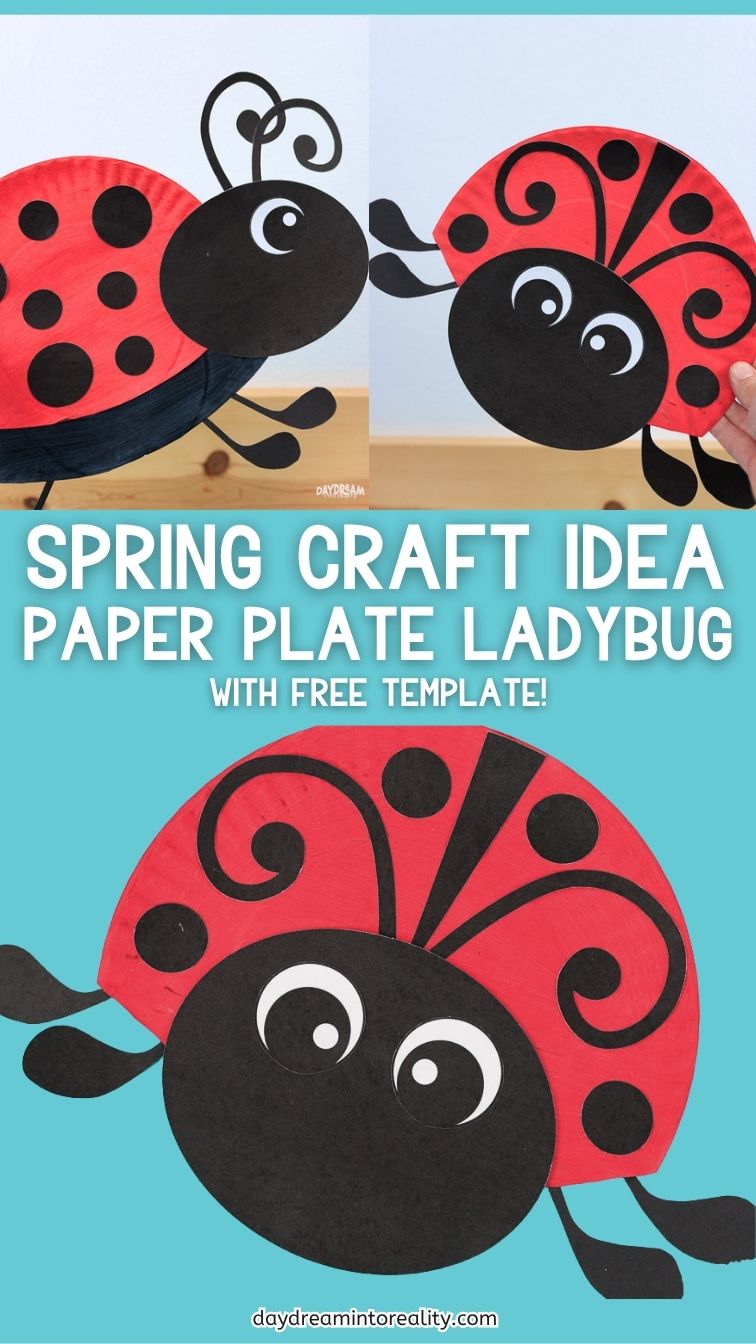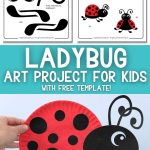
Looking for a cute and easy paper plate ladybug craft?
This fun little project is perfect for kids and comes together with simple supplies, making it a great choice for spring, bug themes, or just a creative afternoon at home or in the classroom!
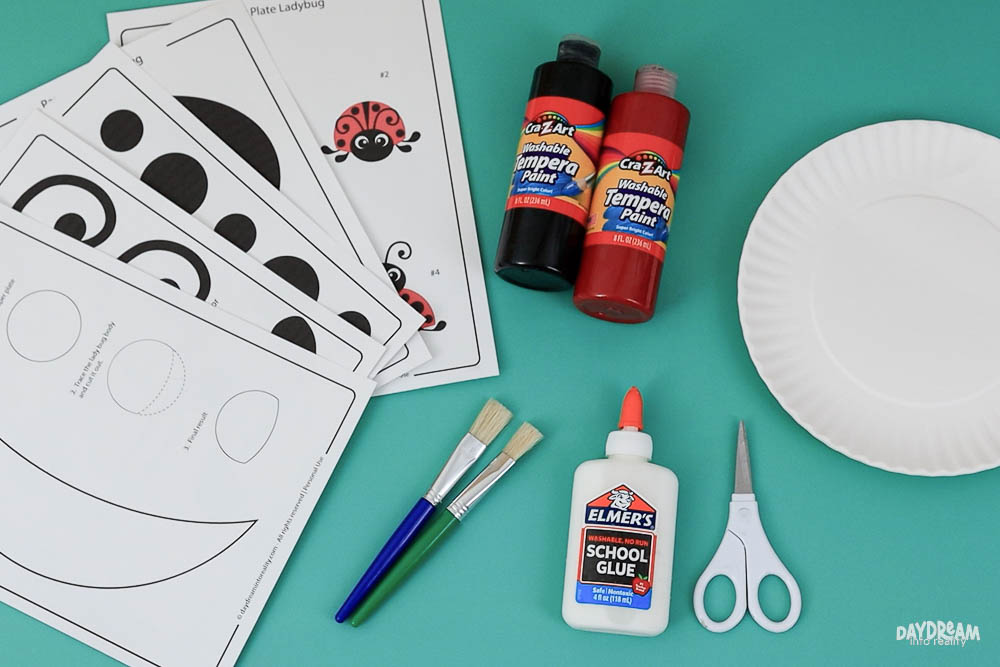
Tools & Materials
- Printer
- Template (download at the end of the article – no subscription required)
- 9-inch paper plate
- Scissors
- White cardstock
- Red and black paint
- Glue
- Crayons or markers (optional)
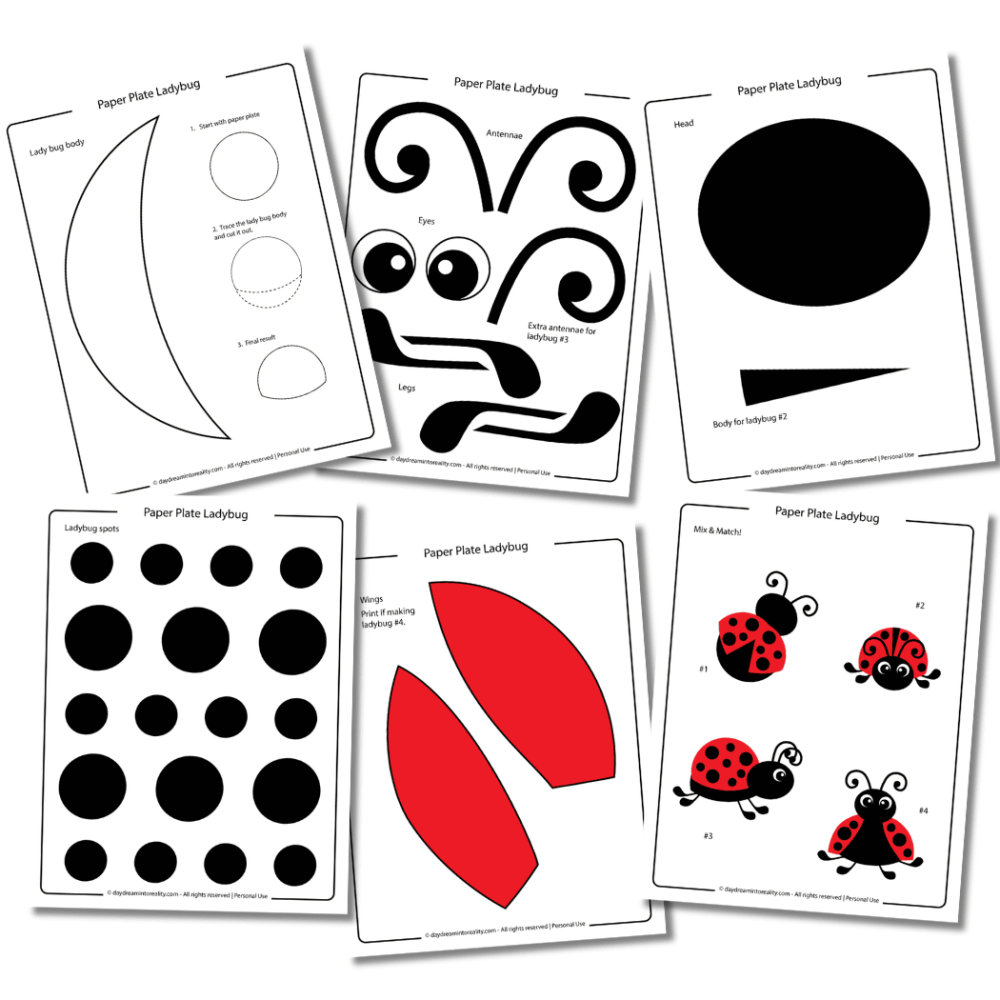
Step 1 – Print Paper Plate Ladybug Template
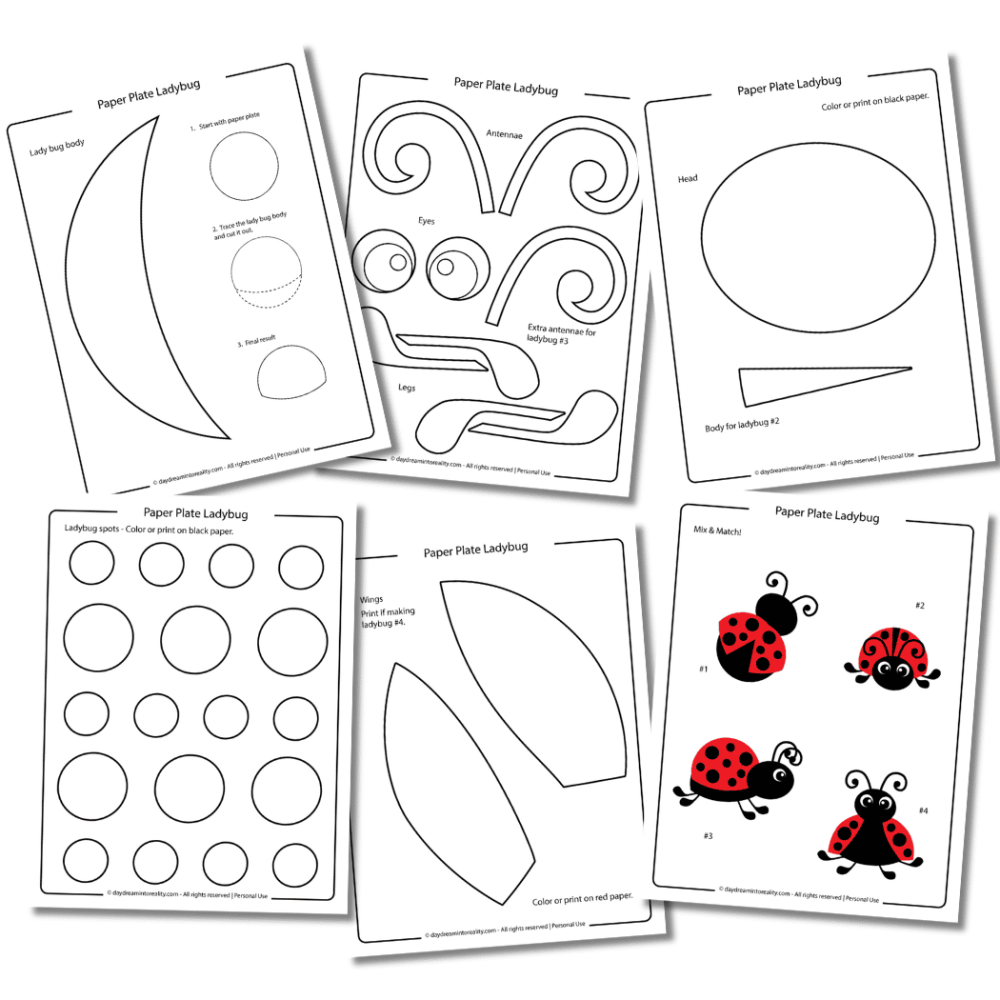
Start by printing the template. There are two options: one in full color and one to color. You may want to download both and print the ladybug’s body and spots from the coloring version on black paper to save on ink.
Check out the last page of the printable because you may not need all of them.
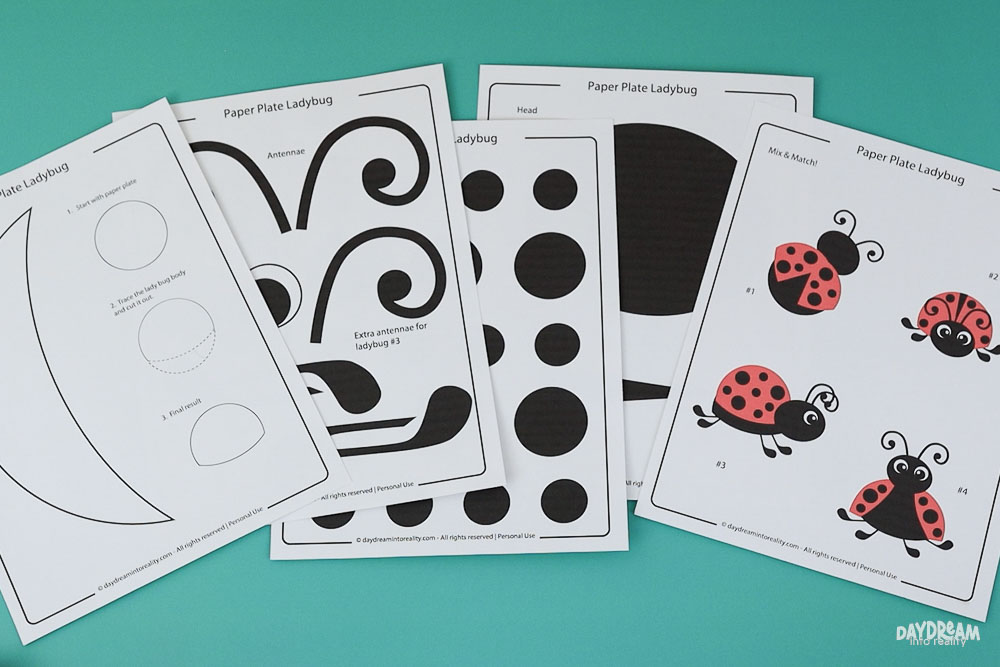
There are four types of ladybugs you can make with this template. You can check them out on the Mix & Match pages at the end of the printable! #1 and #2 require you to paint two different paper plates (black and red), #3 only requires you to paint one single plate in red, and #4 requires you to paint a single plate in black.
The easiest version, which also happens to be my favorite, is #2. However, for this step-by-step tutorial, I picked #3. I will give tips for other versions if you choose them.
Tip: Always start with painting, so when you’re done cutting, you are also ready to glue!
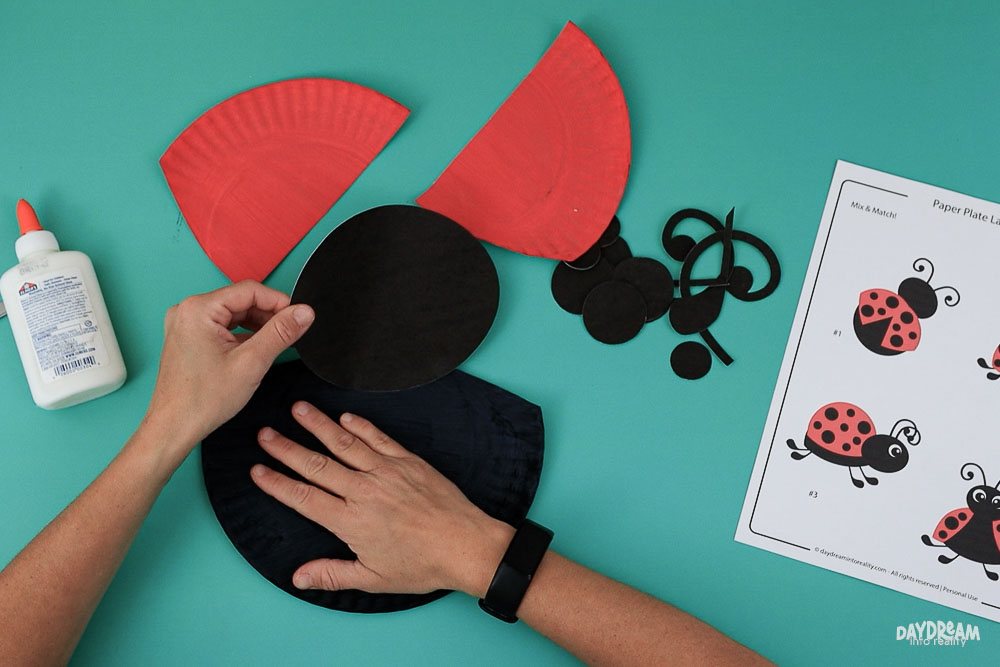
Step 2 – Cut Template
Cut all the pieces you need from the printable. This ladybug craft doesn’t really have intricate cuts; however, kids may need help with the antennae and legs.
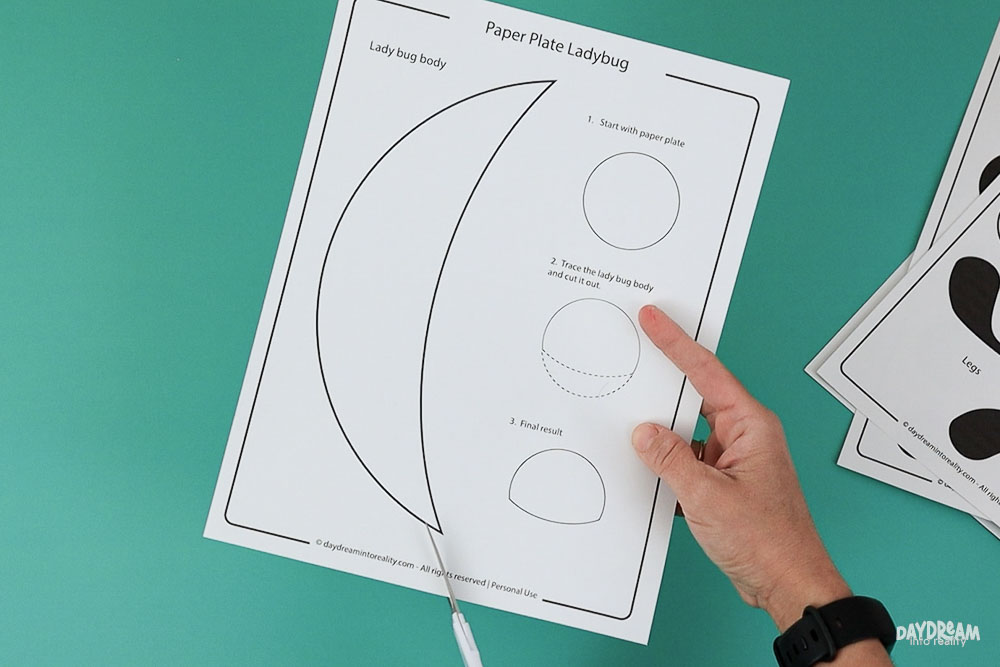
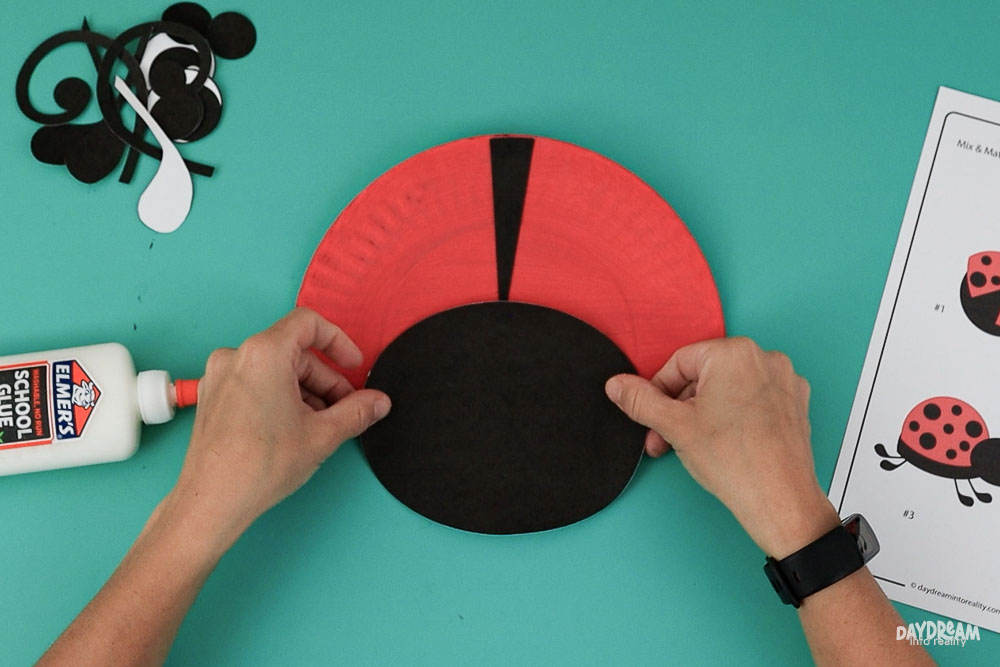
Step 3 – Assemble Ladybug
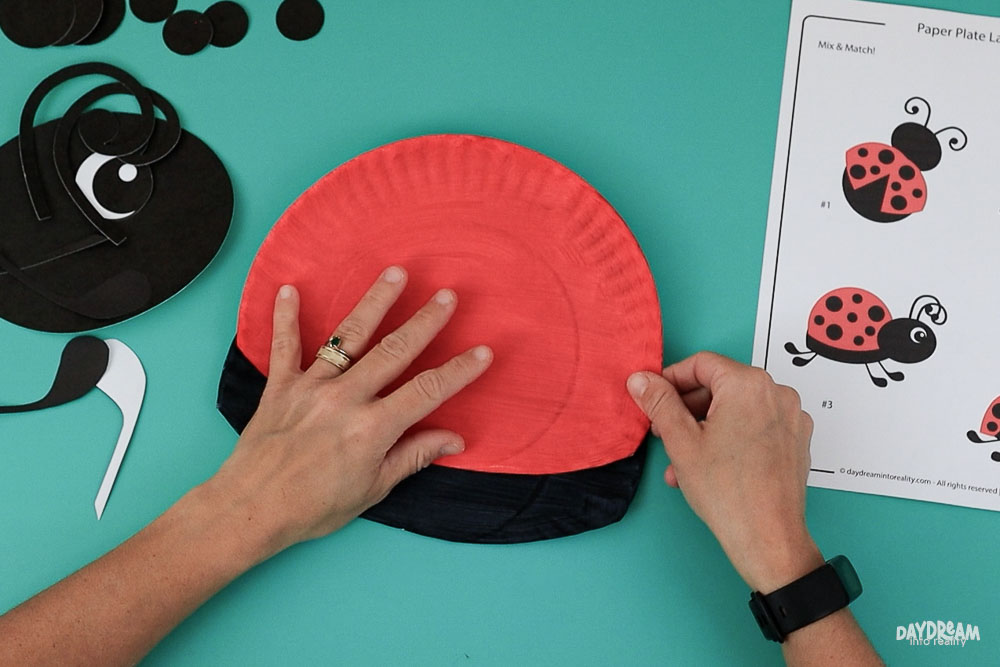
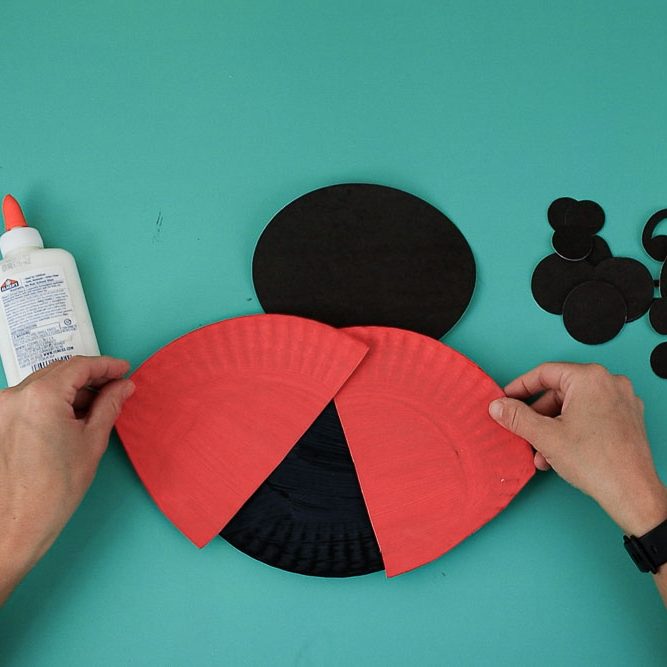
Let’s start by tracing the ladybug’s body!
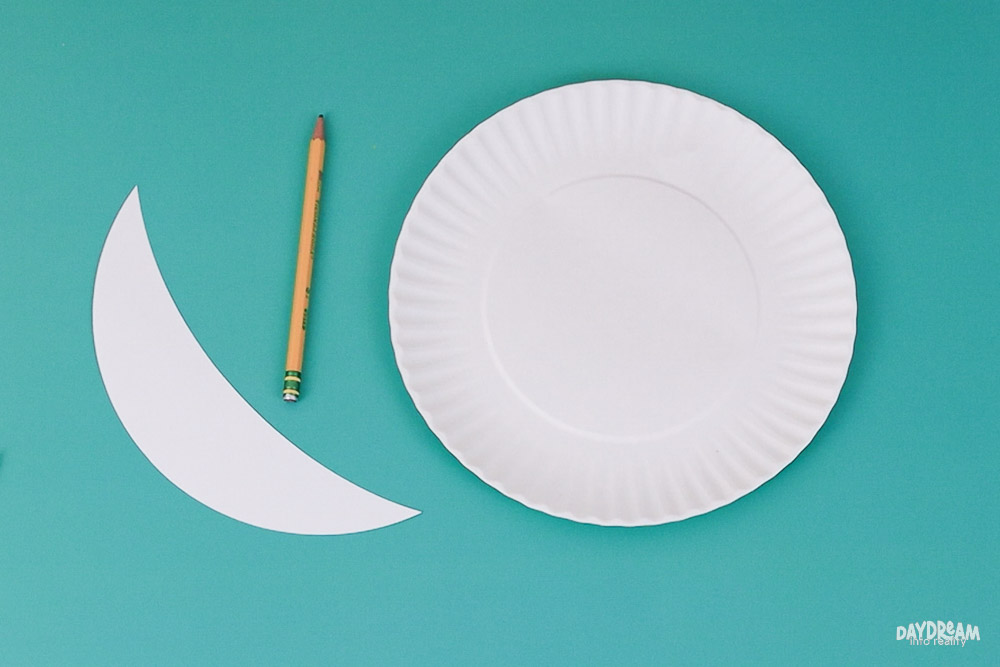
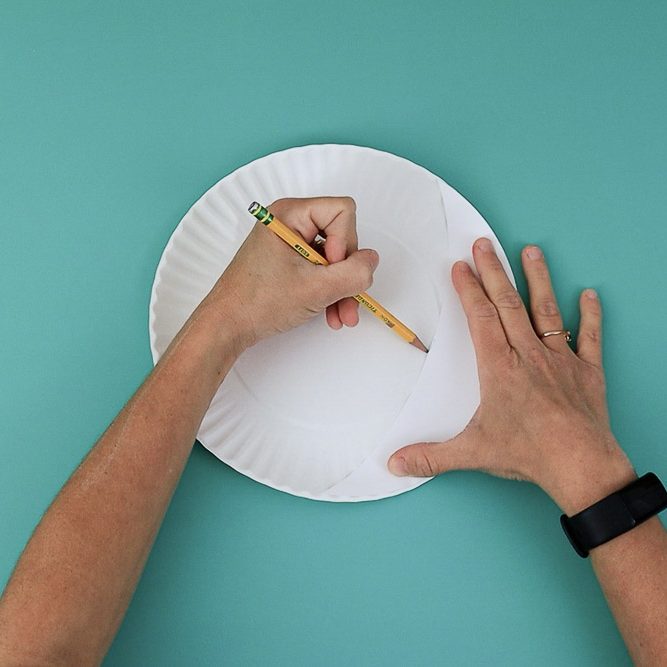

- Place the curved template along the bottom edge of the paper plate.
- Trace the curved shape with a pencil.
- Cut along the traced line to create a flat base for the ladybug body.
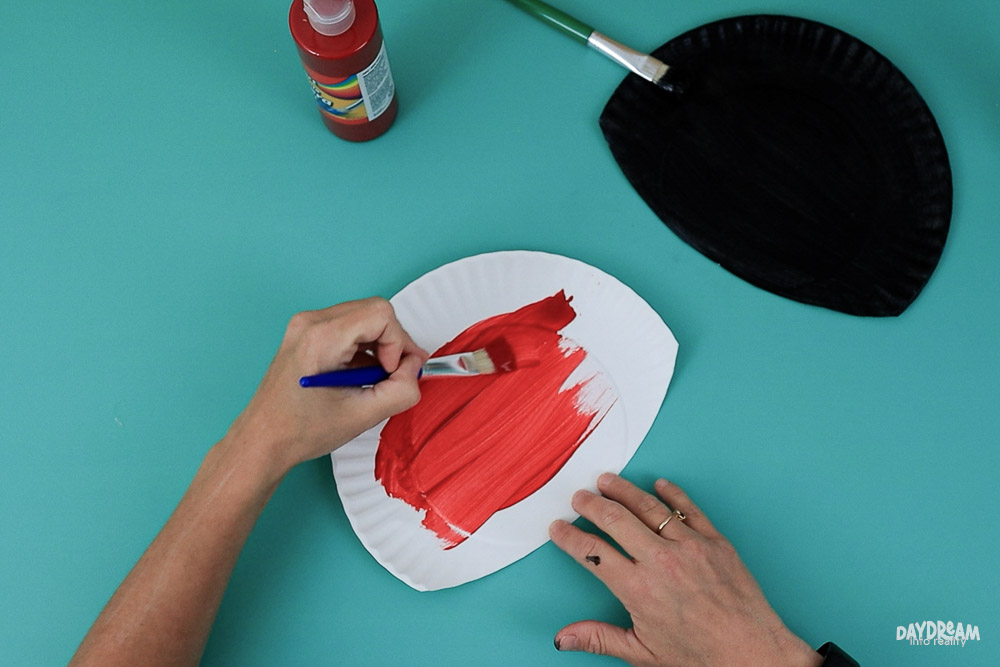
- After tracing the ladybug’s body, go ahead and paint.
Tip: After tracing and shaping the ladybug’s body, pause cutting and paint the plate first, so once it’s dry, you can finish cutting and move straight to gluing.
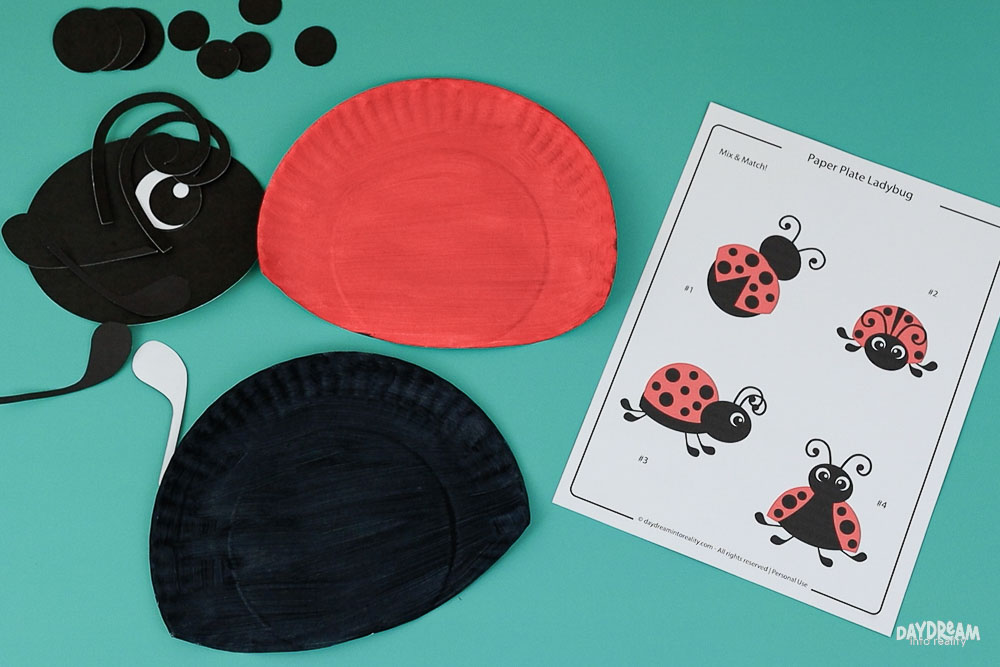
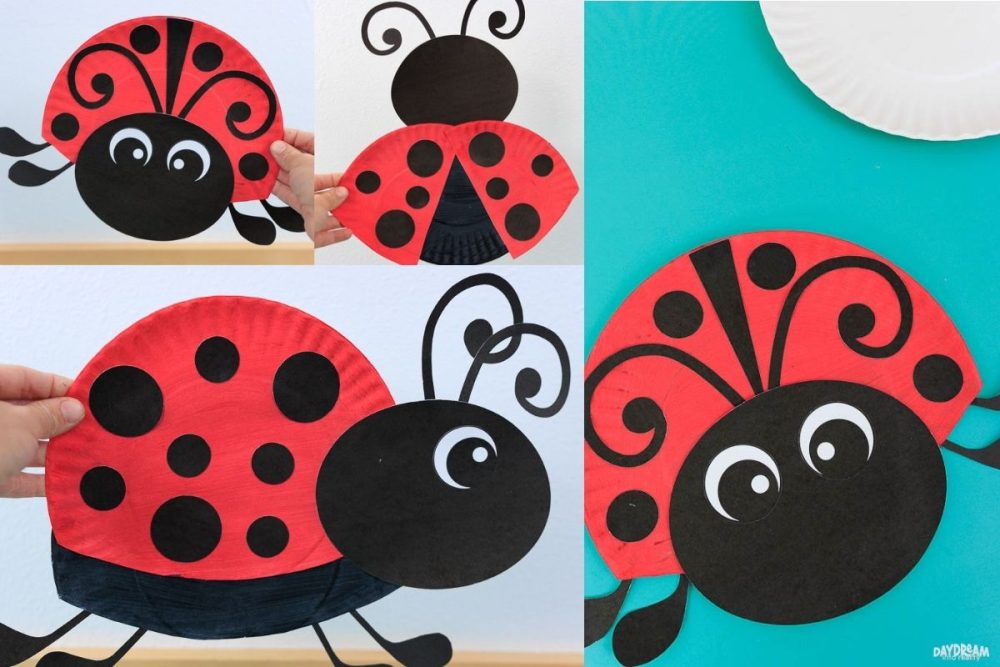
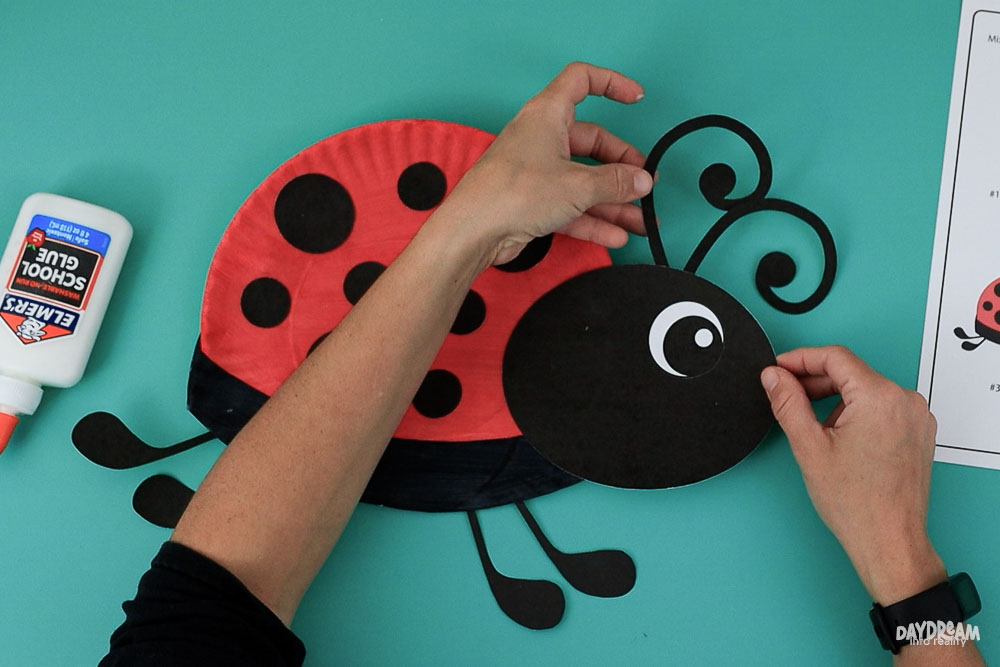
It’s time to put together the ladybug!

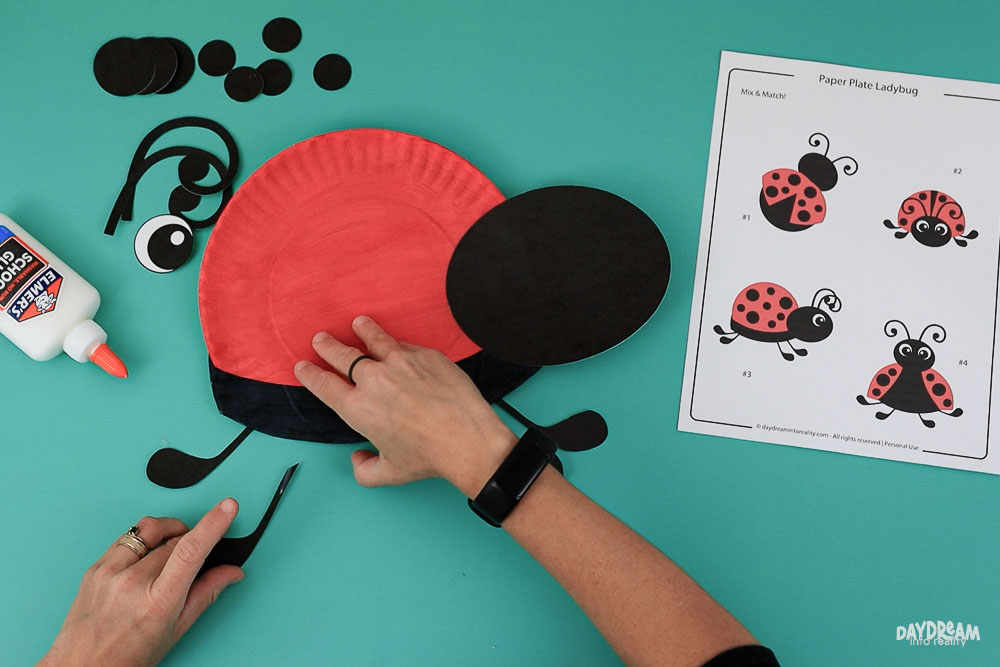
- Glue the black paper plate underneath the red one, slightly overlapping to create the body shape.
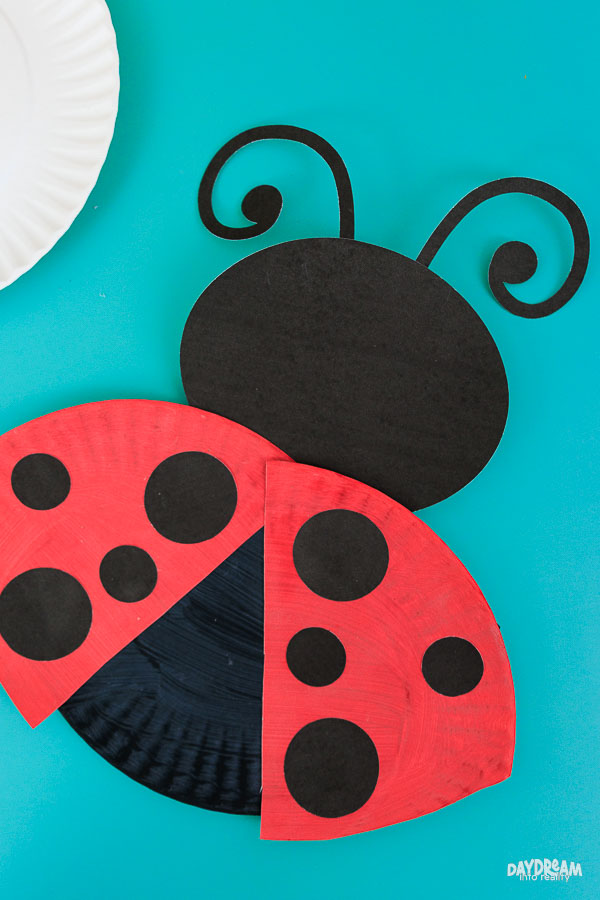
- Attach the large black circle to one side to form the ladybug’s head.
- Glue the legs behind the paper plate.
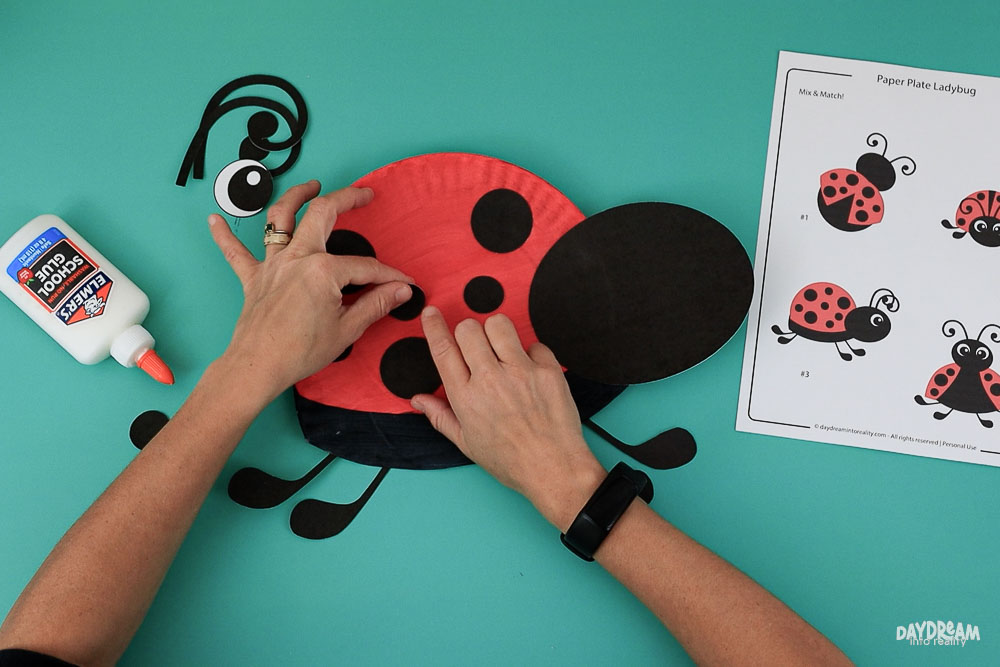
- Glue the black spots onto the ladybug’s body.
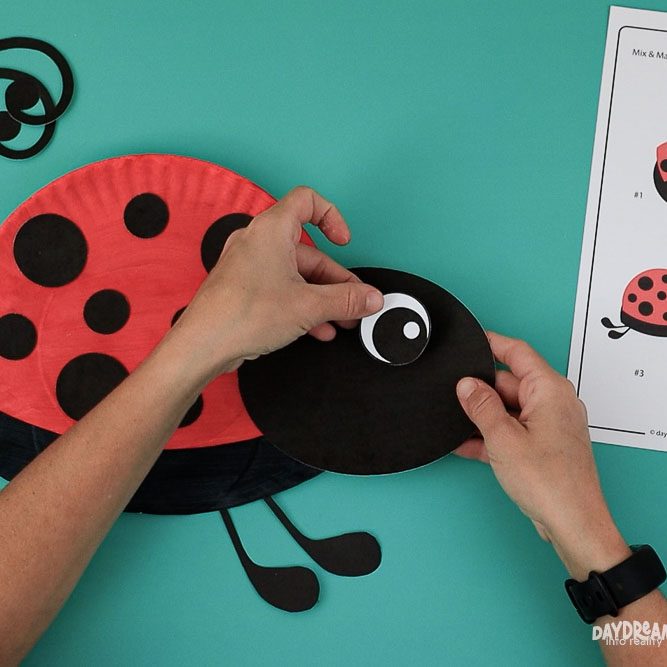
- Attach the eye to the head.
- Glue the antennae behind the head to finish your ladybug.
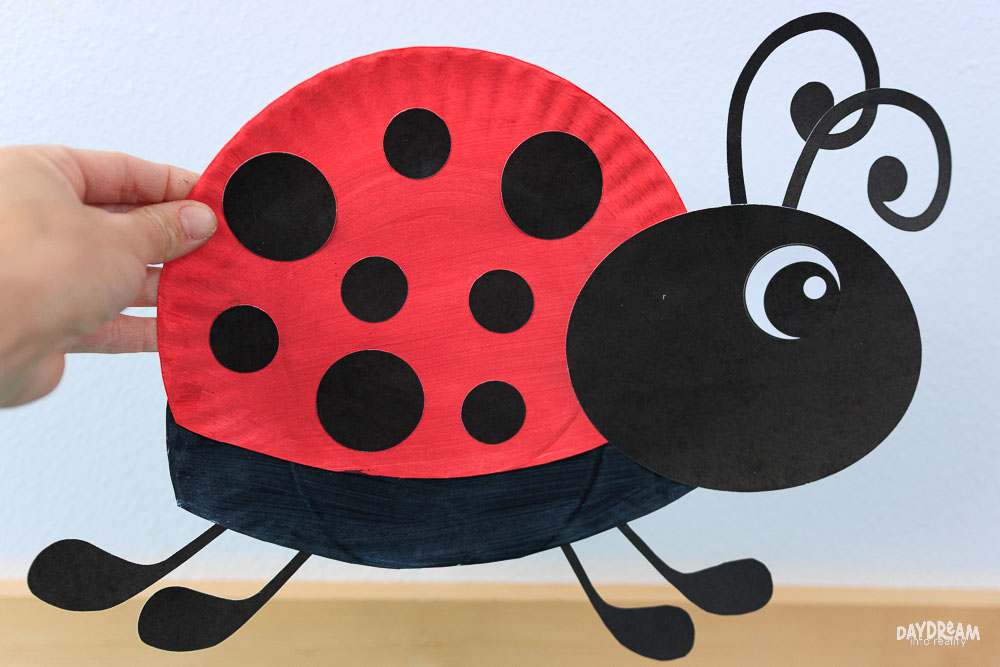
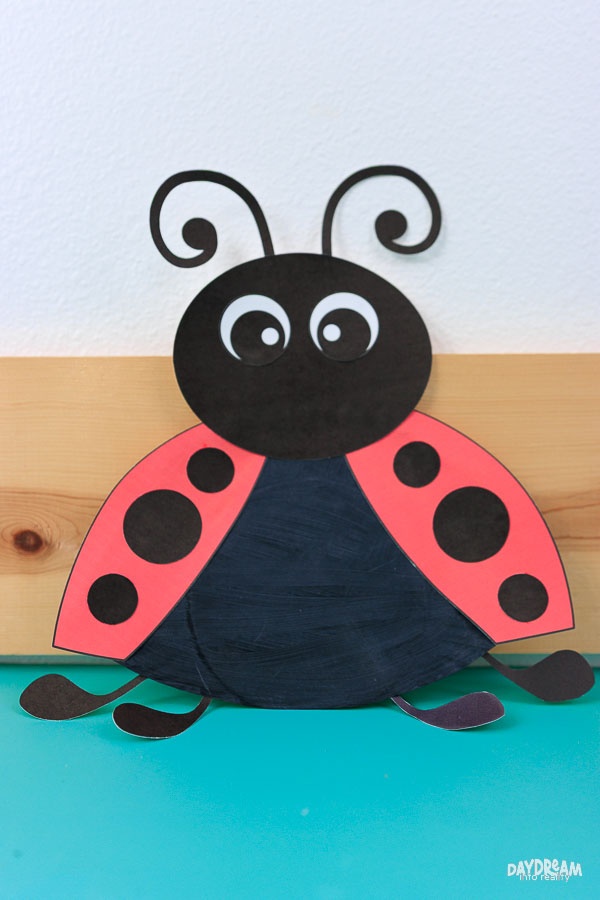
And just like that, your paper plate ladybug is ready! Isn’t it cute?
Other Ways to Assemble
Check out these tips to assemble the other ladybugs.
- For ladybug #1, glue the head, then use the cut-out piece from the plate as the body base. Cut the red plate in half and glue the pieces slightly apart to create the wings.
- For ladybug #2, glue the small triangle piece (from the template) in the center, and add the head on top.
- For ladybug #4, print the red wings page and glue it to a painted black paper plate.
- Finish the ladybugs by looking at the “Mix & Match” page.
More Paper Plate Ladybugs Ideas
Here’s how the other ladybugs look!
Don’t they look super cute?

Download the Free Template
As mentioned above, you can download the free paper plate ladybug template here. Click the image to open in a new tab or the yellow button below to download your ladybug template to your computer.
You’re welcome to print as many copies as you need for personal, family, or classroom use, but please don’t sell them, share the PDF directly (share the link to this post instead), or claim the designs as your own.
You May Also Like…
I hope you had fun making this ladybug craft—take a look below for more easy and creative activities to try next!
- Paper Plate Rainbow Craft
- Paper Flower Bouquet Craft
- Paper Plate Baby Chick Craft
- Bugs Dot Marker Printables
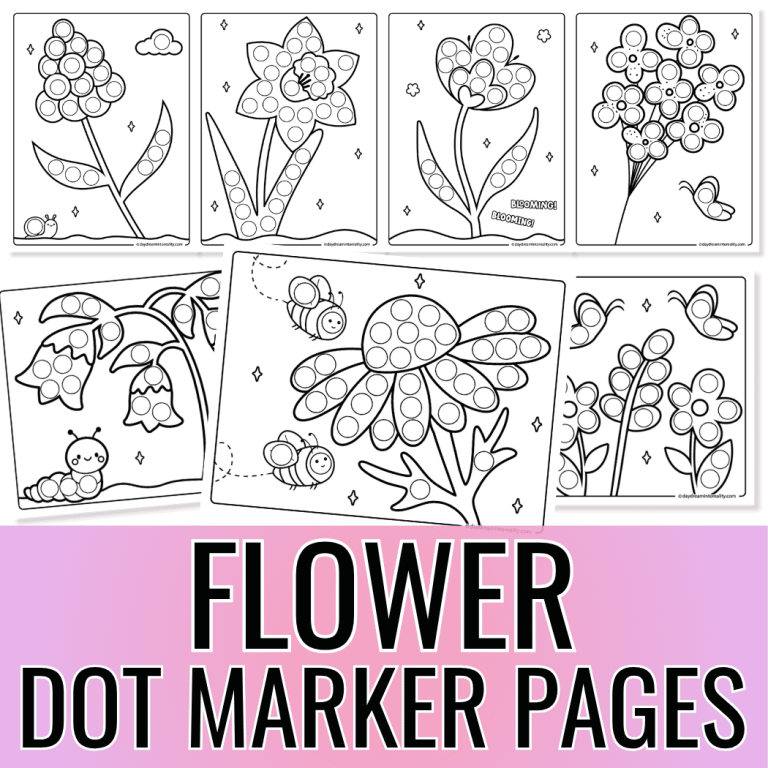
- Spring Dot Marker Pages
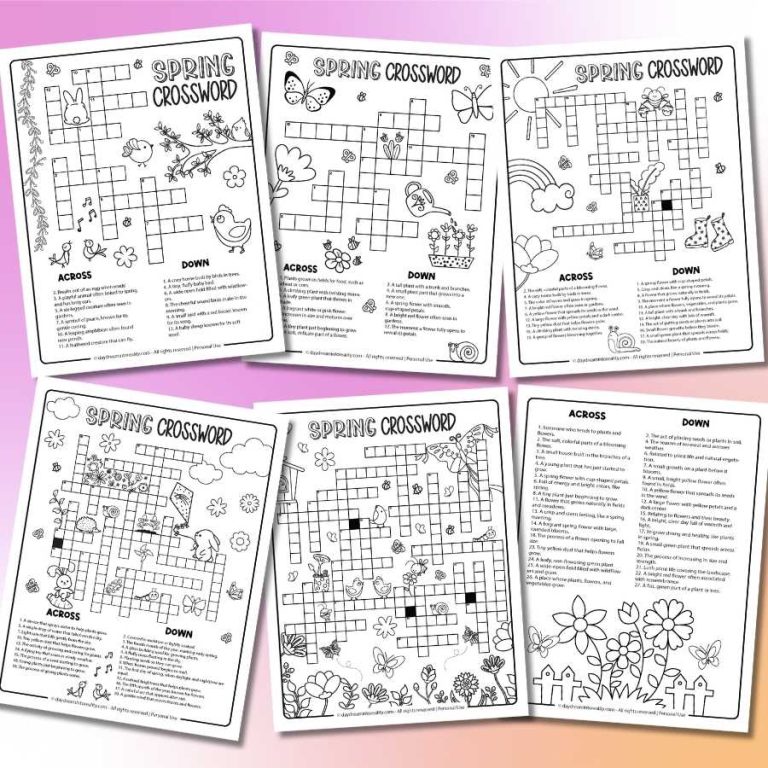
- Spring Coloring Pages