Do your little ones love ice cream?
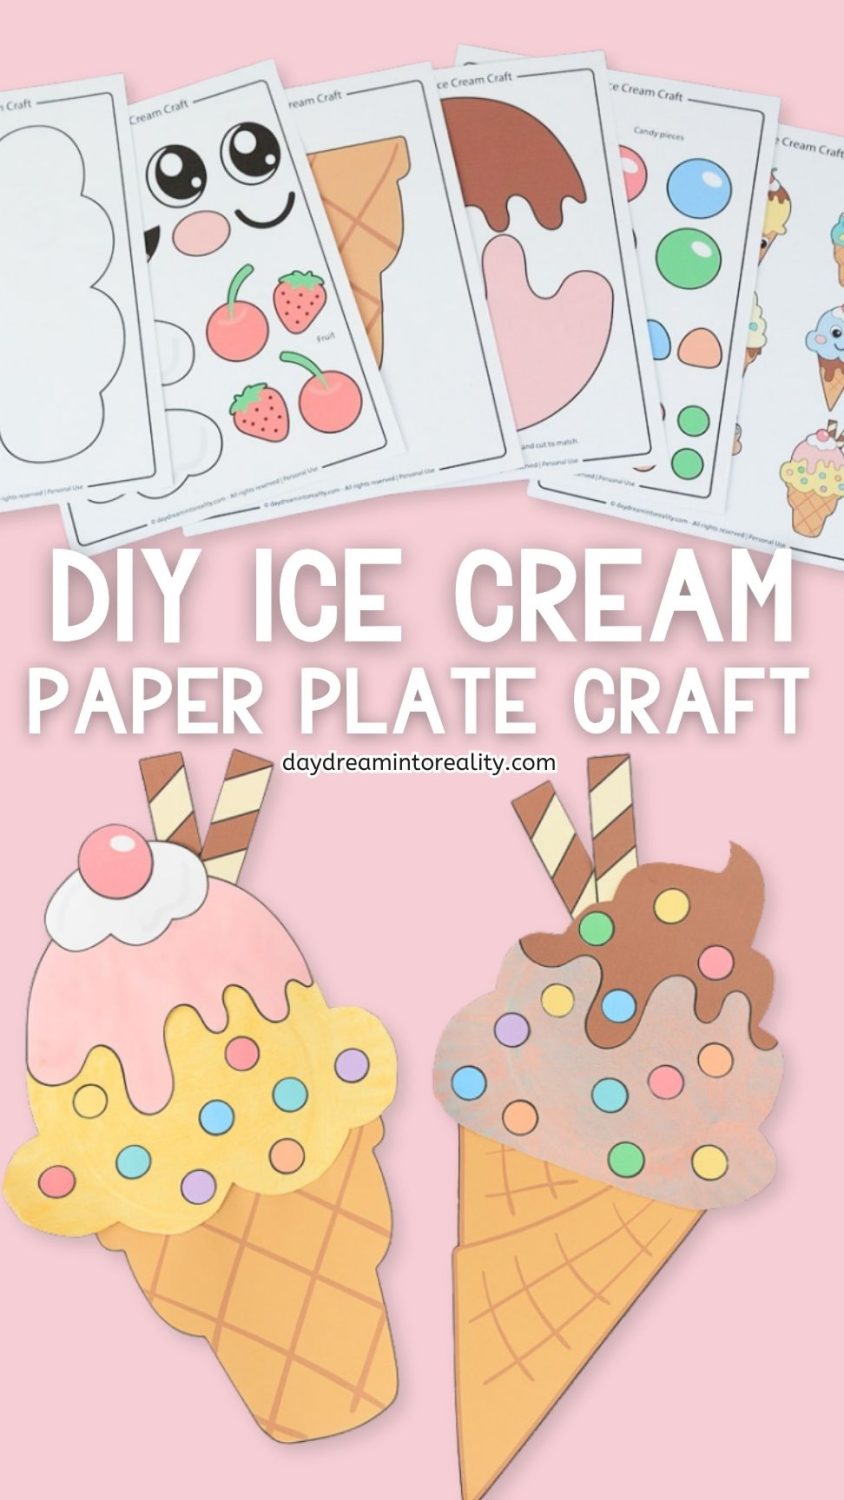
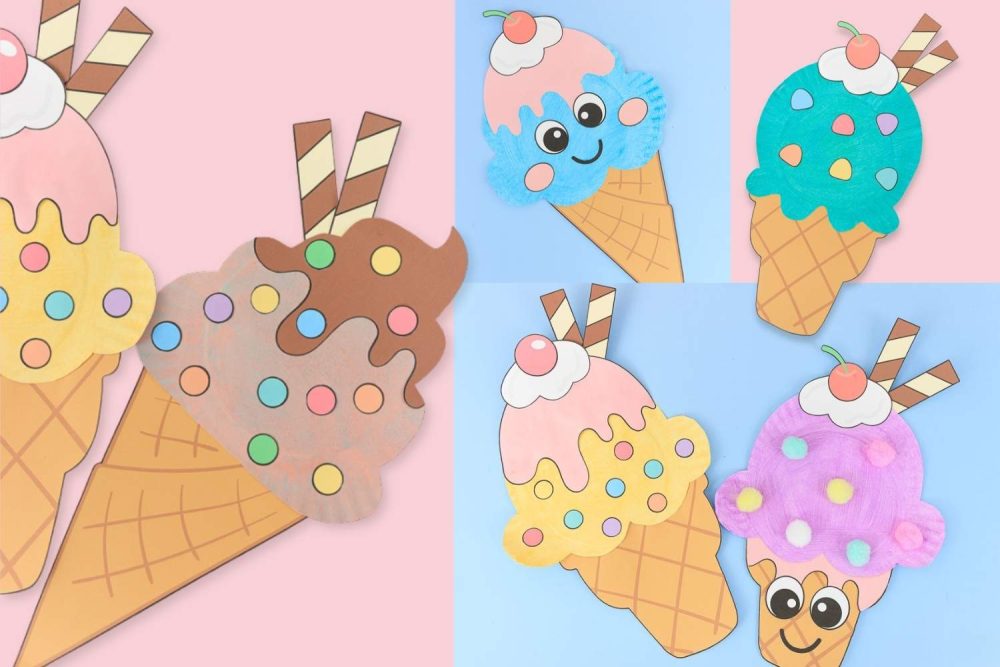
This paper plate ice cream craft is a great summer craft, but frankly, ice cream is delicious any time of year! Plus, with the free PDF printable template, kids can simply mix and match different scoops, cones, drips, and toppings to create their own pretend ice cream treats.
Perfect for preschoolers, kindergarteners, early elementary kids, and even toddlers with a little extra help and supervision.
Why use paper plates for crafts?
It’s not just about convenience; it’s about helping kids see everyday items in a new light. When they transform something as simple as a paper plate into an ice cream, it encourages creative thinking and demonstrates that they can create something amazing from ordinary materials.
Tools & Materials
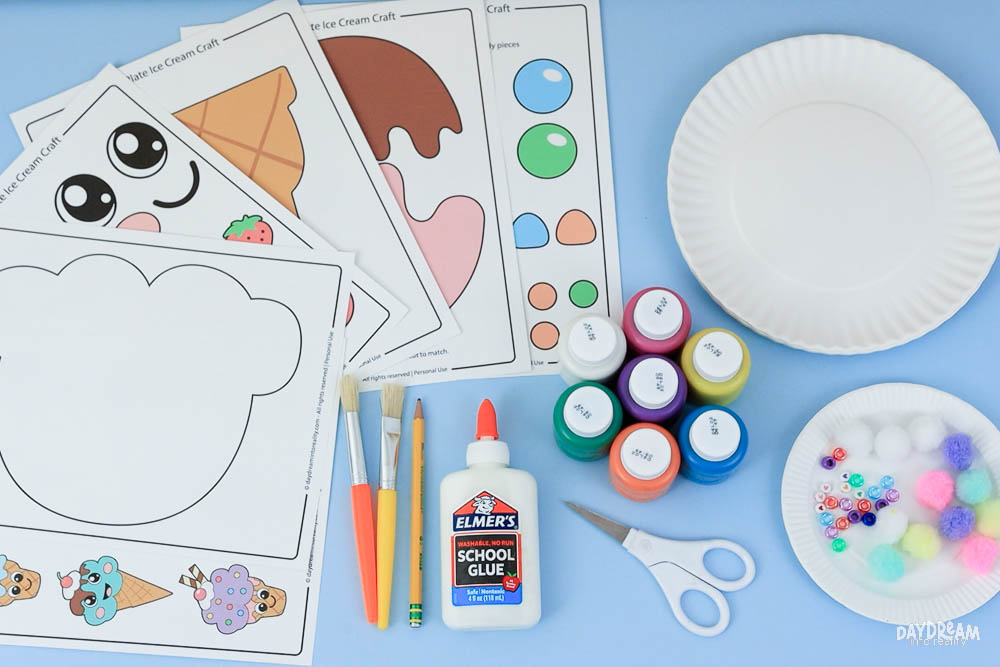
- Printer
- Template (download at the end of the article – no subscription required)
- 9-inch paper plate
- Pencil
- Scissors
- White cardstock
- Paint
- Glue
- Pompoms or beads (optional)
- Crayons or markers (optional)
Step 1 – Print Paper Plate Ice Cream Template
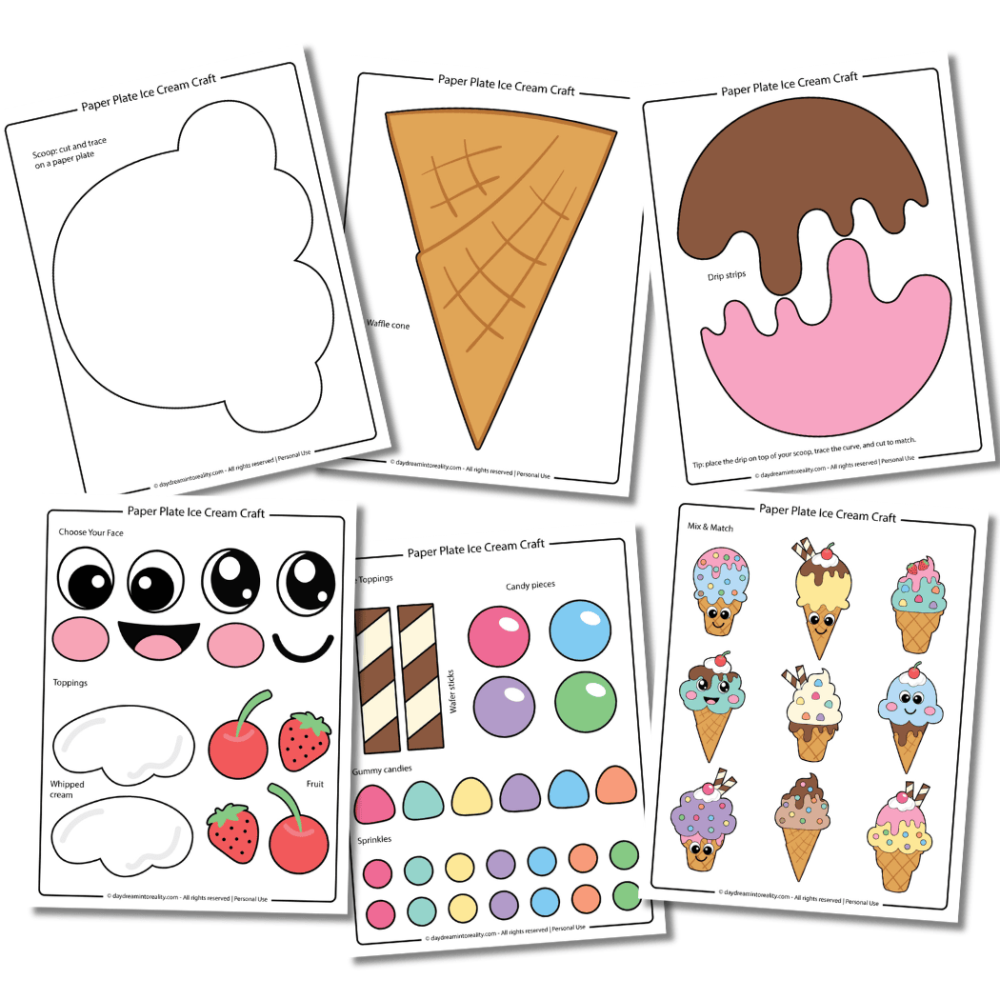
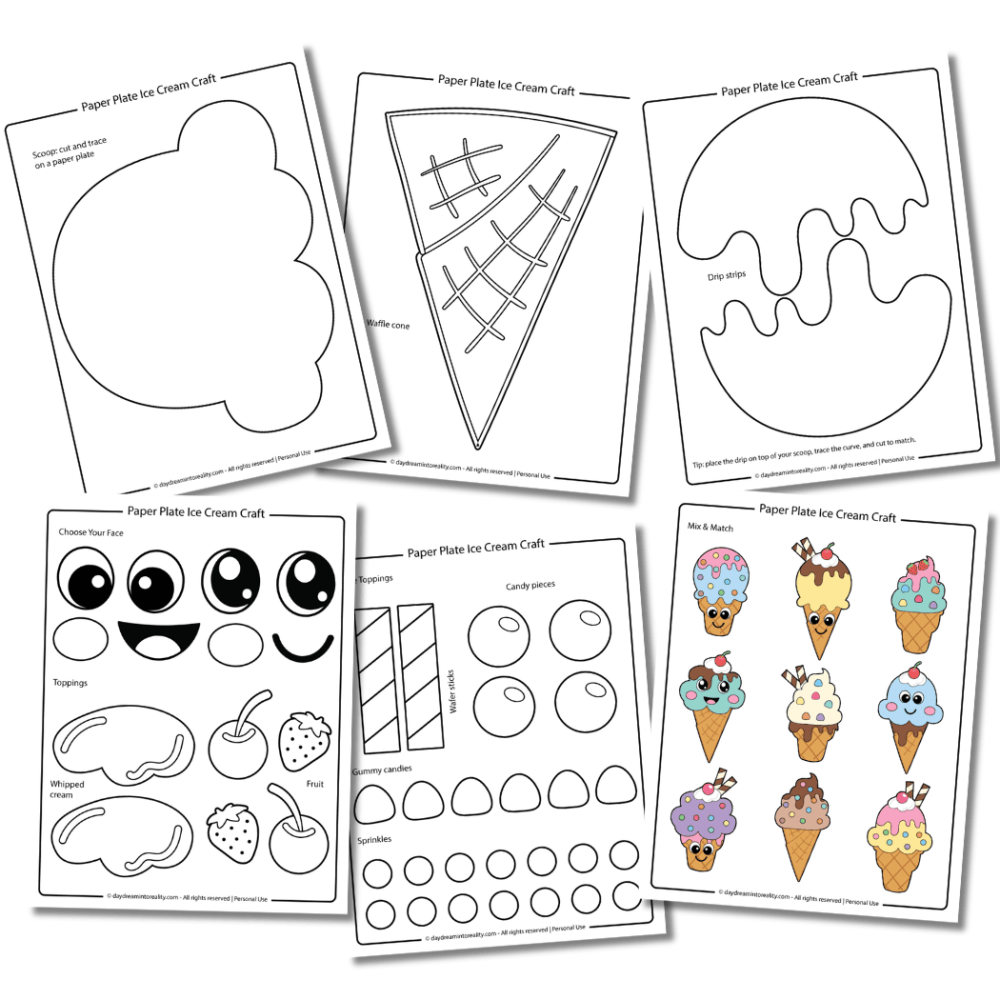
This template comes with both a full-color version and a black-and-white version for coloring. You can also use the black-and-white pages to print the cones and drips, which is a great way to save ink and skip coloring.
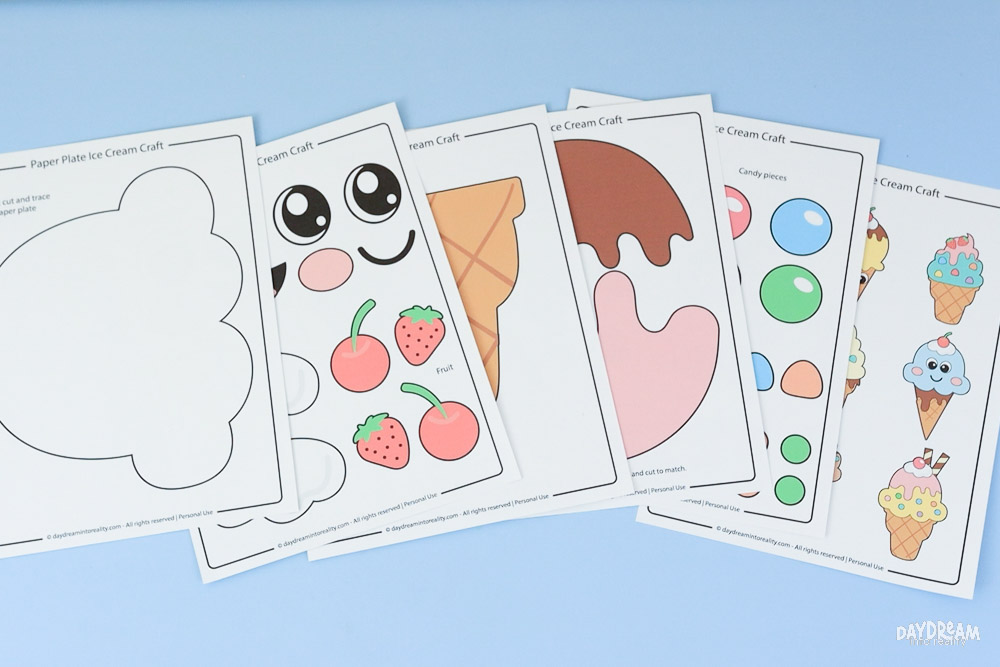
I decided to use the full-color version for my ice cream crafts.
Inside the template, you’ll find four different scoop shapes, two cone options, and lots of fun toppings to decorate your ice cream. There’s also a “Mix & Match” page filled with different ice cream ideas and combinations.
I recommend showing the “Mix & Match” page to your little ones first and letting them choose their favorite design. Then, simply print the pages you need.
This craft is as easy as choosing your favorite scoop, cone, and toppings to create your own unique ice cream craft!
Step 2 – Cut Template
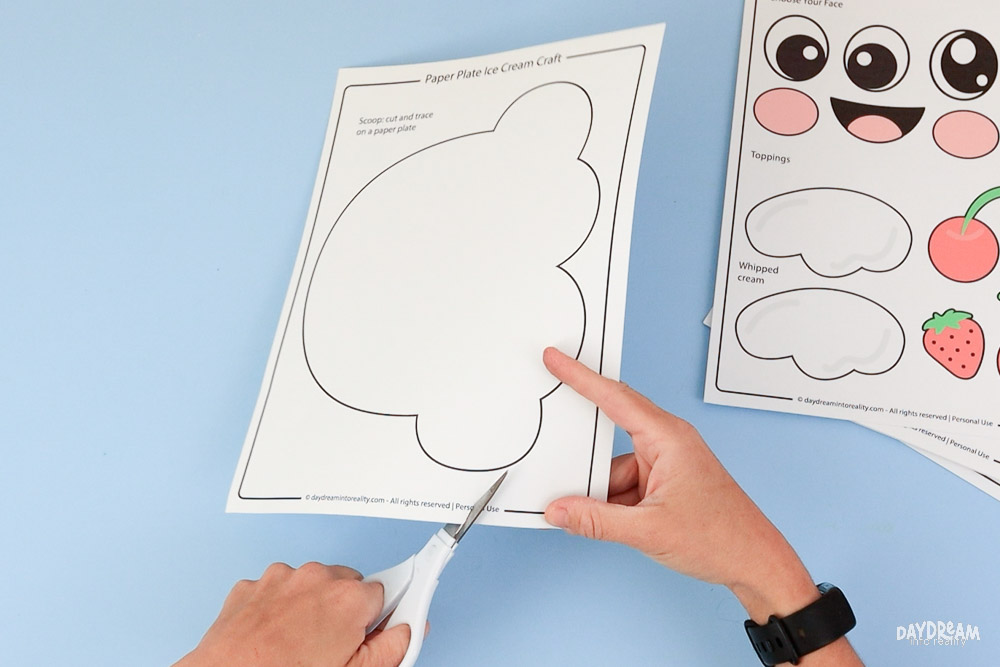
Cut all the pieces you need from the printable. This ice cream craft doesn’t really have intricate cuts; however, kids may need help with some of the sprinkles. For added fun, you may also use pompons and beads instead!
Your printable happy place
Find your favorite printables in seconds, save Favorites, and open PDFs without ads.
Peek Inside the VaultStep 3 – Make Ice Cream Scoop
Let’s start by making the ice cream scoop!
Tip: After tracing the ice cream scoop, pause cutting and paint the plate first, so once it’s dry, you can finish cutting and move straight to gluing.
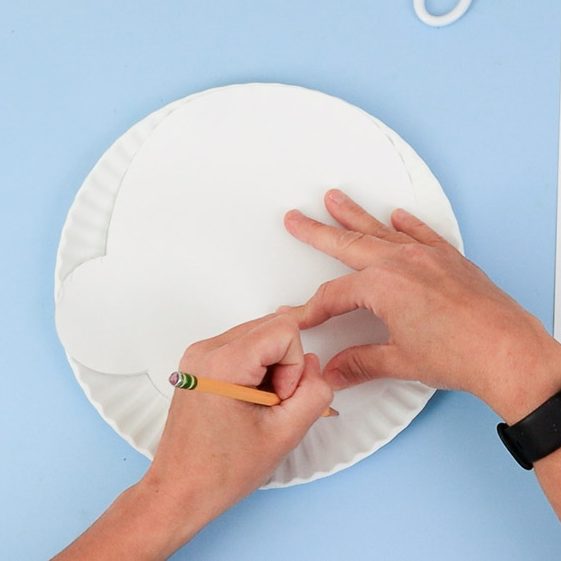
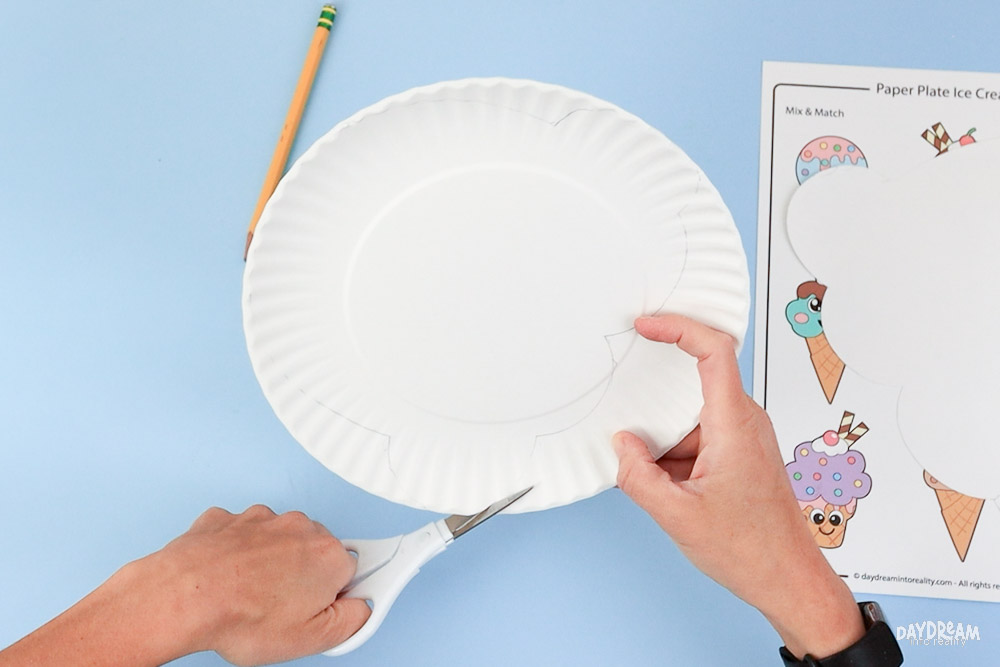
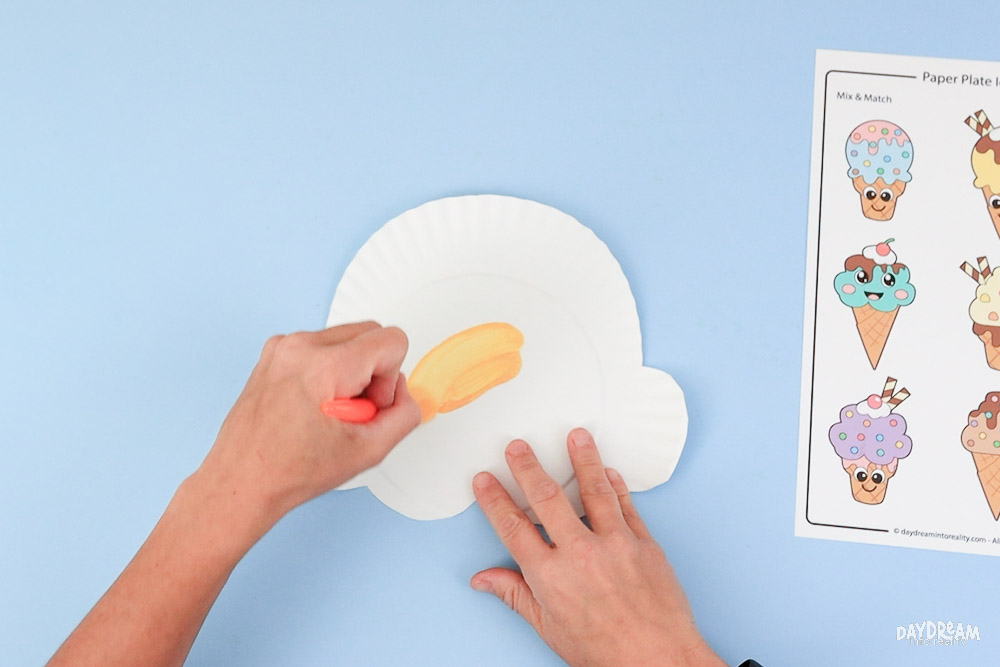
- Trace your favorite scoop shape onto the back of a paper plate.
- Cut out the scoop shape with scissors.
- Paint or color the paper plate scoop using your favorite ice cream colors.
Tip: Bright paint colors can be softened by mixing in a little white paint. You can also mix colors together to create fun ice cream shades. For example, try mixing yellow, a tiny bit of orange, and white to make a creamy vanilla-colored scoop.
Step 4 – Assemble Paper Plate Ice Cream
Ready for the best part?
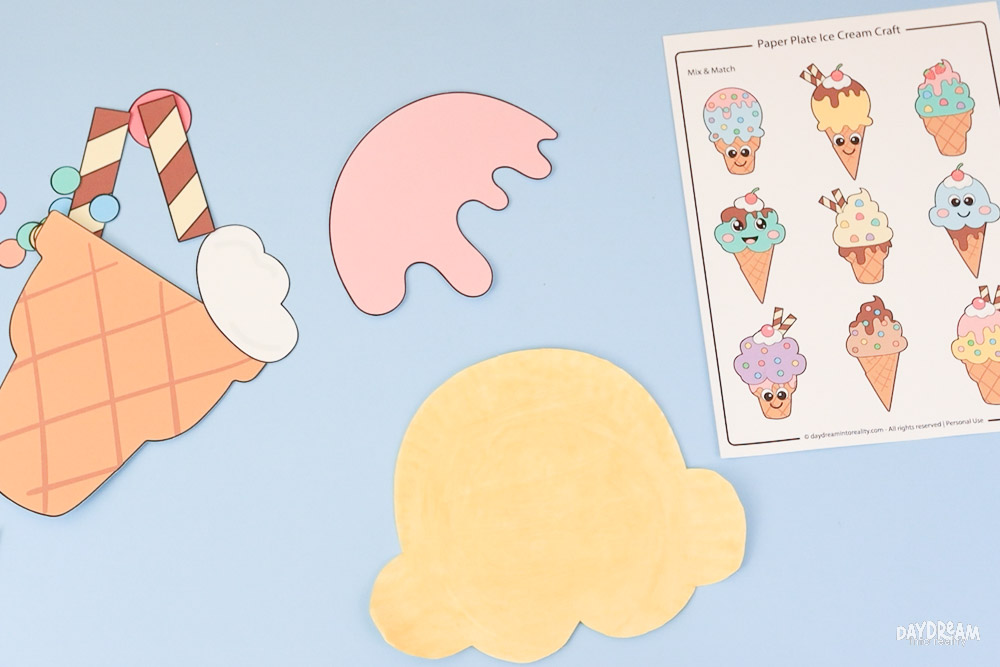
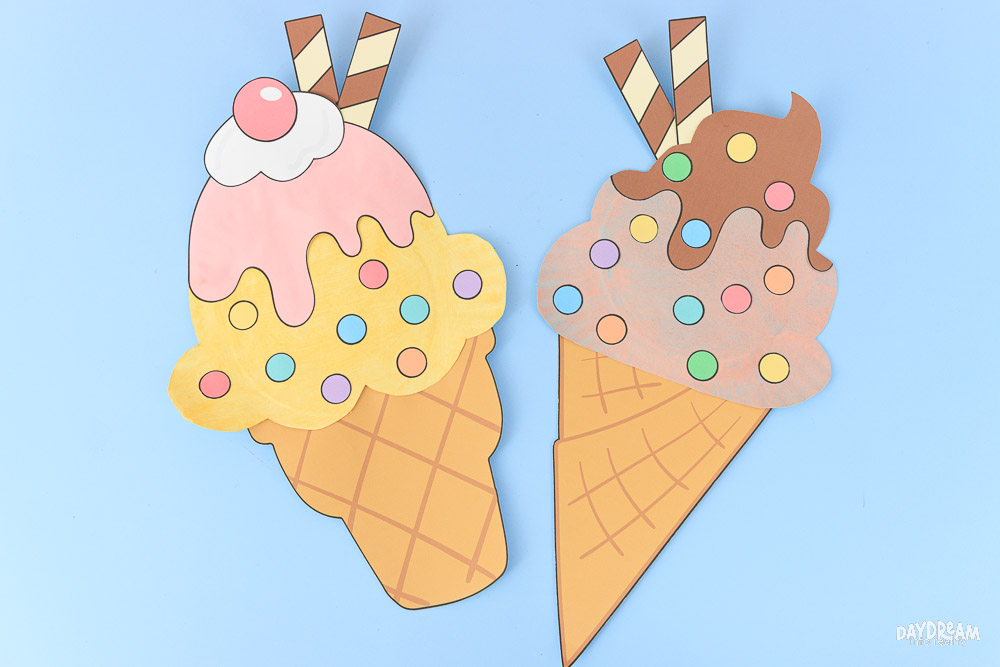
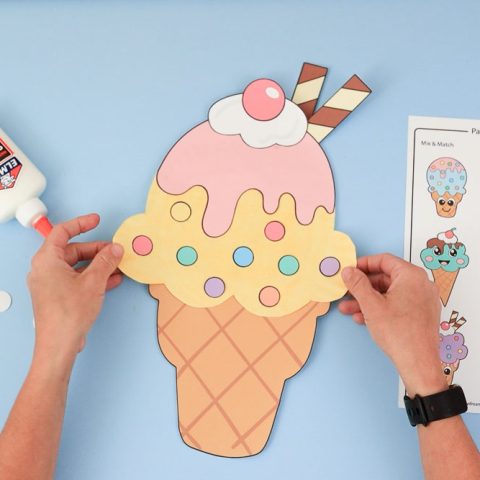
I chose to make the last ice cream on the “Mix & Match” page.
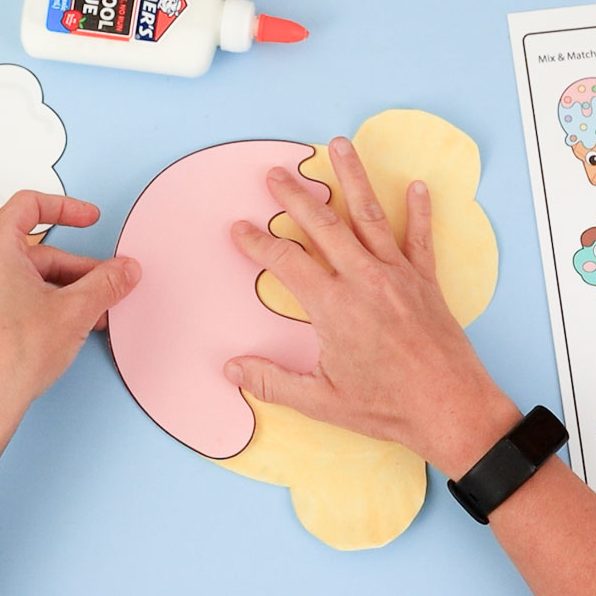
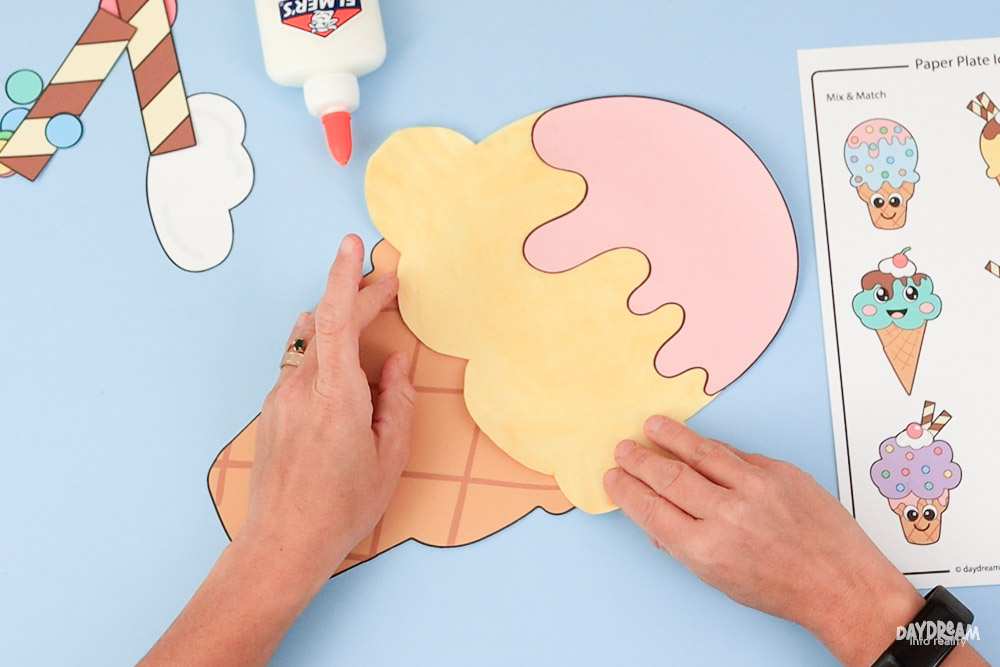
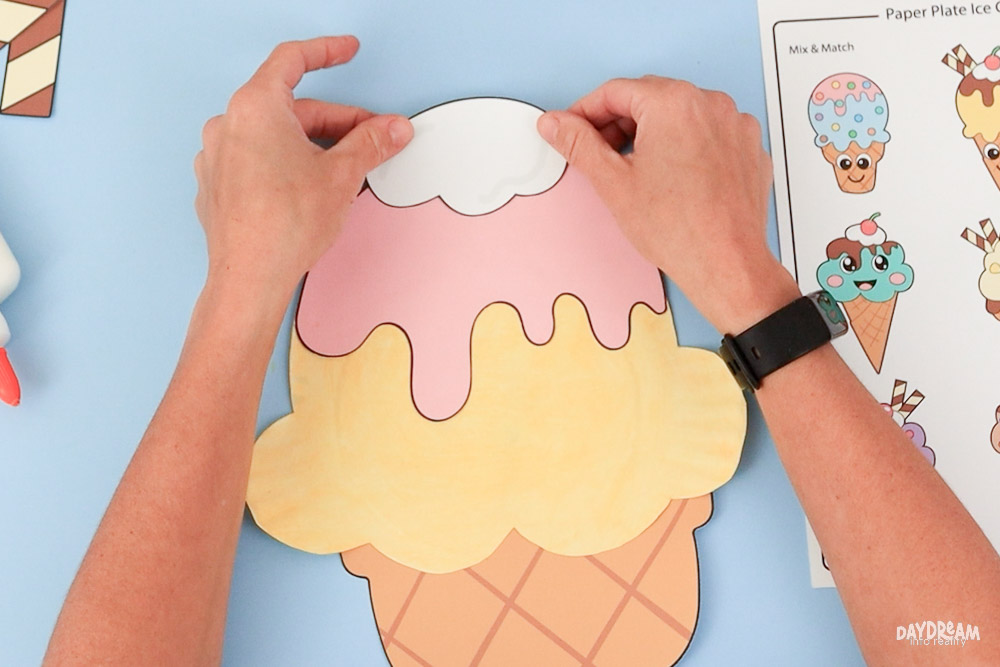
- Glue the drip piece onto the top of the paper plate scoop.
- Attach the scoop to your favorite ice cream cone shape.
- Add whipped cream to the top of the ice cream for extra decoration.
Note: This drip shape fits perfectly on scoop #2. After the step-by-step tutorial, I’ll also show you how to use the drips with the other scoop shapes.
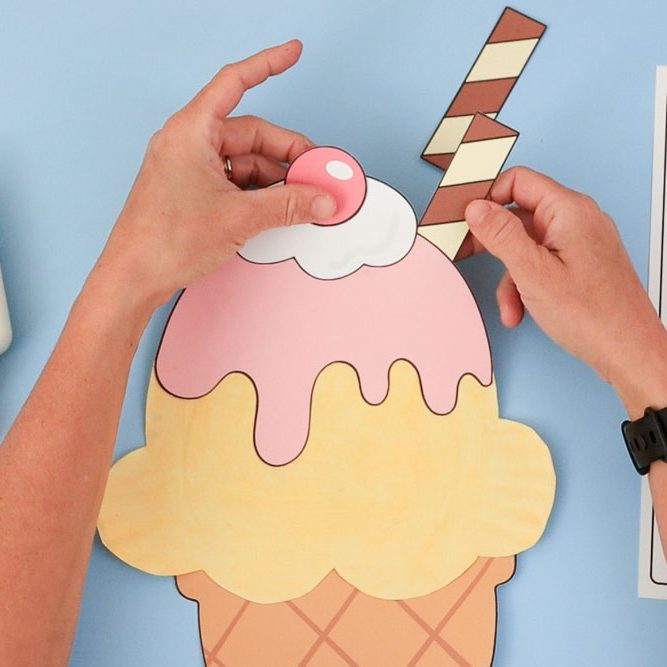
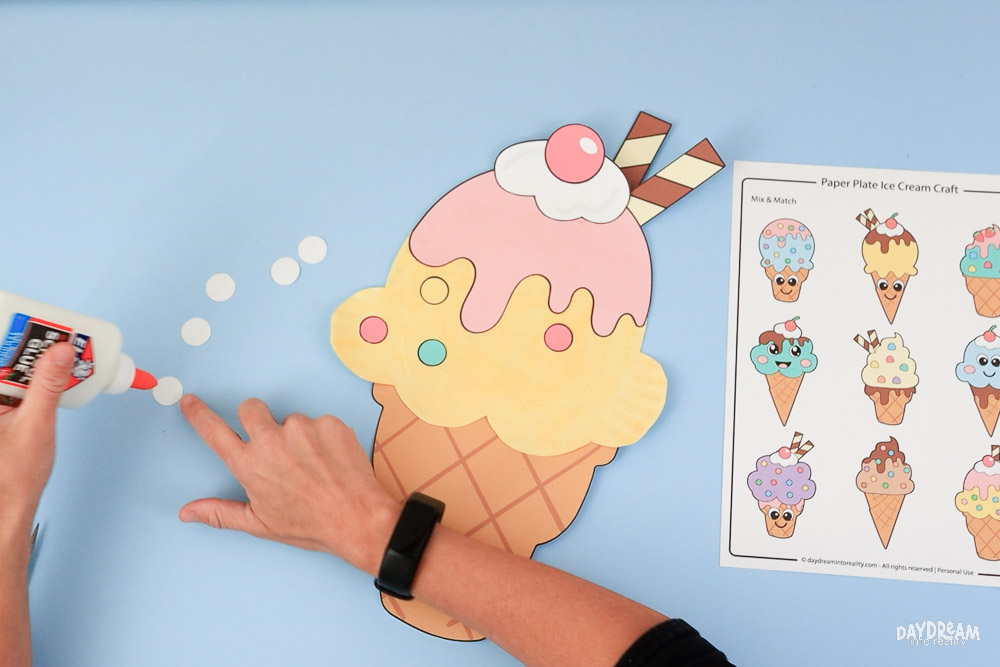
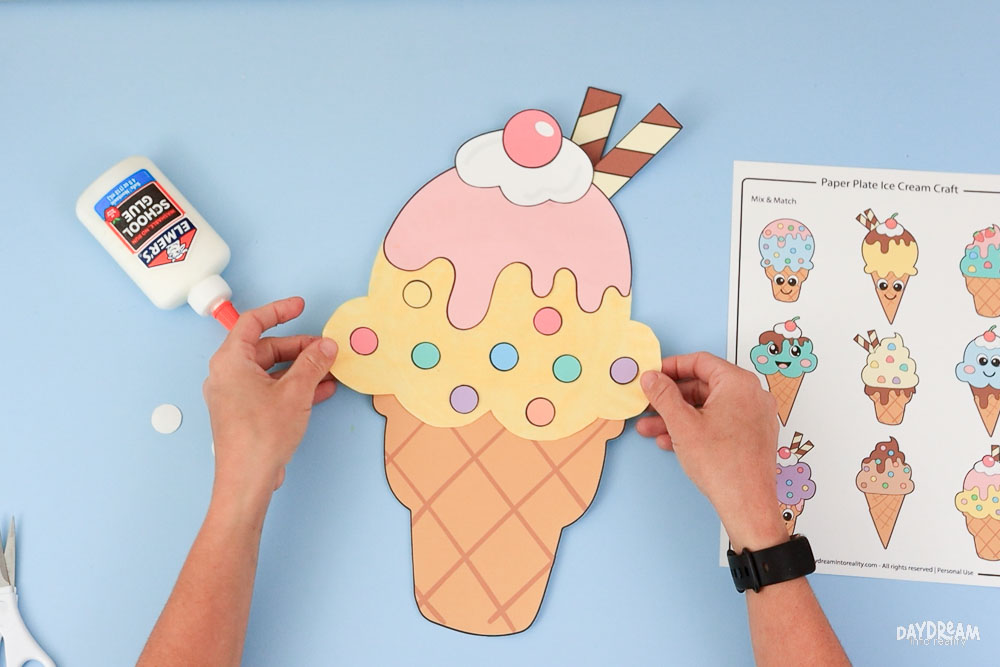
- Glue the whipped cream, cherry, and wafer sticks onto the top of the ice cream.
- Decorate your scoop with sprinkles and other fun toppings.
- Just like that, your cute paper plate ice cream craft is finished!
How to Fit the Drips on Different Scoops
The drip template is designed to fit scoop shape #2 perfectly, but you can easily adjust it to work with the other scoop shapes, too.
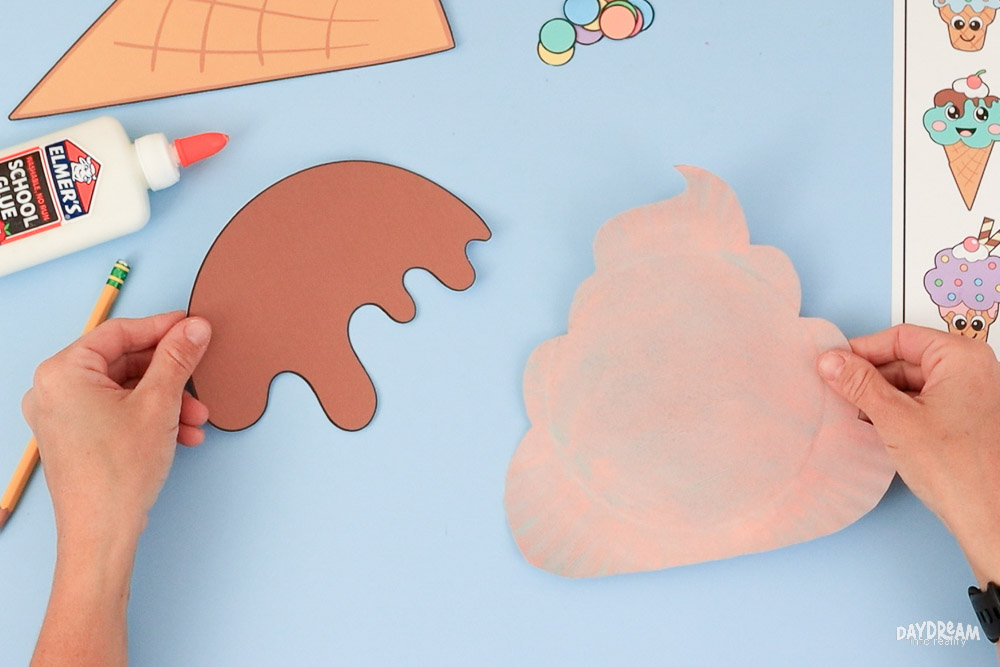
Let’s see how to fit the dripping on this paper plate soft-serve ice cream!
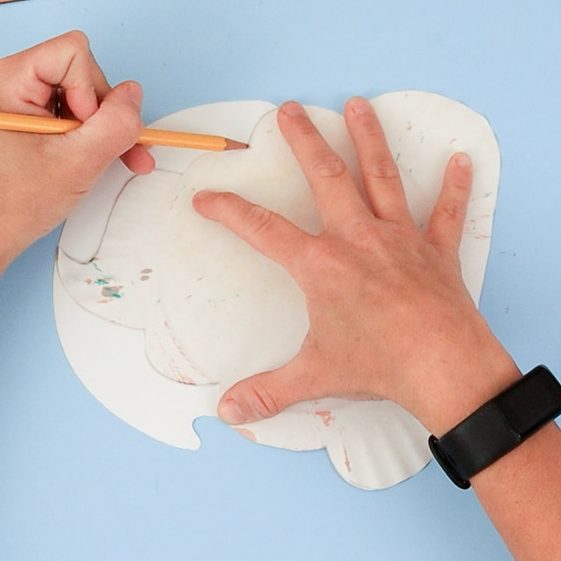
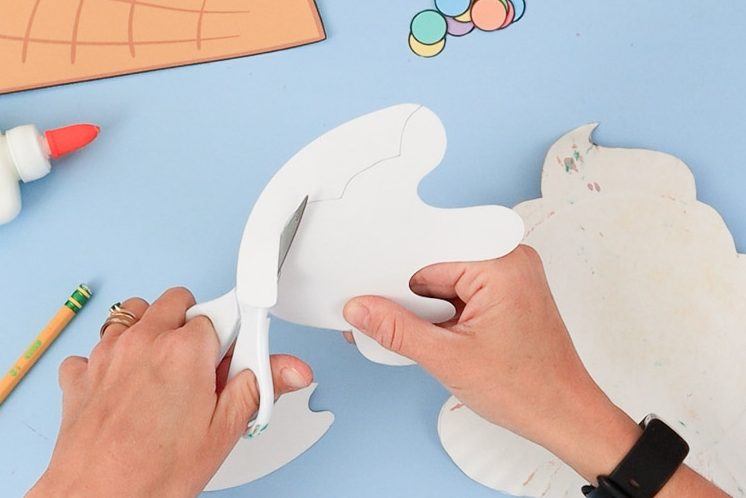
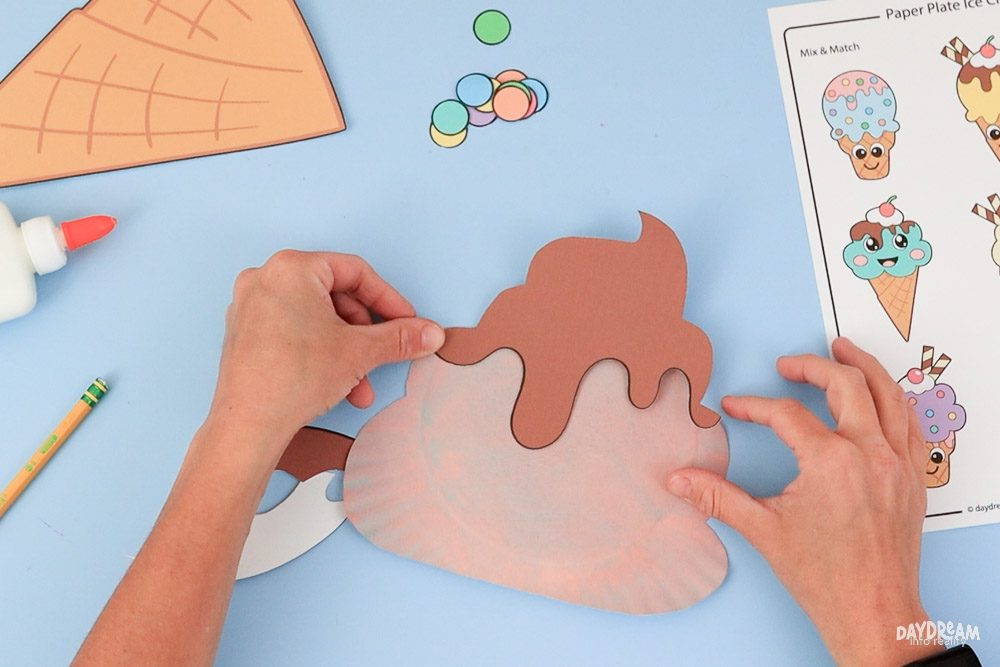
- Start by placing the drip piece on top of your painted paper plate scoop. Move it around until you find a position you like, then trace the scoop’s curve onto the back of the drip piece.
- Next, cut along the traced line to create a custom fit for your scoop shape.
- Finally, glue the drip to the front of the scoop.
You can also use the same idea with the cone shapes!
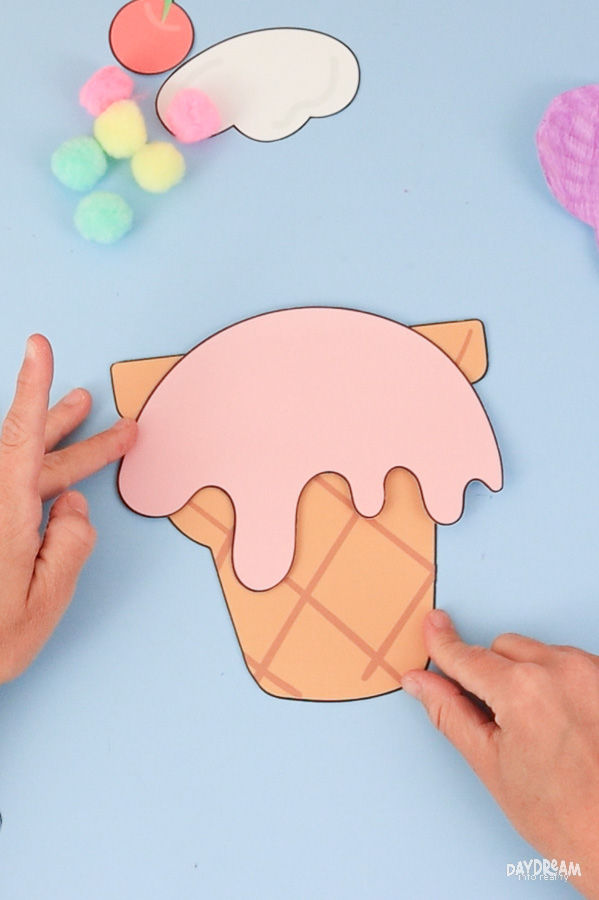
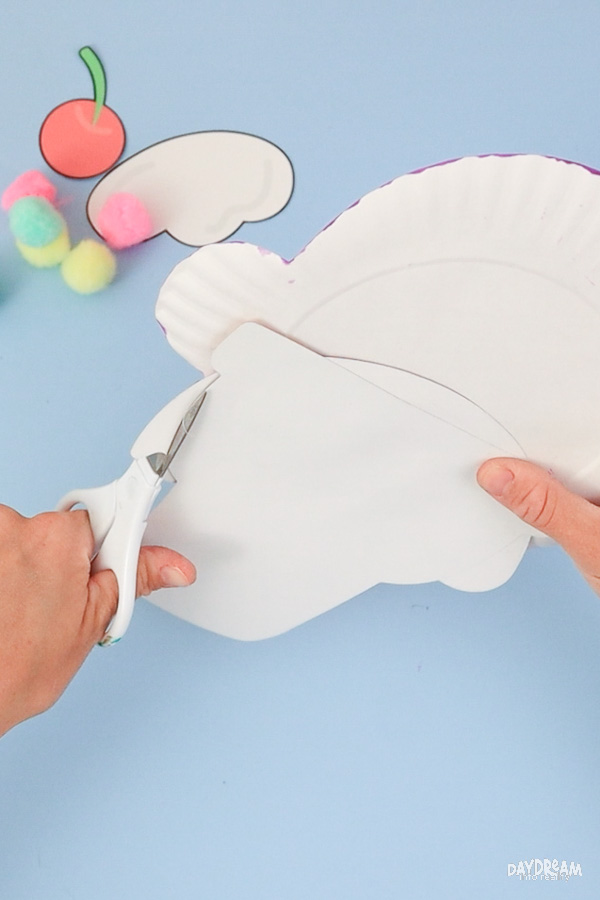
Simply place the drip piece on top of the cone, trace the curve, and trim the drip to fit. This is a fun way to make your ice cream cones look extra melty and colorful.
Mode Paper Plate Ice Cream Ideas
There are many fun ways to customize your paper plate ice cream craft! Try mixing different scoop shapes, cone styles, drips, and toppings to create your own unique ice cream combinations.
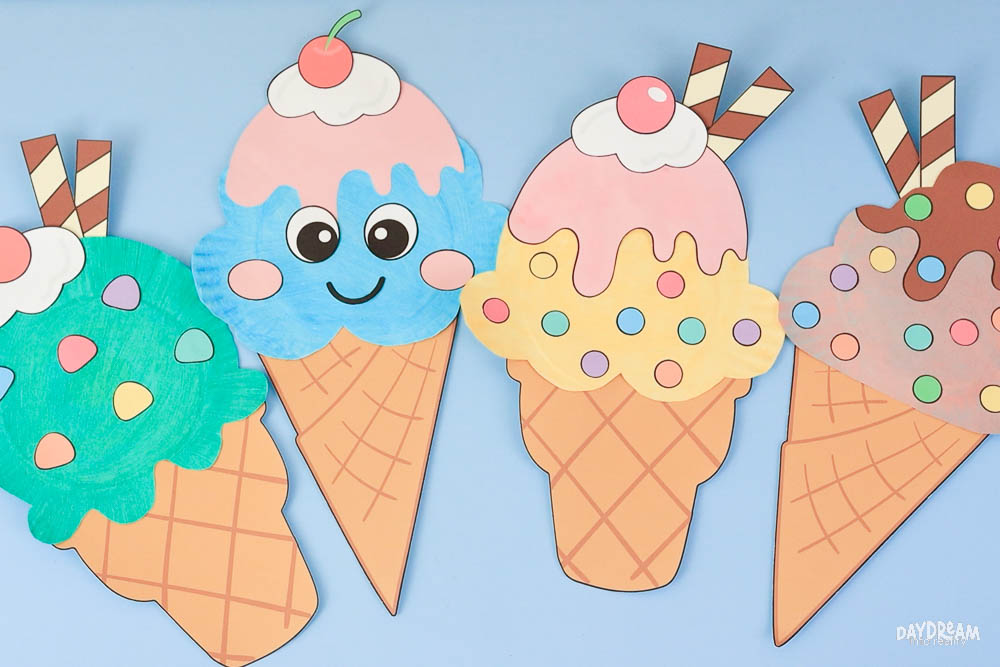
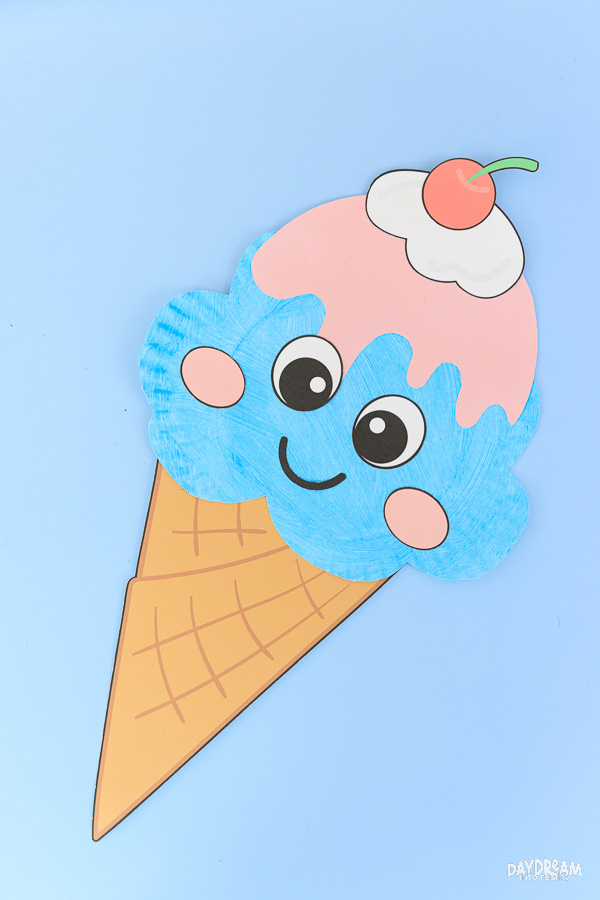
You can glue the face onto the scoop for a cute and silly look, or attach it to the cone instead. Both styles turn out super sweet!
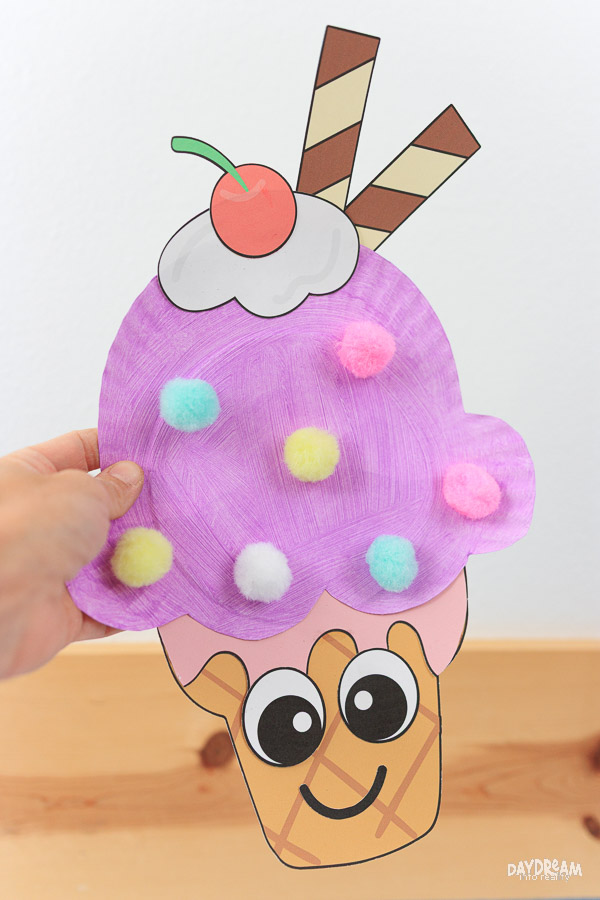
Why not try to experiment with different craft materials, too? For the purple berry-flavored scoop, I added colorful pom-poms to make the sprinkles look extra soft and fluffy.
You can also:
- Add glitter for sparkly sprinkles
- Use cotton balls for whipped cream
- Glue on sequins, buttons, or stickers
- Paint your scoops in fun ice cream-inspired colors
- Mix and match toppings to create new flavors and designs
Download the Free Template
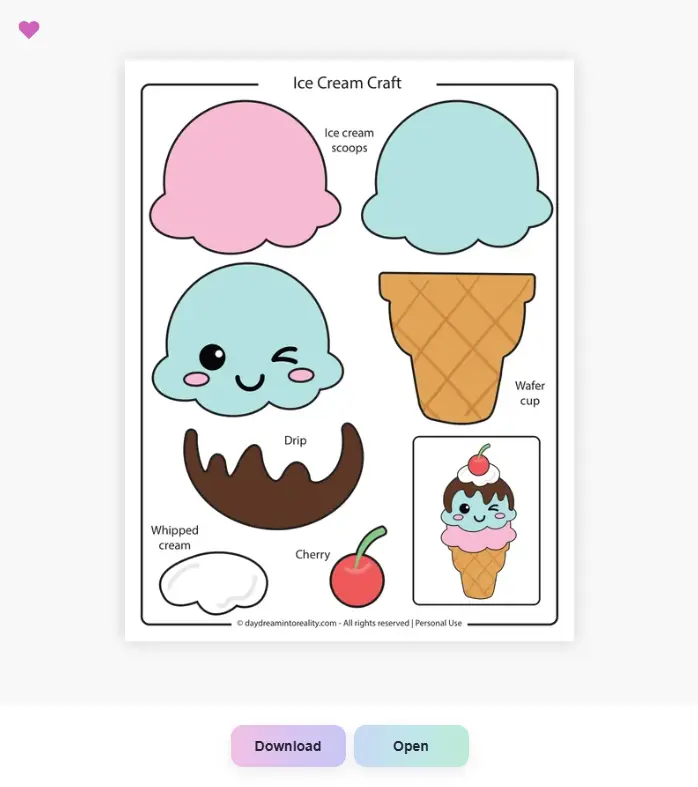
As mentioned above, you can download the free paper plate ice cream craft template here. Click the image to open in a new tab or the yellow button below to download the PDF printable to your computer.
You’re welcome to print as many copies as you need for personal, family, or classroom use, but please don’t sell them, share the PDF directly (share the link to this post instead), or claim the designs as your own.
Paper Plate Ice Cream Craft For Kids | Free PDF Template!
Make a fun paper plate ice cream craft with this free printable PDF template! Includes scoops, cones, toppings, drips, and mix-and-match ideas.
Materials
- Paper plate
- Free paper plate ice cream craft template
- White cardstock
- Paint
- Glue
- Pom-poms or beads, optional
- Crayons or markers, optional
Tools
- Printer
- Pencil
- Scissors
- Paintbrush
Instructions
- Print the paper plate ice cream craft template. Choose either the full-color version or the black-and-white version for coloring.
- Pick your favorite scoop shape, cone, drips, face, and toppings from the template.
- Cut out the template pieces you want to use.
- Trace your favorite scoop shape onto the back of a paper plate and cut it
- Paint or color the paper plate scoop using your favorite ice cream colors, then let it dry.
- Glue the drip piece onto the top of the paper plate scoop.
- Attach the scoop to your chosen ice cream cone shape.
- Add whipped cream, a cherry, wafer sticks, sprinkles, or any other toppings you like.
- Let the glue dry, and your paper plate ice cream craft is ready!
You May Also Like…
- Paper Plate Rainbow Craft
- Paper Plate Butterfly Craft
- Paper Plate Ladybug
- Summer Dot Marker Pages
- Summer Coloring Pages
- Summer Word Search
- Summer I Spy